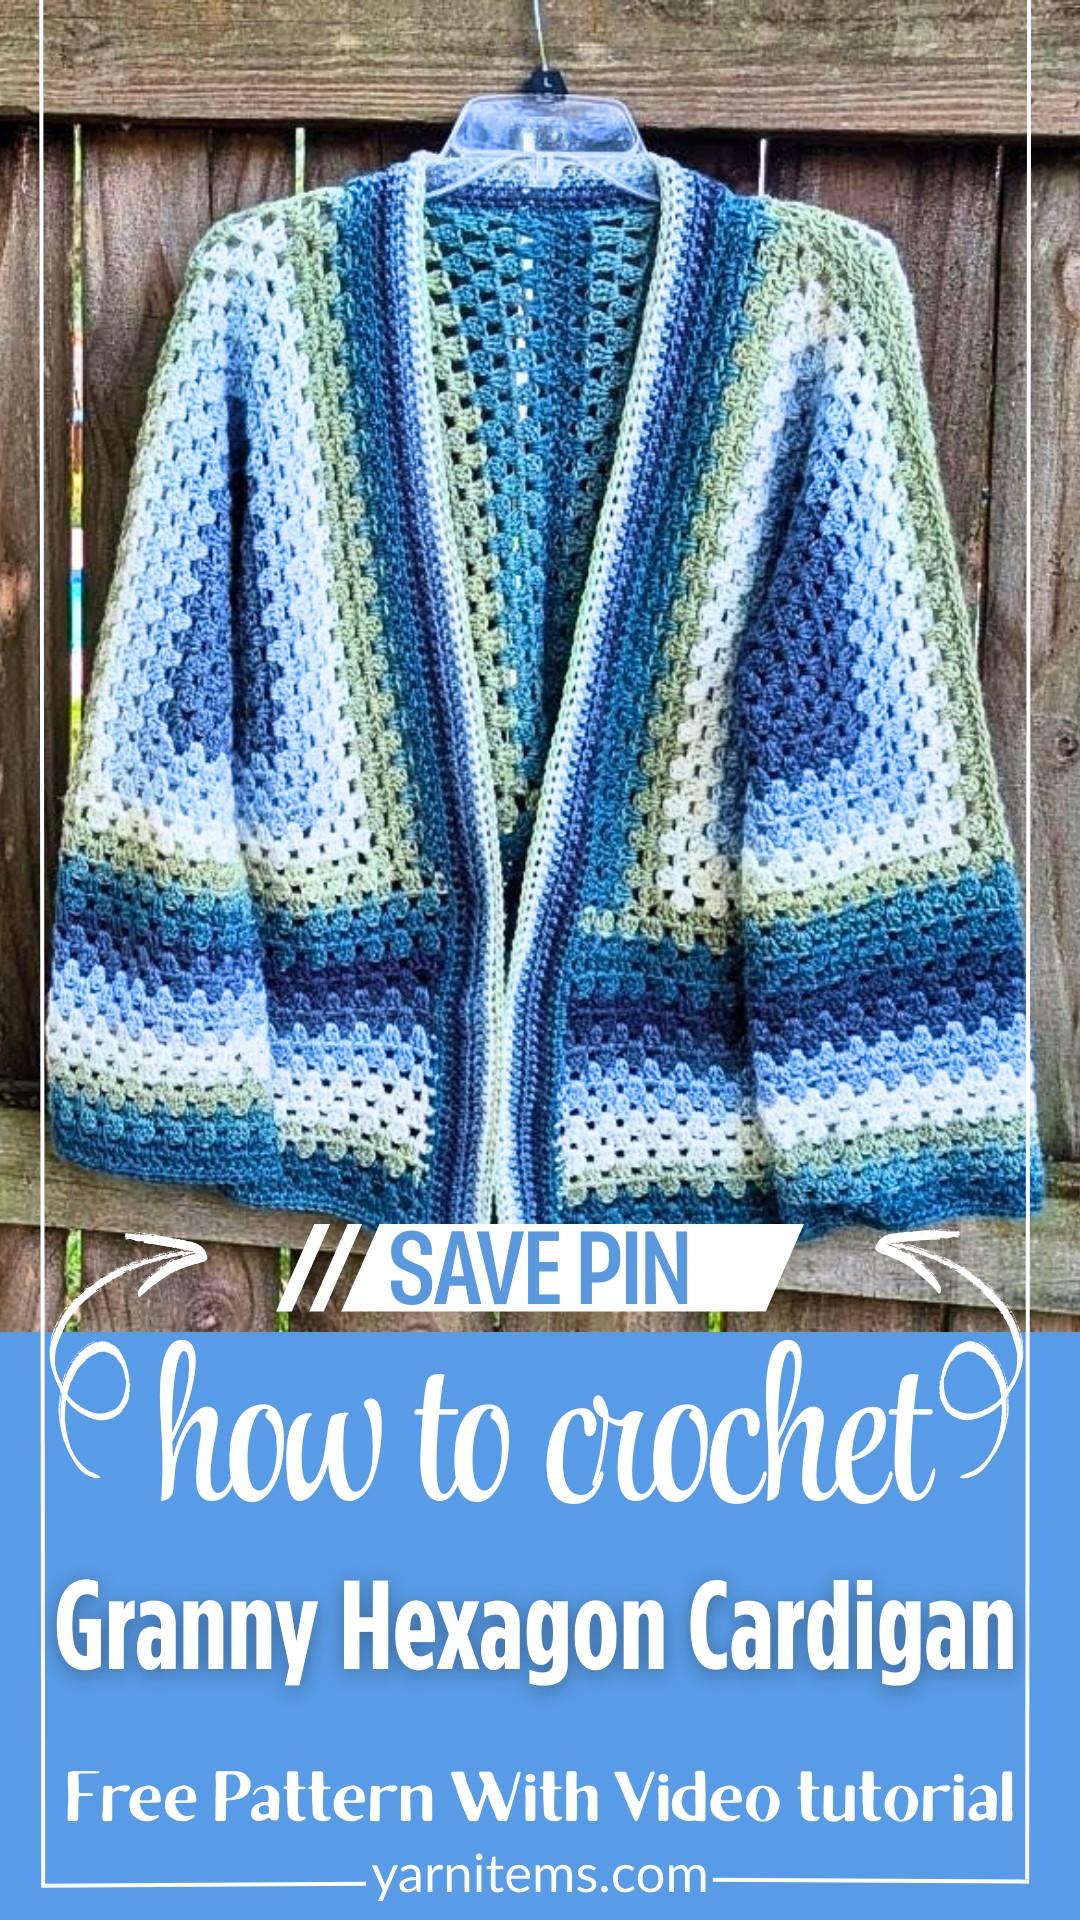
How to Make a Stylish Crochet Granny Hexagon Cardigan
A crochet granny hexagon cardigan proves that a few simple shapes can turn into something surprisingly stylish. Instead of joining many small motifs, this design grows from two large hexagons that gradually form the sleeves and body.
The result is a relaxed crochet cardigan with a modern look that still celebrates the classic granny stitch. If you’ve been curious about this clever construction, this crochet pattern shows exactly how it comes together.

The process is easier than the finished cardigan might suggest, making it enjoyable for crocheters of different skill levels. Each round builds naturally on the last, so you can watch the shape develop as you crochet. The step-by-step pattern keeps the construction clear without feeling complicated. By the end, you’ll see how two simple hexagons become a cardigan that’s both practical and satisfying to make.
Credit Maggie May Crohet
Materials & Tools Needed
- Yarn:
- Type: Mandala Baby Yarn (Lightweight Size 3 – DK Yarn)
- Colorway: Echo Caves (used in the tutorial but customizable).
- Quantity: 3 skeins, each 5.3 oz / 150g, 590 yards (540m). Adjust as needed for sizing.
- Hook:
- Size: 6mm crochet hook (size chosen for loose drape; original recommendation is 5mm, but tutorial uses 6mm).
- Others:
- Scissors
- Tapestry needle (for weaving in ends and seaming)
- Stitch markers
Finished Size & Customization Ideas
- Finished Size (Tutorial Reference):
- Sleeve width: 7.5 inches from armpit to shoulder for a more fitted sleeve style.
- Back panel width: 21 inches (customized using back panel extensions).
- Length: Adjustable by adding rows to the cardigan’s body.
- Customization Options:
- Increase or decrease sleeve width: Work extra rounds on the hexagons for wider sleeves.
- Body width: Extend back panels to suit your measurements.
- Add length to cardigan: Add rounds or rows to desired length before edging.
- Pro Tip: Measure against a sweater or cardigan you love to ensure proper fit.
Pattern Abbreviations & Terminology
The pattern follows US Crochet Terminology:
- ch: Chain
- dc: Double Crochet
- sl st: Slip Stitch
- hdc: Half Double Crochet
- sp: Space
- st: Stitch

Step-by-Step Detailed Crochet Instructions
Part 1: Creating the Hexagons (Main Body)
Each hexagon forms one side of the cardigan’s body and sleeve.
- Start the Hexagon:
- Begin by creating a slip knot on your hook.
- Option 1: Start with a magic circle.
- Option 2 (Tutorial): Chain 4, and join into a ring using a slip stitch.
- Round 1:
- Ch 3 (counts as a dc) + 2 dc into the ring, forming the first cluster.
- Ch 1 for separation.
- Work 5 more clusters (3 dc each) into the ring, separating each with ch 1. (6 clusters in total for a hexagon).
- Sl st to the top of the starting ch-3 to join.
- Turn your work.
- Round 2:
- Ch 3 (counts as a dc). Place 2 dc into the first ch-1 sp (space).
- Ch 2, then work 3 dc into the same space (this is your corner).
- In the next ch-1 sp, work 3 dc (no chains between clusters unless it’s a corner).
- Repeat this pattern: corners have 2 clusters of 3 dc separated by ch 2 and straight sides have 1 cluster of 3 dc in ch-1 sp.
- Join the round with a sl st into the top of the starting ch-3.
- Turn your work.
- Additional Rounds:
- Continue working in this format: each corner is 2 clusters (3 dc each) separated by ch 2, and each side consists of 1 cluster (3 dc) in each side space.
- Turn your work after each round to keep edges even.
- Continue until your hexagon edge (side length) measures your desired width. (For tutorial: 7.5 inches per side).
- Repeat for Second Hexagon:
- Create a second identical hexagon.

Part 2: Joining the Two Hexagons
- Fold the Hexagons:
- Fold each hexagon in half to create an “L” shape. These form the two sleeves and half of the cardigan body.
- Join at the Back:
- Match the two halves of the hexagons together at the back.
- Seaming Method (Tutorial): Use a tapestry needle and mattress stitch or whip stitch to join the two halves. Seam along the spine until it’s fully secure.

Part 3: Back Panel Extension
- Measure the Back Section:
- Total width needed (based on preferred fit): 21 inches (Tutorial Example).
- Subtract the total width formed by the two hexagon halves.
- Work Granny Stitches:
- Attach yarn to the back edge of one hexagon with a sl st in the corner.
- Row 1: Ch 3, dc into the same space. Then, work clusters of 3 dc in each space along the edge. End with 2 dc in the last stitch. Turn.
- Row 2 and Beyond: Ch 3, 2 dc into the edge space next to the ch-3. Continue clusters (3 dc per space) until the end. Repeat until back panel is wide enough (3.5 inches per side for tutorial).
- Seam the Panel:
- Join the two back panel extensions together with a tapestry needle using the seam method of your choice.

Part 4: Adding the Front Panels
- Measuring Front Panels:
- The tutorial example adds 4 more rows to extend the front panels for a proper fit. Adjust the number of rows for your desired fit.
- Steps:
- Attach yarn to the front corner.
- Work granny clusters along the edge, turning at each row.
Part 5: Sleeves
- Seaming the Sleeves:
- Use the whip stitch or mattress stitch to seam the sleeve edges, leaving a neat and even seam.
- Lengthening Sleeves:
- Attach yarn to the sleeve edge at the armpit.
- Work clusters (3 dc per space) in the round.
- Turn work after each round to maintain consistency.
- For color changes: Begin the last stitch with the current color but finish it with the new yarn color.
- Tie off the old color and continue with the new yarn.
- Continue rounds until desired sleeve length is achieved (17 inches for tutorial).

Part 6: Body Length and Border
- Lengthening the Body:
- Join yarn at the bottom corner of the cardigan.
- Work granny clusters (3 dc per space) in rows along the bottom edge.
- Add rows until desired length.
- Adding the Border:
- Use half-double crochets around the neckline and cardigan edges for a polished finish.
- Tutorial Example: 4 rows of hdc followed by 1 row of sc for the neckline border.
Finishing Techniques
- Weaving in Ends: Use a tapestry needle to weave in all loose yarn ends for a clean finish.
- Blocking (Optional): Gently block the finished cardigan to even out the stitches and improve the drape.
Final Tips
- Experiment with colors and stripes for a unique look.
- Use stitch markers to keep track of turning chains and corners, especially for beginners.
- Always try on the cardigan as you work to ensure a great fit.