Create Your Perfect Sweater With Easy Customization
Transform your knitting skills with a customizable sweater project that combines personal style with practicality. This sweater tutorial offers insights into crafting a sweater tailored to your measurements, ensuring comfort and a perfect fit. Gain confidence in your knitting journey by learning to adapt patterns for various sizes, making this project both rewarding and personal.
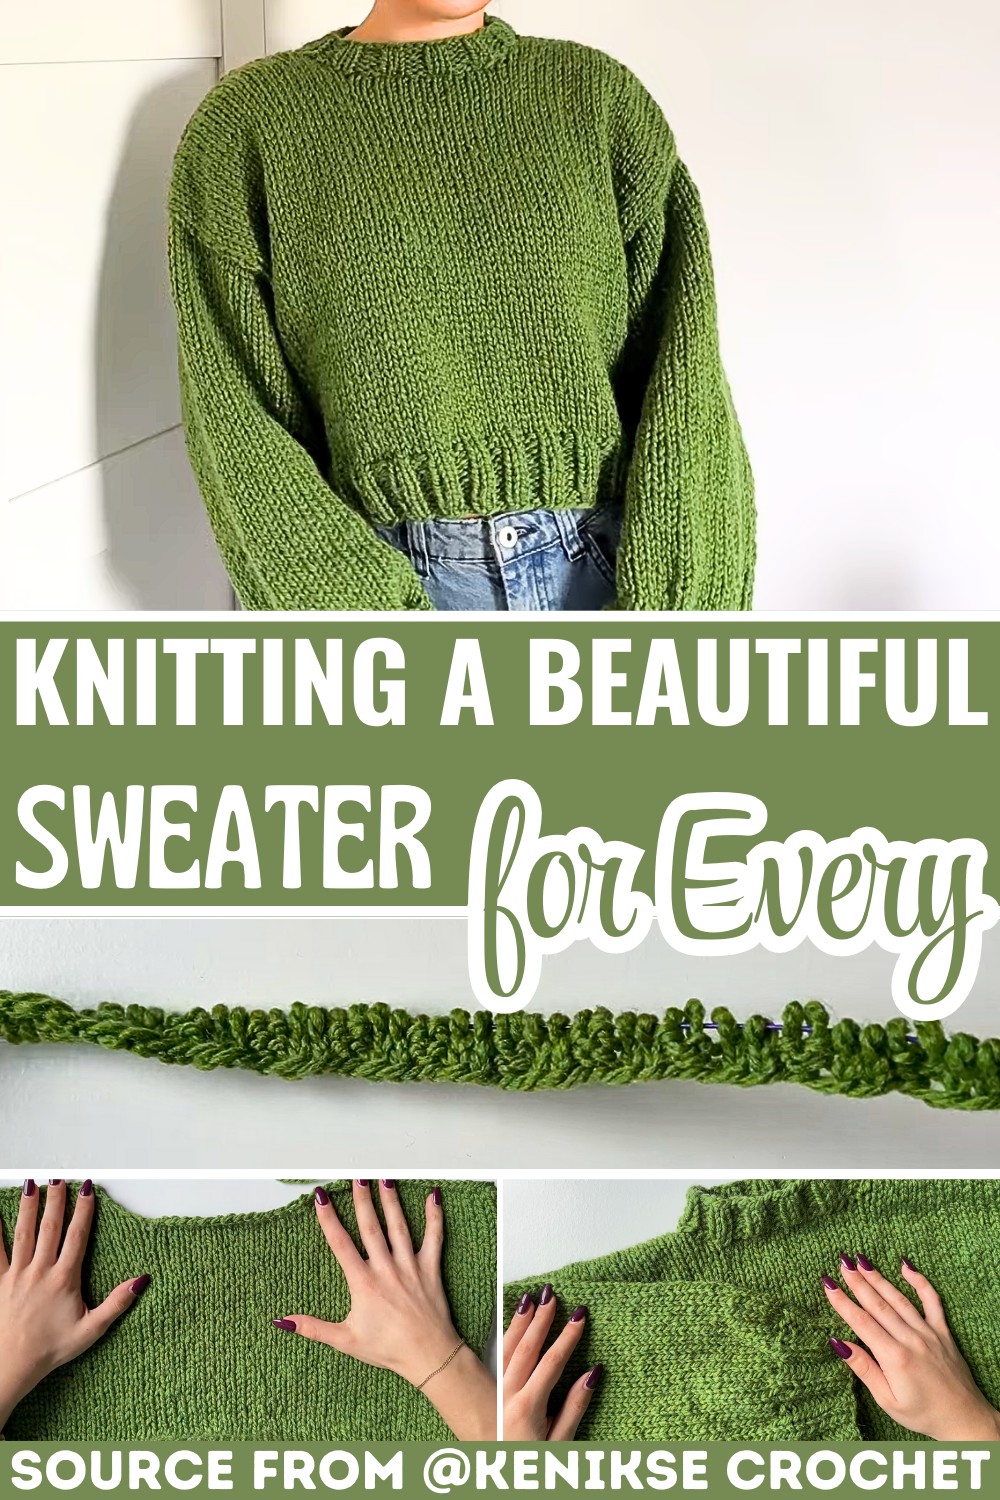
The tutorial’s standout feature is the use of interchangeable knitting techniques, enabling creative adaptations of ribbing and cuffs. Learn how to apply the Norwegian pearl technique to expedite ribbing without constantly shifting yarn position, resulting in a more comfortable knitting experience. Moreover, you’ll gain skills in crafting sleeves seamlessly within round knitting for refined finishes.
Pattern Highlights:
Yarn Selection:
Stylecraft Chunky Softy yarn provides a lush, textured finish suitable for any season.
Techniques Guide:
Master Norwegian pearling for efficient ribbing and seamless sleeve attachment techniques.
Credit Kenikse Crochet
Step-by-Step Pattern
Materials
To knit this sweater, you’ll need the following:
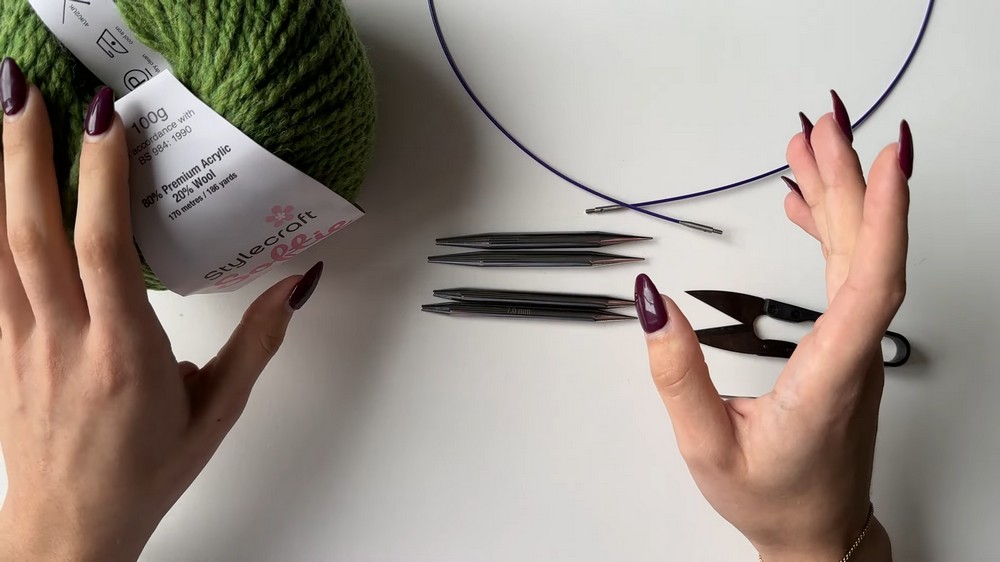
- Yarn: Stylecraft Softie Chunky or any chunky yarn you prefer (400g total is used in this project).
- Knitting Needles:
- 8 mm (for the main body)
- 7 mm (for the ribbing). If you only have one size, you can use that throughout, but using smaller needles for ribbing helps create a neater finish.
- Circular Needles: For the sleeves (16-inch cables recommended for sleeve cuffs).
- Additional Tools:
- Stitch holder (or an alternative, such as a zip tie or scrap yarn).
- Tapestry needle (for binding off and seaming).
- Scissors.
- Measuring tape.
Stitch Guide
Here’s a guide to the basic stitches and techniques you’ll need:
- Knit Stitch (K): Insert your needle from left to right, yarn over, pull through, and slip the stitch off the needle.
- Purl Stitch (P): Insert your needle from right to left, yarn over, pull through, and slip the stitch off the needle.
- Ribbing: A combination of knit and purl stitches (2×2 ribbing is used in this pattern — K2, P2).
- Slip, Slip, Knit (SSK) Decrease: Slip two stitches knitwise, return them to the left needle, and knit together through the back loops.
- Knit Two Together (K2TOG): Insert your needle into two stitches as if to knit, yarn over, and knit them together.
- Binding Off: Knit two stitches, pass the first stitch over the second, and repeat across.
Notes
- Gauge/Measurements: Create a gauge swatch for accuracy. Here, 12 stitches and 16 rows equal roughly 10 cm. Adjust by casting on more or fewer stitches as needed for your preferred size.
- Custom Adjustments: Length, sleeve size, and neck depth can be adjusted by working fewer or more rows.
- Sweater Construction: This sweater is knit in separate panels (front, back, and sleeves). The sleeves are knit in the round, and all pieces are sewn together at the end.
Pattern Instructions
Here’s the detailed step-by-step breakdown for recreating the knit sweater:
1. Front Panel
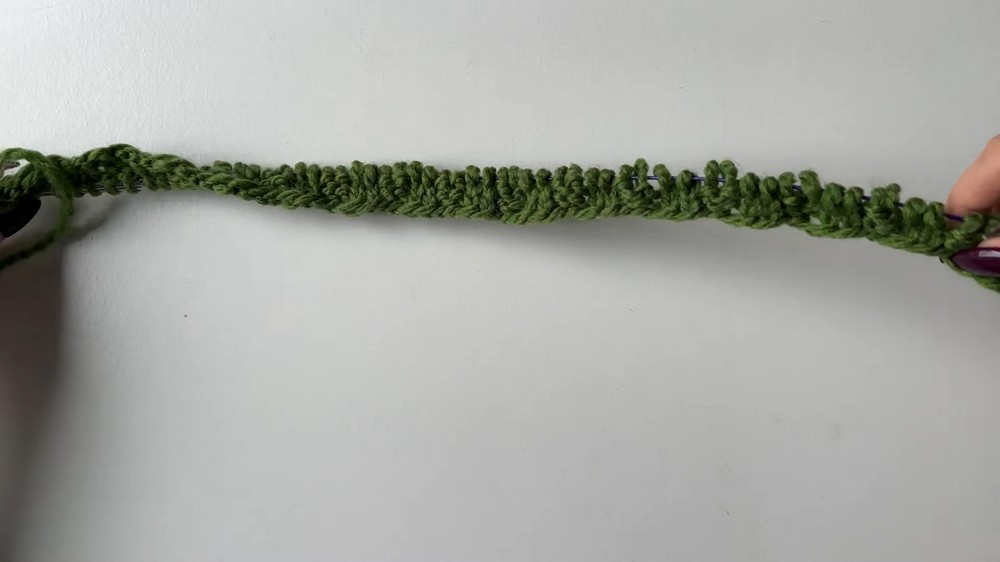
- Start with the bottom ribbing
- Cast on any multiple of 4 stitches that matches half your desired sweater width. For a size small, 64 stitches were used here.
- Work 2×2 ribbing (K2, P2) for 10 rows.
- Knit the main body
- Switch to the larger needles (8 mm).
- Knit one row (K) and purl the next (P) to create stockinette stitch. Repeat this for 52 rows or until the panel reaches the desired length (adjust based on your measurements, stopping just below where you’d want the neckline).
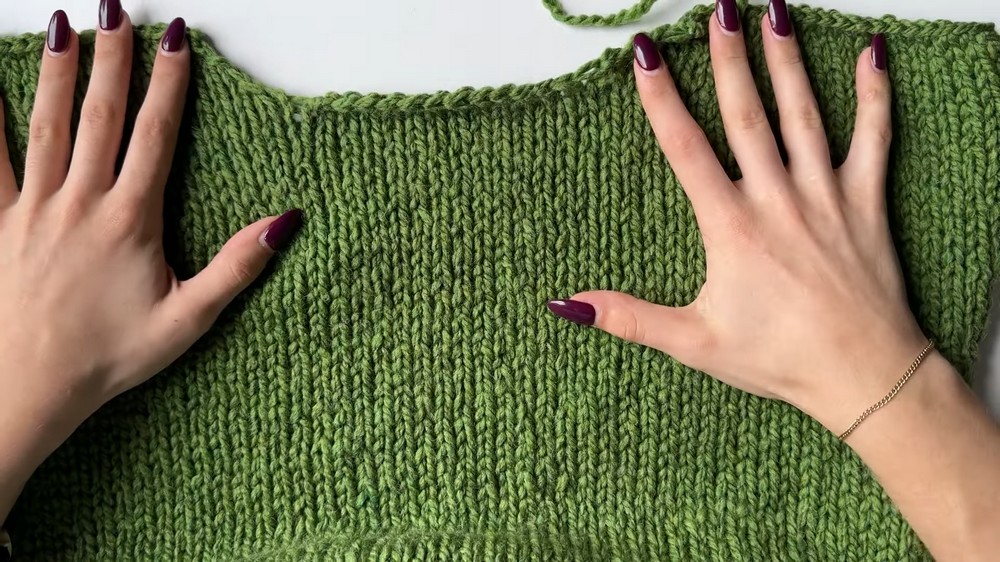
- Shape the shoulders and neckline.
- Decide on the shoulder width. For instance, 26 stitches for each shoulder.
- With the 64 stitches:
- Knit or purl 26 stitches for the first shoulder.
- Cast off the middle 12 stitches for the neck opening.
- Knit or purl the last 26 stitches for the second shoulder.
- Work 4 rows for the shoulder shaping, decreasing 2 stitches in rows 2 and 4:
- Right shoulder: K until the last two stitches, then K2TOG (right-leaning decrease).
- Left shoulder: Start with an SSK at the beginning of the row (left-leaning decrease).
2. Back Panel
- Repeat the steps for the front panel until you reach the neckline.
- Tip: The back neckline doesn’t need to be as deep. For example, adjust the neckline shaping to begin on row 54 instead of row 52.
- Cast off fewer stitches at the neck (e.g., 14 stitches), and work only 2 rows instead of 4 for the shoulders.
3. Join Front and Back Panels
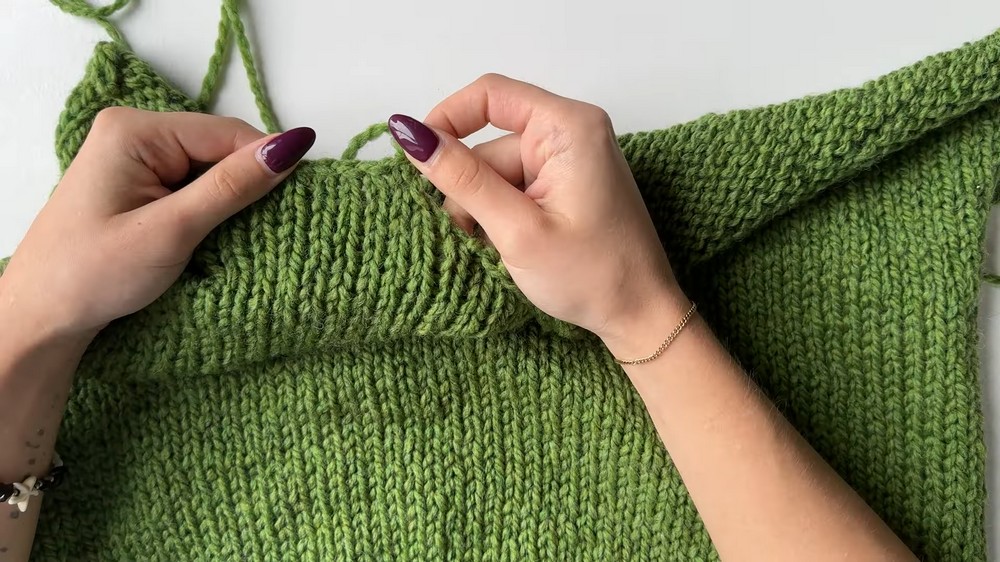
- Line up the front and back panels with their right sides facing each other.
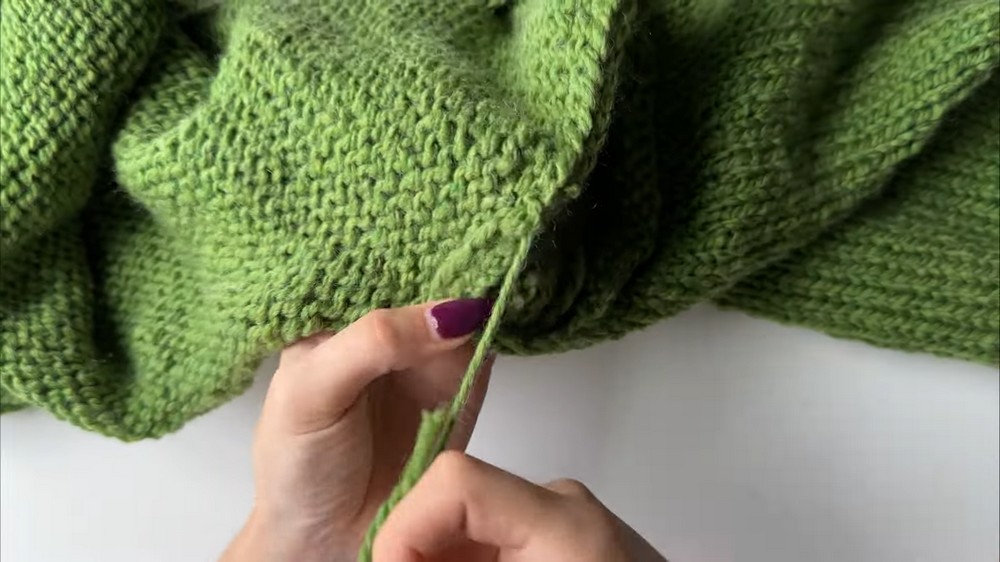
- Use a mattress stitch to sew the shoulder seams.
- Weave in any yarn tails to secure.
4. Neckline (Ribbing)
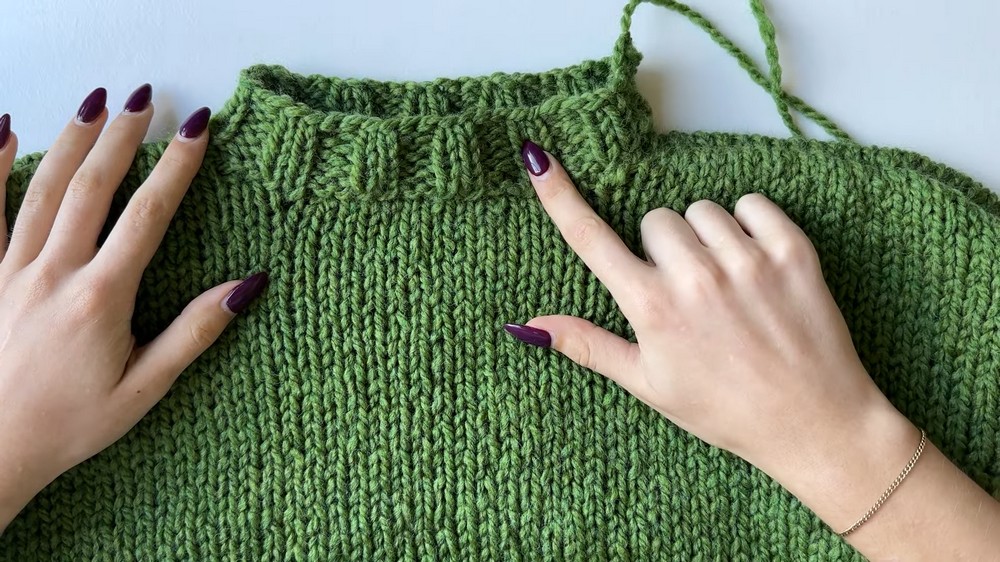
- Use 7 mm needles and a 16-inch cable to pick up stitches around the neckline. Aim for a multiple of 4. For example, pick up 44 stitches plus 1 extra to join in the round.
- Join in the round:
- Transfer the first picked-up stitch onto the left needle and knit it together with the first stitch on your needle to join.
- Place a stitch marker at the beginning of the round.
- Work 2×2 ribbing (K2, P2) for 5 rows (or adjust to your preferred length).
- Bind off in pattern: Continue the ribbing pattern when binding off.
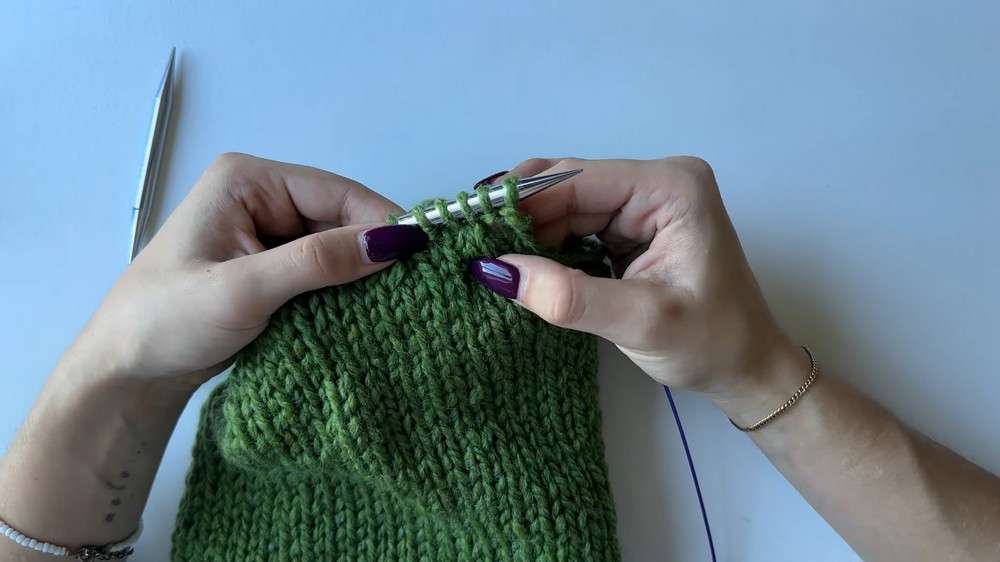
5. Sleeves
- Prepare sleeve opening: Count rows along the side of the sweater to determine the sleeve opening (e.g., 32 rows or more based on fit).
- Pick up stitches in the round:
- Use circular needles and an 8 mm cable. Pick up 2 stitches for every 3 rows around the armhole.
- Join in the round and place a stitch marker.
- Knit the sleeve in stockinette:
- Knit every row for a seamless sleeve. Adjust the length by knitting to the desired measurement, leaving room for the cuff.
- Ribbed cuff:
- Switch to 7 mm needles.
- Decrease stitches for a snug fit. For example, decrease every 4th stitch.
- Work 2×2 ribbing (for 10 rows or to your liking).
- Bind off in pattern.
- Repeat for the second sleeve.
6. Seaming and Finishing
- Use mattress stitch to sew the sweater’s sides.
- Weave in all loose ends using a tapestry needle.
- Block your sweater: Soak the sweater in lukewarm water, lay it flat, and gently shape it to your desired measurements. Allow it to dry completely.
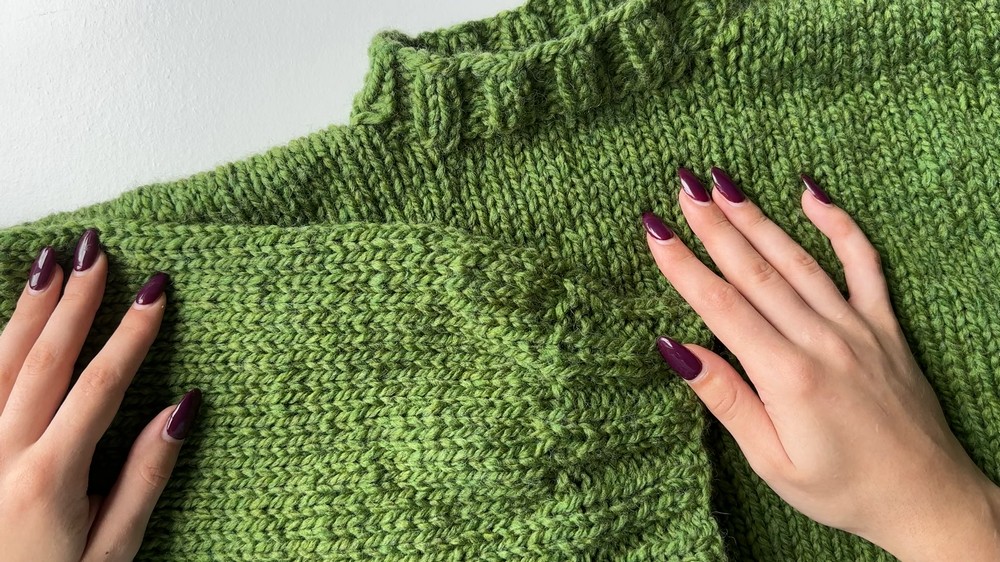
Finished Look
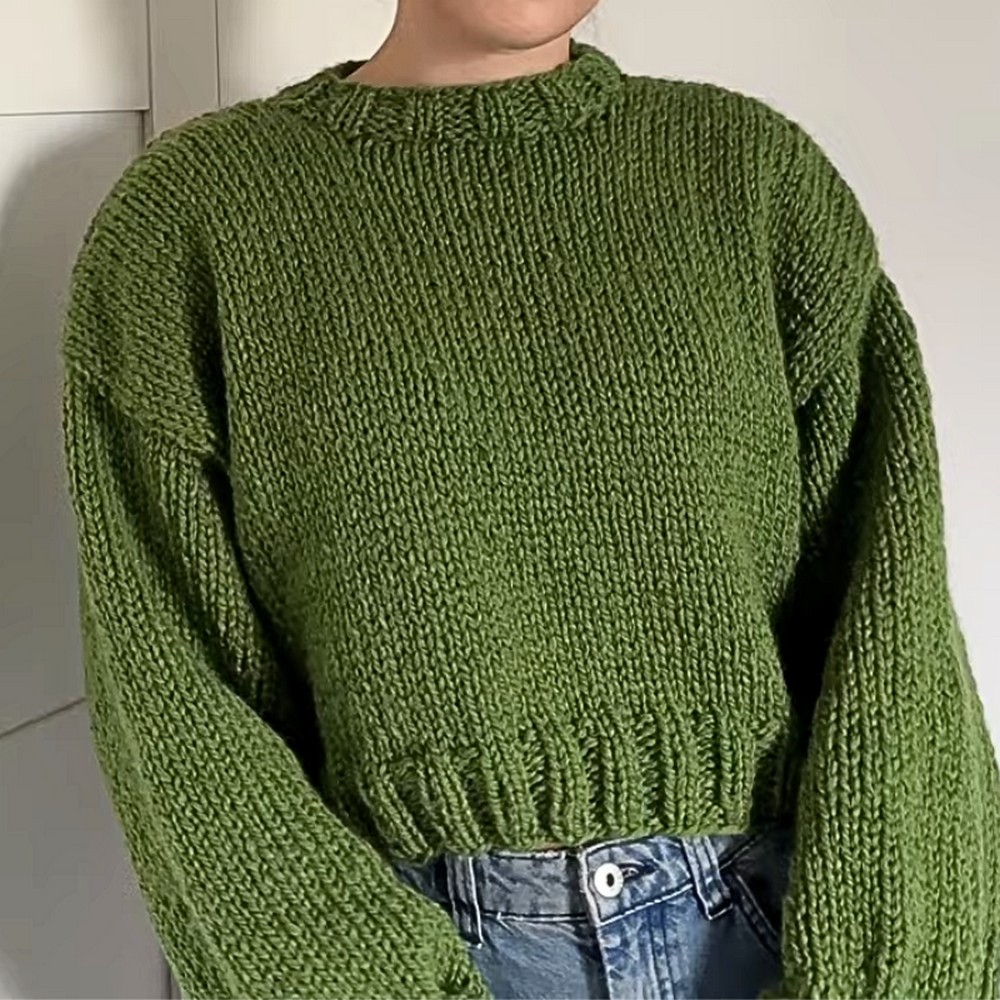
Congratulations! You’ve completed your handmade knit sweater. Whether it’s for yourself or a loved one, this project will keep you warm and cozy for many seasons to come.
Pattern Question:
Q: Can I use different yarn weights for this sweater?
A: Yes, you can use different yarn weights as long as you adjust your gauge and needle size to match the pattern’s measurements.