Diagonal Baby Blanket Tutorial – Gradient Stripes & Crochet Edging
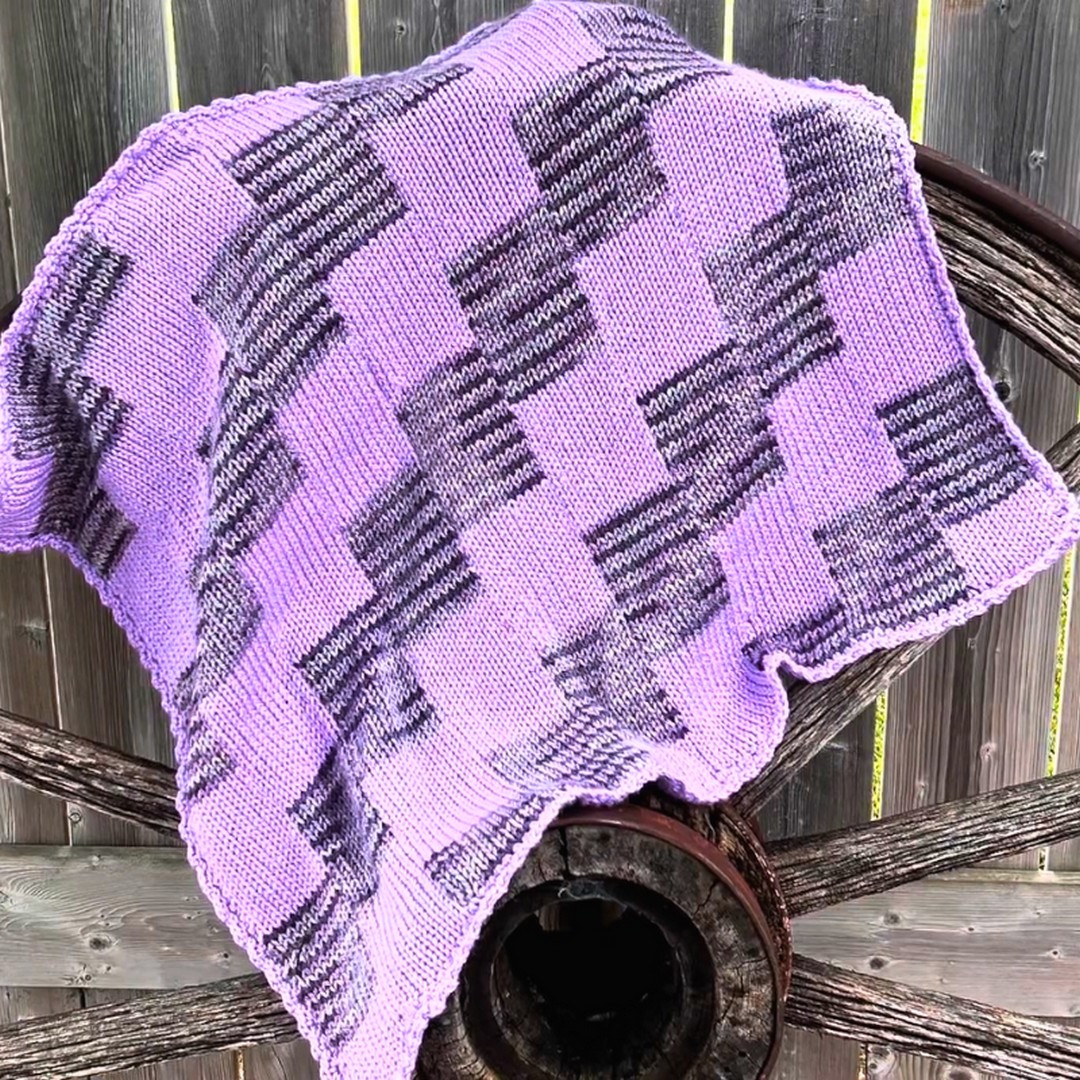
This Diagonal Delight Baby Blanket tutorial combines simplicity with elegance, making it an excellent project for crafters seeking a quick, professional-looking blanket design. With its diagonal striped pattern, this blanket offers an eye-catching effect while maintaining an accessible technique for both beginners and advanced makers. It’s small enough for a stroller, baby crib, or lap throw, yet versatile enough to be a thoughtful handmade gift.
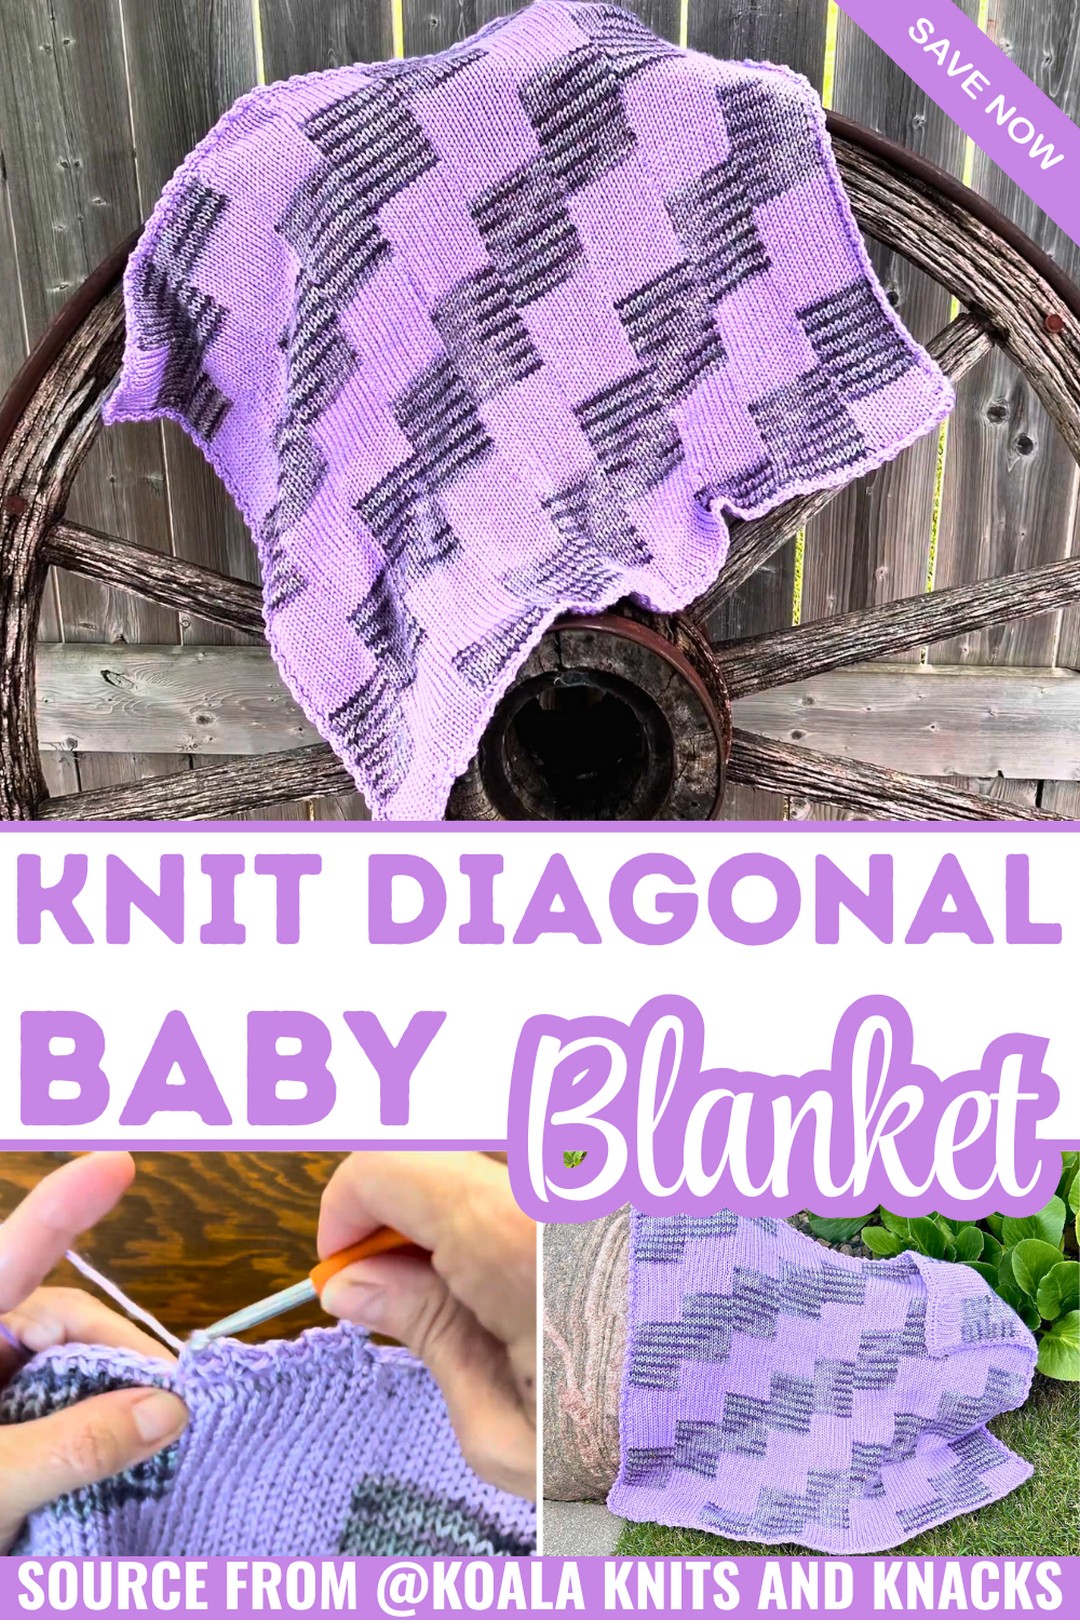
Diagonal Baby Blanket Tutorial
A creative highlight in this tutorial is Shelly’s thoughtful use of color gradients and texture to bring depth to the diagonal design. She incorporates smooth yarn transitions to craft stripes that complement this blanket’s geometric look. Her clever use of stitch tension ensures each panel aligns perfectly for assembly. The simple yet functional approach eliminates complexity while yielding a visually stunning piece, complete with tips for clean edging that elevate the overall blanket design.
Pattern Highlights
- Gradient Color Technique: Shelly explores gradient yarns to enhance the visual impact of diagonal stripes with a natural color-flow effect.
- Edging Tips: Learn Shelly’s method for adding clean Crochet edging to frame the blanket for an elegant, polished appearance.
Credit Koala Knits and Knacks
Step-by-Step Pattern
Materials
To make the “Diagonal Delight” blanket, here’s what you’ll need:
Yarn:
- Main Color Yarn (Solid, “Orchid”):
- Yarn weight: #4 (medium)
- Recommended: Soft and Shiny Yarn
- Total required: About 1.5 balls — approximately 311 yards per ball.
- Accent Color Yarn (Variegated, “Baroque Multi”):
- Yarn weight: #4 (medium)
- Total needed: 2 balls — approximately 207 yards per ball.
Tools:
- Knitting Machine (22 Needle Circular Machine):
Examples: Addi or Sentro- If you’re using the Addi, ensure the white and black sections of the machine are well-marked for easier row tracking.
- 4mm Crochet Hook: For closing ends and adding the border.
- Larger Eye Needle or Darning Needle: For neatly hiding yarn ends and seaming panels.
- Bobby Pins / Stitch Markers: To help organize and track panels for assembly.
Stitch Guide
This project uses a knitting machine for creating panels and a few basic crochet stitches for finishing details. Here’s a quick overview of techniques you’ll use:
Knitting Machine Basics:
- Circular Knitting: A method for creating seamless loops.
- Flat Panel Knitting: Individual panels knitted flat, then sewn together to create the diagonal stripe pattern.
Color Join Technique:
Creating a jogless join ensures smooth color transitions:
- Insert the new yarn next to the last stitch of the old color.
- Work a few stitches and gently pull the yarn tails tight.
- Tie the two yarn ends together and trim excess.
Crochet Stitches:
- Single Crochet (sc): Insert hook, yarn over (yo), pull up a loop, yo again, pull through both loops.
- Shell Stitch: Made of a “single crochet, chain 2, single crochet” worked into the same stitch.
Notes
- Blanket Dimensions and Gauge:
The finished blanket measures 23 x 26 inches, but can be customized by adjusting the number or size of panels. - Panel Layout:
You will create nine panels in total:- Panel 1: 3 identical panels.
- Panels 2, 3, and 4: 2 of each.
- Panels alternate colors and stripe sizes to form the diagonal design.
- Customizing Colors:
Feel free to mix and match colors to suit your theme! All panels follow the same striping rhythm. - Crochet Border (Optional): While optional, the single crochet and shell stitch border adds a clean, polished edge to the blanket.
- Tips for Success:
- Always do practice rows to assess your tension.
- Stretch the panels widthwise and lengthwise after removing them from the machine to neaten them.
Pattern Instructions
Follow these steps to complete your baby blanket!
Step 1: Knit the Panels
Each panel is knitted flat using the knitting machine. Different stripe sequences create the diagonal, striped pattern.
Panel Breakdown
- Panel 1:
- 3 identical panels (start and end with solid color).
- Sequence: 10 rows (solid) → 20 rows (variegated) → alternate colors (solid, variegated) every 20 rows → finish with 10 rows (solid).
- Total: 120 rows.
- Panel 2:
- 2 identical panels (start with a solid color).
- Sequence: 20 rows (solid) → alternate colors every 20 rows → finish with solid.
- Panel 3:
- 2 identical panels (start and end with variegated).
- Sequence: 10 rows (variegated) → alternate every 20 rows → finish with 10 rows (variegated).
- Panel 4:
- 2 identical panels (start with variegated).
- Sequence: 20 rows (variegated) → alternate every 20 rows → finish with solid.

Step 2: Remove Panels from the Machine
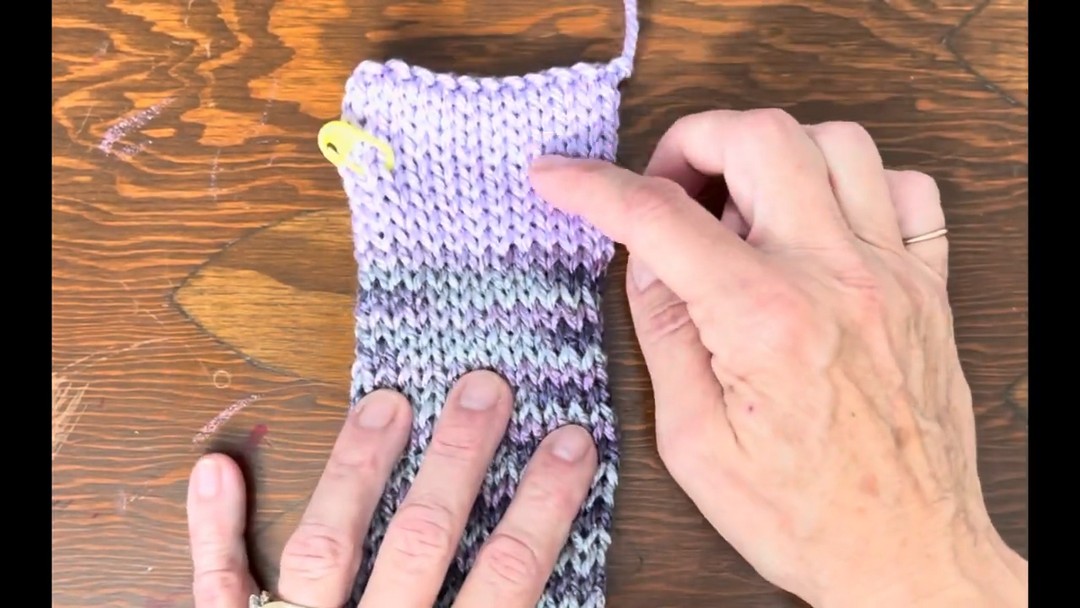
- Add waste yarn to either end of your panels (about seven rows) before removing from the machine. This prevents unraveling.
- Stretch the panel widthwise and lengthwise to neaten stitches.
Step 3: Stitch Panels Together
Invisible Seam Technique:
- Use bobby pins or stitch markers to mark and organize panels. Ensure the panel edges align.
- Lay the panels flat, wrong sides together.
- Thread the needle with matching yarn and use an invisible seam:
- For each stitch, insert the needle under two bars of one panel, then two bars of the other panel.
- Pull snugly to “invisibly” close. Repeat along the entire edge.
- Continue seaming until all nine panels are connected.

Step 4: Add the Border
While optional, this border adds charm and a polished finish:
Foundation Row:
- Use a 5mm crochet hook and add 1 row of single crochet (sc) around, working into every stitch.
- In each corner, work three single crochet stitches in one stitch to navigate turns.
Shell Stitch Border:
- Start at any corner with a new row.
- In the first corner stitch: sc, chain 2, sc.
- Insert a stitch marker into the first single crochet stitch to mark the end of the row.
- Skip one stitch, then in the next stitch, perform sc, chain 2, sc.
- Continue this shell pattern around, adding three sc to the corners to maintain a square shape at the edges.
- Close the border with a slip stitch.

Finishing Touches
- Weave in all loose yarn ends securely.
- Lightly steam or block your blanket for a professional finish.
Pattern Question
Question: How many panels are needed, and how do I assemble them?
Answer: The blanket requires nine panels in total, arranged in a specific zig-zag diagonal pattern. Panels are invisibly stitched together, ensuring smooth assembly and stunning results.