Crochet Newborn Granny Stitch Beanie Pattern Free
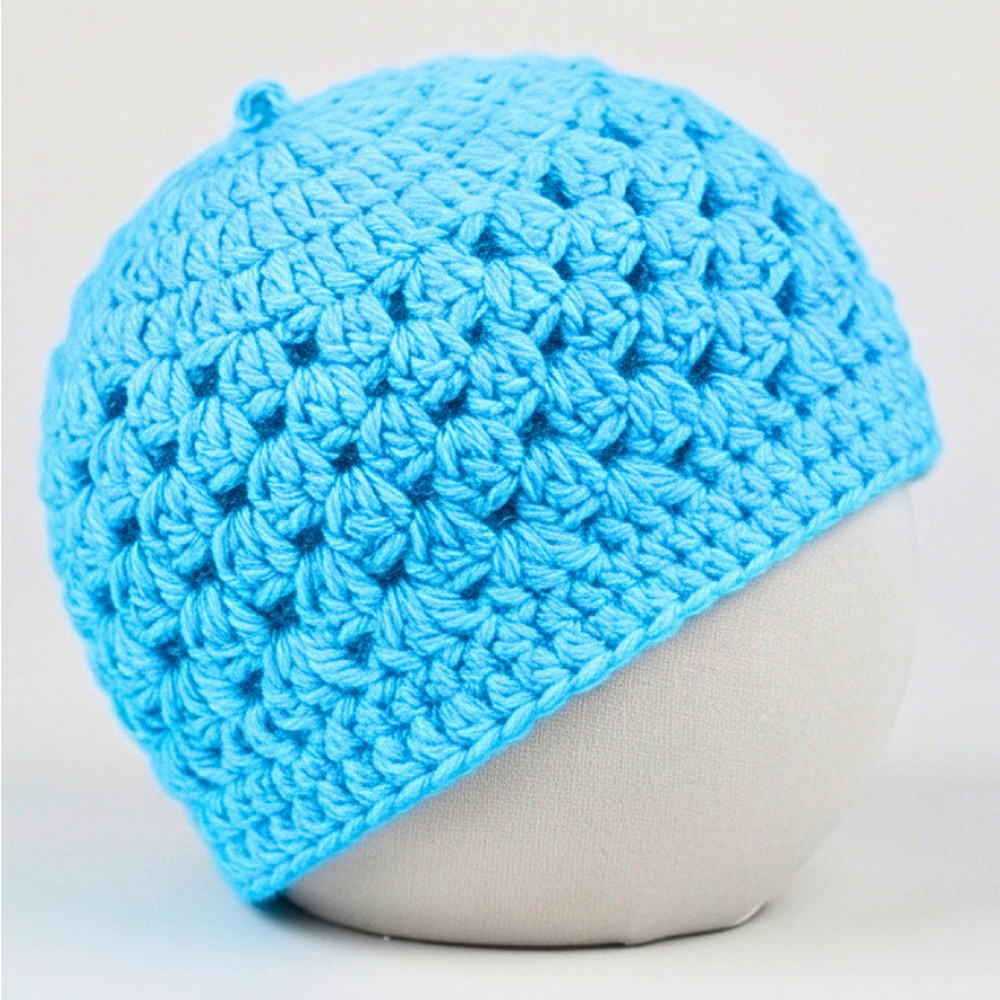
Need a sweet handmade hat for a newborn? This little crochet granny stitch beanie features a softly rounded crown, a textured body, and a neat matching brim.

A newborn crochet beanie adds a handmade touch to a baby’s first wardrobe. Its colorful granny stitch texture gives the hat a classic crochet look, while the rounded crown and simple brim create a comfortable style that works beautifully in soft pastels, gentle neutrals, or cheerful color combinations.
The crochet hat starts at the crown with four increasing rounds, then transitions into granny-stitch clusters to build the body. A two-round half-treble brim completes the shape, and an invisible finish keeps the joining seam neat. Follow the instructions below to work through each section and finish your newborn crochet beanie.
Credit Crochet Rocks
Materials & Tools Needed
- Yarn: DK-weight yarn (approx. 50g ball; you’ll use less than half a ball for one newborn hat). The tutorial demonstrates a variegated yarn and a solid color (Peter Pan DK).
- Crochet Hook: 4.0 mm.
- Notions: Darning needle and scissors.
Finished Size & Customization Ideas
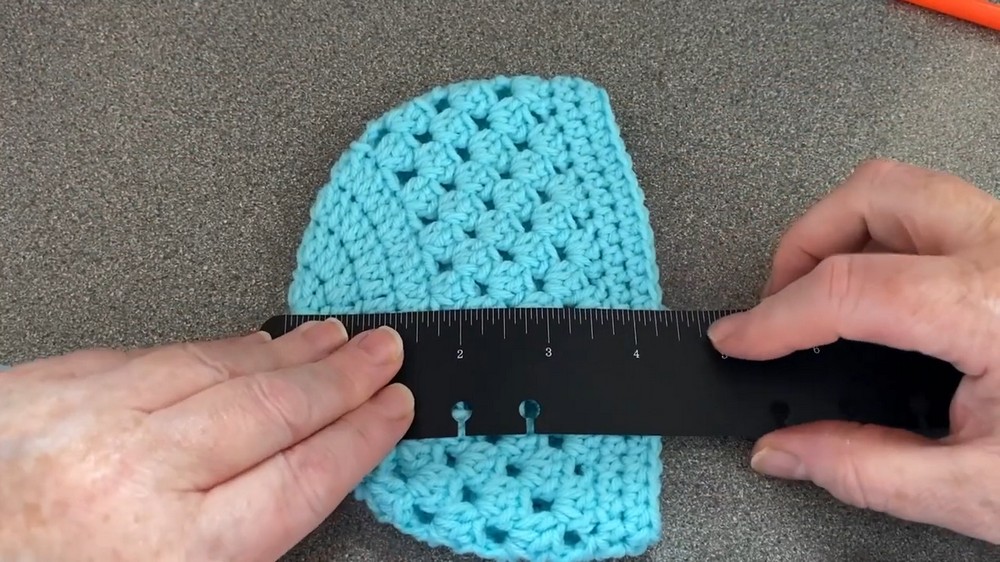
- Finished Size: Newborn (fits 0–3 months approximately). Measures roughly 4 inches across the crown and about 12–13 inches in circumference.
- Customization Ideas:
- Use a slightly thicker DK yarn or bump up your hook size to scale the hat up slightly within the newborn/infant range.
- Change colors between the crown, granny stitch body, and brim to create striped or scrap-yarn variations.
Pattern Abbreviations & Terminology
- St / Sts: Stitch / Stitches
- Ch: Chain
- Sl St: Slip stitch
- Magic Loop: Adjustable starting ring
- Stack Stitch: Stacked double crochet (created by pulling up a loop, yarning over and pulling through two, then inserting the hook into the side vertical bar, yarning over, pulling up a loop, and yarning over and pulling through both). Used to replace starting chains for a seamless look.
- UK Treble (tr) / US Double (dc): Standard double crochet (UK treble)
- UK Half Treble (htr) / US Half Double (hdc): Half double crochet
Step-by-Step Detailed Crochet Instructions
Part 1: Crown Construction (Rounds 1-4)
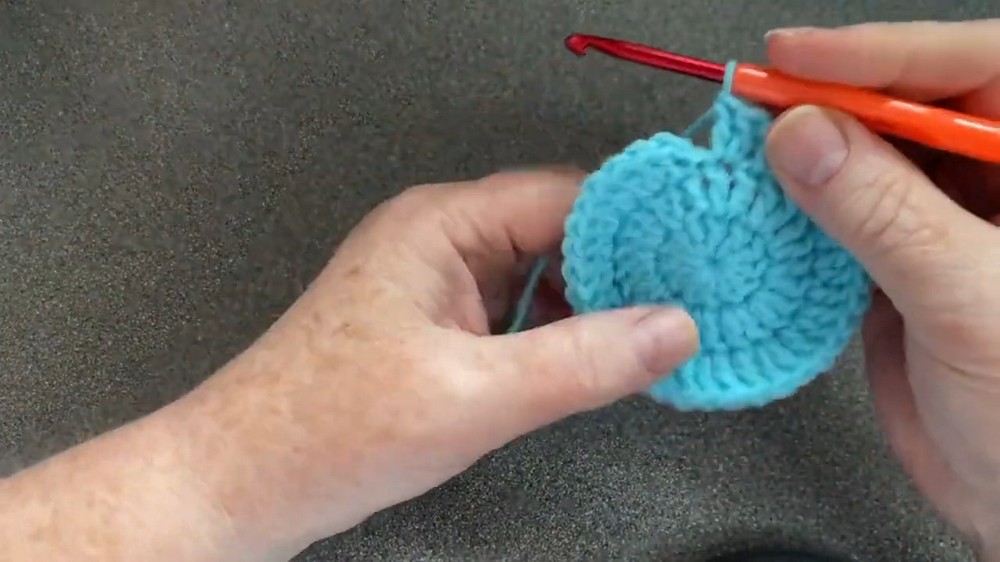
Begin at the top of the hat with a magic loop. The first four rounds gradually increase the stitch count to create a flat, rounded crown. Use the stack stitch for a neat starting point, or use the suggested chain alternative if you prefer.
Round 1
- Create a magic loop, leaving a nice long tail for weaving in later.
- Insert your hook into the loop, yarn over, and pull through, then chain 1 to secure.
- Work your first stitch as a Stack Stitch (or substitute with 2 chains if preferred).
- Work 12 UK treble crochets (US double crochets) total into the magic ring.
- Pull the magic loop gently to tighten.
- Slip stitch into the top two loops of the first stitch to join the round, then pull the ring completely closed.Total: 12 stitches
Round 2 (Increases)
- Work a Stack Stitch in the same stitch you joined into.
- Work 2 UK trebles (US doubles) in every single stitch all the way around.
- Slip stitch into the top of the first stitch to join.Total: 24 stitches
Round 3 (Increases)
- Work a Stack Stitch to build height.
- Increase every other stitch around by working [2 trebles in the next stitch, 1 treble in the following stitch].
- Slip stitch into the top of the first stitch to join.Total: 36 stitches
Round 4 (Increases)
- Work a Stack Stitch.
- To keep the crown from becoming hexagonal, work an increase directly in the first stitch.
- Work the pattern [1 treble in each of the next 2 stitches, 2 trebles in the next stitch] all the way around. Because of the starting increase, the final two stitches of the round will be single trebles.
- Slip stitch into the top of the first stitch to join.Total: 48 stitches, measuring approx. 4 inches across
Part 2: Granny Stitch Body (Rounds 5–10)
Once the crown is complete, begin working granny stitch clusters to form the beanie’s main body. Each cluster consists of three UK trebles (US double crochets) worked into the same gap. Follow the alternating starting method to keep the joins looking neat.
Round 5
- Work a Stack Stitch in the same stitch.
- Skip two stitches, and work 3 UK trebles (US doubles) into the next stitch, forming your first granny cluster.
- Repeat [skip 2 stitches, 3 trebles in the next stitch] all the way around the hat.
- Complete the round by working 2 trebles into the base space of your very first stitch to finish the first cluster, then slip stitch into the top of the first stack stitch to join seamlessly.
Round 6
- Work a Stack Stitch into the first gap space, adding 2 more trebles into that same space to form a complete 3-treble cluster.
- Work 3 trebles in each space between clusters all the way around.
- Slip stitch into the top of the first stitch to join.
Rounds 7-10 (The 2-Row Repeat)
To maintain seamless construction, alternate the starting technique every row.
- Odd-numbered Granny Rows (Rounds 7 & 9): Pull up a loop in the gap, work a single stack stitch (only 1 treble equivalent), work 3 trebles in each remaining gap space around, then finish the starting gap with 2 trebles and join with a slip stitch.
- Even-numbered Granny Rows (Rounds 8 & 10): Start directly in the gap with a full 3-treble stack stitch cluster, then work 3 trebles in each space around.
Complete 6 rounds of Granny Stitch.
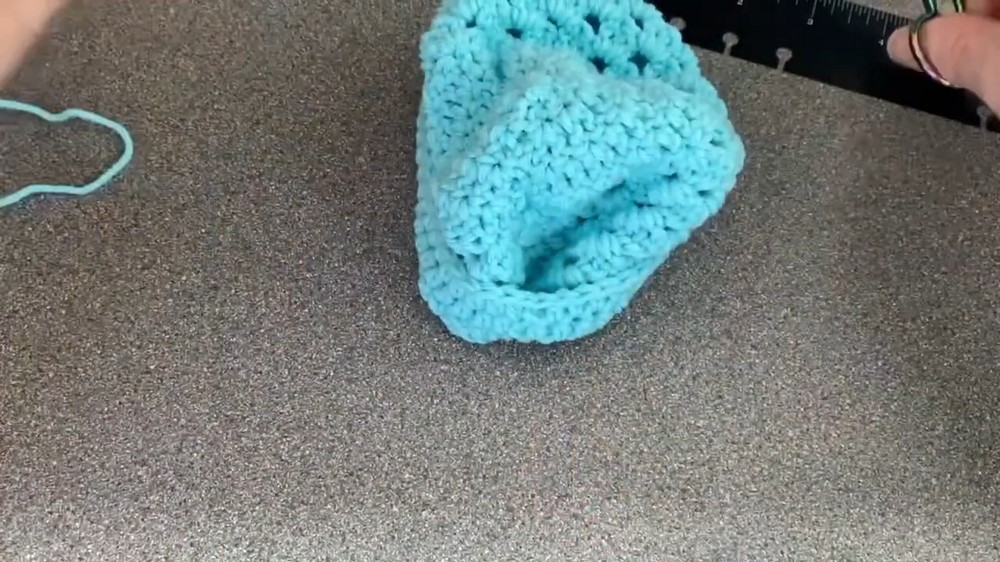
Size Check: The hat body should measure about 12-13 inches in circumference.
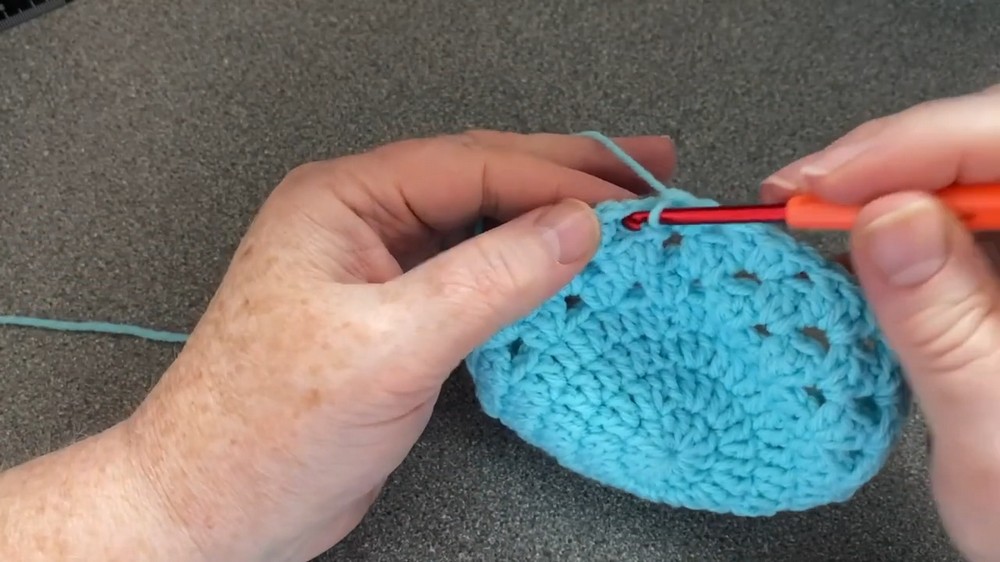
Part 3: Brim (Rounds 11-12)
The final two rounds create a simple brim beneath the textured granny stitch body. Work half trebles evenly around the hat to give the lower edge a neat finish.
Round 11
- Chain 1 (does not count as a stitch), pull it down snugly.
- Work 1 half treble (UK htr / US hdc) in every single stitch around the entire hat.
- Slip stitch into the top two loops of the first stitch to join.
Round 12
- Chain 1 and cinch down.
- Work 1 half treble (UK htr / US hdc) in every stitch all the way around to gently taper the brim.
- Do not slip stitch at the end of this round if using the invisible join method.
Assembly & Finishing Techniques
After completing the brim, finish the last round with an invisible join. Secure the crown and all loose yarn ends carefully so the beanie looks tidy inside and out.
1. Invisible Fasten Off
- Cut your yarn, leaving a tail, and pull the yarn completely through the final stitch.
- Thread your darning needle. Pass the needle front-to-back under both loops of the top of the first actual stitch of the round.
- Take the needle back and insert it front-to-back through the back loop only of the final stitch you worked. This mimics the top “V” of a standard stitch, completely hiding the join.
2. Weaving and Securing Ends
- Hold the invisible join secure while flipping the hat inside out.
- Anchor the tail with a small loop knot, pass the needle through it, and pull tight.
- Weave the tail back and forth horizontally through the base of the stitches, then snip off excess yarn.
3. Securing the Magic Loop
- Take the starting tail at the crown and pull the magic ring as tight as possible.
- Thread your needle and anchor a double knot around the center stitches to prevent it from ever unraveling.
- Bury the remaining tail into the center ring and trim.
4. Final Shape
Turn the beanie right-side out; your seam-free granny beanie is complete!