Crochet Christmas Snowflake Coaster Tutorial for Beginners
Looking for festive Christmas crochet décor? This snowflake coaster combines rich holiday colors with crisp white points, creating a useful handmade accent for cups or tree ornaments.
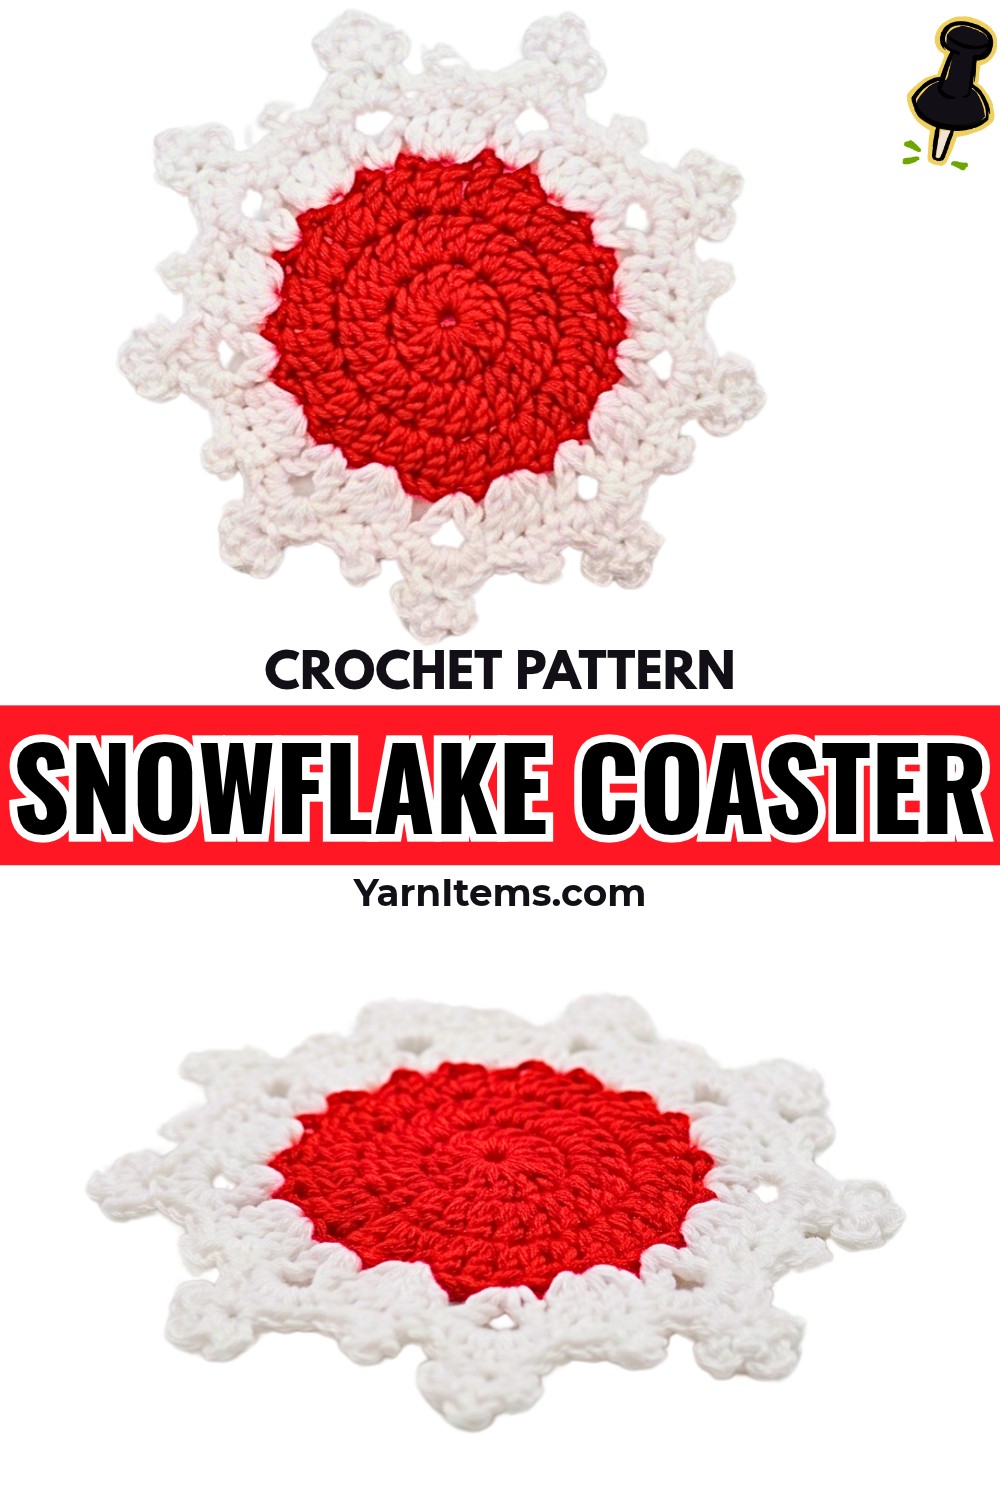
Festive table settings feel more personal with handmade details, and crochet snowflake coasters bring winter charm to holiday gatherings. Contrasting yarn colors help beginners enjoy crochet while learning simple circular shaping.
This crochet tutorial guides you through forming a colorful center, adding pointed snowflake edging, and finishing neat yarn ends. You’ll also find size details and creative ways to turn your finished coaster into Christmas décor. Let’s get started
Credit Easy Knitting Crochet
Materials & Tools
- Yarn: Medium-weight cotton or acrylic yarn in two contrasting colors. Choose red or emerald green for the center and white for the snowflake border. Size 4 worsted or Size 3 DK yarn works for this design.
- Crochet Hook: 2.00 mm -3.00 mm hook suited to your yarn, helping create neat, defined stitches.
- Scissors: For cutting yarn tails after completing each color section.
- Yarn Needle: For weaving in loose ends and securing color changes.
Finished Size & Customization
Finished size: Approximately 4–5 inches across, making this coaster suitable for holiday drinks or decorative Christmas displays.
- Christmas Ornament: Add a small hanging loop made from matching white chain stitches at the top point.
- Sparkling Border: Work metallic or glitter yarn into your chosen edging details for a shimmering winter finish.
- Color Variations: Try blue and white for an icy snowflake or silver and white for an elegant seasonal accent.
Pattern Abbreviations & Terminology
- ch: Chain stitch
- dc: Double crochet
- sl st: Slip stitch
- st(s): Stitch(es)
- MR: Magic Ring

Step-by-Step Crochet Instructions
Step 1: Form the Center Ring
Choose red or emerald green yarn for your center. Begin with either a Magic Ring (MR) or chain 4, then join with a slip stitch to form a ring.
A Magic Ring allows you to tighten the center opening after working into it, while chain 4 provides an alternative starting loop.
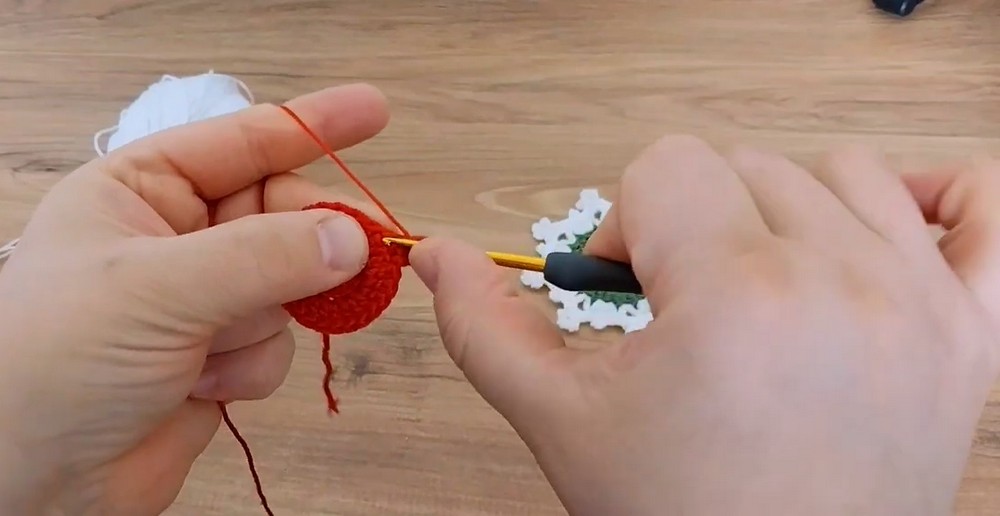
Step 2: Work the First Round
Chain 3. These chains count as your first double crochet.
Work 12 double crochets (12 dc) directly into the center of your ring. Keep each stitch inside the ring rather than working into individual chain stitches.
Join with a slip stitch to the top of your starting chain-3.
Fasten off the center yarn securely, leaving a short tail for weaving in later.
Check your work: Your first round should form a small, flat circular center. If the ring has a large opening, gently tighten it when using the Magic Ring method.
Step 3: Attach White Yarn for the Snowflake Border
Switch to white yarn to create contrast around your colored center.
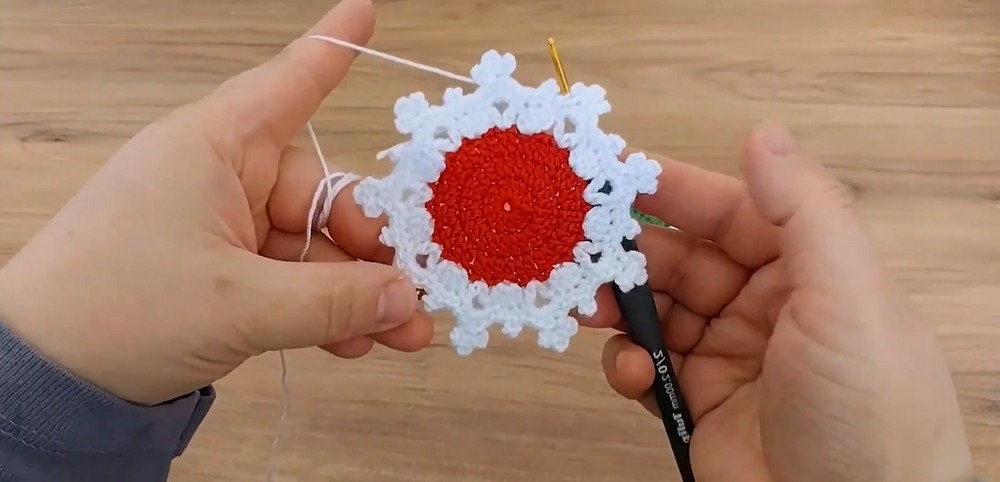
Join white yarn with a slip stitch to any stitch along the outer edge of the center circle. This establishes your starting point for Round 2.
Keep your yarn join secure, but avoid pulling it so tightly that the circular center begins to curl.
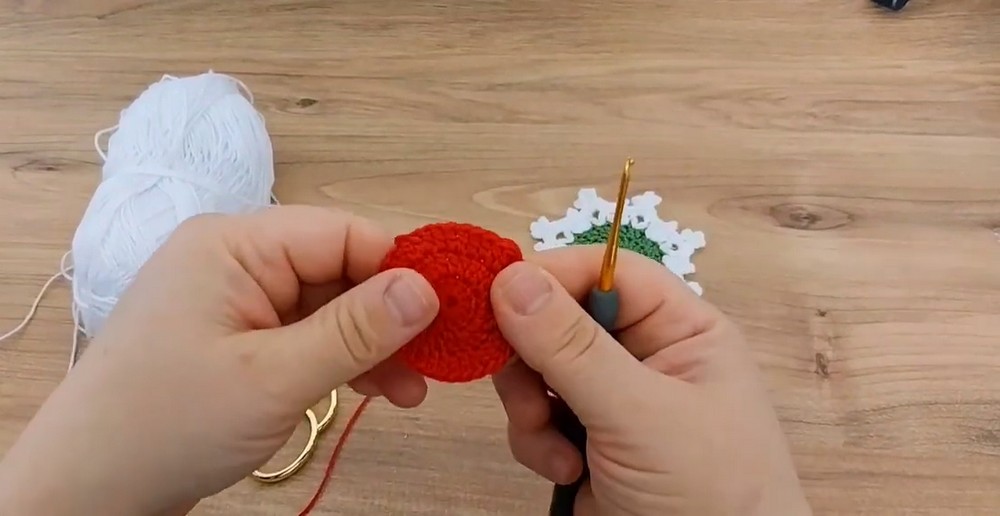
Step 4: Begin the White Border
Chain 3, then work 3 double crochets into the next consecutive stitches, following the supplied pattern.
These stitches begin forming the sections between your snowflake points. Keep your double crochets at a consistent height so the border develops evenly.
Step 5: Create the First Snowflake Point
Skip 1 stitch along the base circle.
In the following stitch, work all three parts into that same stitch:
- Work 1 double crochet.
- Chain 3.
- Work another double crochet.
Placing both double crochets into one stitch, with chain stitches between them, creates the foundation for a pointed section of your snowflake border.
Helpful tip: Keep your chain-3 section loose enough for the point to spread naturally. Tight chains can pull the edging inward and affect its shape.
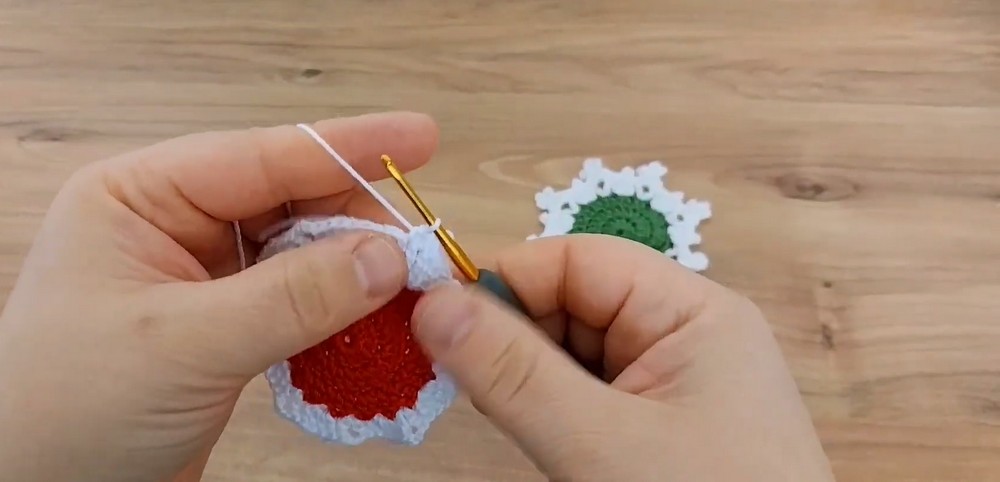
Step 6: Continue Around the Center
Repeat the supplied border sequence around the circle, alternating the side stitches with skipped stitches and pointed sections.
As you continue, distribute the snowflake points evenly around the center. Watch your spacing rather than allowing several points to crowd together in one area.
The exact placement of each repeated section determines how evenly the finished edging sits, so check your work as you progress.
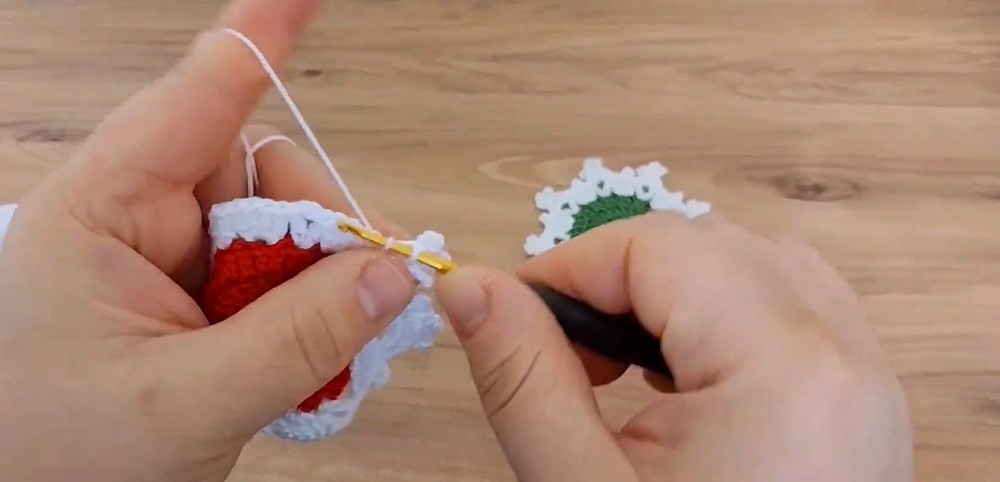
Step 7: Join the Border Round
When you have worked around the circle, join with a slip stitch to the top of the starting chain-3.
Lay your coaster on a flat surface and check its overall shape.
Result check: The colored center should remain circular, with white edging spreading outward into distinct points. If the border curls or twists, check your stitch tension and the placement of your repeated sections.
Step 8: Secure the Yarn Ends
Check all connection points around your coaster, especially where the white yarn joins the center color.
Pull the starting and ending tails gently to secure the stitches without distorting the fabric.
Thread your yarn needle with each remaining tail and weave it through the backs of nearby stitches. Keep the ends hidden within the stitches rather than leaving them exposed on the front.
Trim excess yarn close to the fabric once each tail is securely woven in.
Step 9: Finish and Style Your Snowflake Coaster
Give your coaster one final check to ensure its center lies flat and its points remain clearly defined.
For use as a drink coaster, keep the finished piece flat so it can sit comfortably beneath a cup. For a Christmas tree ornament, attach a small loop of matching white chain stitches to one point and secure it firmly.
Metallic or glitter yarn accents can add extra sparkle when used in suitable decorative details.
Your Christmas snowflake coaster is ready to display, use during holiday gatherings, or give as a handmade seasonal gift.