Crochet Summer Bucket Hat Tutorial – Easy to Make
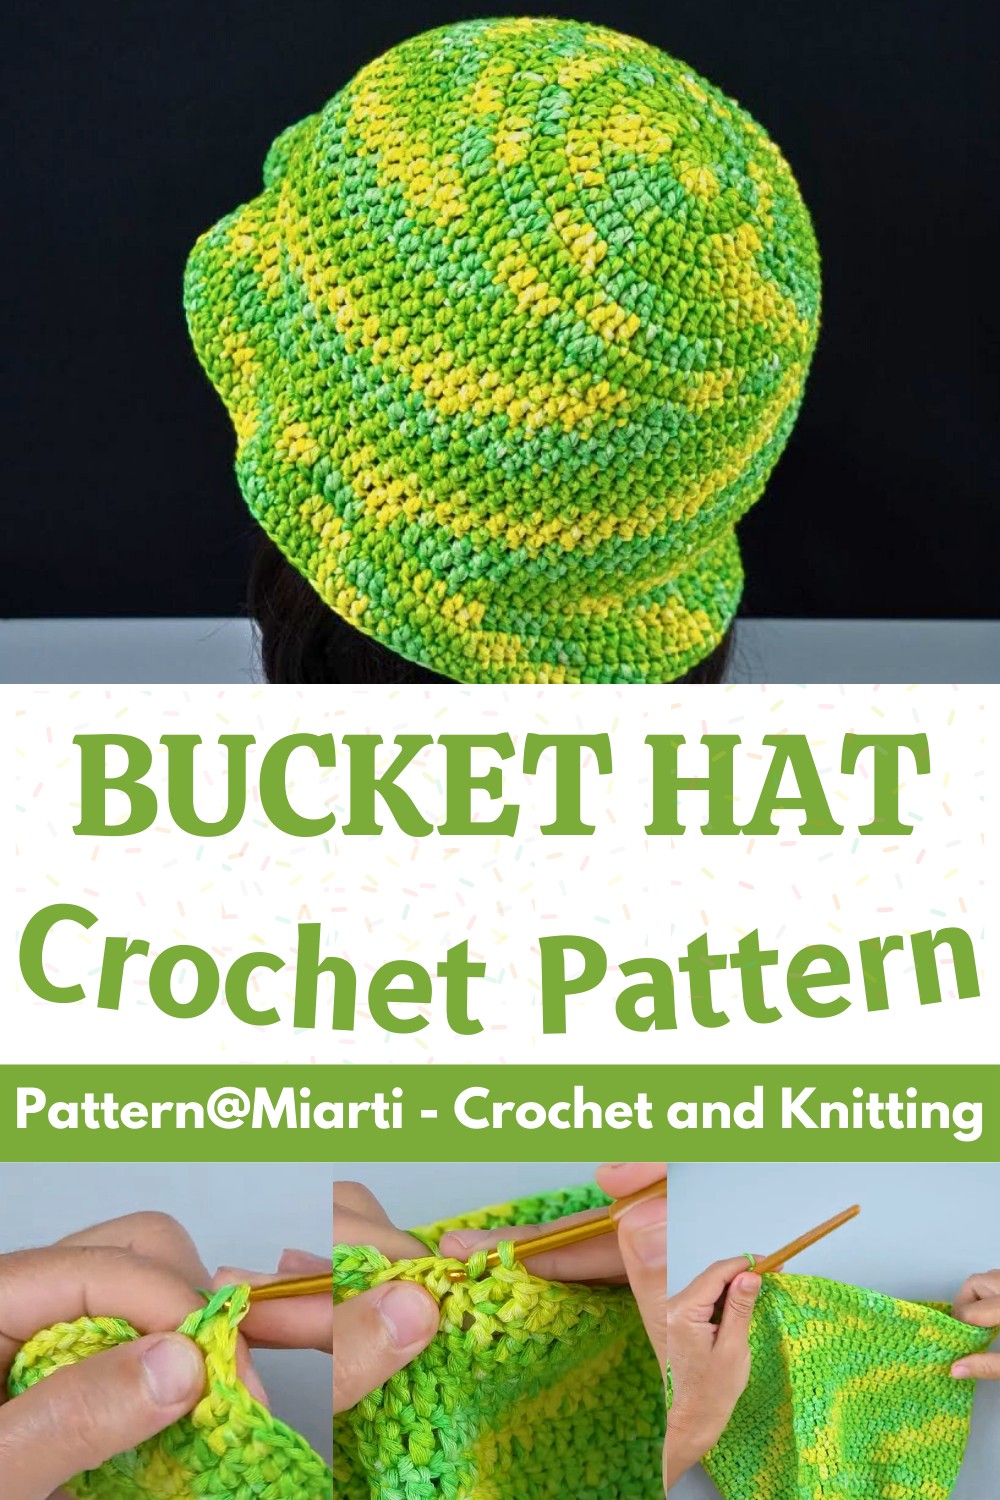
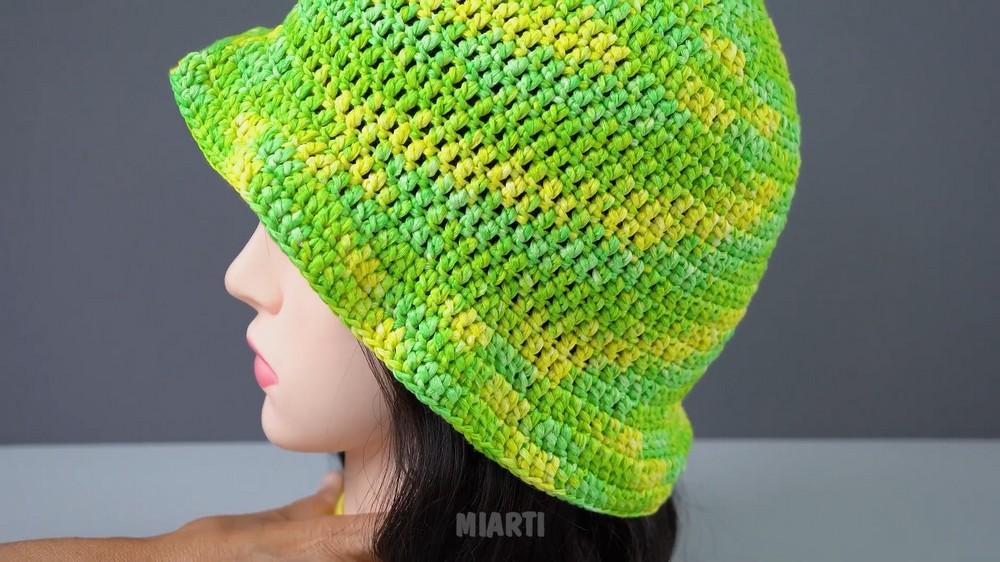
A crochet summer bucket hat is a simple piece that results in a hat you’ll reach for all season. Its soft texture, breathable stitches, and easy fit make it ideal for sunny walks, beach trips, outdoor markets, and everyday wear.
This tutorial shows how each crochet round gradually shapes the crown, builds the sides, and forms a neat brim with a clean finish. By the final round, the hat comes together in a way that feels far more satisfying than its simple beginning suggests.
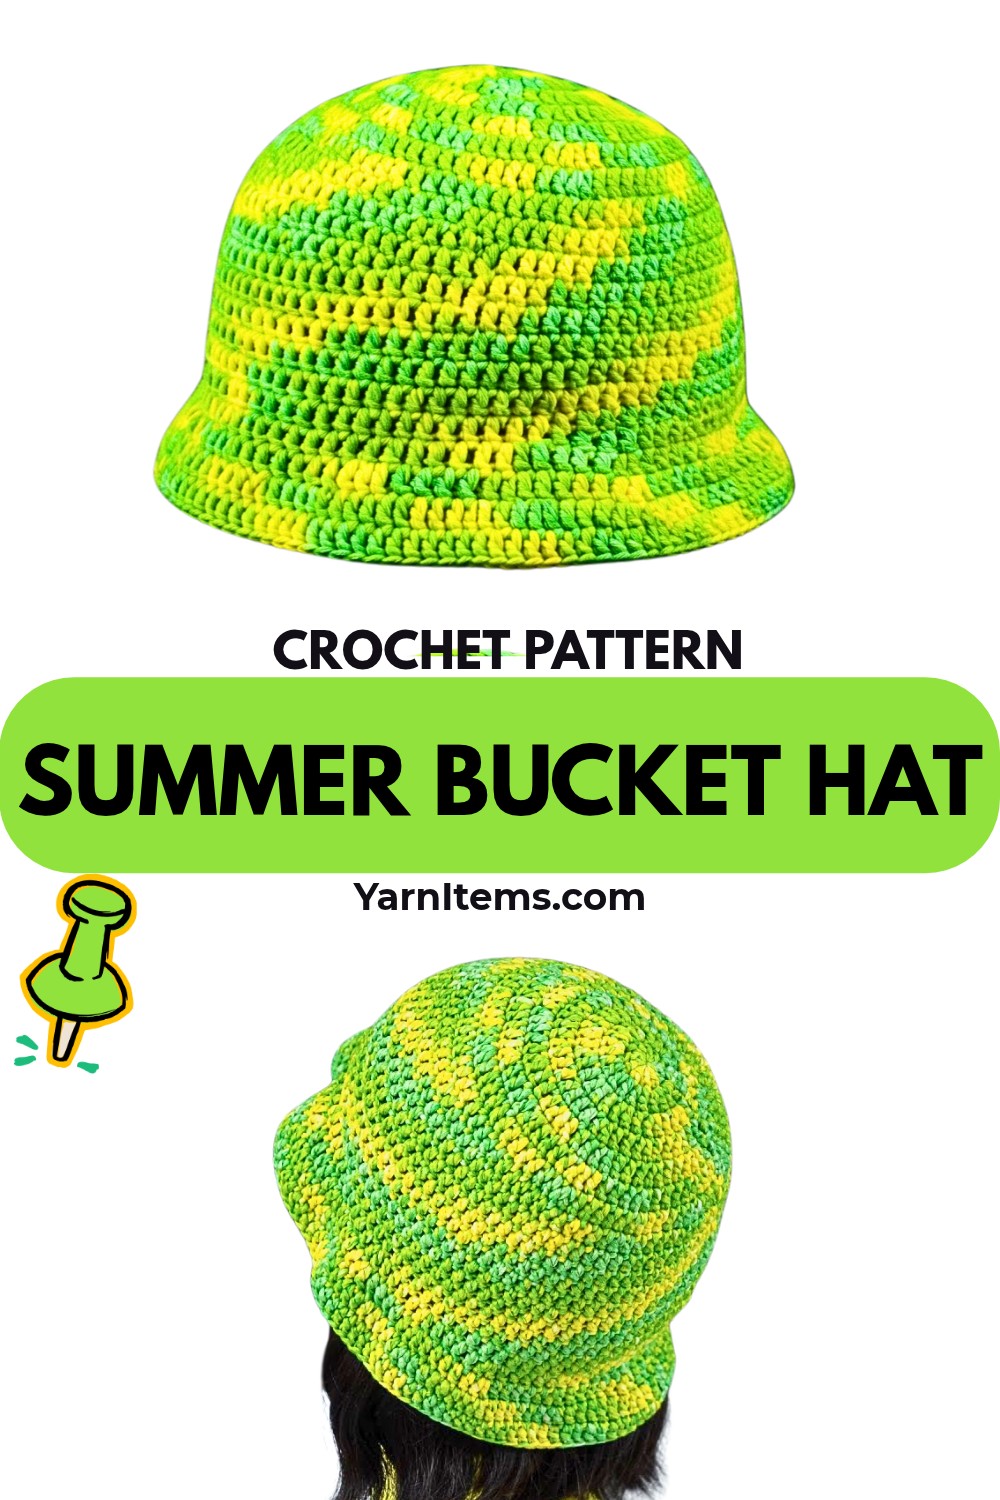
With easy-to-follow instructions, this pattern is suitable for beginners while still being enjoyable for experienced crocheters. You’ll learn how to create a well-shaped bucket hat that is lightweight, foldable, and easy to wear throughout the day.
The design also gives you plenty of freedom to experiment with different yarn colors and create a look that reflects your personal style. As each round is completed, the crochet hat takes on its finished shape, making every step feel worthwhile.
Credit Miarti – Crochet and Knitting
Materials & Tools Needed
- Yarn: ~95 grams of a sport/DK weight cotton blend
- Example: 225m/100g skein (90% Cotton, 10% Polyacrylic)
- Suggested Colorway: Variegated green/yellow
- Crochet Hook: 4.0 mm (US: G/6 or 7/0)
- Other Tools:
- Scissors
- Tapestry needle (for weaving in ends)
- Tape measure (for measuring diameter and fit)
Finished Size & Customization
- Default Fit: 56 cm (~22 inches) adult head circumference
- Customization:
- To adjust the hat size, add or subtract rounds in the crown section (Rounds 4–7).
- The brim can also be widened or narrowed by modifying the increases in Rounds 19–23.
Pattern Abbreviations & Terminology
-
MR: Magic Ring
-
CH: Chain
-
DC: Double Crochet
-
ST: Stitch
-
SL ST: Slip Stitch
-
REP: Repeat
-
INC PATT: Increase Pattern (continuing the established rate of increases)
Step-by-Step Detailed Crochet Instructions
Part 1: The Crown (Top of the Hat)
Note: Each round is joined with a slip stitch (SL ST) into the top of the initial chain-3 unless stated otherwise.
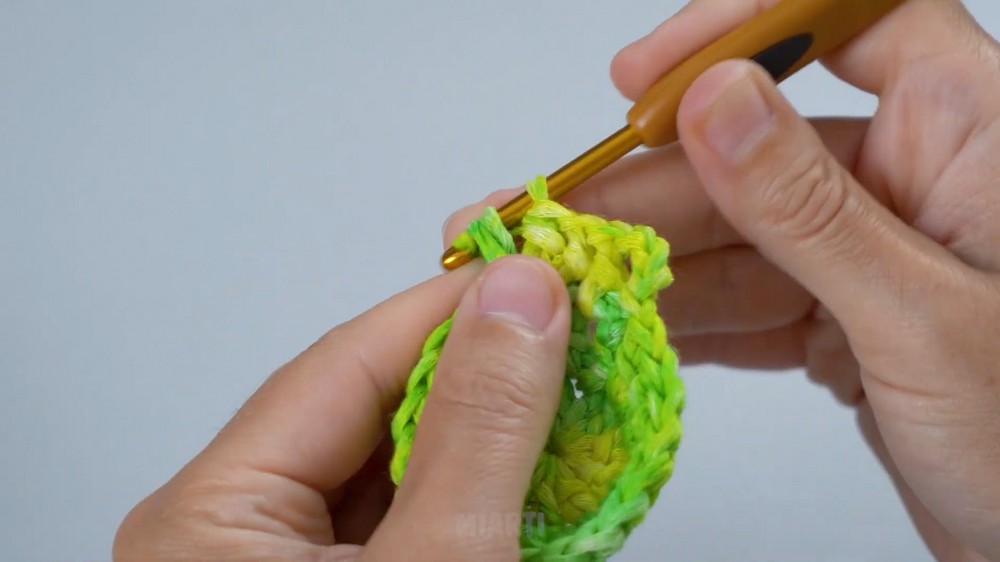
- Round 1:
- Start with a Magic Ring (MR).
- CH 3 (counts as your first DC), then work 11 DC into the ring.
- Join with an SL ST to the top of the CH 3.
- Total Stitches: 12 DC
- Round 2:
- CH 3, work 1 DC into the same stitch.
- Work 2 DC into each remaining stitch around.
- Join with a SL ST.
- Total Stitches: 24 DC
- Round 3:
- CH 3. Work 1 DC in the next stitch, 2 DC in the following stitch (increase).
- REP from * to * all the way around.
- Join with a SL ST.
- Total Stitches: 36 DC
- Rounds 4–7: Continue the Increase Pattern (INC PATT) as follows:
- Round 4: CH 3. Work 2 DC, then 2 DC in the same stitch (increase).
- REP around. (48 DC)
- Round 5: CH 3. Work 3 DC, then 2 DC in the same stitch (increase).
- REP around. (60 DC)
- Round 6: CH 3. Work 4 DC, then 2 DC in the same stitch (increase).
- REP around. (72 DC)
- Round 7: CH 3. Work 5 DC, then 2 DC in the same stitch (increase).
- REP around. (84 DC)
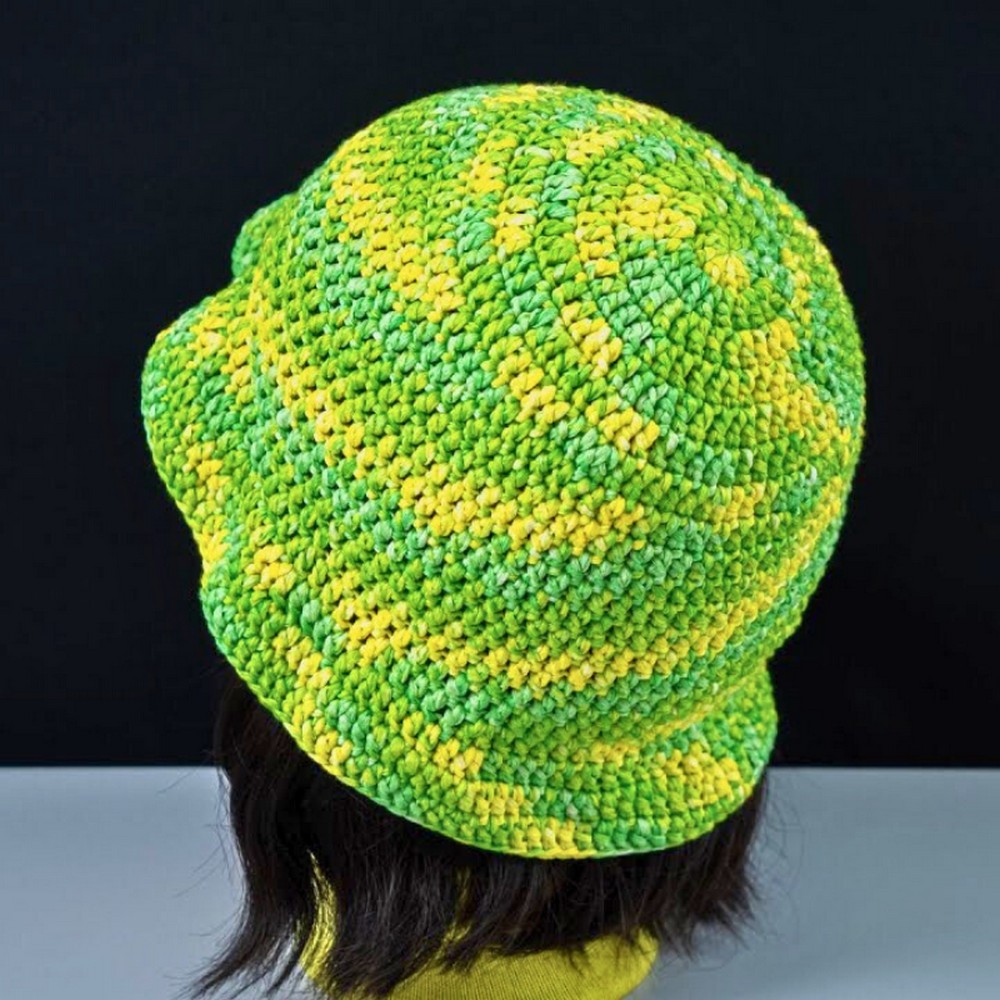
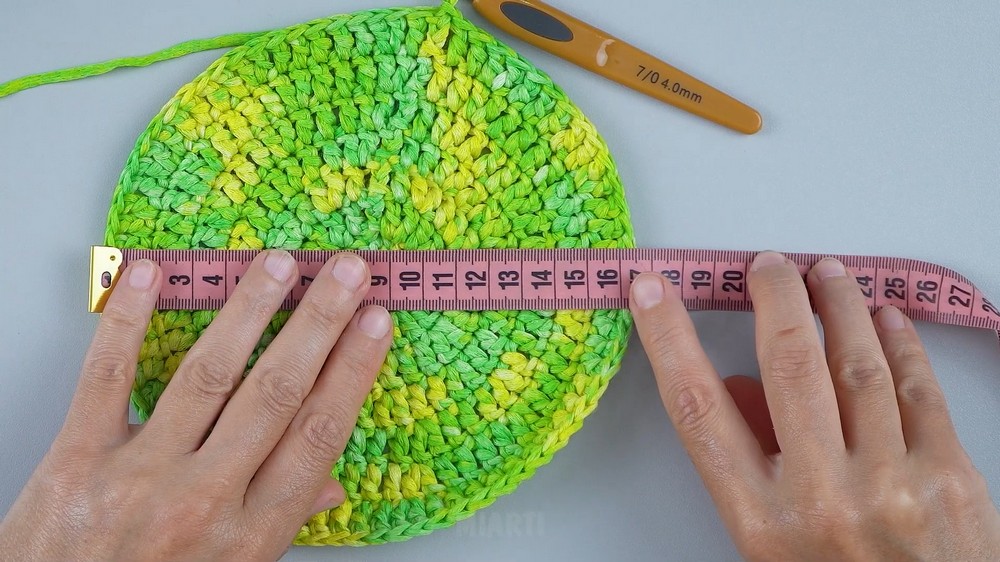
At the end of Round 7, the crown will measure approximately 16.5 cm (6.5 inches) in diameter.
Part 2: The Body (Sides of the Hat)
This section stops increasing to allow the hat to form its classic bucket shape.
- Round 8:
- CH 3. Work 1 DC into each stitch around.
- Join with a SL ST.
- Total Stitches: 84 DC
- Rounds 9–18:
- Repeat Round 8 for 10 additional rounds.
- Work 1 DC in each stitch, maintaining the stitch count.
- Join with an SL ST at the end of every round.
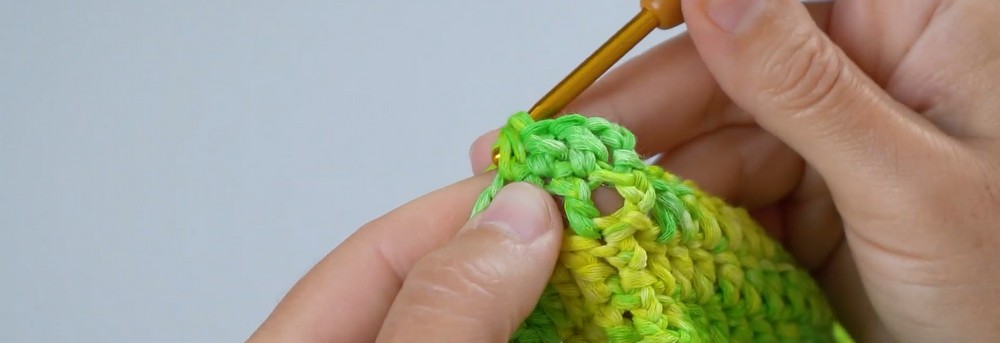
At the end of this section, the piece will resemble a straight-sided bucket.
Part 3: The Brim
To create the sun-blocking brim, resume increasing based on the established Increase Pattern (INC PATT).
- Round 19:
- CH 3. Work 4 DC, then 2 DC in the same stitch (increase).
- REP around.
- Join with a SL ST.
- Round 20:
- CH 3. Work 5 DC, then 2 DC in the same stitch (increase).
- REP around.
- Join with a SL ST.
- Rounds 21–23: Continue working in the Increase Pattern:
- Round 21: CH 3. Work 6 DC, then 2 DC in the same stitch (increase). REP around.
- Round 22: CH 3. Work 7 DC, then 2 DC in the same stitch (increase). REP around.
- Round 23: CH 3. Work 8 DC, then 2 DC in the same stitch (increase). REP around.
Finishing Touches
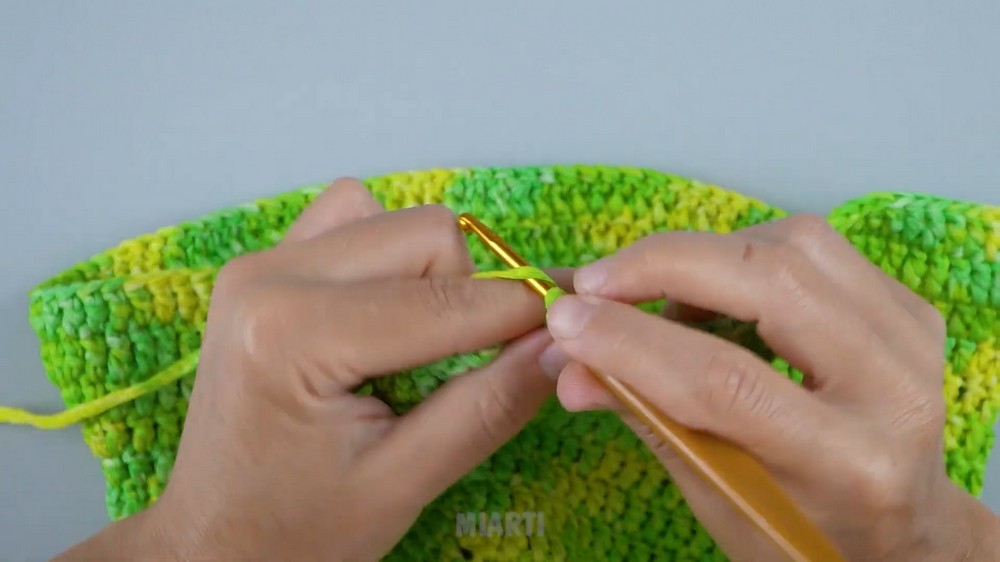
- After completing Round 23, cut your yarn leaving a small tail.
- Pull the yarn completely through the final loop and thread it onto a tapestry needle.
- Securely weave the tail into the inside stitches of the brim to hide it.
- Fasten off and trim excess yarn.
Notes for Customization
- Larger Hat? Add more increase rounds in Part 1 (Crown) before transitioning to Part 2 (Body).
- Smaller Hat? Stop the crown increases earlier.
- Wider Brim? Continue increasing in Part 3 (Brim) for additional rounds.
- Color Changes? Switch colors at the start of any round for a striped or color-blocked effect.