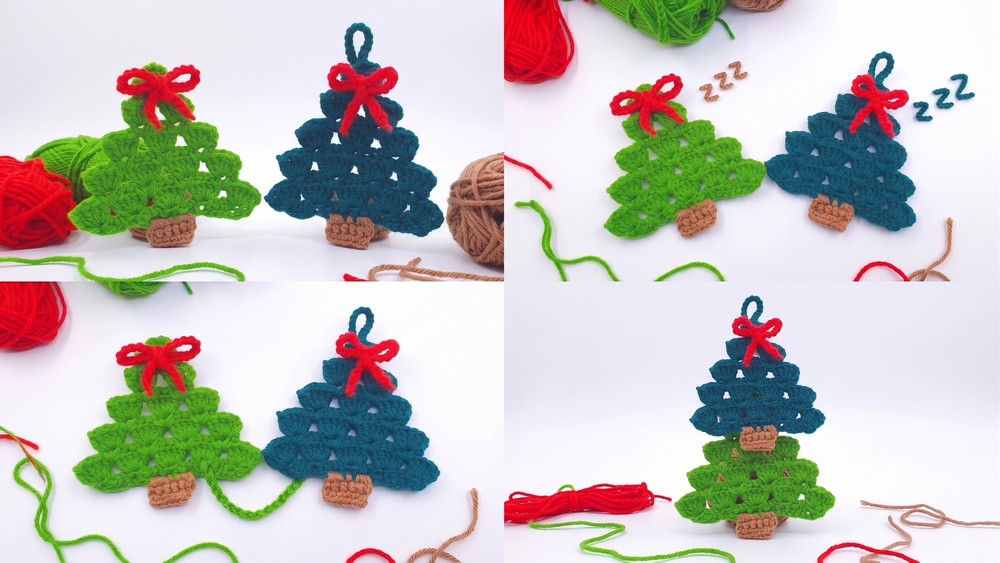
Beginner-Friendly Crochet Christmas Tree Decoration Pattern
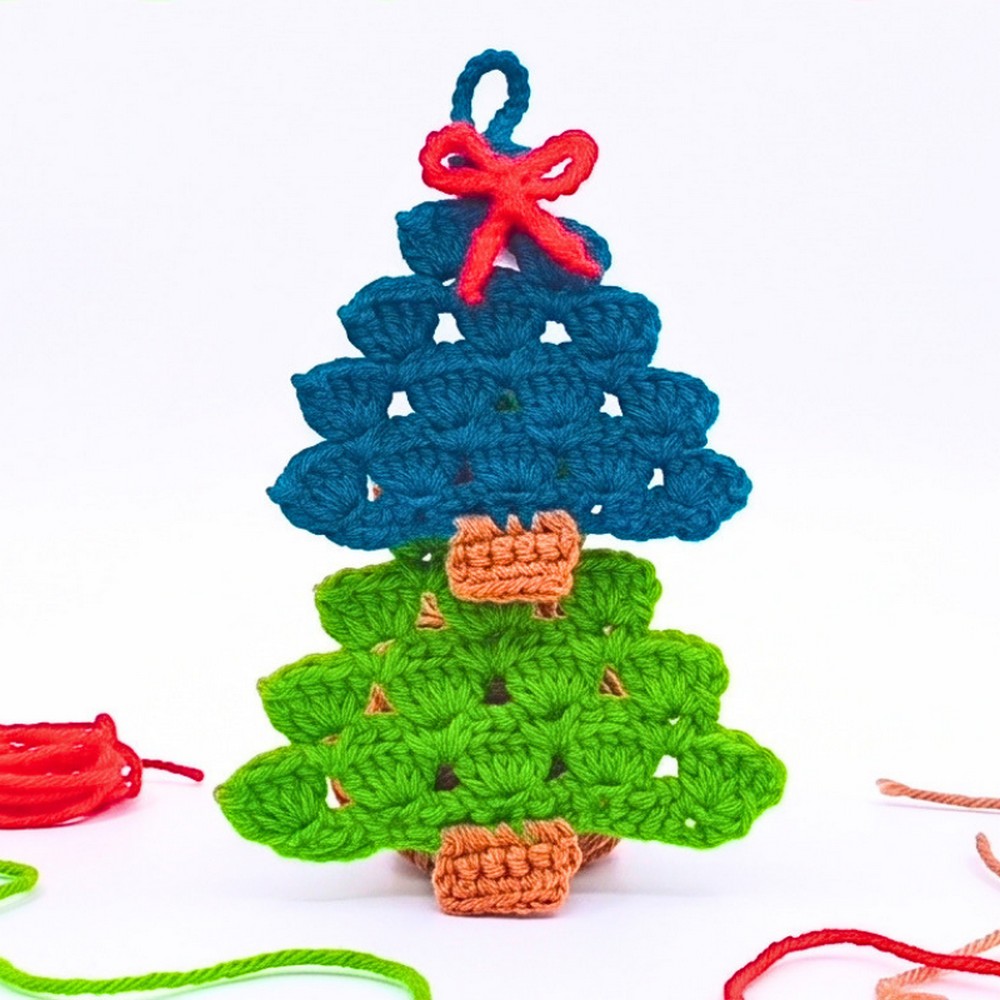
A crochet Christmas tree is a delightful way to capture the spirit of the season with just a little yarn and creativity.
Whether placed on a shelf, tucked into a holiday centerpiece, or hung on a festive tree, this tiny handmade decoration adds a cheerful touch wherever it goes. Its simple shape leaves plenty of room for personal touches, making every finished crochet tree one of a kind.
Crochet Christmas Tree Decoration
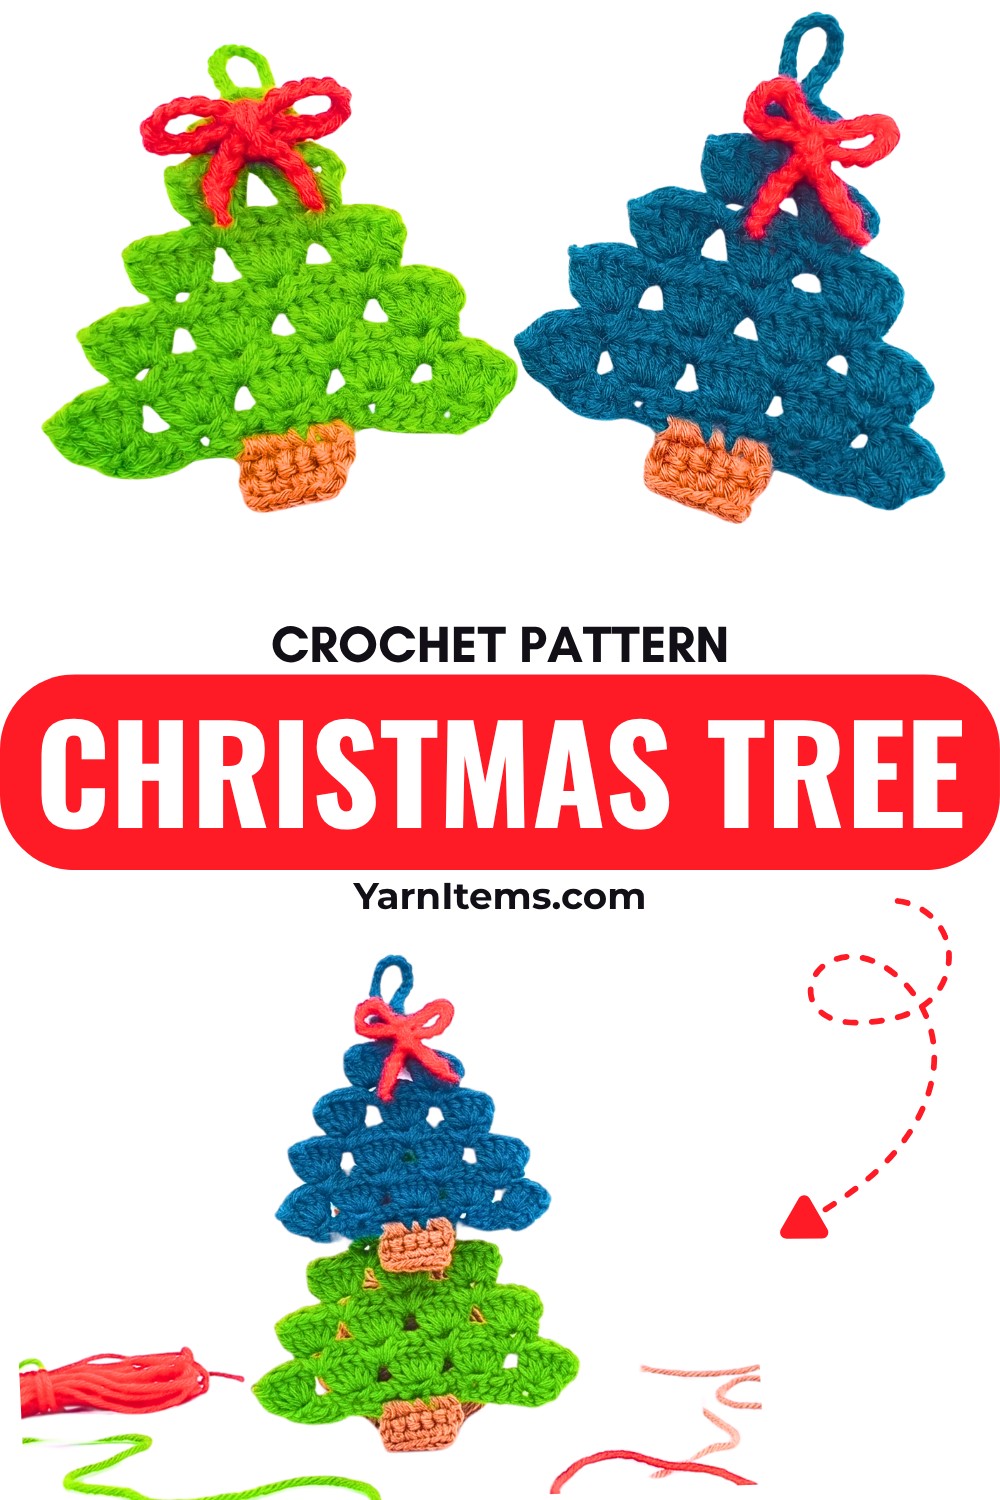
This pattern is designed to be enjoyable for both beginners and experienced crocheters. The steps are easy to follow, allowing the tree to come together quickly while still looking beautifully detailed. Keep scrolling to see how each stitch transforms into a festive Christmas crochet tree you’ll want to make again and again in different colors and styles.
Credit Crochet Squares
Materials & Tools Needed
- Yarn: Acrylic DK (double knitting) weight yarn in three colors:
- Green (Tree body)
- Brown (Trunk)
- Red (Bow)
- Crochet Hook: 3.0 mm
- Tools:
- Tapestry needle
- Scissors
Finished Size & Customization Ideas
- Size: Approximately 3.5 to 4 inches tall (excluding the hanging loop). Perfect for:
- Holiday garlands
- Gift toppers
- Tree ornaments
- Customization Ideas:
- Add tiny beads, sequins, or embroidered elements to mimic ornaments.
- Use thicker yarn and a larger hook to create a larger decoration (e.g., as a wall hanging or trivet).
Pattern Abbreviations & Terminology
- ch: chain
- sc: single crochet
- dc: double crochet
- sl st: slip stitch
- st(s): stitch(es)
- ch-space: chain space created by previous stitches
Step-by-Step Instructions
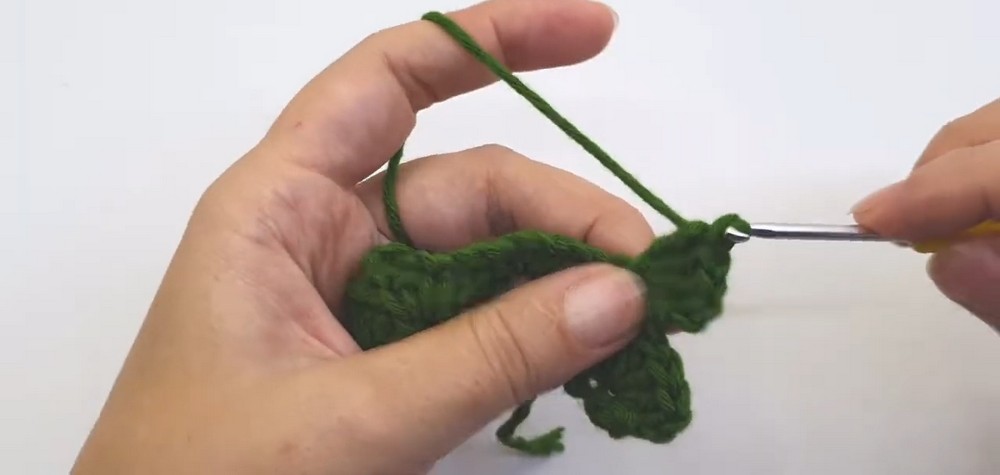
1. Tree Body (Green Yarn)
The tree body is created as tiers of shells worked from the base upward.
Foundation Loop:
- Make a slip knot and ch 20.
Row 1:
- In the 4th ch from your hook, make 1 sc.
- [ch 2, skip the next 3 chs, in the next ch work: (1 sc, ch 2, 1 sc)].
Repeat this sequence 4 times across.
Row 2 (First Tier of Shells):
- Turn the work, sl st into the very first ch-space.
- ch 3 (counts as your first dc), then make 4 dc in that same ch-space (5 dc total in this first shell cluster).
- In each of the next 4 ch-spaces, work 5 dc. (5 shell clusters in total).
Row 3:
- Turn the work, skip the first st, and make 4 sl sts along the edge of the first shell until you reach the gap between shells.
- ch 3, then work 1 sc in that same space between the shells.
- [ch 2, in the next space between shells work: (1 sc, ch 2, 1 sc)].
Repeat this sequence a total of 3 times across.
Row 4 (Second Tier of Shells):
- Turn the work, sl st into the first ch-space.
- ch 3 (counts as a dc), then make 4 dc in that same space.
- In each of the next 3 ch-spaces, work 5 dc. (4 shell clusters total).
Row 5:
- Turn the work, skip the first st, and make 4 sl sts along the edge of the first shell.
- ch 3, then work 1 sc in that same space between the shells.
- [ch 2, in the next space between shells work: (1 sc, ch 2, 1 sc)].
Repeat this sequence a total of 2 times across.
Row 6 (Third Tier of Shells):
- Turn the work, sl st into the first ch-space.
- ch 3 (counts as a dc), then make 4 dc in that same space.
- In each of the next 2 ch-spaces, work 5 dc. (3 shell clusters total).
Row 7:
- Turn the work, skip the first st, and make 4 sl sts along the edge of the first shell.
- ch 3, then work 1 sc in that same space between the shells.
- ch 2, in the final space between shells, work: (1 sc, ch 2, 1 sc).
Row 8 (Fourth Tier of Shells):
- Turn the work, sl st into the first ch-space.
- ch 3 (counts as a dc), then make 4 dc in that same space.
- In the next ch-space, work 5 dc. (2 shell clusters total).
Row 9 (Tree Top & Hanging Loop):
- Turn the work, skip the first st, and make 4 sl sts along the edge of the first shell to reach the center gap.
- ch 3, then work 1 sc in that center space.
- Turn the work, sl st into the ch-space.
- ch 3 (counts as a dc), then work 2 dc in that same space.
- To create the hanging loop:
ch 20, then sl st back into the same stitch to secure the loop. - Work 2 more dc in that same ch-space to complete the final mini-shell.
Fasten off and cut the green yarn.
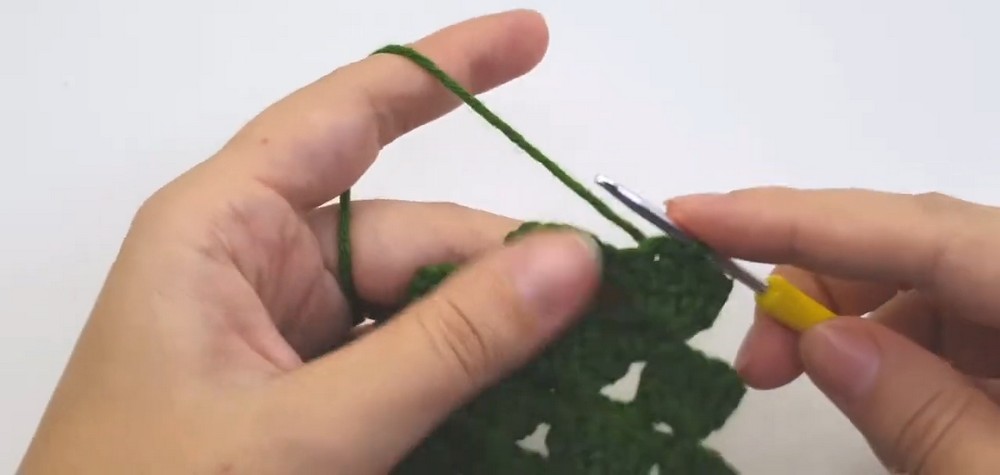
2. Tree Trunk (Brown Yarn)
- Locate the center of the bottom foundation row where the tree body begins.
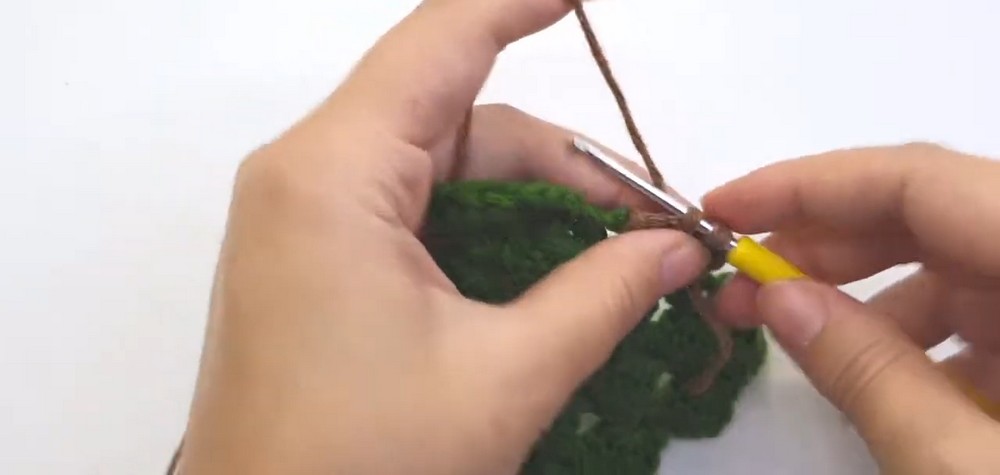
- Join your brown yarn with a loop.
- In the central ch-space at the bottom, ch 1, then work 2 sc.
- In the next ch-space, work 1 sc.
- In the following ch-space, work 2 sc (5 sc across the trunk).
- Turn the work, ch 1, and work 5 sc back across the row.
Fasten off, cut yarn, and weave in ends.
3. Red Bow Detail (Red Yarn)
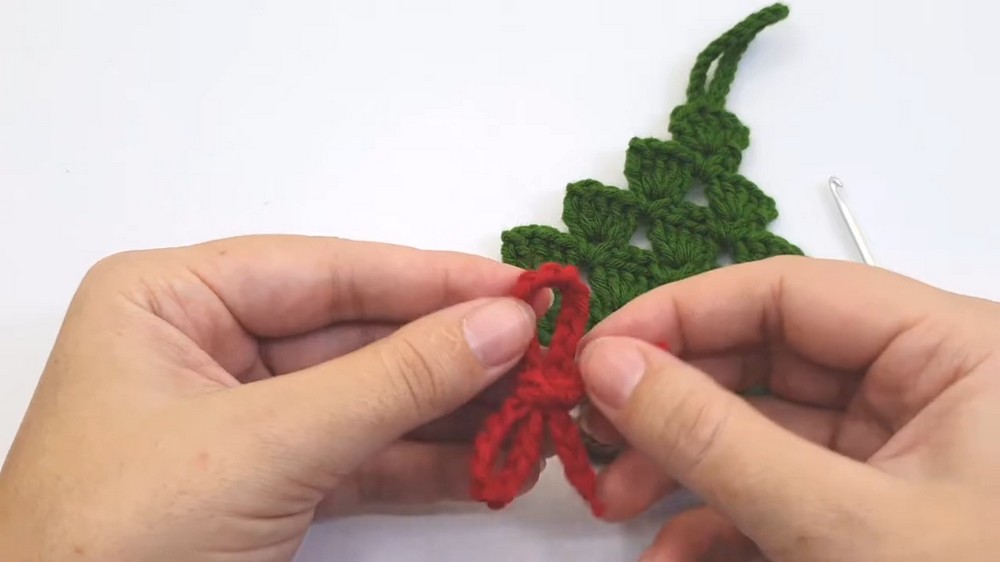
- Make a slip knot with red yarn and ch 40.
- Fasten off and trim yarn tails close to the knots.
- Shape the chain into a bow and tie or sew it securely onto:
- The top of the tree (just below the peak shell).
- Or at the base of the trunk for a decorative accent.
Finishing Touches:
Weave in all loose ends and embellish the tree as you like! Add beads, sequins, or embroidery for extra texture.