Easy Crochet Chevron Blanket Pattern Free
Create a classic crochet chevron blanket with simple double crochet clusters, pointed peaks, deep valleys, and easy color changes for a beautiful ripple effect.
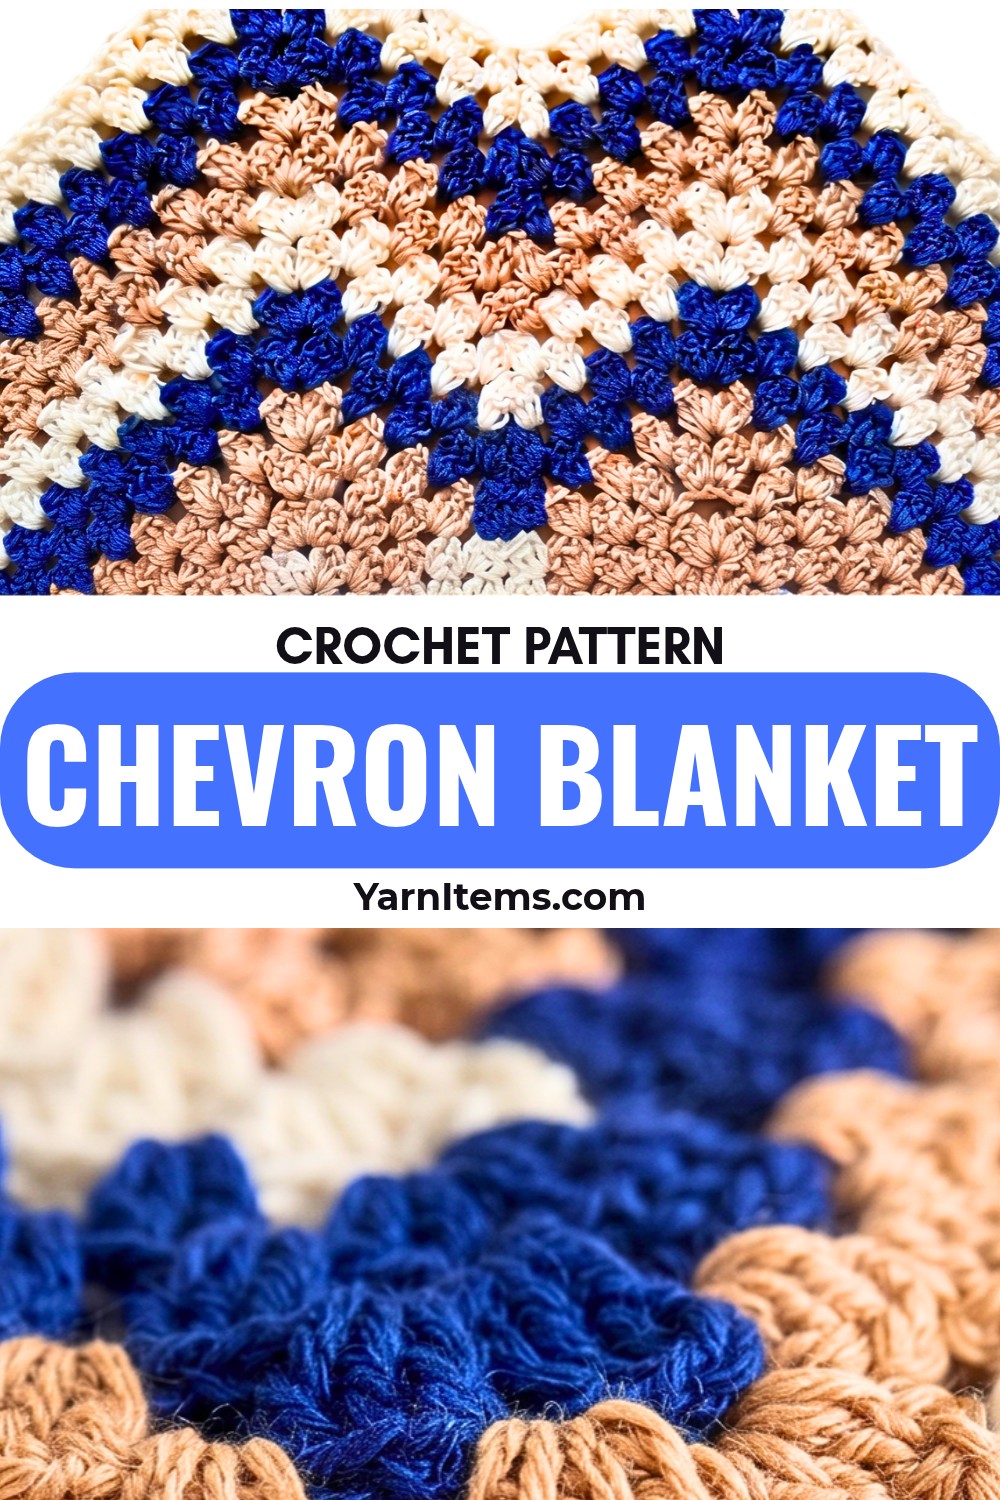
A chevron blanket can look complicated once the peaks and valleys start forming, but this crochet pattern uses a repeating combination of 3-dc groups and skipped chains to create that familiar zigzag shape.
The most important part is learning where those groups belong. Once the first row establishes the peaks and valleys, Row 2 becomes the main repeat, making it much easier to continue the crochet blanket to your preferred length.
Credit karma crochet
Materials
- Yarn in your preferred colors
- Crochet hook
- Scissors
The sample alternates between beige, navy, and cream, but you can use any color combination you like.
Crochet Abbreviations
- ch – Chain
- dc – Double Crochet
- st(s) – Stitch(es)
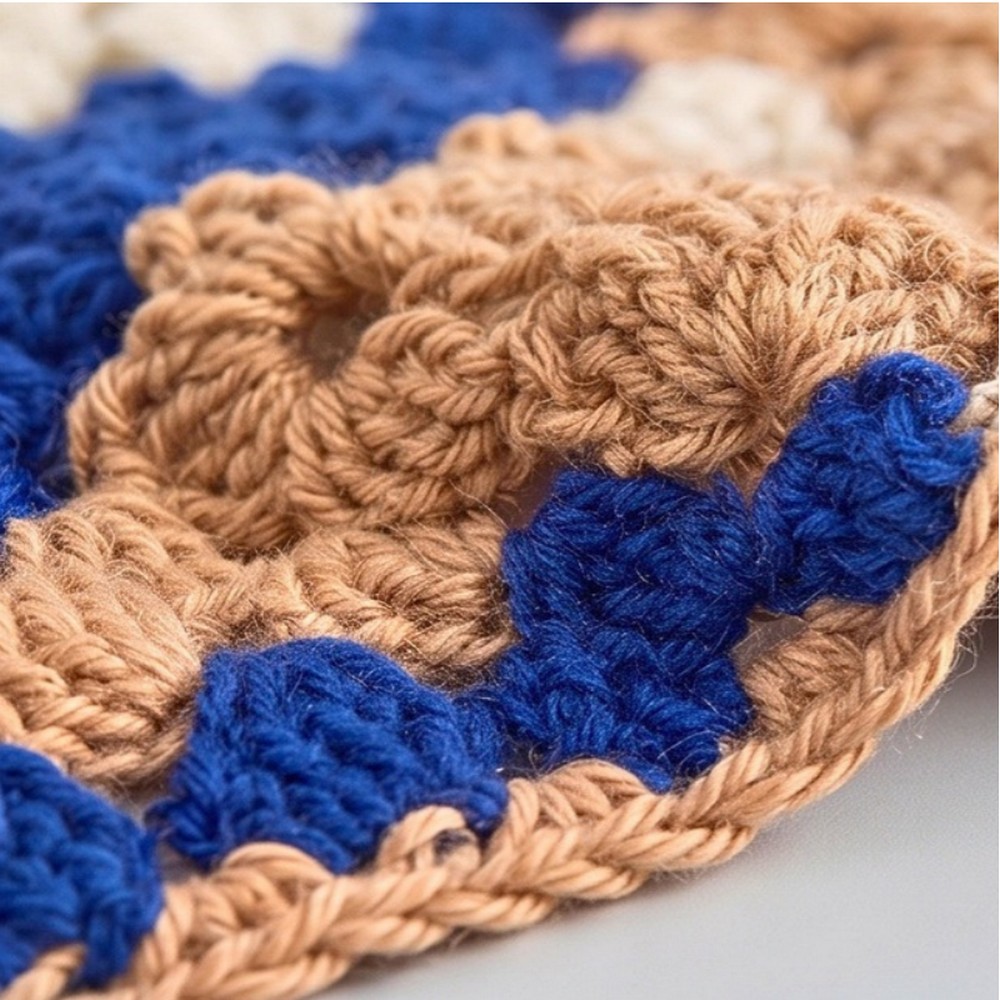
Understanding the Chevron Shape
Before starting the pattern, it helps to know what the two main parts of the design are doing.
The Peak: The point at the top of each wave is made with (3 dc, chain 3, 3 dc) worked into the same space or chain. The chain-3 section creates the sharp turn at the top.
The Valley: At the bottom of the wave, you skip a larger section of the foundation chain or the corresponding space on later rows. This creates the inward turn that balances the peak.
Once you recognize these two points, the rest of the row is simply moving down toward a valley and back up toward the next peak.
Crochet Chevron Blanket Pattern
Starting Chain
Make a foundation chain of 59 chains.
For a different width, use a starting chain that follows this formula: 18 × number of repeats + 5 chains
For example, 3 repeats would be: 18 × 3 = 54 + 5 = 59 chains
This gives you a simple way to make the blanket wider or narrower while keeping the chevron sequence aligned.
Size Check: If you change the starting-chain length, make sure you keep the multiple of 18 plus 5 formula. Changing the chain count without following the repeat will shift the peaks and valleys.
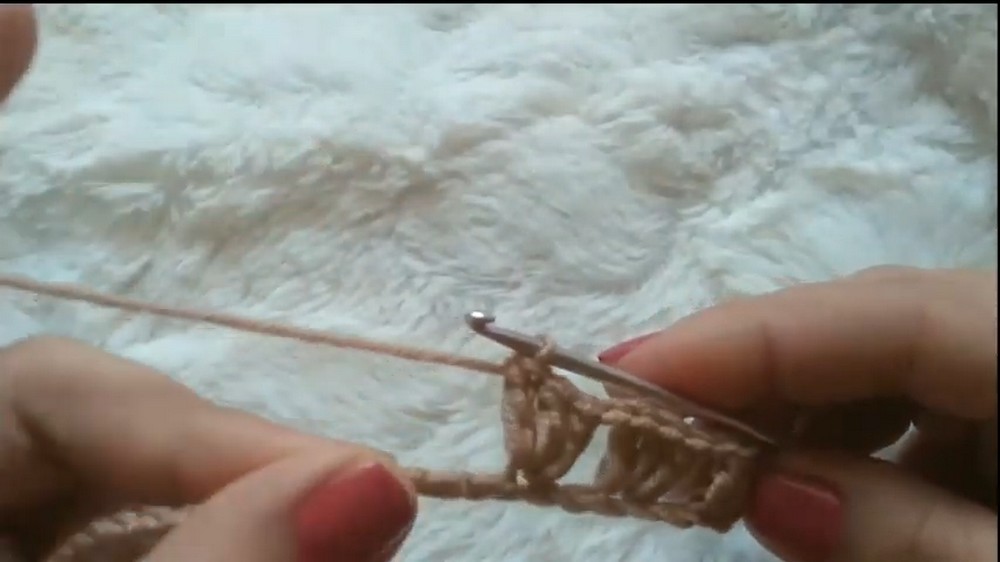
Row 1: Creating the First Chevron
Work the first row carefully because this is where the entire zigzag shape is established.
Row 1: Make 3 dc into the 5th chain from your hook, skip the next 2 chains, make 3 dc in the next chain, skip the next 2 chains, then work (3 dc, ch 3, 3 dc) into the next chain to form the first peak. Skip the next 2 chains, make 3 dc in the next chain, skip the next 2 chains, make 3 dc in the next chain, skip the next 5 chains to form the valley, then make 3 dc in the next chain, skip 2 chains, make 3 dc in the next chain, skip 2 chains, and continue the peak, downward slope, valley, and upward slope sequence across the foundation chain; when 1 chain remains, make 1 dc in the last chain.
Watch the First Row: The five-chain skip is what creates the valley. It is larger than the two-chain skips used around the rest of the chevron, so it is worth checking this section before continuing.
Row 2 and the Repeating Chevron
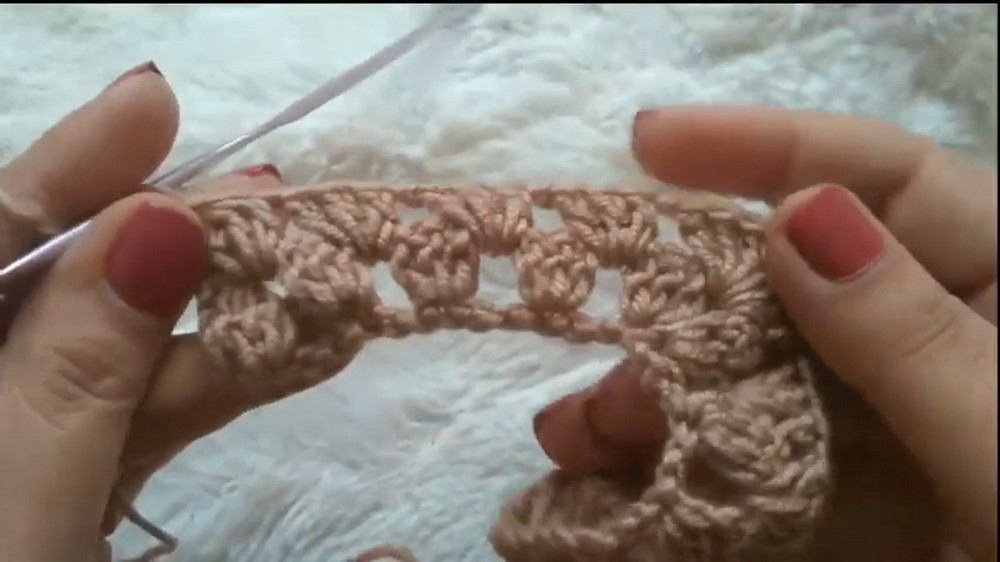
Row 2 establishes the repeat that you will use for the rest of the blanket. Instead of working into individual stitches throughout, you will work the 3-dc groups into the spaces between the clusters from the previous row.
Row 2: Ch 4 and turn, skip the first 3-dc cluster, make 3 dc in the first space between the first and second 3-dc groups, make 3 dc in the next space, work (3 dc, ch 3, 3 dc) into the chain-3 peak space, make 3 dc in the next space, make 3 dc in the next space, skip the large valley gap, make 3 dc in the next space on the upward slope, and repeat the peak and valley sequence across the row; at the end, skip the final 3-dc cluster and make 1 dc into the top of the turning chain from the previous row.
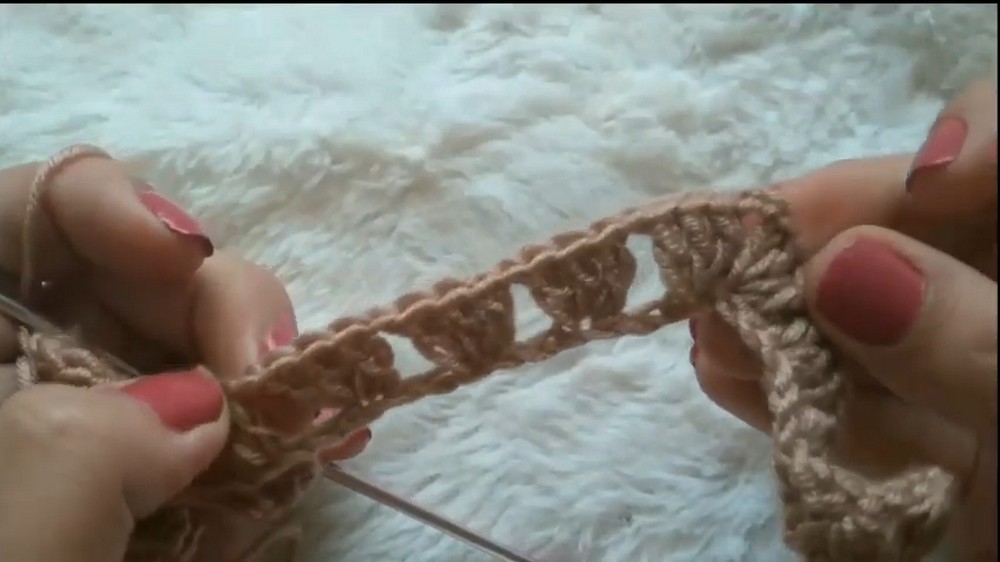
Why the Spaces Matter: The 3-dc groups are worked into the gaps created by the previous row rather than directly into the tops of the clusters. This keeps the ripple pattern stacked correctly from row to row.
At the Peak: Always look for the chain-3 space at the top of the previous peak. The entire 3 dc, ch 3, 3 dc group goes into that space, which creates the next raised point.
At the Valley: The large gap at the bottom of the valley is skipped. Do not add a 3-dc group there, or the valley will begin to flatten out.
Continue the Blanket
From this point, the chevron becomes a repeating rhythm.
Row 3 and beyond: Repeat Row 2 until the blanket reaches your desired size.
As you continue, watch the peaks and valleys rather than trying to memorize every individual stitch placement. Each row should continue the same zigzag shape, with the peaks sitting above peaks and the valleys returning to the lower points.
Changing Colors
Color changes can be added wherever you want to create stripes.
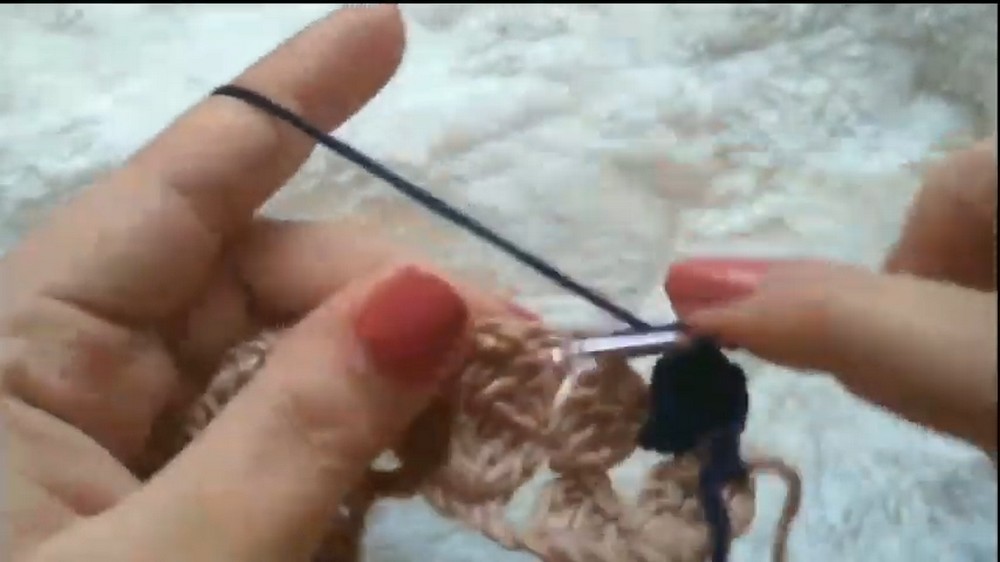
Color Change: Before pulling through the final two loops of your last double crochet in the row, place the new yarn color onto your hook and pull it through to complete the stitch. Cut the old yarn, chain 4 with the new color, and turn your work to begin the next row.
Before Moving On: Make the color change at the end of a complete row so the new shade begins cleanly with the turning chain. This also keeps the chevron rows visually easy to follow.
A Simple Way to Keep the Waves Even
The easiest way to check your work is to look at the shape after several rows instead of focusing only on individual stitches.
You should be able to see a repeated movement of peak → downward slope → valley → upward slope → peak.
If one section suddenly looks flatter or the next peak does not line up with the previous one, stop before continuing. Recheck the last peak and valley, especially the chain-3 peak space and the larger skipped section at the valley.
Once those points are placed correctly, the rest of the row usually falls back into place naturally.
Continue repeating Row 2 until the blanket reaches the length you want, changing colors whenever you want to introduce a new stripe.