Crochet Triangle Shawl Pattern with Easy One-Row Repeat
Here’s a graceful triangle shawl made with an easy repeating pattern, adjustable sizing, and optional tassels for an elegant finishing touch.
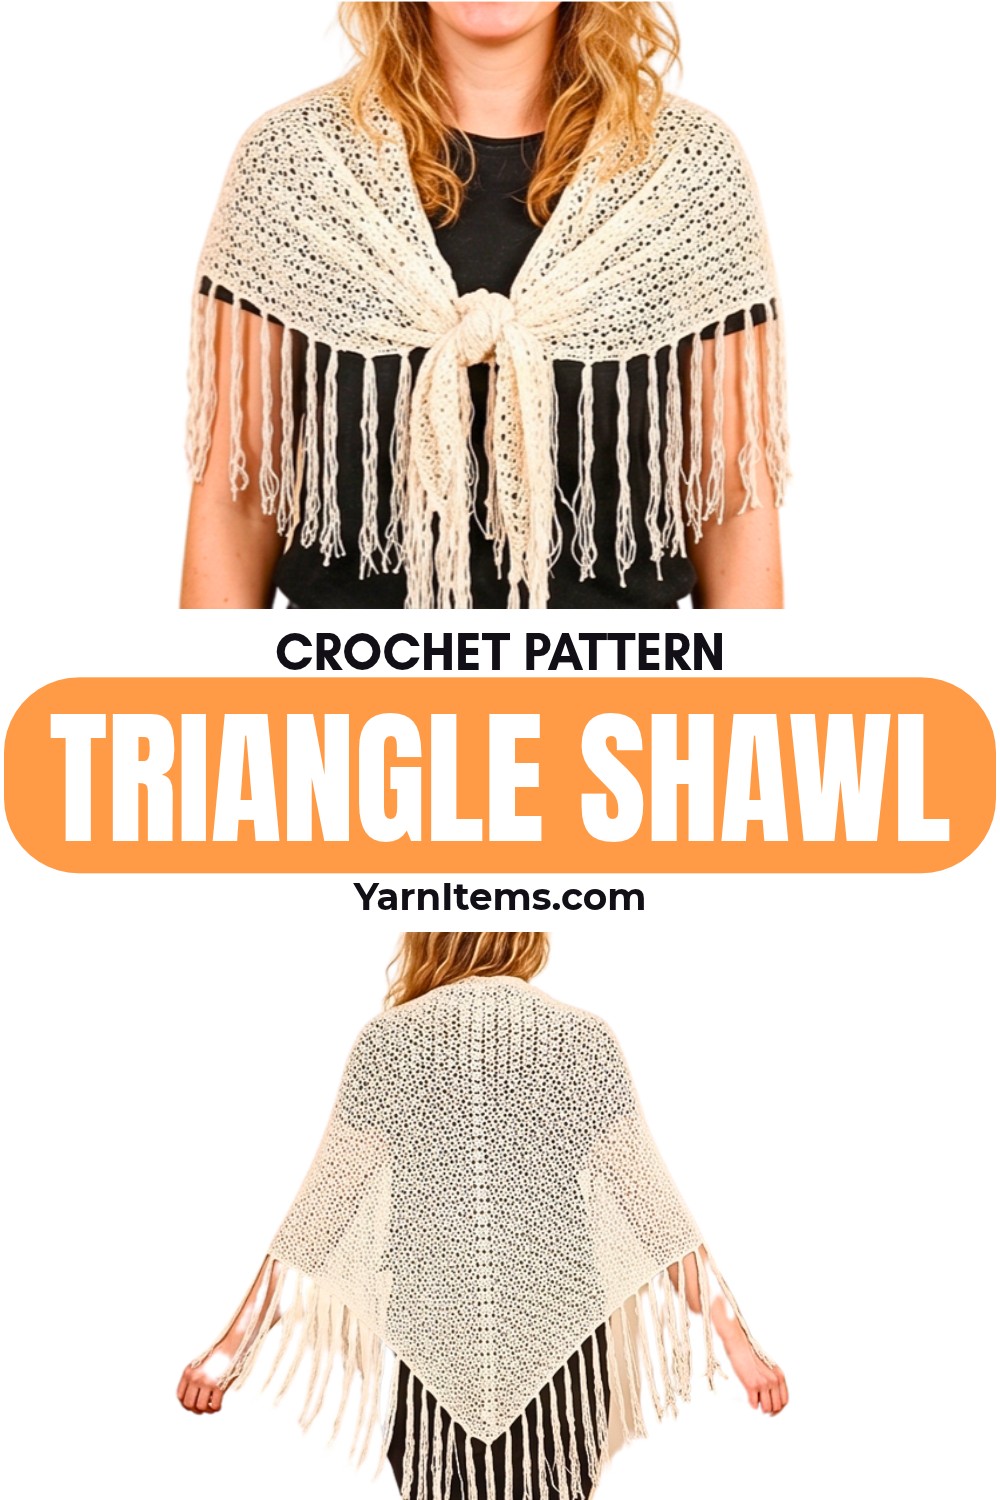
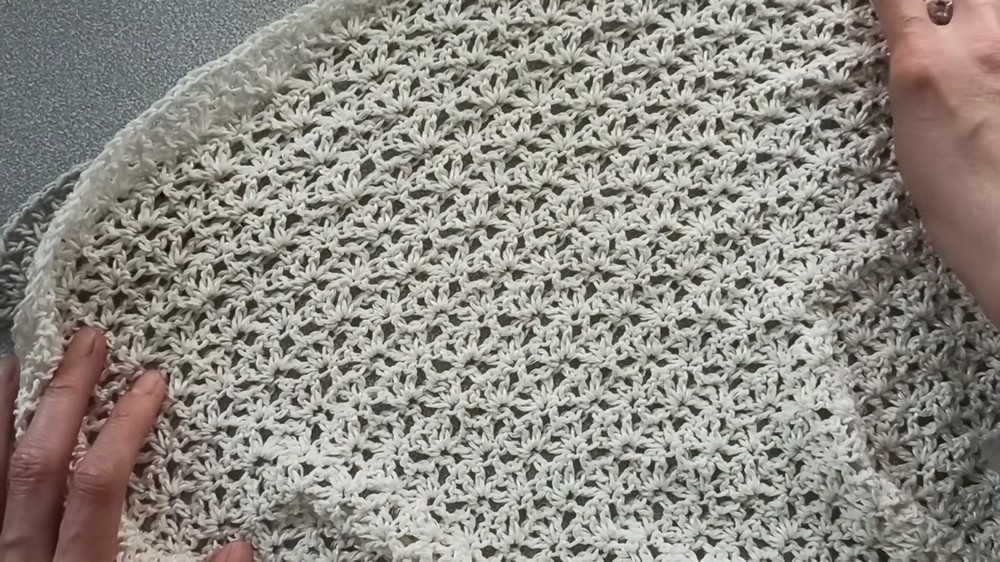
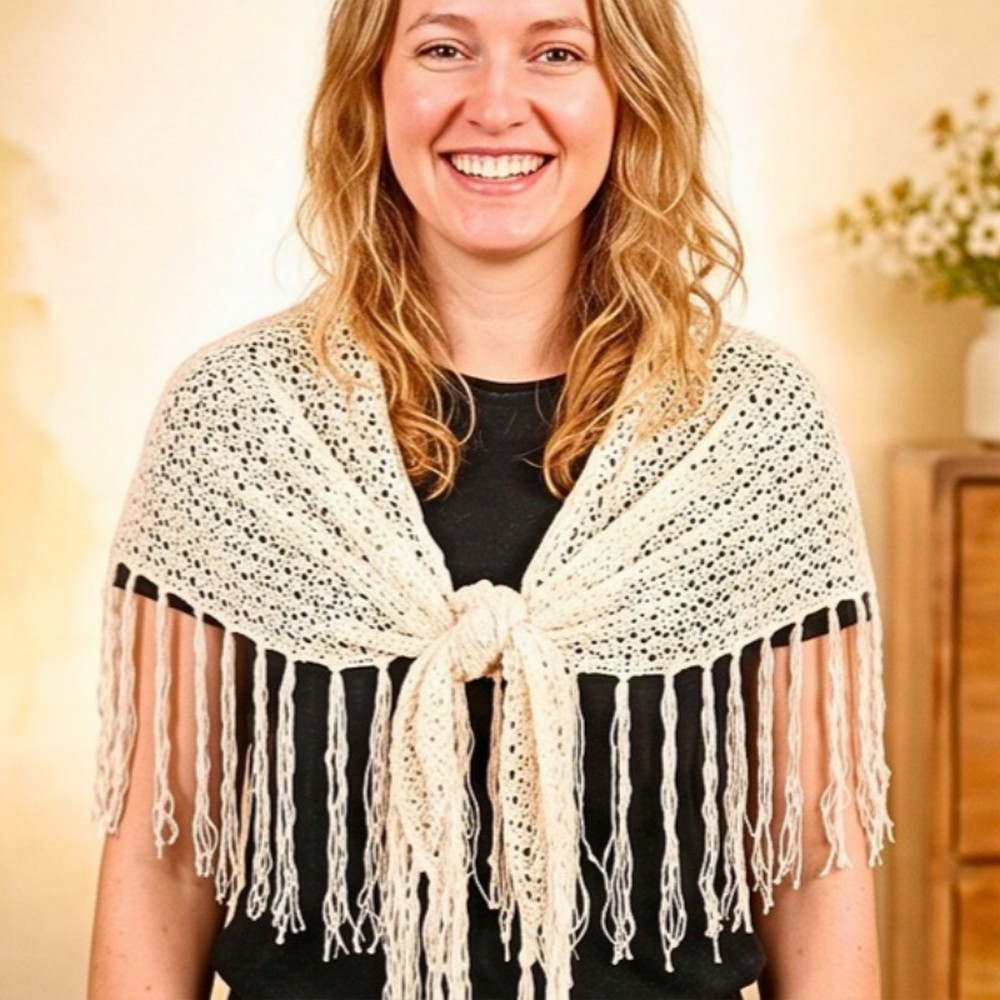
A triangle crochet shawl can be a simple way to create something that looks delicate and beautifully finished. Made with Cotton Viscose yarn featuring subtle shiny threads, this crochet design develops into an open-work triangle with a flowing shape that can be worn as a generous shawl or a smaller neckerchief.
Inside, you’ll find the complete crochet pattern from the starting ring through the first three rows, where the stitch placement is established. From Row 4 onward, the same sequence is repeated as the shawl grows, so you can continue until you reach the size you want before finishing the edges and adding optional tassels to the three corners.
Credit Crochet with GG
Materials & Tools Needed
- Yarn: Approximately 400g of Cotton Viscose yarn. The tutorial uses a beautiful option with subtle shiny threads running through it.
- Crochet Hook: 3.5 mm hook.
- Notions: Scissors and a tapestry needle for weaving in ends.
- Optional: Tassels for the corners.
Finished Size & Customization Ideas
For a large shawl, crochet until the top edge, or wingspan, measures a minimum of 160 cm.
For a bandana or neckerchief, stop crocheting when the wingspan reaches approximately 100 cm.
The size can be adjusted because the later pattern uses a simple one-row repeat. Add or subtract rows as you go until the shawl reaches the dimensions you want.
For an elegant finishing detail, tassels can be attached to the three corners of the triangle.
Pattern Abbreviations & Terminology
The pattern is written in US terminology.
- ch: chain
- st(s): stitch(es)
- sl st: slip stitch
- dc: double crochet
- sk: skip
- 3-dc group (Increase Shell): (1 dc, ch 1, 1 dc, ch 1, 1 dc) all worked into the same indicated stitch.
Turning Chain Note: The starting chain 4 at the beginning of each row counts as 1 double crochet and a chain-1 space.
Getting Started
You can begin the shawl in either of two ways:
Method 1: Ch 4, then sl st into the first ch to form a ring.
Method 2: Make a magic circle, which is the method shown in the video.
The instructions below begin with the magic circle method.
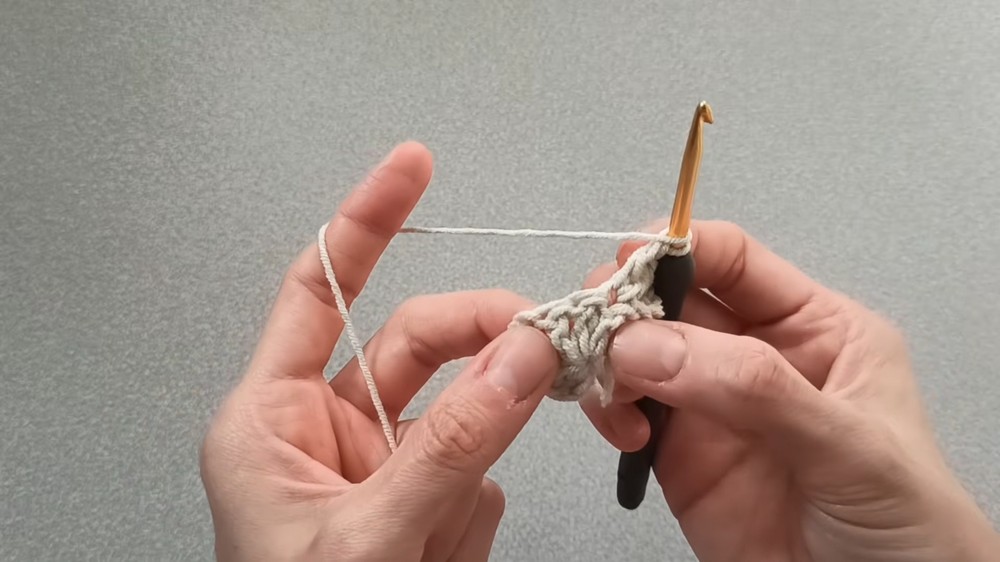
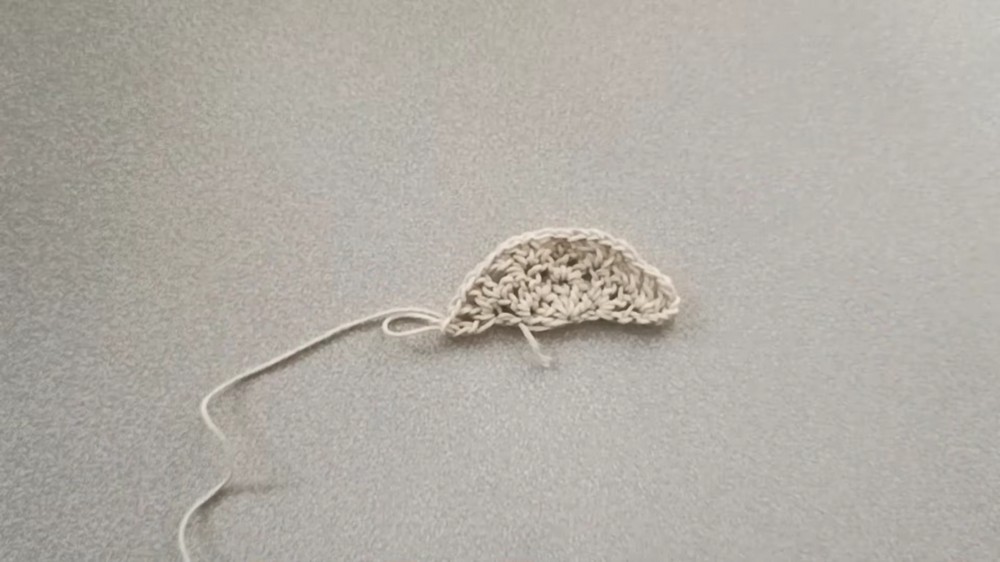
Row 1: Make a magic circle. Ch 4 (counts as 1 dc + ch 1). Working directly into the ring, make (1 dc, ch 1, 1 dc). Teaching Note: The starting ch-4 and these 2 dc form the first 3-dc group. Make 1 dc into the ring. Make a 3-dc group into the ring: (1 dc, ch 1, 1 dc, ch 1, 1 dc). Pull the magic circle tight to lock it closed. Stitch Count: Two 3-dc groups, one single dc in the center.
Keep the Center Placement Clear
The first row creates the starting arrangement for the shawl: two 3-dc groups with one single dc between them. This placement is important because the following rows work directly from these stitches.
Row 2: Ch 4, turn. In the very first stitch at the base of your starting chain, make (1 dc, ch 1, 1 dc). Teaching Note: This forms the starting increase shell. Sk the next dc, and in the middle dc of the previous row’s 3-dc group, make 1 dc. Sk the next dc. You should now be at the single dc from the previous row. In the top of that single dc, make a 3-dc group: (1 dc, ch 1, 1 dc, ch 1, 1 dc). Sk the next dc. In the middle dc of the next 3-dc group, make 1 dc. Sk the next dc. In the final stitch, the top of the starting chain from the previous row, make a 3-dc group: (1 dc, ch 1, 1 dc, ch 1, 1 dc). Stitch Count: Three 3-dc groups, two single dcs.
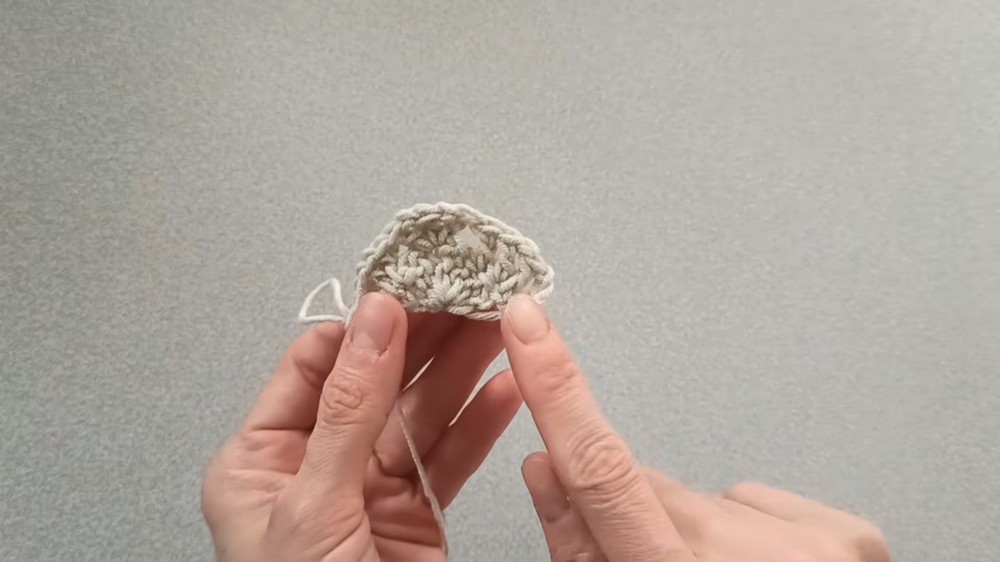
Row 3: Ch 4, turn. In the first stitch, make (1 dc, ch 1, 1 dc). Sk the next dc, make 1 dc in the middle dc of the previous row’s 3-dc group. Sk the next dc, make a 3-dc group (1 dc, ch 1, 1 dc, ch 1, 1 dc) in the next single dc. Sk the next dc, make 1 dc in the middle dc of the next 3-dc group. Sk the next dc, make a 3-dc group in the next single dc. Sk the next dc, make 1 dc in the middle dc of the last 3-dc group. Sk the next dc. In the final stitch, at the top of the turning chain, make a 3-dc group. Stitch Count: Four 3-dc groups, three single dcs.
The Repeat Is Now Established
Row 3 sets up the sequence used for the remaining rows. From this point, the pattern alternates between the middle dc of each 3-dc group and the single dc from the previous row, with each receiving its specified stitch.
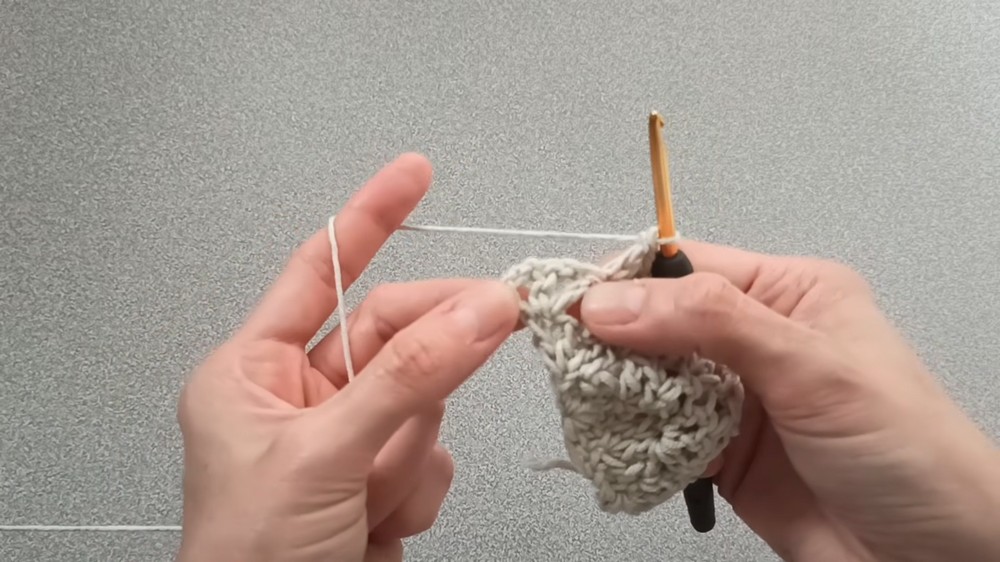
Row 4 and Beyond: Always start with a Ch 4 and (1 dc, ch 1, 1 dc) in the very first stitch. Always make 1 dc into the middle dc of every 3-dc group from the previous row. Always make a 3-dc group (1 dc, ch 1, 1 dc, ch 1, 1 dc) into every single dc from the previous row. Always finish with a 3-dc group in the top of the turning chain.
Repeat this single row until your shawl reaches your desired dimensions.
Adjusting the Finished Size
The shawl can be stopped at different sizes depending on how you want to use it.
For a large shawl, continue until the wingspan measures at least 160 cm.
For a bandana or neckerchief, stop at approximately 100 cm.
Because Row 4 and beyond use the same sequence, you can add or subtract rows while working to reach your preferred dimensions.
Finishing & Optional Tassels
Once you reach your desired size, fasten off the yarn.
Use a tapestry needle to securely weave in the starting and ending tails.
The shawl is worked in one continuous piece, so no seaming or separate assembly is required.
For an optional decorative finish, cut equal lengths of yarn and attach thick, handmade tassels to the three corners of the triangle. This gives the shawl additional drape and movement.