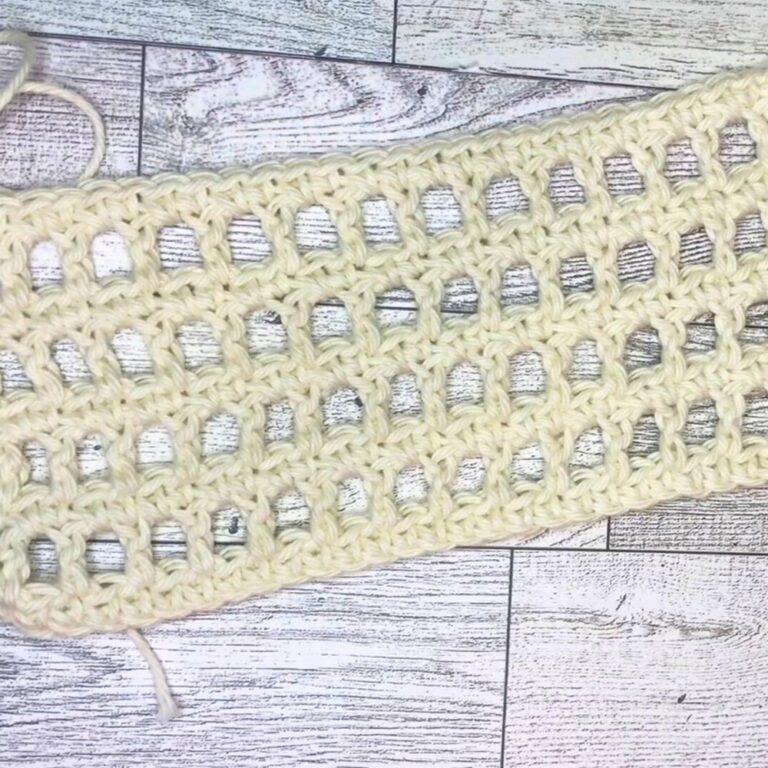
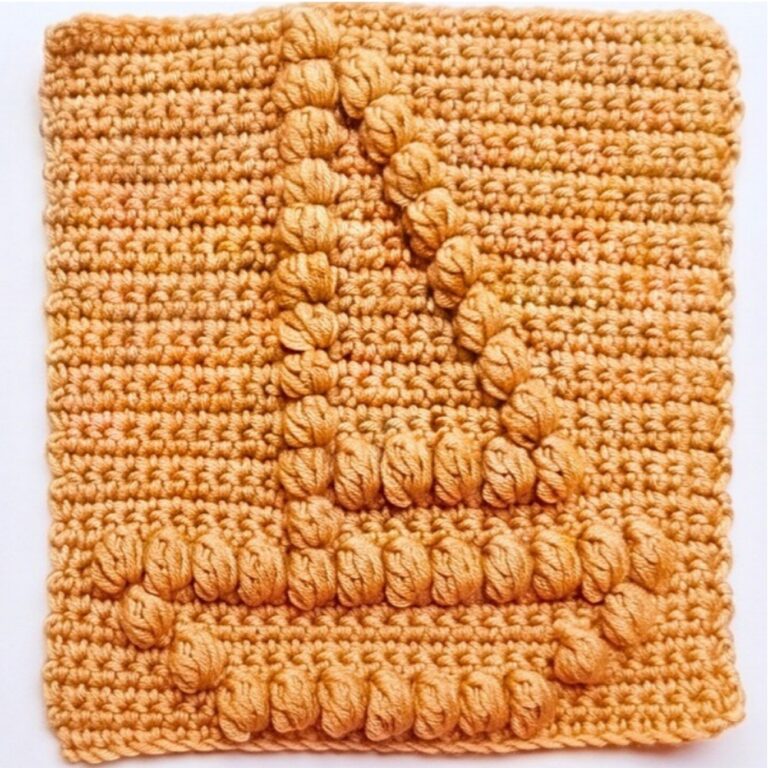
Crochet Celtic Weave Stitch Pattern with Amazing Texture
Some crochet stitches create color, while others create depth. The Celtic Weave Stitch does both by forming bold, interwoven lines that instantly catch the eye. Its braided appearance gives blankets, cushions, and many other pieces.
A striking textured finish without relying on complicated shaping. This crochet pattern shows how those woven details come together one step at a time.

Although the design looks detailed at first glance, it grows from a simple two-row repeat that becomes easy with practice. Front and back post double crochets work together to build the signature woven effect across the fabric. Once you understand the rhythm, you’ll be able to use this stitch in everything from cozy home décor to wearable crochet pieces with confidence.
Credit Exquisite Crochet UK
Materials & Tools Needed
Yarn:
- Bulky weight yarn (Category 5) was used in the tutorial for a clear texture display. You can substitute with any weight yarn.
- Feel free to experiment with different yarn types to achieve unique effects.
Crochet Hook:
- Choose a hook size that matches your yarn. For bulky yarn, typically 6.0 mm to 8.0 mm works best.
- Pro Tip: If you crochet tightly, consider going up a hook size to ensure your stitches remain soft and flexible.
Other Tools:
- Scissors: For trimming yarn.
- Tapestry needle: To weave in ends securely.
Finished Size & Customization Ideas
Sizing:
- This stitch is incredibly versatile! To create a standard dishcloth or swatch, work over 22 stitches (5 multiples of 4, plus 2).
Multiples:
- The pattern is worked over a multiple of 4 + 2 stitches.
design Ideas:
- Winter Accessories: Cowls, beanies, or scarves.
- Home Décor: Thick, textured throw or baby blankets.
- Dishcloths & Hot Pads: Perfect for functional yet stylish kitchen items, thanks to the squishy fabric.
Pattern Abbreviations & Terminology
This pattern uses US Crochet Terms (UK equivalents are given in parentheses).
- Ch: Chain
- St(s): Stitch(es)
- Dc: Double Crochet (UK: Treble Crochet – tr)
- Fdc: Foundation Double Crochet
- FPdc: Front Post Double Crochet (UK: Front Post Treble Crochet – FPtr)
- BPdc: Back Post Double Crochet (UK: Back Post Treble Crochet – BPtr)

Step-by-Step Crochet Instructions
Crucial Tension Tip:
Work all post stitches (FPdc and BPdc) loosely to prevent warping or inward pulling of the fabric.
1. Row 1: Foundation Row (Base Row)
Start with a slip knot followed by 2 chains.
If using Foundation Double Crochet (Fdc):
- Yarn over, insert the hook into the 2nd chain from your hook. Yarn over, pull up a loop (3 loops on hook).
- Yarn over, pull through 1 loop (this creates the base chain).
- Yarn over, pull through 2 loops twice (this completes the double crochet).
- For subsequent Fdc stitches, yarn over, insert the hook under both loops of the base chain just created, and repeat steps 2–3.
Alternative (using traditional chains):
- Chain a multiple of 4 + 4.
- Work 1 Dc in the 4th chain from the hook and 1 Dc in each chain across to reach your desired stitch count.
- Turn your work.

2. Row 2: Front Post Crossing Row (Forward Facing Lean)
- Ch 2 (does not count as a stitch). Turn your work.
- Border Stitch: Work 1 standard Double Crochet (Dc) in the first stitch.
- Skip and Post: Skip 2 stitches, then work 1 loose FPdc around the next 2 stitches (the 3rd and 4th stitches of the group).
- Cross Over: Go back to the skipped stitches. Working in front of the post stitches you just made, work 1 loose FPdc around each of the 2 skipped stitches.
- Repeat: Continue steps 3–4 across the row, stopping when 1 stitch remains.
- Border Stitch: Work 1 standard Dc in the last stitch. Turn your work.

3. Row 3: Back Post Crossing Row (Backward Facing Lean)
- Ch 2. Turn your work.
- Border Stitch: Work 1 standard Dc in the first stitch.
- Offset Posts: Work 1 BPdc around the next 2 stitches.
- Skip and Post: Skip 2 stitches, then work 1 loose BPdc around the next 2 stitches.
- Cross Behind: Go back to the skipped stitches. Working behind the post stitches you just made, work 1 loose BPdc around each of the 2 skipped stitches.
- Tip: Use your index finger to gently push post stitches forward—their visibility makes it easier to hook from the back.
- Repeat: Continue steps 4–5 across, stopping when 3 stitches remain.
- End Offset: Work 1 BPdc around the next 2 stitches.
- Border Stitch: Work 1 standard Dc in the last stitch. Turn your work.
4. Row 4+: Repeat & Finish (Building the Fabric)
- Simply repeat Row 2 and Row 3 sequentially to grow your project.
- As more rows are added, the gorgeous diagonal interlocking layers will emerge, creating intricate texture.
- To finish: Once your piece reaches the desired length, fasten off and weave in loose yarn tails using a tapestry needle.

Notes for Success
- Experiment with different yarn colors to further highlight the texture.
- Perfect as a beginner-friendly introduction to post stitches, or simply a relaxing textured piece.