Crochet Miffy Keychain Tutorial In Cute Bunny Design
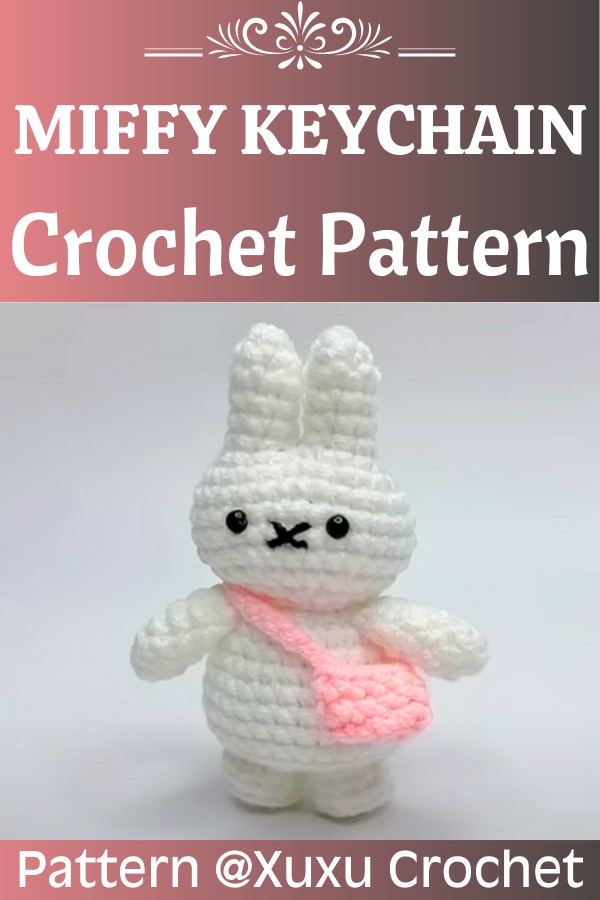
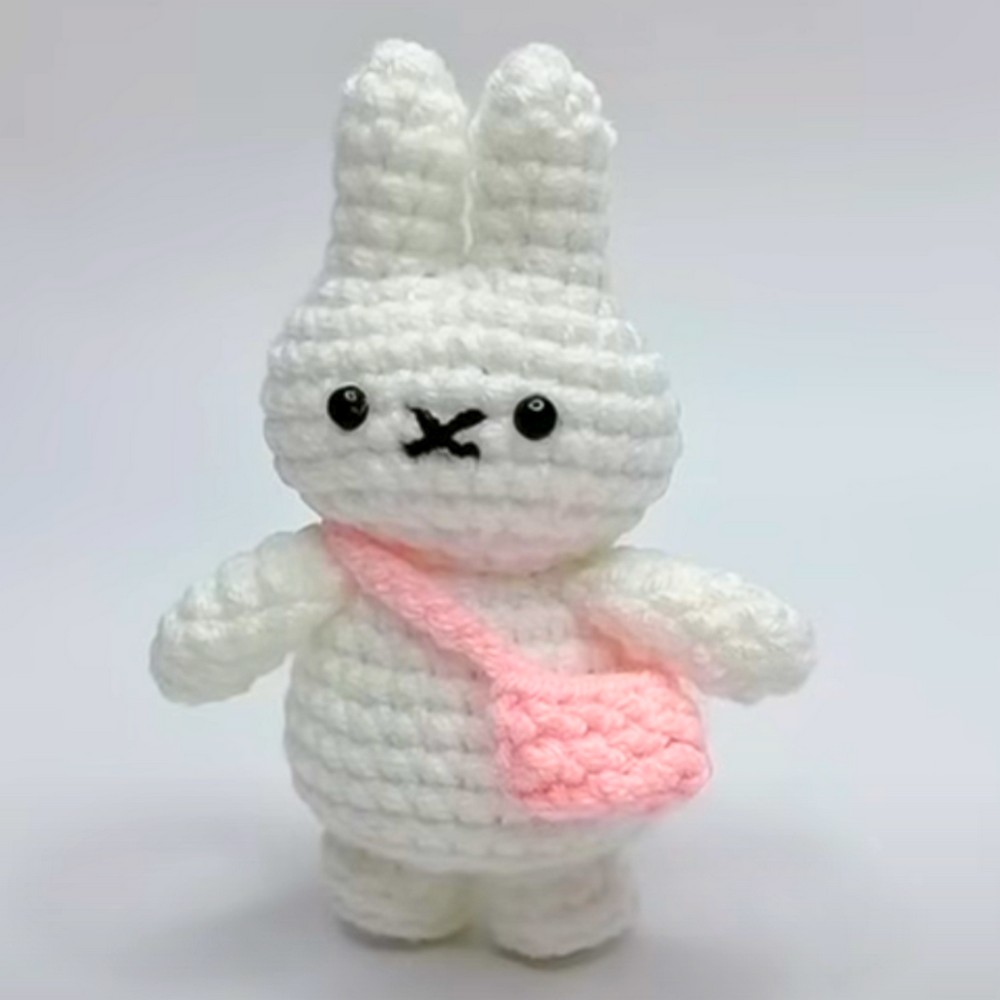
A tiny crochet bunny can turn an everyday bag ollr set of keys into something much more personal. This Crochet Miffy Keychain captures that simple charm in a compact handmade piece, complete with upright ears, a sweet little face, and a miniature crossbody bag. At around 10–12 cm tall, it is small enough to carry easily while still having plenty of character.
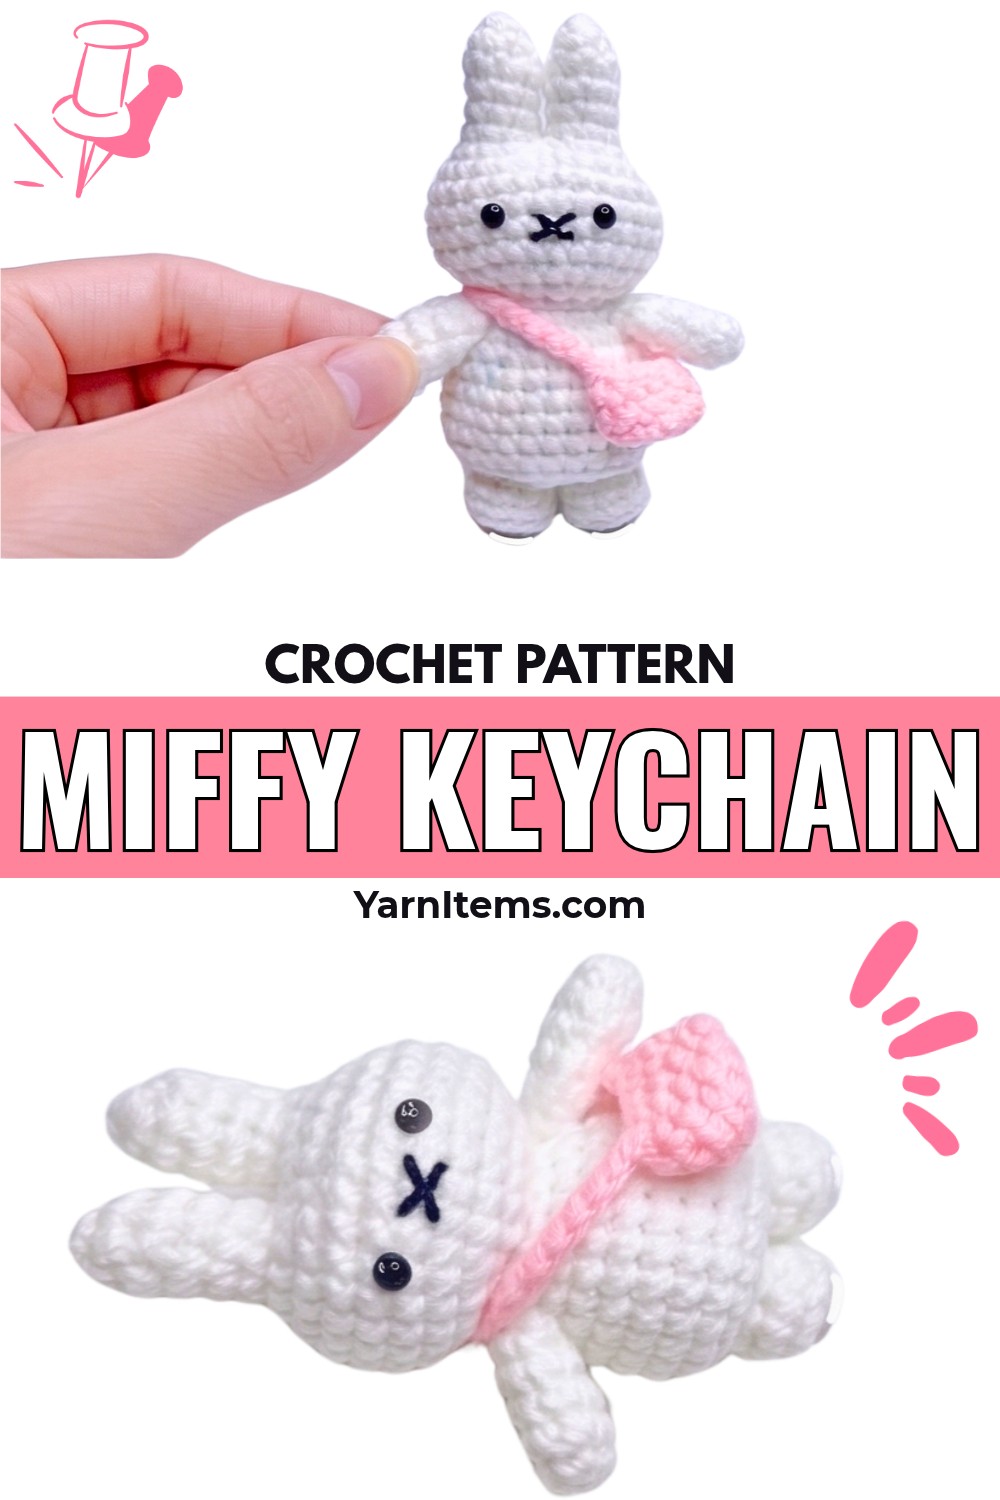
There is something especially lovely about handmade charms that become part of the things you use every day. Hang this little bunny from your keys, backpack, purse, or a favorite zipper, or make one as a thoughtful gift for someone who enjoys cute character-inspired accessories.
The pink shoulder bag and simple embroidered details give the finished crochet piece a playful look without making it overly complicated.
Credit Xuxu Crochet
Materials & Tools Needed
Yarn
Use 4-ply yarn, 50 g:
-
White: Body, head, ears, arms, and feet
-
Pink: Shoulder bag
-
Black: Mouth embroidery, using 2 strands
Crochet Hook
-
2.5 mm crochet hook
Eyes
-
Two 4 mm black safety eyes or flat-backed black beads
Stuffing
-
Fiberfill or polyester stuffing
Other Tools
-
Tapestry needle
-
Stitch marker
-
Scissors
-
Hot glue gun
-
Keychain ring with jump ring
Finished Size & Customization
The completed Miffy-inspired keychain measures approximately 10–12 cm (about 4 inches) tall.
You can give your bunny a slightly different personality with a few simple changes:
-
Replace the pink shoulder bag with pastel blue, yellow, or mint green.
-
Add a tiny crochet flower or bow beside one ear.
-
Attach a charm hook instead of a traditional keyring to use it as a bag charm, hanging ornament, or small desktop decoration.
Pattern Notes
Before beginning, keep these details in mind:
-
The pattern uses US crochet terminology.
-
Work the ears, head, body, arms, and legs in continuous rounds unless otherwise stated.
-
The shoulder bag is worked in joined rounds.
-
Place a stitch marker in the first stitch of each round.
-
Work through both loops unless the pattern specifically says FLO or BLO.
-
Keep your tension firm enough to prevent stuffing from showing through the stitches.
Abbreviations
-
MR: Magic Ring
-
ch: Chain
-
sc: Single Crochet
-
inc: Increase (2 sc in the same stitch)
-
dec: Invisible Decrease (sc 2 stitches together)
-
sl st: Slip Stitch
-
FLO: Front Loop Only
-
BLO: Back Loop Only
-
st(s): Stitch(es)
-
[ ] x N: Repeat instructions inside brackets N times
-
(N): Total stitch count at the end of the round
Tips Before You Start
-
Keep your tension firm. Tight, even stitches help the stuffed pieces hold their shape and keep fiberfill from showing through small gaps.
-
Use invisible decreases. They create a smoother surface, which is especially helpful when shaping the head and body.
-
Check the ears before finishing. Keep them close together and parallel so the bunny has a neat, upright silhouette once the head is assembled.
Step-by-Step Crochet Pattern
1. Ears — Make 2
White yarn
Ear 1
-
Rnd 1: MR, ch 1, work 6 sc into the ring. Pull the ring tight. (6)
-
Rnd 2: [2 sc, inc] × 2. (8)
-
Rnds 3–6: 1 sc in each stitch around for 4 rounds. (8)
Fasten off with a sl st and lightly stuff the ear with fiberfill.
Ear 2
-
Repeat Rnds 1–6 using the same instructions.
-
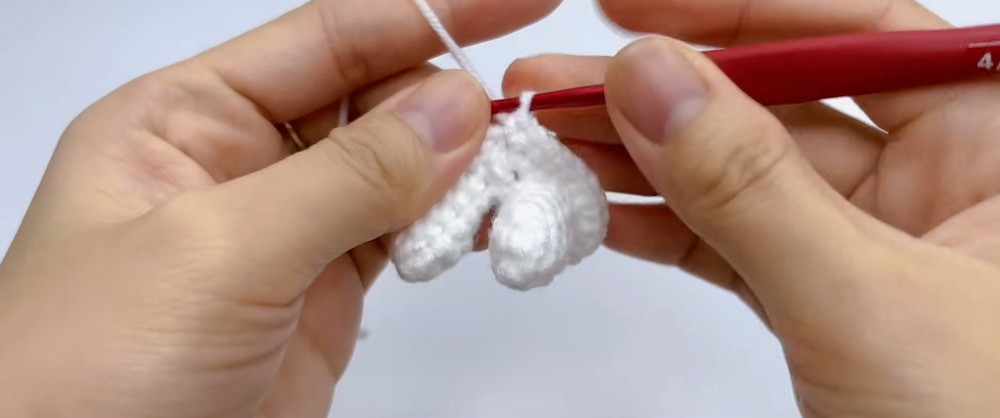
Do not fasten off after the final round. Lightly stuff the ear and continue directly to the joining round.
2. Join the Ears, Head & Body
White yarn
Joining the Ears
-
Rnd 7: Insert the hook into the slip stitch of Ear 1 to join.
-
On Ear 1: [1 sc, inc] × 4. (12)
-
On Ear 2: [1 sc, inc] × 4. (12)
-
Total: 24 stitches
-
-
Rnd 8: 4 sc, 3 inc, 9 sc, 3 inc, 5 sc. (30)
-
Use the yarn tail from Ear 1 and a tapestry needle to close the small gap between the ears.
-
-
Rnds 9–12: 1 sc in each stitch around for 4 rounds. (30)
-
Rnd 13: [3 sc, dec] × 6. (24)
-
Rnd 14: [1 sc, dec, 1 sc] × 6. (18)
-
Firmly stuff the head and ears with fiberfill.
-
-
Rnd 15: [1 sc, dec] × 6. (12)
Body
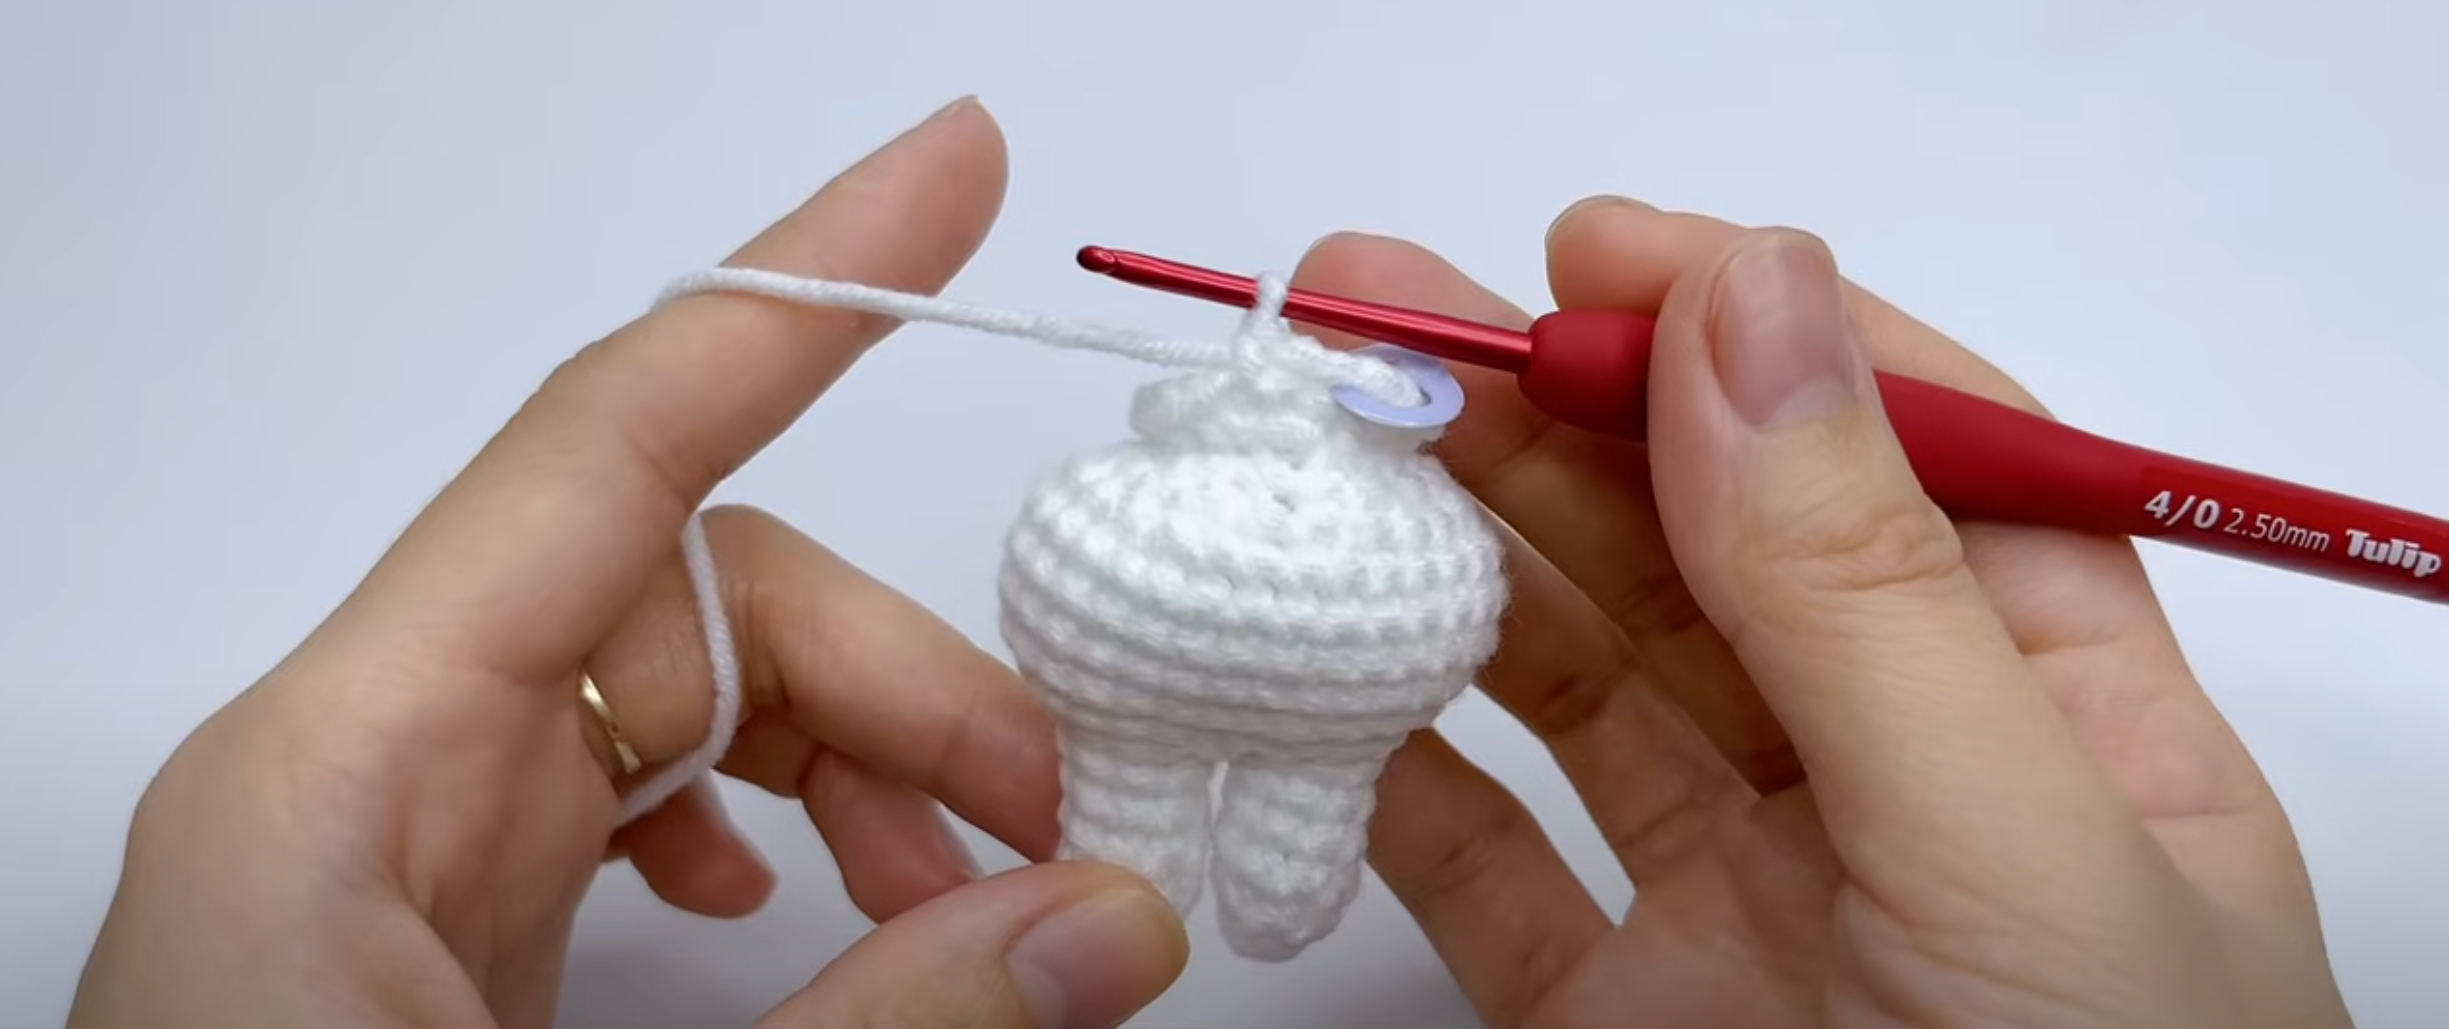
7. Rnd 16 (FLO): 12 inc. (24)
8. Rnds 17–18: 1 sc in each stitch around for 2 rounds. (24)
9. Rnd 19: [5 sc, inc] × 4. (28)
10. Rnds 20–23: 1 sc in each stitch around for 4 rounds. (28)
11. Rnd 24 (BLO): [2 sc, dec] × 7. (21)
12. Rnd 25: [1 sc, dec] × 7. (14)
* Firmly stuff the body with fiberfill.
13. Rnd 26: 7 dec. (7)
Fasten off, leaving a yarn tail. Weave the tail through the front loops of the final 7 stitches, pull gently to close the opening, and weave in the remaining end.
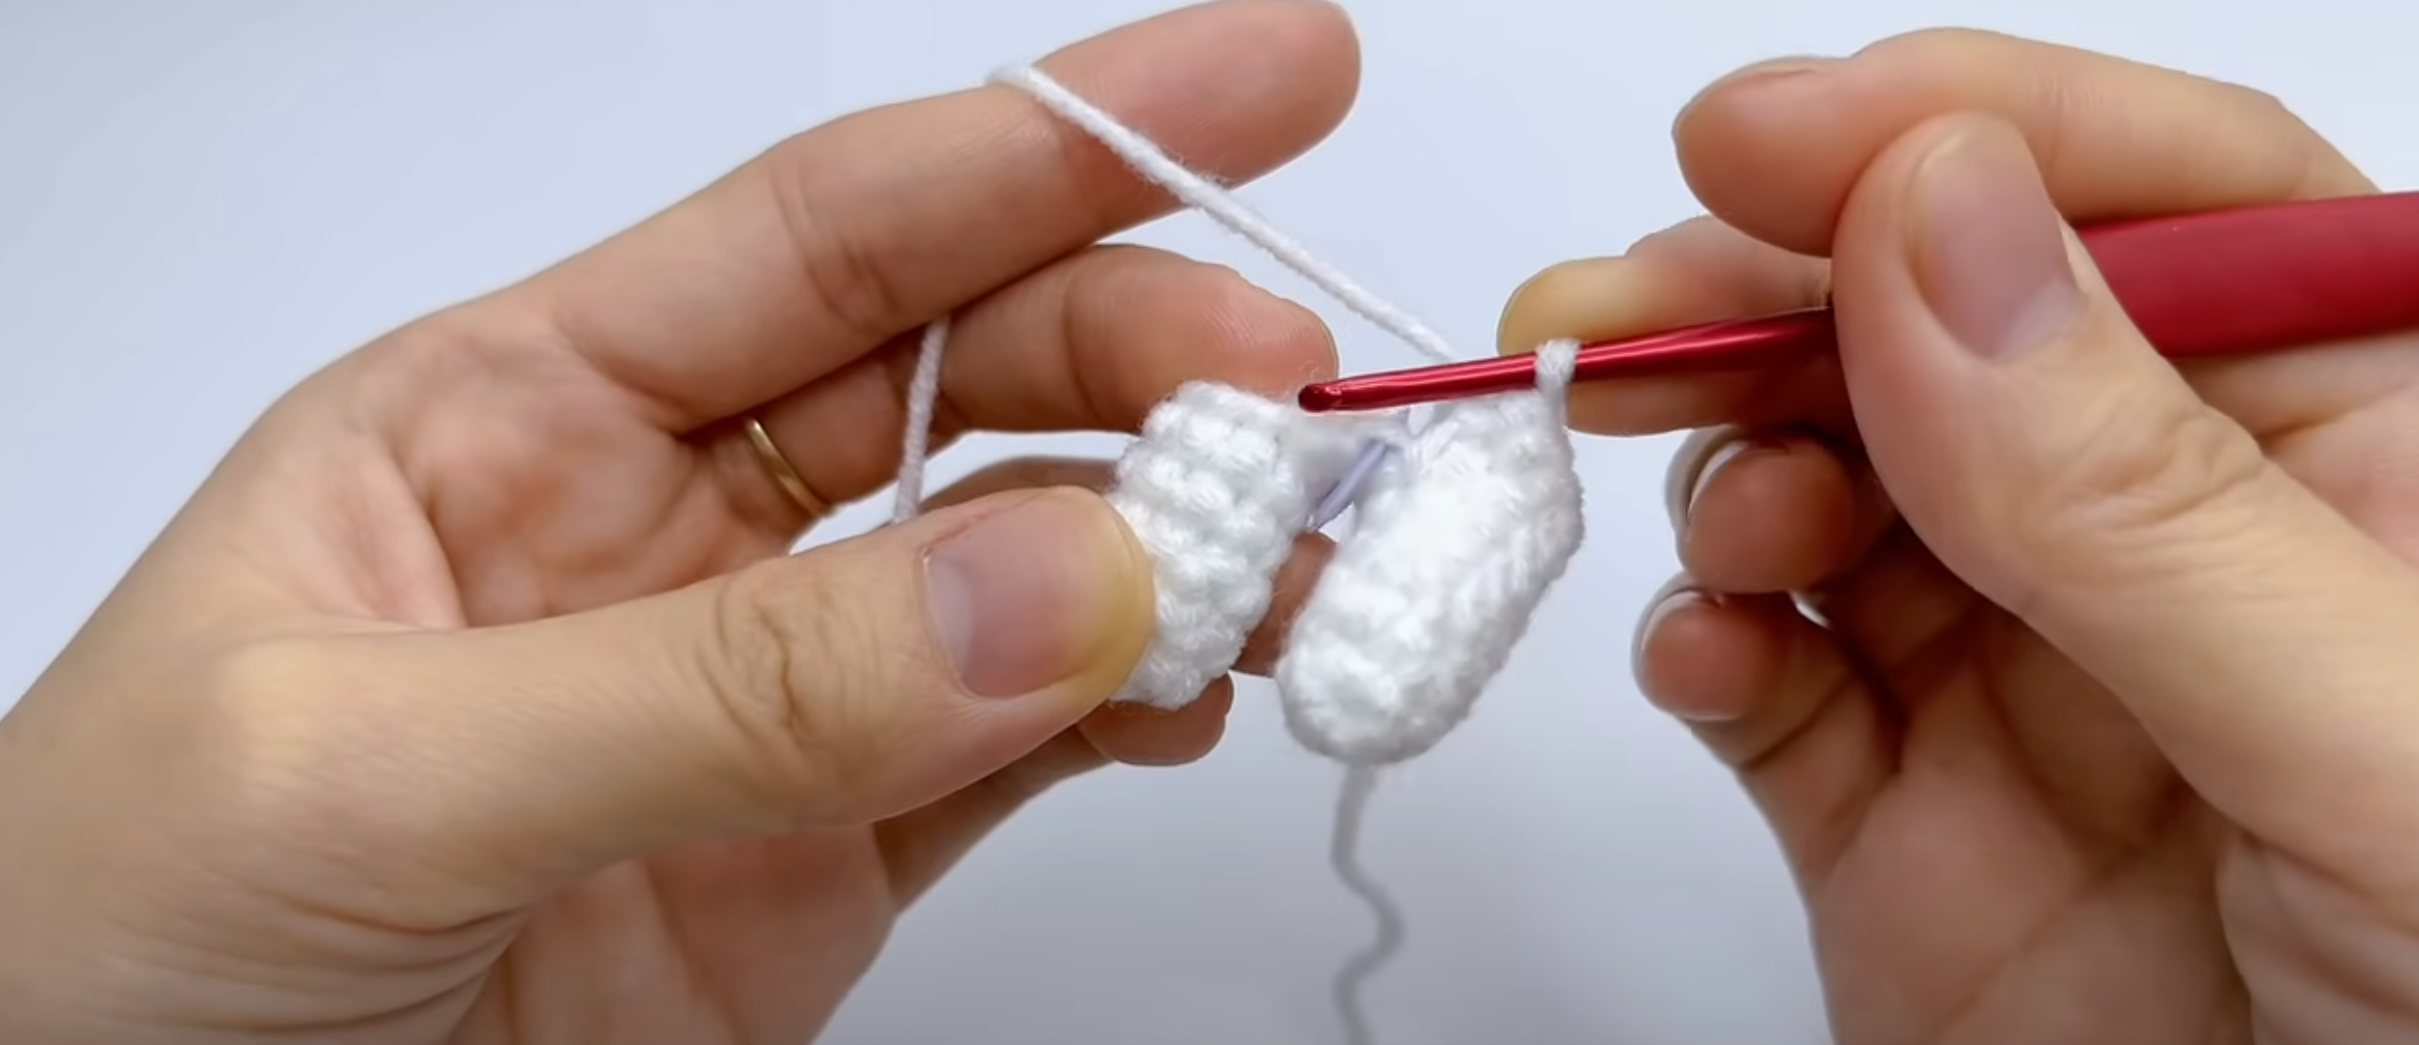
3. Arms — Make 2
White yarn
-
Rnd 1: MR, ch 1, work 6 sc into the ring. Pull tight. (6)
-
Rnd 2: [2 sc, inc] × 2. (8)
-
Rnds 3–5: 1 sc in each stitch around for 3 rounds. (8)
-
Rnd 6: [2 sc, dec] × 2. (6)
Sl st into the next stitch and fasten off, leaving a long tail for attaching the arms. Do not stuff the arms.
4. Feet / Legs — Make 2
White yarn
-
Rnd 1: MR, ch 1, work 5 sc into the ring. Pull tight. (5)
-
Rnd 2: 5 inc. (10)
-
Rnd 3 (BLO): 1 sc in each stitch around. (10)
-
Rnd 4: 1 sc in each stitch around. (10)
Fasten off with a sl st and weave in the yarn tail. Lightly stuff each foot.
5. Crossbody Shoulder Bag
Pink yarn
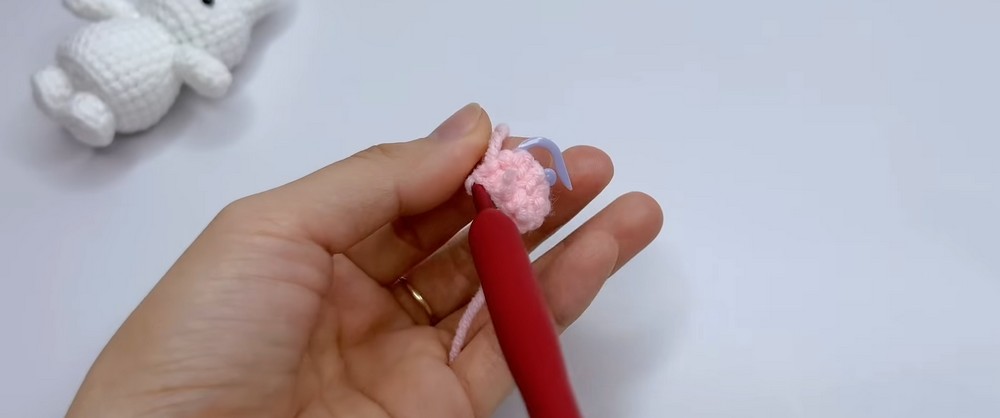
Bag
-
Foundation Chain: Ch 5.
-
Rnd 1: Skip the first chain from the hook. Work 1 sc in each of the next 3 chains, then work 3 sc in the final chain. Turn to the opposite side of the foundation chain, work 1 sc in the next 2 chains, then inc in the final chain. Sl st to the first sc and ch 1. (10)
-
Rnds 2–3: 1 sc in each stitch around. Sl st to the first sc and ch 1. (10)
Strap
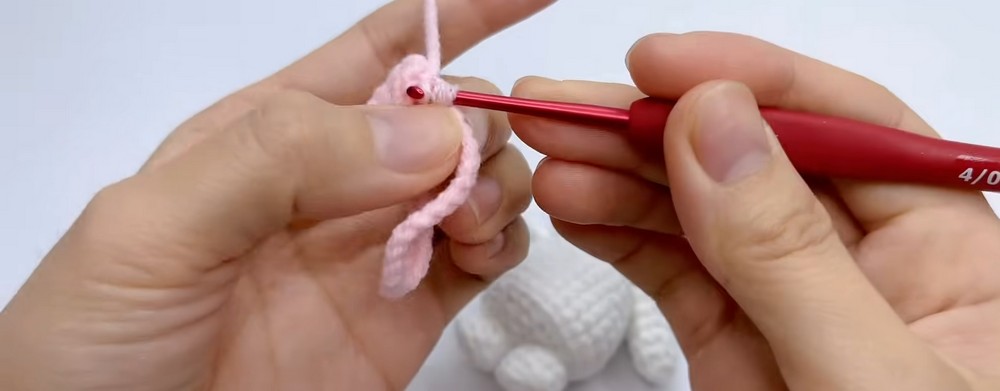
-
Ch 24, or adjust the chain length according to how you want the bag to sit across the bunny.
-
Attach the strap to the opposite side of the bag with a sl st.
-
Fasten off and weave in the ends.
Final Assembly
Now the separate pieces come together to give the bunny its recognizable character.
-
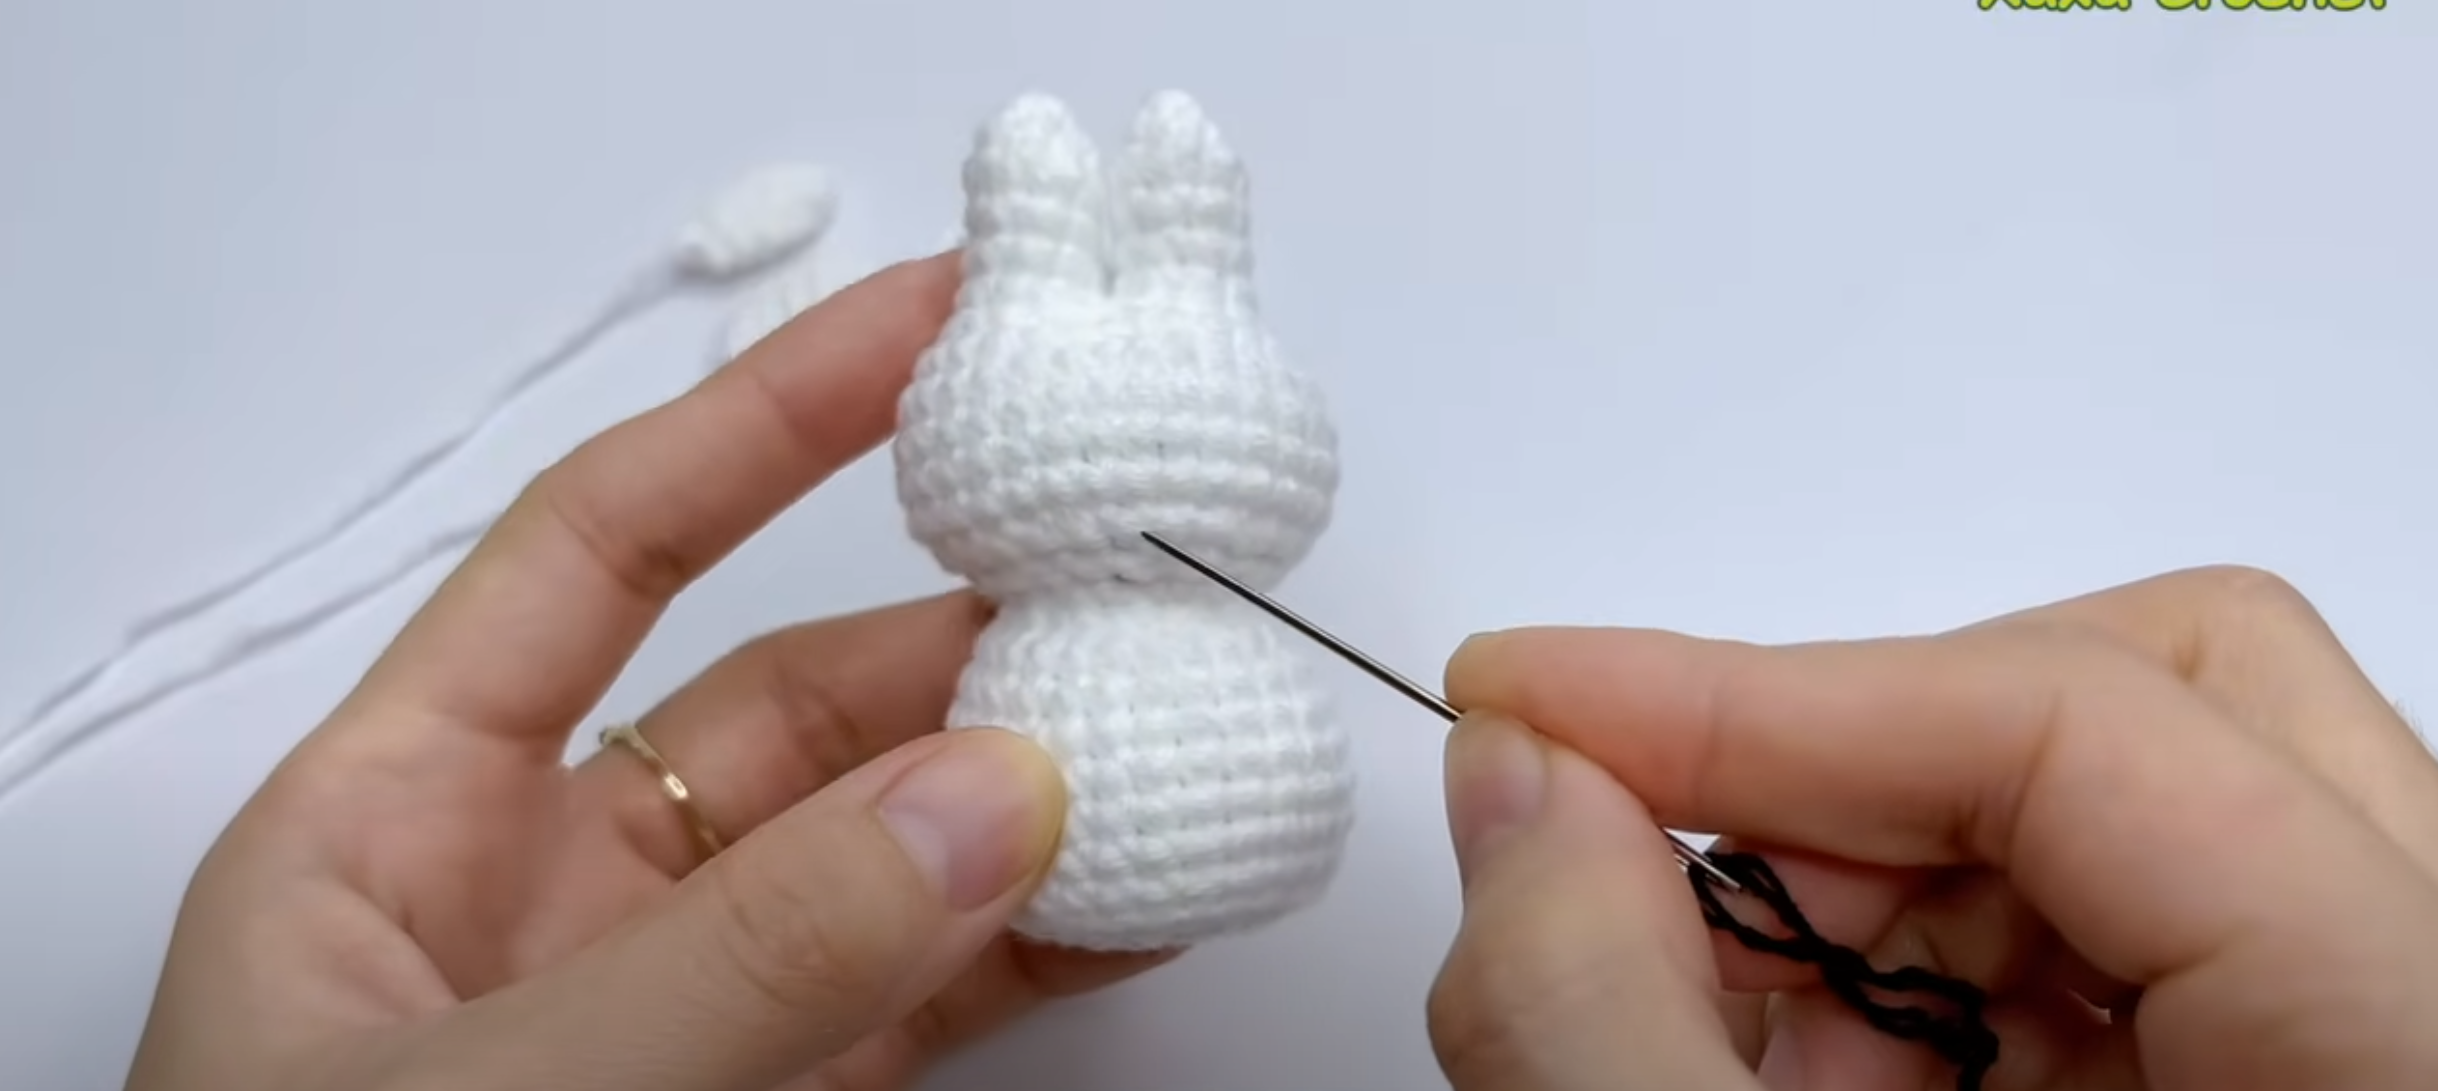
Embroider the Mouth: Using black yarn held in 2 strands, embroider the small “X” mouth on Round 5, positioned above the neckline.
-
Attach the Eyes: Place two 4 mm black safety eyes or beads approximately one stitch apart, positioned on either side of the mouth.
-
Sew on the Arms: Attach the arms just below the neckline, around Rnds 16–17.
-
Attach the Feet: Position the feet side by side at the bottom center of the body. Secure them with sewing or hot glue.
-
Add the Shoulder Bag: Place the pink crossbody bag over the bunny’s shoulder and adjust the strap so it sits neatly across the body.
-
Add the Keychain: Attach a jump ring and keychain loop between the bunny’s ears.
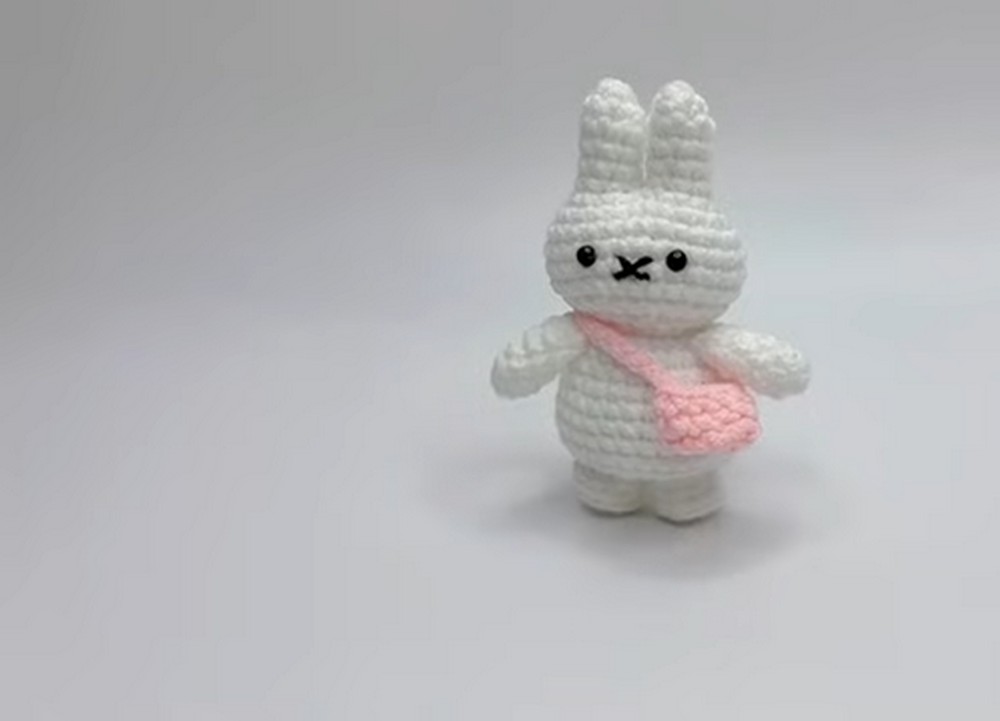
Your Miffy Keychain Is Ready!
That final little bag and pair of upright ears give this crochet bunny its signature charm. Once the keychain ring is attached, it is ready to add personality to your keys, backpack, purse, or favorite zipper. It also makes a sweet handmade gift for anyone who enjoys small character-inspired crochet pieces.