Crochet Shell and V-Stitch Blanket Pattern In Rectangle Design
This crochet blanket grows from a small rectangle into a colorful shell-and-V-stitch design, with easy two-round repeats for adjusting the size as you go.
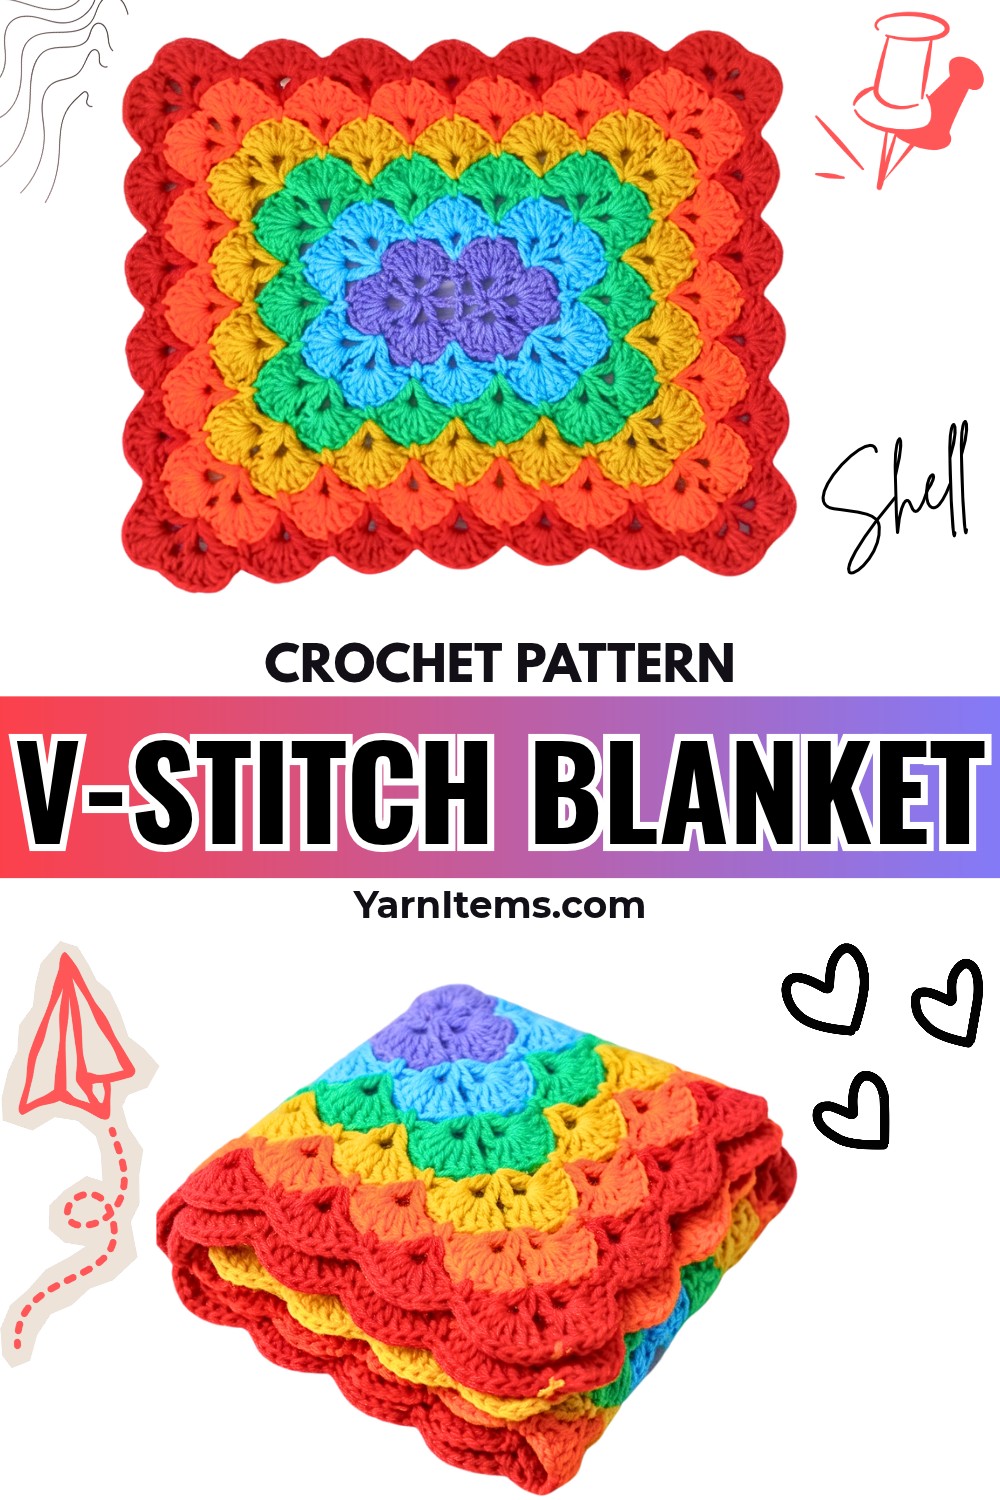
Colorful shell bands give this crochet blanket a textured, scalloped look without requiring complicated shaping. The crochet rectangle grows outward through a simple two-round rhythm, making it easy to stop at a size that suits a baby blanket, lap blanket, or larger throw.
Working with two hook sizes at the beginning and then alternating a V-Stitch Skeleton round with a Shell round creates the repeating structure. You’ll also see exactly where the corner clusters belong, how the long chain spaces are anchored, and how to extend the blanket without changing its basic crochet design.
Crediit Simple Crochet
Choose the Blanket Size
The most important sizing decision happens at the foundation.
For the starting rectangle, increase or decrease the foundation chain as needed, keeping the total chain count a multiple of 3. The supplied tutorial begins with 11 chains, so follow that foundation exactly when making the original version.
Once the first two rounds are established, the blanket grows simply by repeating Round 3 and Round 4. That means you do not need a separate size calculation for every new round. Continue the two-round sequence until the rectangle reaches the dimensions you want.
For a striped version, change colors before each V-Stitch Skeleton round. For a solid blanket, keep the same yarn color throughout and avoid the extra ends created by color changes.
Materials & Tools
- 3.0 mm crochet hook: Used for the foundation chain only
- 2.5 mm crochet hook: Used for the remainder of the blanket
- 4-ply yarn: Use multiple colors or one solid color
- Scissors
- Yarn needle: For weaving in the finished ends
Abbreviations
- ch: Chain
- sl st: Slip Stitch
- sc: Single Crochet
- dc: Double Crochet
- st(s): Stitch(es)
- sp: Space
- V-st: 1 dc, ch 1, 1 dc in the same stitch or space
- Corner Cluster: 1 dc, ch 1, 1 dc, ch 3, 1 dc, ch 1, 1 dc in the same stitch

Build the Foundation and First Round
The first round creates the two long sides and two corner groupings that determine the rectangle’s initial shape. Use the larger hook only for the foundation chain; changing to the smaller hook afterward keeps the rest of the fabric consistent with the tutorial.
Foundation: With the 3.0 mm hook, make a slip knot and chain 11.
Switch hooks: Change to the 2.5 mm hook for the rest of the pattern.
First corner: Work into the 4th chain from the hook and make 1 dc, ch 1, 1 dc, ch 1, 1 dc, ch 1, 1 dc, ch 1, 1 dc. The skipped three chains count as the first dc, giving you 6 dc separated by ch-1 spaces, which creates three V-stitch groupings within this corner area.
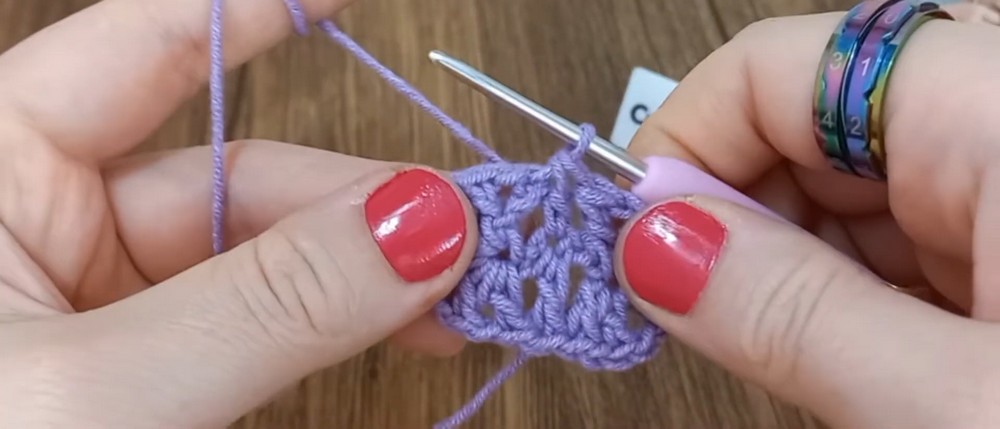
First side: Skip 2 chains and work 1 V-st in the next chain: 1 dc, ch 1, 1 dc.
Second corner: Skip 2 chains and work 1 dc, ch 1, 1 dc, ch 1, 1 dc, ch 1, 1 dc, ch 1, 1 dc, ch 1, 1 dc in the final chain.
Opposite side: Turn your work so you can continue along the opposite side of the foundation chain. Skip 2 chains and, in the stitch directly opposite the first side V-st, work 1 dc without completing it, leaving 2 loops on the hook.
Join: Insert the hook into the 3rd chain of the starting ch-3, pull through, and make a sl st to close. This completes the final V-st on that side.
At this point, the foundation should already have the basic rectangular direction: two corner areas connected by V-stitch sides. If the corners are twisted or the opposite side is difficult to identify, lay the chain flat before continuing so the two sides are clearly visible.

Add the First Shell Round
This round turns the open V-stitch framework into the first row of large shell shapes. Each shell contains 7 dc, while the single crochets sit between shells and help separate the groups.
Round 2: Ch 1 and make 1 sc in the same space; work 7 dc in the first ch-1 space of the corner V-st grouping, 1 sc in the next space, 7 dc in the next ch-1 space, 1 sc in the next space, 7 dc in the third ch-1 space; on the side, make 1 sc in the space between the corner and side V-st, then 7 dc in the ch-1 space of the side V-st; make 1 sc in the space before the second corner, then work [7 dc in the next V-st ch-1 space, 1 sc in the space between V-sts] three times across the second corner; make 1 sc before the final side V-st, then 7 dc in its ch-1 space; join with a sl st to the first chain of the round, cut the yarn, pull the tail through, and fasten off.
The important visual check here is the 7-dc shell. The shells should spread outward from the V-stitch spaces while the sc stitches remain visible between them. These single crochet positions become important anchors in the next round.
Create the V-Stitch Skeleton
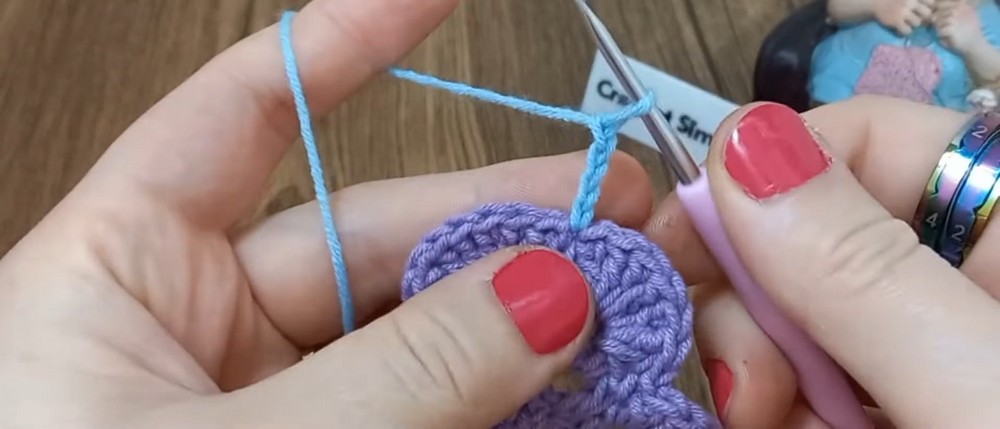
Round 3 establishes the framework that the next shell round will use. If you are making stripes, this is where you change to your next color.
Join the new color to a single crochet on a straight side between two shells. Avoid starting in a corner space because the corner structure needs to remain centered.
Round 3: Ch 4 (counts as 1 dc and ch 1), then make 1 dc in the same sc; ch 5 and skip the entire 7-dc shell; in the next corner sc, work Corner Cluster (1 dc, ch 1, 1 dc, ch 3, 1 dc, ch 1, 1 dc) all in the same stitch; ch 5, skip the next shell, and work 1 V-st in the next sc; continue around by working ch 5 over each shell, Corner Cluster in each corner sc, and a standard V-st in each straight-side sc; at the end, ch 2 and make 1 dc into the 3rd chain of the starting ch-4 to finish in the center of the final ch-5 space.
The long ch-5 spaces are intentional. They bridge over the shells from the previous round and leave open spaces for the next set of shells.
The corners should remain noticeably different from the straight sides: straight sides receive a standard V-st, while corners receive the larger Corner Cluster with its central ch-3 space.

Build the Second Shell Round
Now the shell pattern returns, but this time the long ch-5 spaces need to be anchored so the new shells stay connected to the earlier row.
Round 4: Ch 1; make 1 sc over the ch-5 space and directly into the 4th dc (middle stitch) of the 7-dc shell from Round 2 below; work 7 dc in the ch-1 space of the next V-st; 1 sc directly in the ch-3 corner space; 7 dc in the next V-st ch-1 space; 1 sc in the 4th dc of the underlying shell, working over the ch-5 space; continue around by working 7 dc in every V-st ch-1 space, 1 sc in every corner ch-3 space, and 1 sc into the 4th dc of each underlying shell to anchor the ch-5 spaces; join with a sl st to the first chain of the round and fasten off.
The unusual part of this round is the anchoring stitch. You are not simply working into the chain space; the sc goes over the ch-5 and into the middle dc of the older shell underneath. This keeps the new row attached to the existing blanket instead of leaving a loose bridge.
After this round, the repeating shell texture should be clearly visible again, with the corners turning neatly rather than pulling into a point.

Continue Growing the Blanket
From here, the blanket follows the same two-round rhythm:
Round 5 and beyond: Repeat Round 3 (V-Stitch Skeleton) followed by Round 4 (Shells) until the blanket reaches the desired dimensions. If using multiple colors, change yarn before every V-Stitch Skeleton round. As the rectangle grows, additional standard V-stitches will appear along the longer straight sides, while the corners continue using the same Corner Cluster during the skeleton round and a corner sc during the shell round.
This is where the pattern becomes especially flexible: you do not need to redesign the shell arrangement as the blanket becomes larger. Keep following the established framework and the straight sides will naturally gain more V-stitches.

Finish the Color Changes Neatly
Once you have completed the desired number of rounds, the main finishing work is simply securing the yarn tails.
For an invisible finish, thread the cut yarn tail onto a yarn needle. Skip the first stitch, insert the needle under the V of the second stitch, then push the needle back down into the center of the last stitch made.
Weave the remaining tails back and forth through the dense backs of the shells so they stay hidden. Trim the excess only after each end feels secure.
The finished blanket can be kept in one color for a calm textured look, or the V-Stitch Skeleton rounds can be changed to different shades for clearly separated stripes. The same repeating structure lets you continue until the rectangle reaches the size you have in mind.