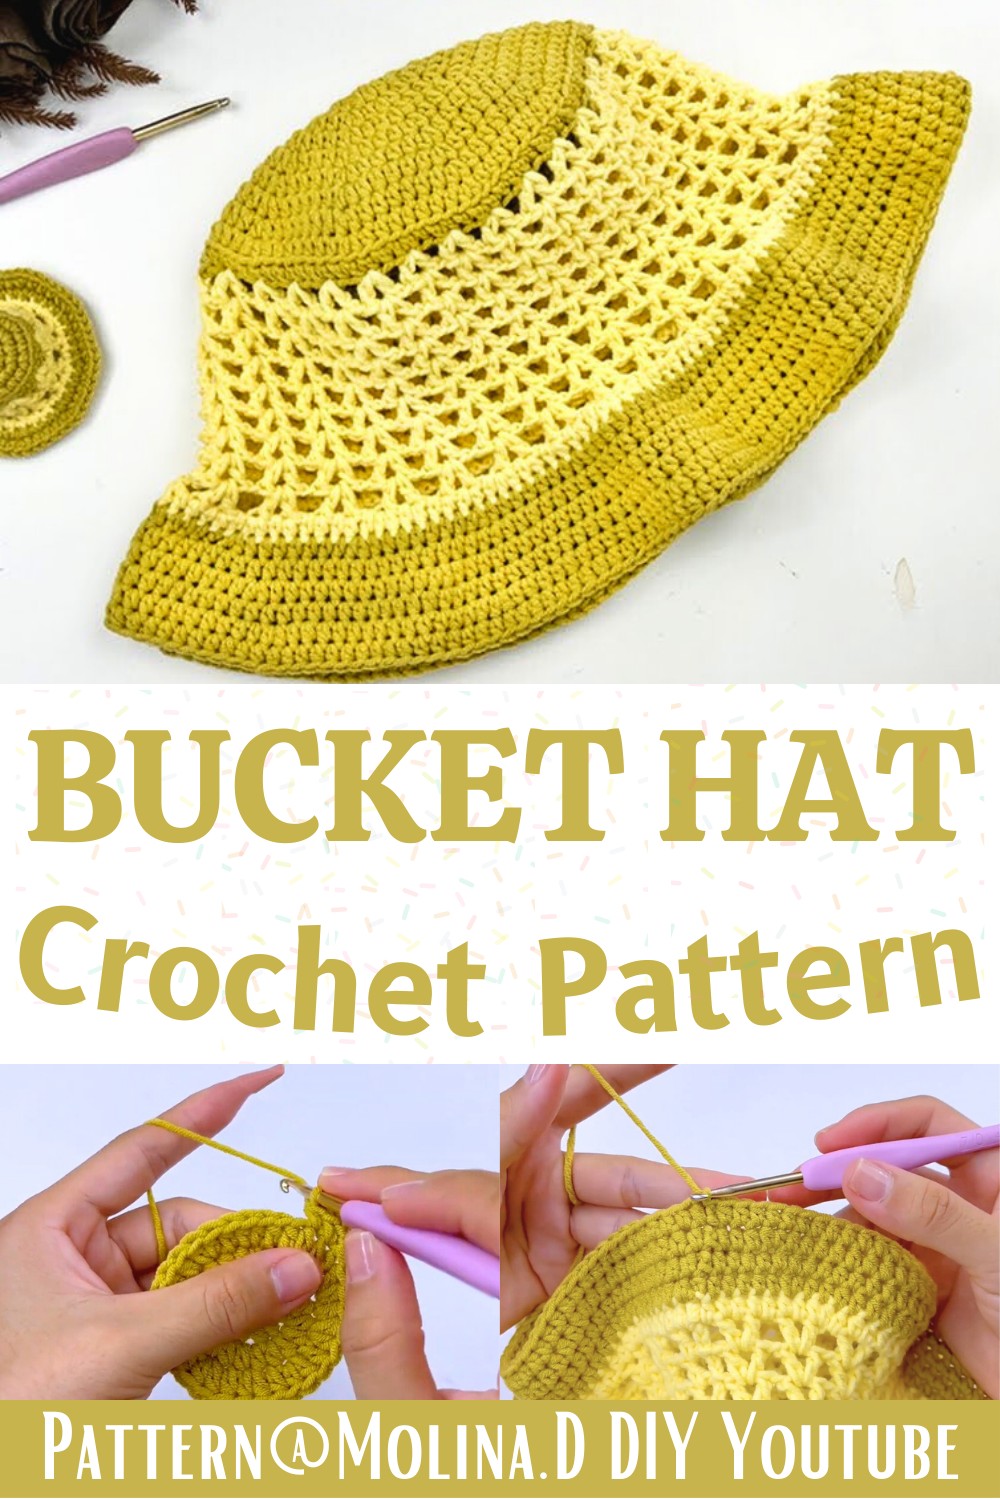
The V-Stitch Summer Bucket Hat combines style and comfort. It’s a lightweight and breathable accessory that’s perfect to shield you from the sun while making a fashion statement. If you’re going to the beach, running errands, or just having fun outdoors, this hat is a must-have for sunny days. Its textured V-stitch pattern adds depth and charm, making it a fun and simple design for both making and wearing.
Crochet V-Stitch Summer Bucket Hat
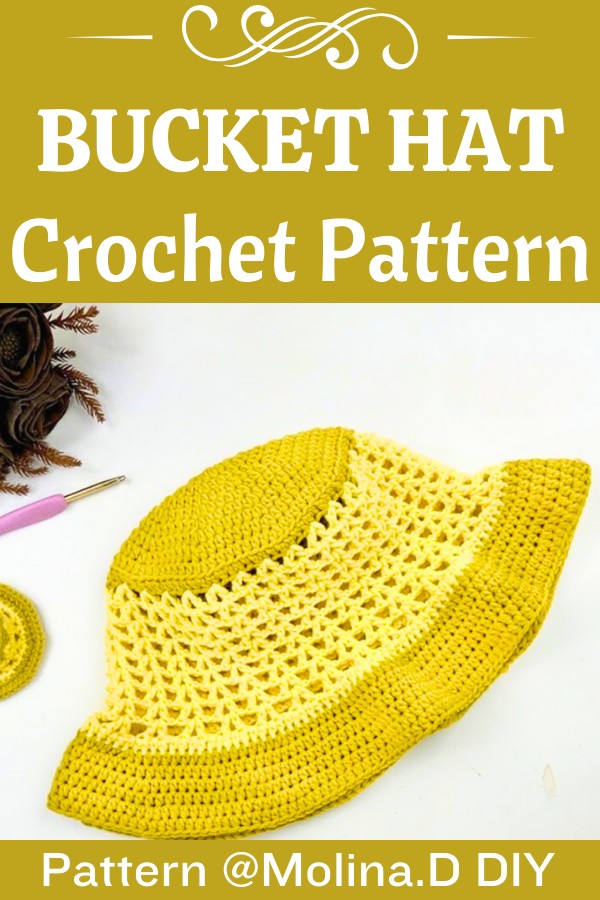
This Crochet Bucket Hat Pattern is beginner-friendly, using soft milk cotton yarn for a comfortable yet durable finish. The hat works well with one solid color or multiple hues for a pop of personality. The versatile design ensures the perfect balance between functionality and elegance, making it a great addition to any wardrobe. If you’ve never tried making a bucket hat before, this is a lovely choice to start.
Credit Molina.D DIY
Step-by-Step Pattern
Materials & Tools Needed:
- Yarn: Milk Cotton Yarn (5-ply), 125g preferred. Other soft yarns may also work.
- Hook Size: 4mm crochet hook
- Tools:
- Scissors
- Darning needle (for weaving ends)
Finished Size:
- The top part of the hat measures approximately 18 cm (7 inches) in diameter.
- Suitable for Medium to Large fits.
Customization Ideas:
- Use a single color throughout or switch to multiple colors to create vibrant summer vibes.
- Easily modify the size by adjusting the increasing rounds of the top circle and base structure.
Pattern Abbreviations & Terminology:
- Ch: Chain
- HDC: Half Double Crochet
- DC: Double Crochet
- Inc: Increase (make 2 stitches in one stitch)
- Sts: Stitches
- Sl St: Slip Stitch
- Magic Ring: A looped starting point for circular crochet
This pattern uses US crochet terminology.
Step-by-Step Instructions:
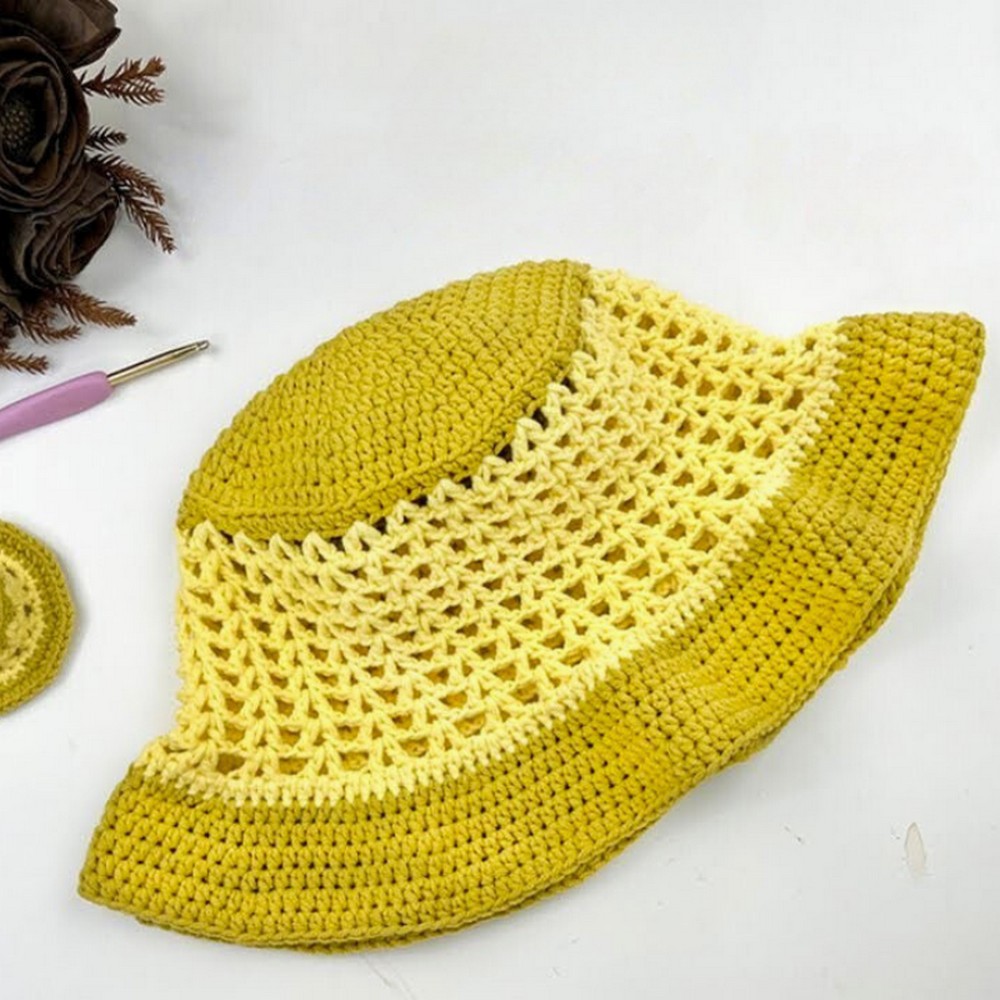
Hat Structure Overview:
- Top Circle: The increasing rounds form the crown of the hat.
- Band: Made using the V-stitch pattern, creating an airy, lightweight design.
- Brim: A wide brim made with structured increases.
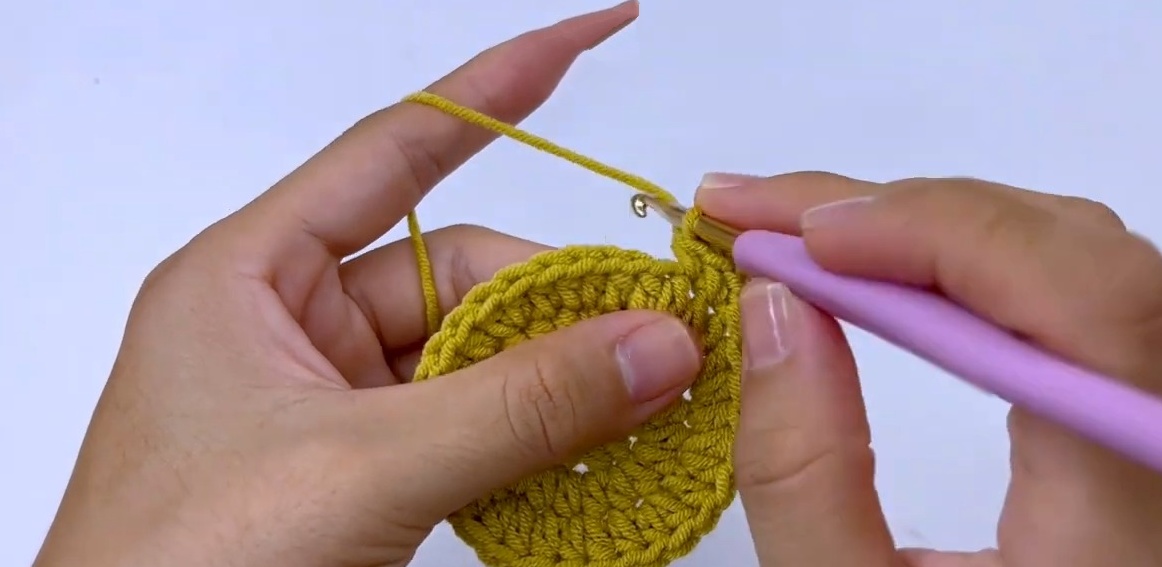
1. Top Circle (Crown):
Follow these rounds to crochet the top of the hat.
- Round 1:
- Create a magic ring.
- Chain 2 (counts as the first stitch).
- Work 10 HDCs into the magic ring.
- Sl St to join. (10 stitches)
- Round 2:
- Chain 2.
- Inc HDC in every stitch around.
- Sl St to join. (20 stitches)
- Round 3:
- Chain 2.
- Work 1 HDC, Inc HDC around (repeating the pattern 10 times).
- Sl St to join. (30 stitches)
- Round 4:
- Chain 2.
- Work 2 HDC, Inc HDC around (repeating the pattern 10 times).
- Sl St to join. (40 stitches)
- Round 5:
- Chain 2.
- Work 3 HDC, Inc HDC around (repeating the pattern 10 times).
- Sl St to join. (50 stitches)
- Continue increasing similarly (adding 1 HDC before every increase in each round) until the diameter reaches 18 cm (7 inches). For most users, this happens by Round 11.
2. Band (V-Stitch Pattern):
The airy, V-stitch band gives the hat its summer feel.
- Round 1 (Transition Round):
- Chain 2.
- Work 1 HDC in each stitch around (in the back loops only).
- Sl St to join. (100 stitches)
- Round 2 (Attach Color):
- Introduce a new color (optional).
- Chain 4, skip 2 stitches, then:
- Make 1 DC, Ch 1, 1 DC in the same stitch (creates the first V-stitch).
- Repeat this process (Ch 1, skip 2 stitches, [DC, Ch 1, DC] in the next stitch) until the end.
- Sl St into the Chain 4 space.
- Round 3 – Round 8:
- Chain 4.
- Make 1 DC in the Chain-1 space of the previous V-stitch.
- Next, work [(DC, Ch 1, DC in the middle of the next V-stitch)], repeating this until the end of the round.
- Sl St to join. (119 stitches remain constant)
- Tip: Use as many rounds of V-stitches as you’d like for the band height. The tutorial continues the pattern until Round 20.
3. Brim:
The brim is constructed with structured increases.
- Round 21:
- Chain 2.
- Work 7 HDC, Inc HDC (repeating this pattern 14 times).
- Sl St to join. (133 stitches)
- Switch back to the first color (if using multiple colors).
- Round 22:
- Chain 2.
- Work 7 HDC, Inc HDC (repeating this pattern 16 times), then work 5 HDC at the end.
- Sl St to join. (149 stitches)
- Round 23:
- Chain 2.
- Work 1 HDC in every stitch around.
- Sl St to join. (149 stitches)
- Round 24:
- Chain 2.
- Work 11 HDC, Inc HDC (repeating this pattern 12 times), then work 3 HDC at the end.
- Sl St to join. (159 stitches)
- Round 25:
- Chain 2.
- Work 1 HDC in every stitch around.
- Sl St to join. (159 stitches)
- Round 26:
- Chain 2.
- Work 14 HDC, Inc HDC (repeating this pattern 10 times), then work 11 HDC at the end.
- Sl St to join. (171 stitches)
- Round 27 (Final Round):
- Chain 2.
- Work 1 HDC in every stitch around.
- Sl St to join. (171 stitches)

Finishing Techniques:
- Cut the yarn and leave a tail.
- Use the darning needle to weave in loose ends securely.
- Block the hat by lightly wetting it and shaping it to ensure the brim lies flat.