
Create stylish and cozy striped crochet lounge shorts with customizable lengths, waistbands, and colors, using beginner-friendly stitches like single crochet, half double crochet, and slip stitching.
Free Crochet Striped Shorts Pattern
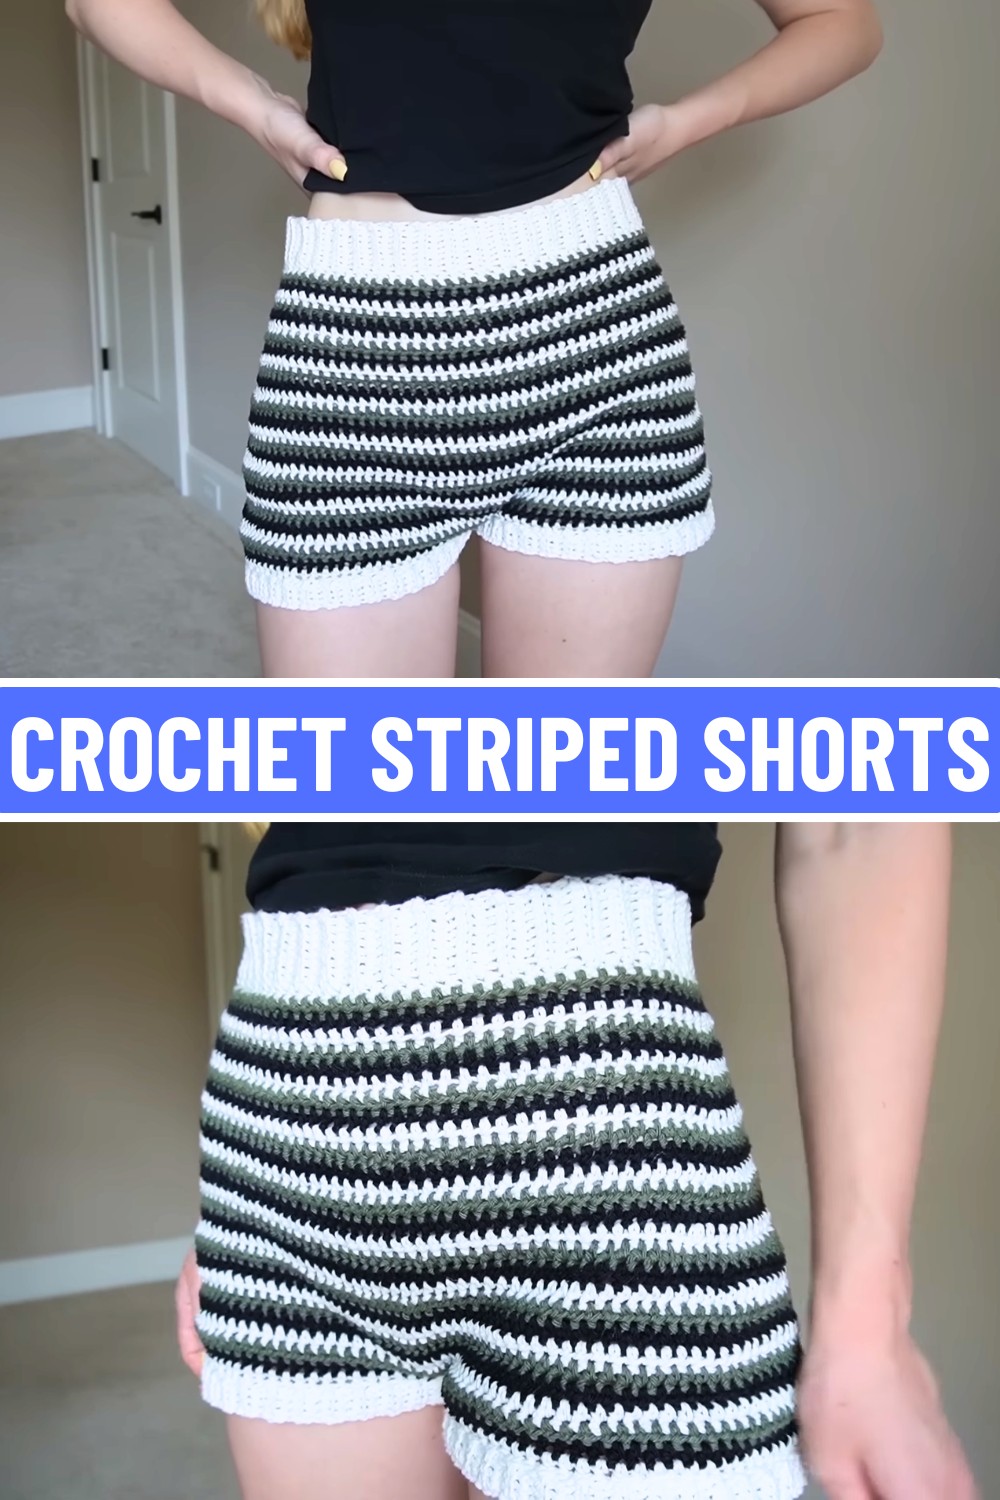
Crochet striped shorts are a fun and comfortable addition to your wardrobe. Whether you’re lounging at home, heading to the beach, or pairing them with your favorite top, these shorts blend ease and style. Their customizable design means you can tailor them perfectly to your fit, picking the length, rise, and waistband width that match your preferences.
Making these crochet shorts is easier than you think. Using basic stitches, you can create a stretchy waistband, striped or solid body, and snug ribbed leg openings. Beginners can enjoy this relaxing process without feeling overwhelmed, and experienced crocheters can personalize the pattern with bold color combinations. The result? A handmade piece you’ll love to wear, knowing you made it with care.
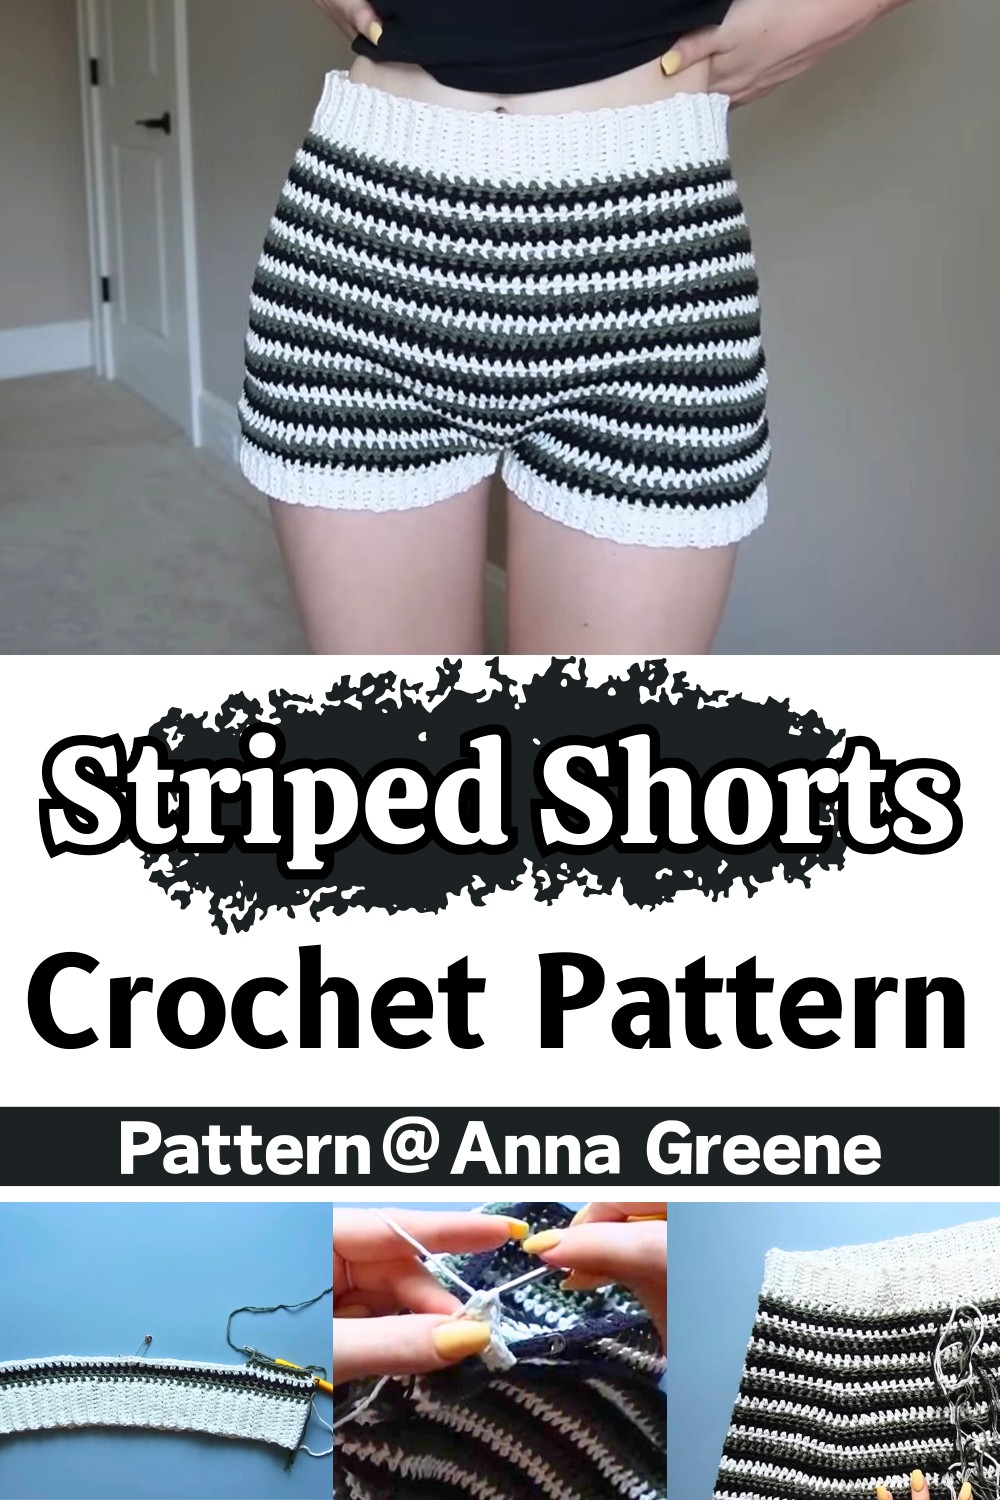
Credit Anna Greene
Key Features and Construction Overview
- Customizable Fit: Adjust the rise, waistband height, and overall length to suit your preferences.
- Striped Design: Work in alternating yarn colors for bold stripes, or simplify with a solid color.
- Ribbed Waistband and Cuffs: Add a stretchy waistband and sleek ribbed cuffs for a polished, comfy finish.
- Simple Stitches: Includes half double crochet (HDC), single crochet (SC), and back-loop-only (BLO) techniques.
- Shaping and Seamless Finish: Features easy increases for hip shaping and integrated leg holes for a smooth look.
These crochet striped shorts are the perfect blend of comfort and style! The project begins with creating a back-loop-only single crochet ribbed waistband, which helps the shorts stay secure while maintaining a soft stretch. To achieve the perfect fit, you’ll make enough rows of ribbing to comfortably slide over your hips but still hug your waist.
Once the waistband is formed, you’ll slip stitch the ends together to create a circular base, introducing half double crochets worked in the round for the body of the shorts. This section allows you to play with a striped color palette—the tutorial provides tips for seamless color changes and discusses how to carry your yarn up if needed. The fun part? You can switch colors every few rows or stick to a single shade for a chic minimalist effect.

As you work down toward the widest part of the shorts, subtle increases are added on the sides and back to create the desired shape, ensuring a great fit around the hips. The instructions give clear guidance on where to mark key stitches for the increases, along with tips for keeping them evenly distributed.
When you reach the crotch area, crocheters will create the leg holes by chaining a small bridge between the front and back panels, transforming their work into something unmistakably shorts! The leg cuffs are added next, utilizing the same ribbing technique from the waistband. This not only provides symmetry but adds a tailored, professional look.
Finally, finishes involve weaving in ends securely and, if needed, adding a drawstring for an extra snug fit. With all the customization options provided in the tutorial, you can create a unique piece that fits your body perfectly.
How to Crochet Striped Shorts
Materials & Tools Needed
- Yarn: DK-weight yarn in at least three colors (or more if desired).
- Crochet Hook: 3.5mm crochet hook.
- Stitch Markers: Safety pins, bobby pins, or actual stitch markers.
- Scissors: To cut the yarn.
- Measuring Tape: To check the custom fit.
- Darning Needle: For weaving in the ends.
Finished Size & Customization Ideas
- Size: Extremely customizable. Adjust the waistband length, number of rows for the body, and row counts to fit your measurements (waist, hips, and desired length).
- Waistband Height: Chain fewer or more stitches at the start to alter the height.
- Length of Shorts: Add or reduce the number of rows for the body or legs.
- Color Options: Use solid colors, two colors, or as many as you like for a striped effect. If using a single color, follow the steps while disregarding color changes.
Pattern Abbreviations & Terminology
(All instructions use US crochet terminology.)
- ch: Chain
- sl st: Slip Stitch
- sc: Single Crochet
- blo: Back Loop Only
- hdc: Half Double Crochet
- rep: Repeat
- st(s): Stitch(es)
Step-by-Step Instructions
1. Create the Waistband
- Make a slip knot and insert the crochet hook.
- Ch 10 (for a thinner waistband, chain fewer; for thicker, chain more).
- Row 1: sc in the 2nd ch from the hook and in each remaining chain. (9 sc).
Ch 1, turn. - Row 2 onward: sc into the blo of each sc from the previous row. (9 sc per row).
Ch 1, turn.
Repeat until the length fits snugly around your waist but can also stretch over your hips.- Example: The tutorial required 96 rows for the waistband.
- Once the correct length is achieved, fold the waistband in half (being careful not to twist it).
Use sl st to join the last row to the first row by slip stitching the blo of one side with the opposite loop of the starting chain.
2. First Body Row – Adding the Base for HDC Rows
- Turn the waistband right side out.
- Starting at the seam, ch 2.
- Work 1 hdc per row of the waistband. Insert the hook into the ends of each ribbing row.
- Stitch count: Should match the total number of waistband rows (e.g., 96 rows = 96 hdc). If your count is off by 1, it won’t affect the result.
- Sl st into the first hdc to close the round.
3. Work the Body (Include Increases for Hip Shaping)
Stripe Pattern
- Change colors at the end of each round if creating stripes.
- To switch colors:
- After the last sl st, cut the current yarn and pull through.
- Insert the hook into the 1st st of the round, attach the new color with a slip knot, chain 2, and turn.
Rounds 2–8: Adding Hip Increases
- Place a stitch marker at the center points on both sides of the shorts.
- These points will guide where increases are placed for shaping.
- Work hdc in each stitch, but add an increase (2 hdc in 1 st) where the stitch markers are located—1 increase per side = 2 total increases per round.
- Continue this pattern, staggering the increases slightly to avoid a visible line.
Begin Butt Shaping
- Once the hips are wide enough (around Row 8), mark two additional points on the back for butt increases. Follow the same staggering increase method, so each round has:
- 2 hip increases (1 on each side).
- 2 butt increases (1 at each marked point).
Continue Until Desired Width
- Work in this manner until the shorts fit snugly around the hips and butt, ensuring they don’t become too tight to pull on.
4. Work Without Increases
- Stop all increases once the shorts reach the widest part of your hips.
- Continue working even rounds (1 hdc per stitch) to create the length of the shorts until the work reaches crotch level (approximately 27 rows of hdc total in the example).
5. Divide for the Legs
- Mark the Center Front and Back: Use a stitch marker to find and mark the center front and back stitches.
- Make the Bridge:
- Attach yarn at the back center marker.
- Chain a bridge to span the gap between the back and front center markers.
- Use 8 chains for XS/S, 10 chains for M/L, 12 chains for XL/XXL, etc.
- Slip stitch to the front center stitch to form the leg holes.
- First Leg Hole:
- Work hdc in each chain of the bridge and each stitch around the leg hole.
- Join with a slip stitch to the first hdc.
- Repeat rounds of even hdc stitches until the leg reaches the desired length (e.g., 4–6 inches).
6. Add Ribbing (Optional for Leg)
- With ribbing color, attach yarn and create chains equal to ribbing height (e.g., 5 ch for shorter ribs).
- Work blo sc rows back and forth on the leg hole:
- For each row, sl st 2 stitches into the leg edge at the end of every ribbing row.
- Continue until ribbing is added completely around the leg hole.
- Use slip stitch to join the last ribbing row to the first ribbing row.
- Repeat the entire leg process for the second leg.
7. Finishing
- Weave in all loose ends using the darning needle on the inside (wrong side) of the shorts.
- Flip the shorts right side out.
- Try the shorts on and check the fit!
Customization Notes:
- Length: You can extend the length of the legs or omit ribbing if you prefer.
- Fit: Add a drawstring (a simple chain stitch long enough to tie) through the waistband if the waist is too loose.
Troubleshooting and Suggestions
- Color Changes: When switching yarn colors, ensure that the transition is smooth by pulling the new yarn through the final step of the last stich of the old color. This creates a clean edge.
- Stitch Consistency: Pay attention to your tension—too loose, and the shorts may not fit snugly; too tight, and they could feel uncomfortable around the waist or hips. Practice first and check your gauge.
- Fitting: Periodically try on the waistband and shorts as you crochet to ensure it fits over your hips comfortably before moving on to the body section. Don’t skip the fit checkpoints!
- Creative Customization: While the stripes are trendy, you can experiment with color-blocking, variegated yarns, or even embroidery for added personality. Alternatively, skip the waistband and streamline the design as beach shorts or swimwear cover.
These crochet striped shorts are super customizable and surprisingly quick to make (just a day!), making them perfect for beginners and experienced crocheters alike. By following the tutorial and tailoring the fit to your preferences, you’ll create a garment that feels as good as it looks. Whether you’re lounging at home or heading to the beach, these shorts are ready to be your next favorite wardrobe staple.


