Crochet Ladies Mini Bag Pattern with Ruffled Dress Design
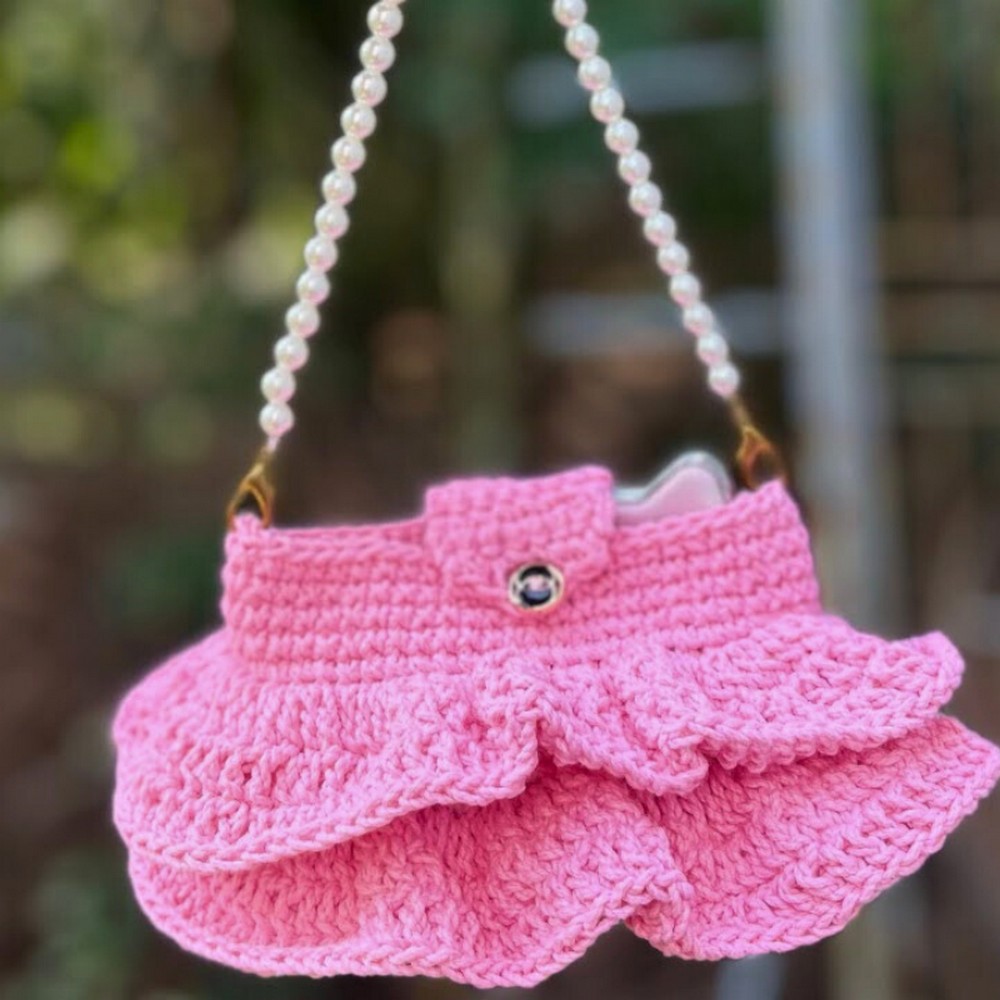
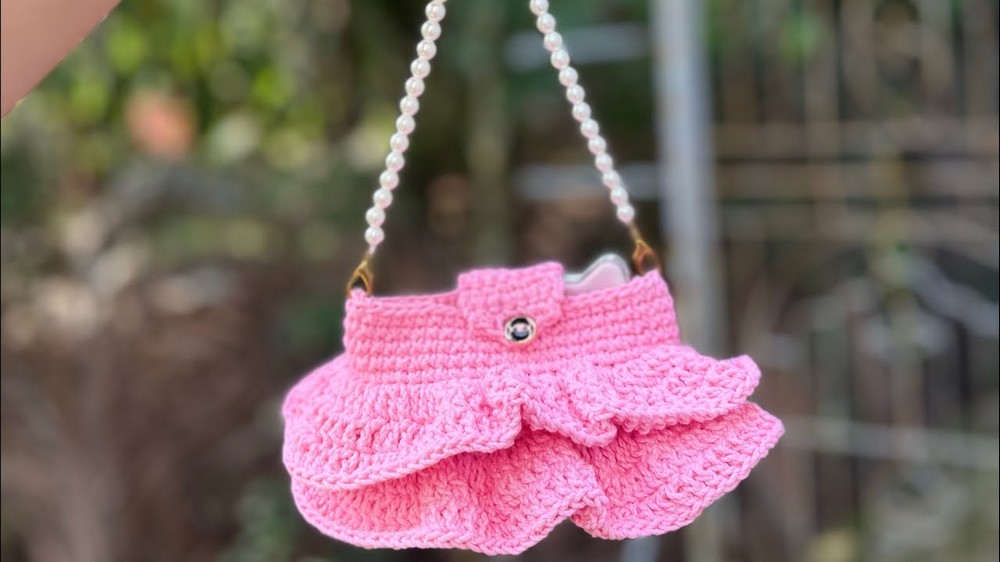
Need a tiny crochet bag with a pretty dress-like finish? This mini bag pattern combines simple single-crochet shaping with two layered ruffles for a charming everyday accessory.
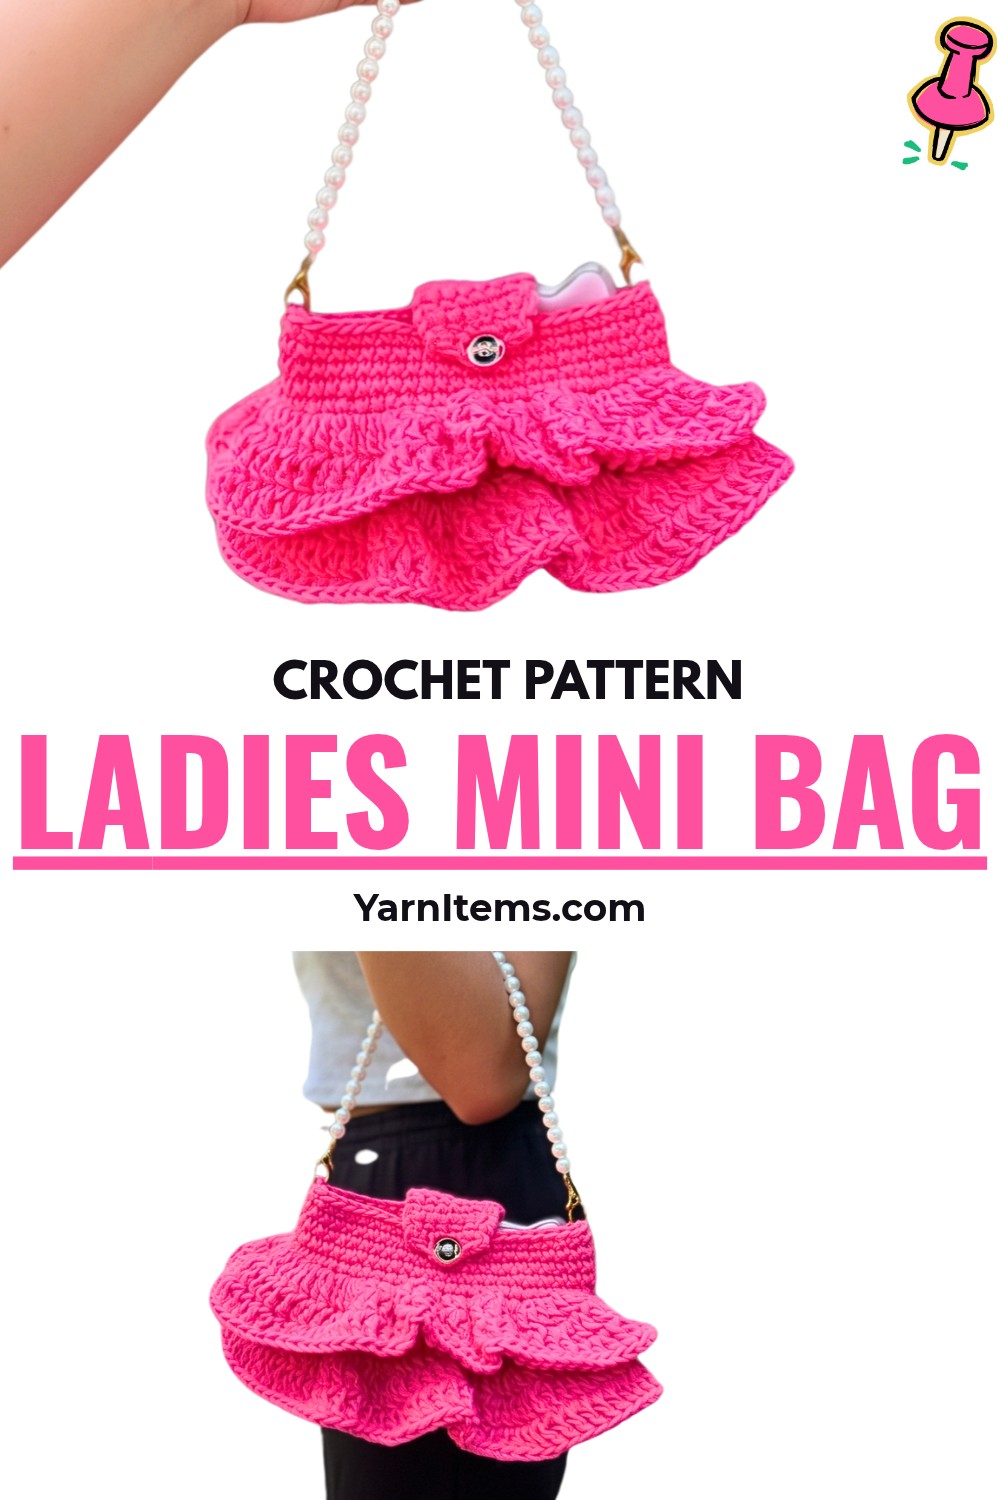
Small crochet bags are useful when you only need room for essentials, but shaping decorative details neatly can make construction feel more complicated. This crochet mini bag keeps its base and body straightforward, then adds ruffled tiers to create its distinctive dress-inspired look.
You’ll crochet the oval base, build the body in continuous rounds, create two BLO ridges for ruffle placement, and finish each tier with simple double-crochet rounds. This crochet pattern also covers the button tab, closure, and strap attachment so you can take the bag from foundation chain to finished accessory.
Credit Tiên Crochet 🎀
Materials & Tools
- Yarn: Silk milk yarn or milk cotton yarn (simili/milk yarn)
- Crochet Hook: 3.5 mm
- Notions: Stitch marker, tapestry needle, sewing thread and needle, decorative button, and handheld or crossbody strap/chain
Finished Size & Customization
This compact mini bag is designed to hold small essentials such as a mirror, earphones, and a tube of lipstick. Its basic proportions come from the 27-chain foundation and 19 body rows.
To make it larger, begin with a longer foundation chain and add more body rows.
For a fuller dress effect, add another BLO round together with an additional ruffle tier.
If more structure is needed, add a snap closure or magnetic bag clasp inside the finished bag.
Pattern Abbreviations & Terminology
- ch: Chain stitch
- sc: Single crochet
- dc: Double crochet
- sl st: Slip stitch
- BLO: Back Loop Only
- st(s): Stitch(es)
- dec: Decrease
Step-by-Step Crochet Pattern
Step 1: Create the Oval Bag Base
Begin with a 27-chain foundation. Rather than turning after reaching the end, work around both sides of the chain to form the base of the bag.
- Make a slip knot and chain 27 ch.
- Skip the first chain.
- Working into the back horizontal loops, or back bumps, work 25 sc across the next 25 stitches.
- Place a stitch marker in the first sc to identify the beginning of the continuous spiral.
- In the final, 27th chain space, work 3 sc into the same space.
- Rotate your work so you can continue along the opposite side of the foundation chain.
- Work along the second side, adding 2 more sc into the first starting foundation stitch. This gives both ends a total of 3 sc.
Your base is now complete, with stitches running around both long sides of the original chain.
Step 2: Build the Lower Body
From this point onward, work in a continuous spiral. Do not join rounds with slip stitches.
For Rounds 2-6, work 1 sc in each stitch around.
Move the stitch marker upward as each round begins. Keeping track of the round start is particularly useful because there are no joining slip stitches to mark each completed round.
Step 3: Create the First Ruffle Ridge
Round 7 creates the first foundation for your dress-like ruffle.
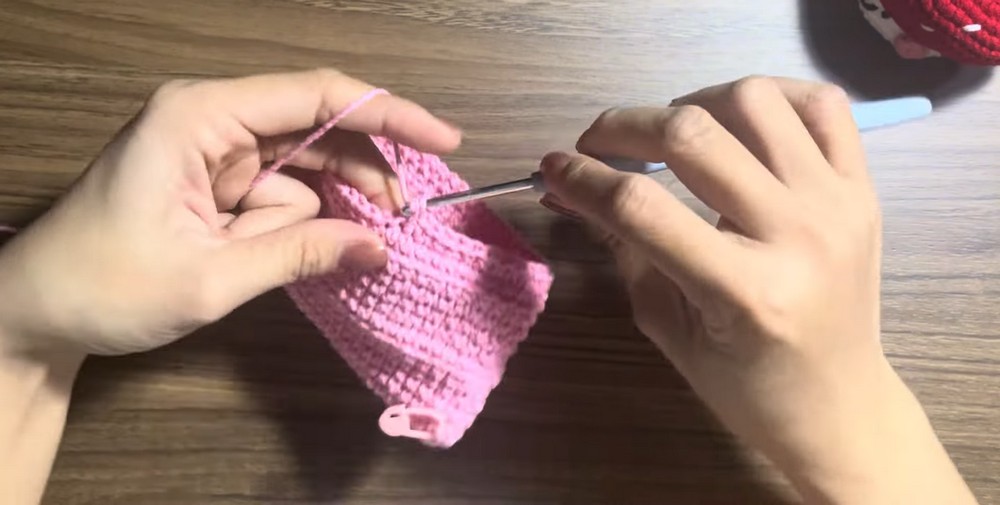
Work 1 BLO sc in every stitch around.
Working through back loops only leaves the front loops visible on the outside of the bag. These exposed loops will later become the attachment point for the first ruffle tier.
Step 4: Continue the Middle Body
Return to normal single crochet through both loops for the next section.
Work 1 sc in each stitch around for Rounds 8-13.
Keep your stitch height consistent so the section between both ruffle ridges remains even. Once Round 13 is complete, the body is ready for its second decorative ridge.
Step 5: Add the Second Ruffle Ridge
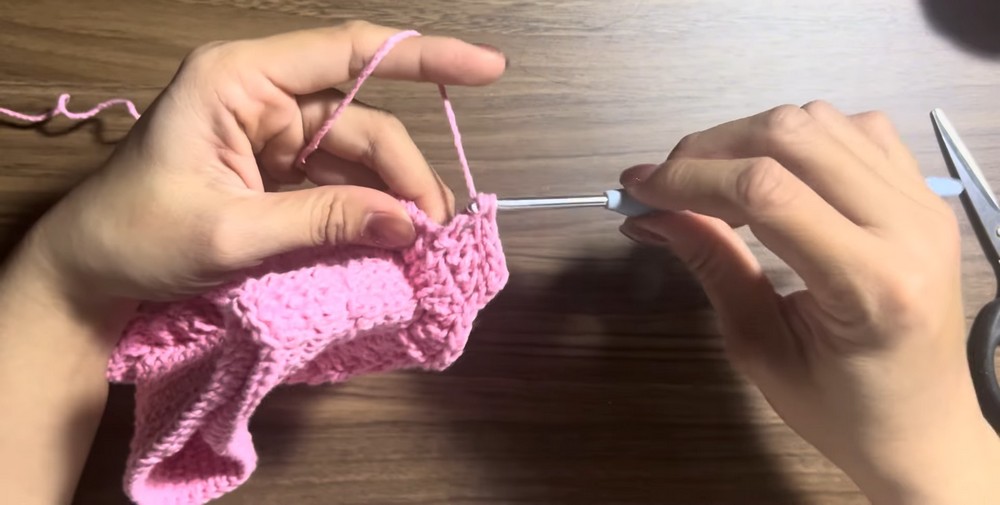
For Round 14, work 1 BLO sc in every stitch around.
This second BLO round creates another exposed front-loop ridge. Just like the first ridge, these loops will support a separate flared dress tier.
Step 6: Finish the Upper Body
Return once again to regular single crochet through both loops.
Work 1 sc in each stitch around for Rounds 15–19.
Fasten off after completing Round 19.
At this stage, main bag body is finished and both ruffle attachment points are ready.
Crochet the Dress Ruffles
Step 7: Work the First Ruffle Tier
Attach yarn directly to the exposed front loops created by Round 7.
- Join yarn to the first front loop.
- Chain 3, counting this as the first dc.
- Work 1 dc into the same stitch space.
- Continue around by working 2 dc in every stitch. This increase round creates the full flare of the skirt tier.
- Join with a sl st to the 3rd starting chain.
For the next two ruffle rounds:
- Ruffle Round 2: Ch 3, then work 1 dc in each stitch around. Join with sl st.
- Ruffle Round 3: Ch 3, then work 1 dc in each stitch around. Join with sl st.
Fasten off after completing the third round.
The first tier should now hang outward from the lower BLO ridge.
Step 8: Add the Second Ruffle Tier
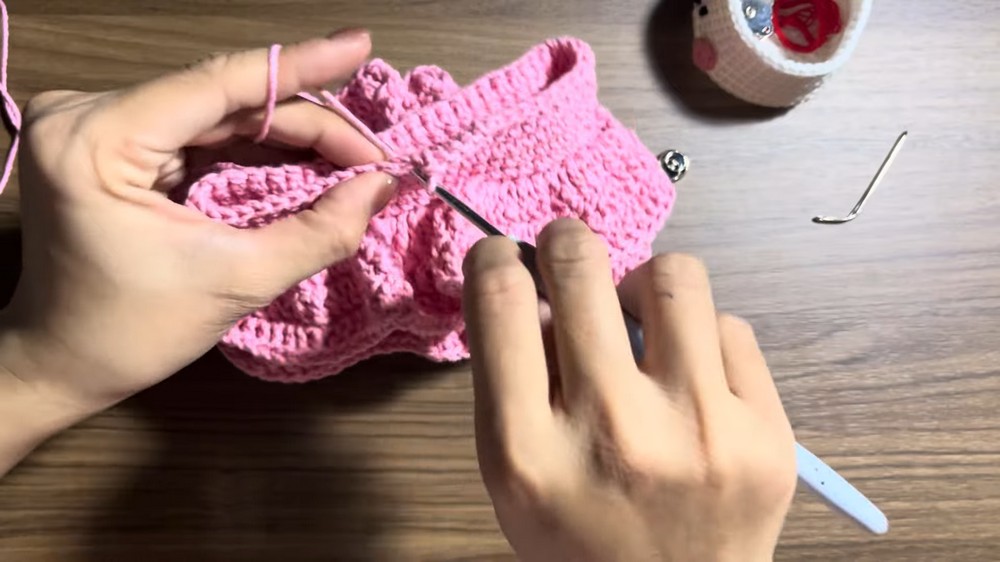
Attach yarn to the exposed front loops from Round 14.
Repeat the same three-round formula used for first tier:
- Ch 3 and work 1 dc into the same stitch.
- Work 2 dc in every stitch around.
- Join with sl st to the starting chain.
- For next two rounds, ch 3 and work 1 dc in each stitch around.
- Join each round with sl st.
- Fasten off.
Both tiers now give bag its layered dress effect.
Add the Button Closure
Step 9: Crochet the Button Tab
Find the exact center back of bag opening and count across 7 stitches.
- Row 1: Join yarn and work 1 sc in each of the 7 stitches. Ch 1 and turn.
- Rows 2–6: Work 7 sc across, chaining 1 and turning at the end of each row.
- Row 7: Work dec, 1 sc, ch 3, skip the next stitch, 1 sc, then dec across the final two stitches.
Fasten off and weave in the yarn tails.
The chain-3 space forms the buttonhole loop.
Final Assembly
Step 10: Attach the Button and Strap
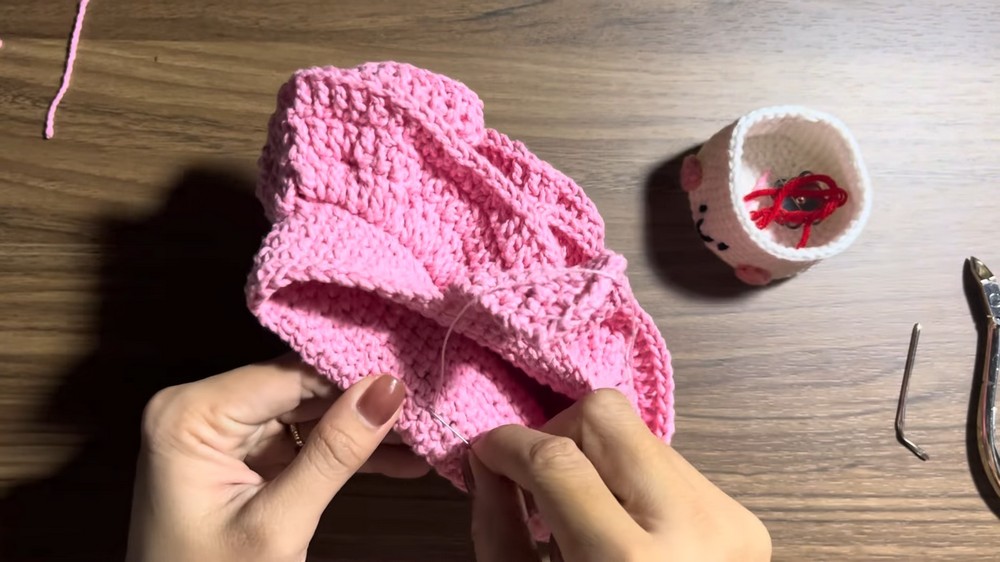
Position your decorative button on the front body of the bag so the button tab can loop securely around it.
Sew the button firmly into place using sewing thread and needle.
Finally, attach the rings of your handheld handle or crossbody strap to complete the bag.
Before using the finished bag, check that button, tab, and strap attachments are secure.
Personalize Your Mini Bag
Color changes can completely alter the character of this design. Try coordinating body and ruffle colors, or use one color throughout for a simpler finish.
For additional support inside the bag, an inner lining can also be added. A snap closure or magnetic clasp provides another option when you want extra security for small belongings.
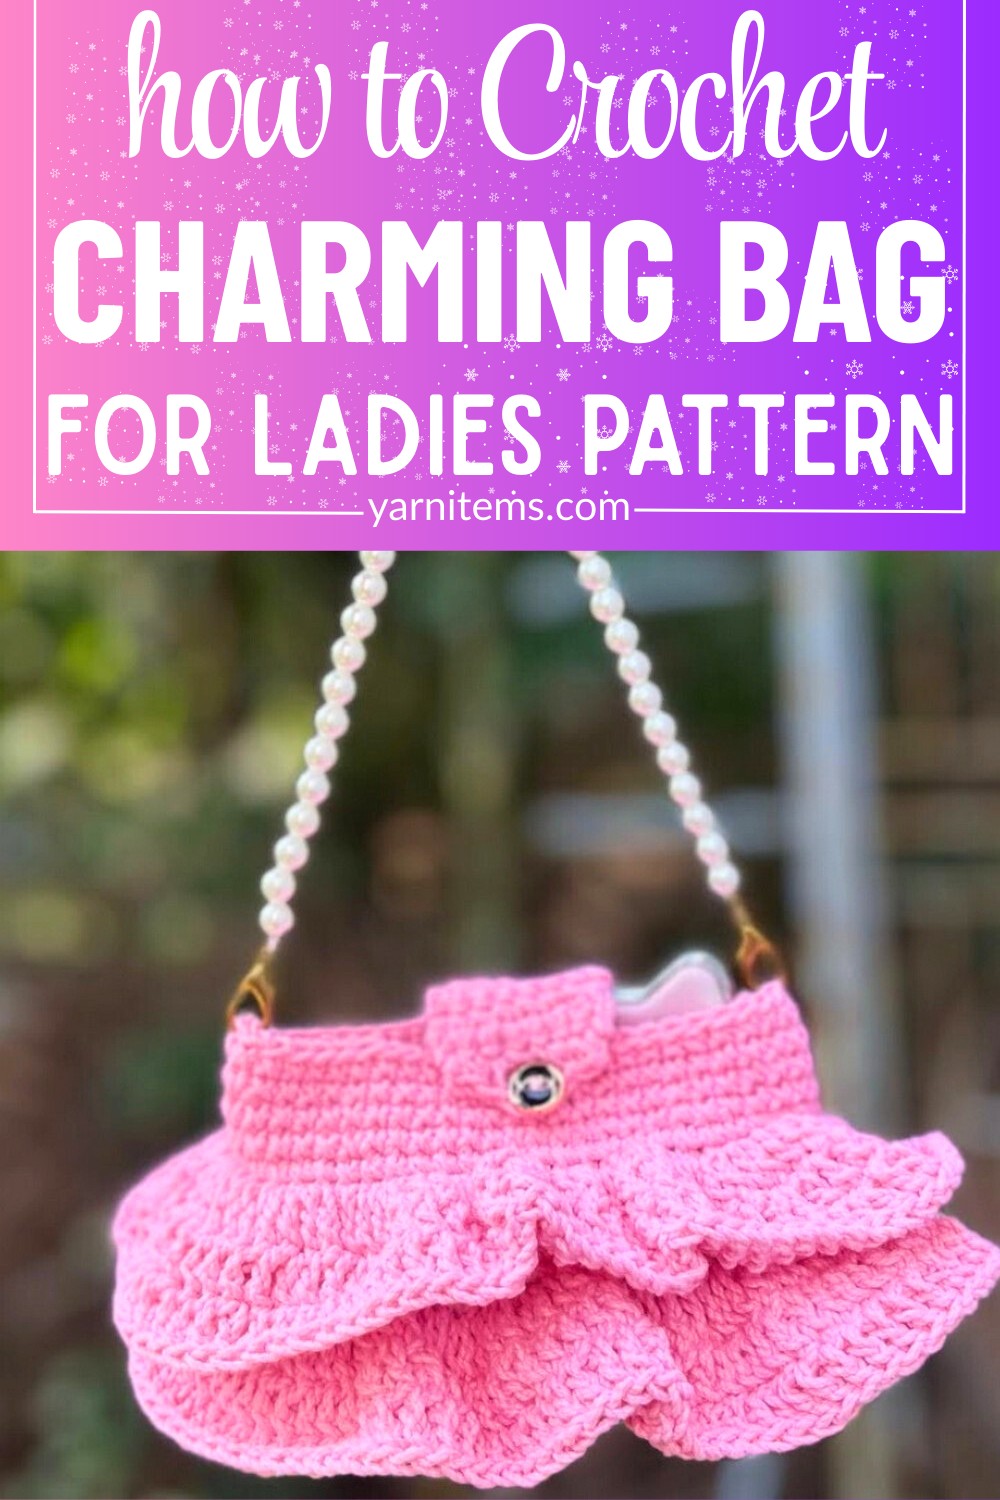
Your Crochet Ladies Mini Bag (“Túi Tiểu Thư”) is now ready to carry your everyday small essentials in a compact, decorative style.