How to Crochet a Festive Christmas Scrunchie with Tinsel Yarn
A festive crochet Christmas scrunchie can do more than hold your hair; it becomes part of your holiday style.
Chunky tinsel yarn gives this simple accessory a bright, fluffy look that catches the light and instantly feels ready for the season. Whether paired with a cozy sweater or a party outfit, it adds a playful sparkle without much effort. The crochet pattern below shows how a few easy stitches turn an ordinary hair tie into a cheerful Christmas accessory.
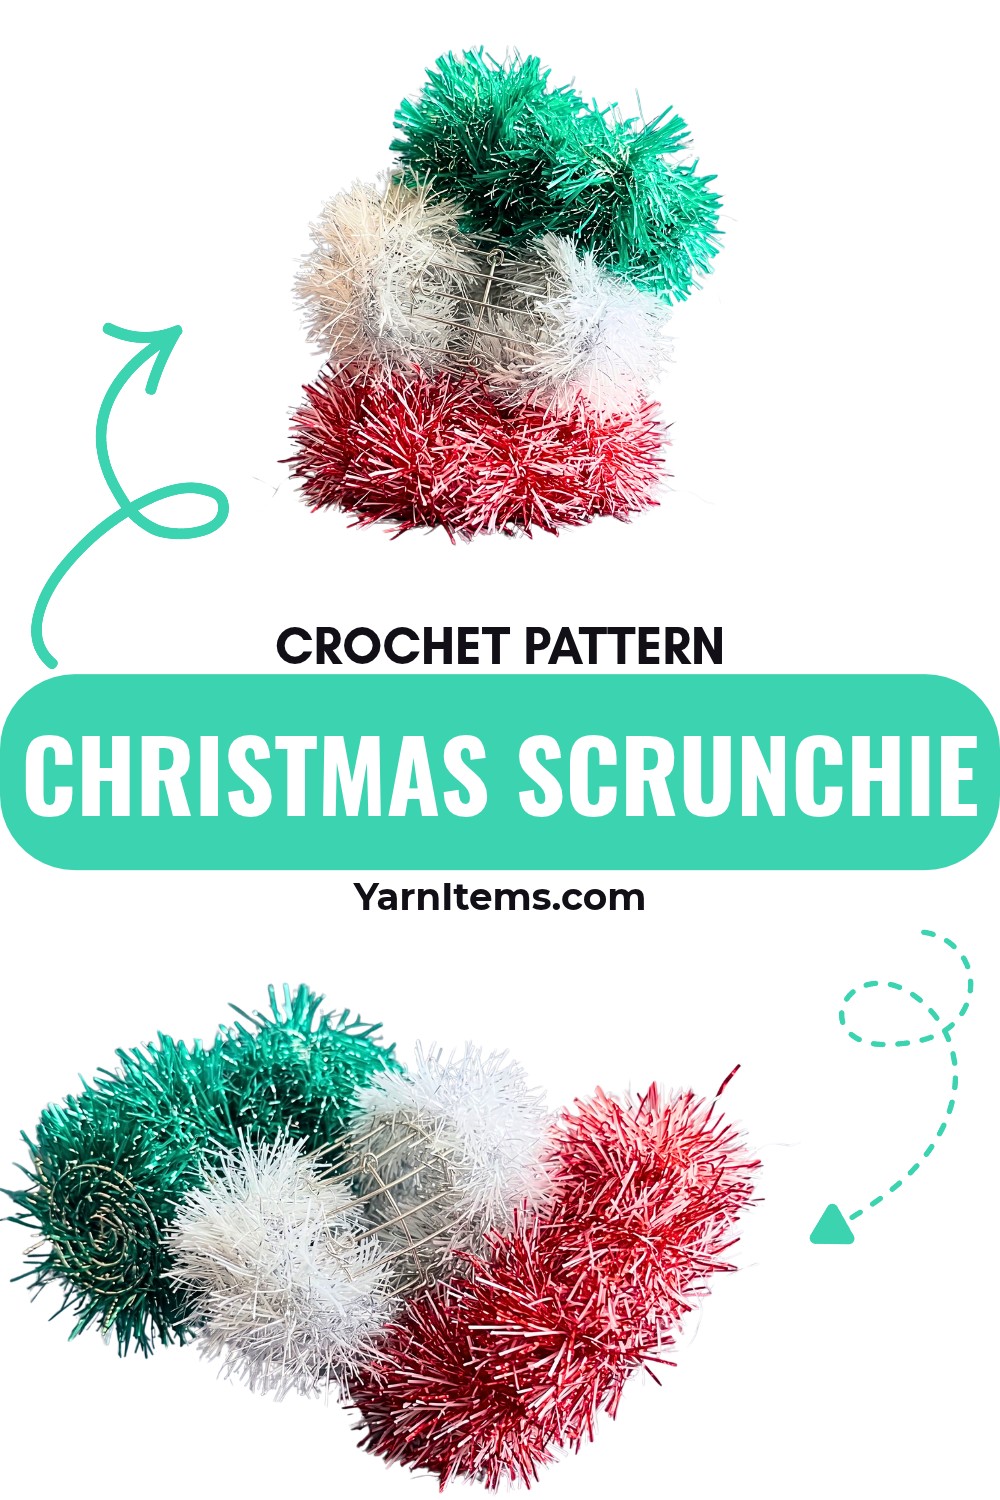
The beauty of this crochet piece is how quickly it comes together while creating a full, eye-catching finish. The thick tinsel yarn naturally builds volume, making the scrunchie look rich and festive with very little shaping. You’ll also find it easy to customize with your favorite holiday colors for gifts or personal use. Follow the step-by-step instructions to see how this simple crochet design comes to life, one stitch at a time.
Credit Caro-stitched
Materials & Tools Needed
- Yarn: King Cole Tinsel Chunky Yarn (or any other chunky/glittery yarn of your choice)
- Crochet Hook: 6 mm
- Hair Band: A sturdy elastic hairband
- Scissors
- Darning Needle

Finished Size & Customization Ideas
- The scrunchie’s finished size depends on how densely you crochet around the hair band.
- Customization Ideas:
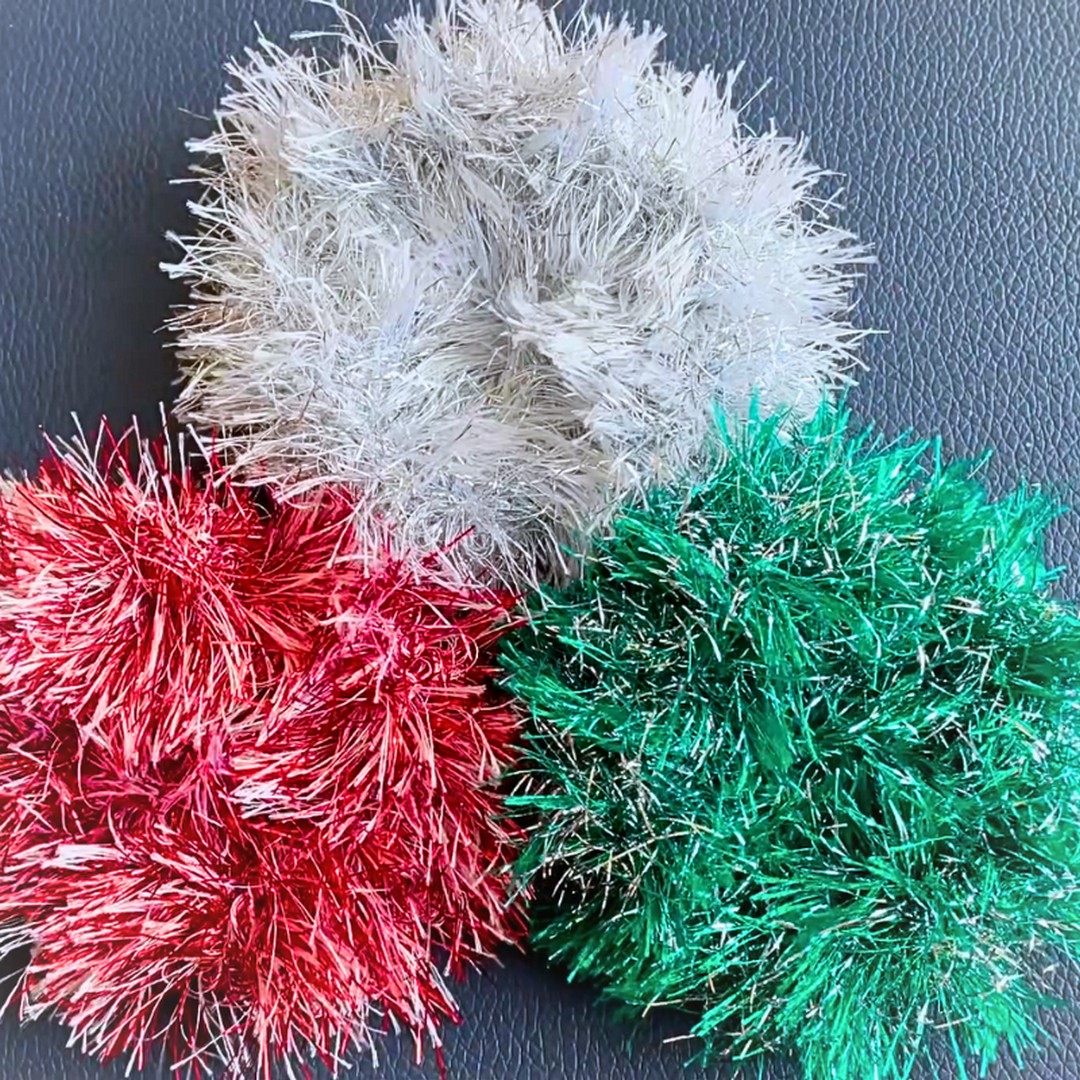
- Use different glittery or textured yarn colors like red, silver, green, or gold to fit your festive theme.
- Make the scrunchie extra full by adding more stitches.
- Adjust the fullness or looseness to your liking by packing the stitches tightly or spacing them out slightly.
Pattern Abbreviations & Terminology
- Pattern uses US crochet terms. UK equivalents are noted in parentheses.
- YO: Yarn Over
- DC (UK: Treble): Double Crochet
- SL ST: Slip Stitch
- CH: Chain
Step-by-Step Detailed Crochet Instructions
1. Begin with a Slip Knot
- Start by creating a slip knot on your crochet hook.
- Cross the yarn at the front.
- Insert the hook through the loop.
- YO, pull through, and tighten to form a loop.
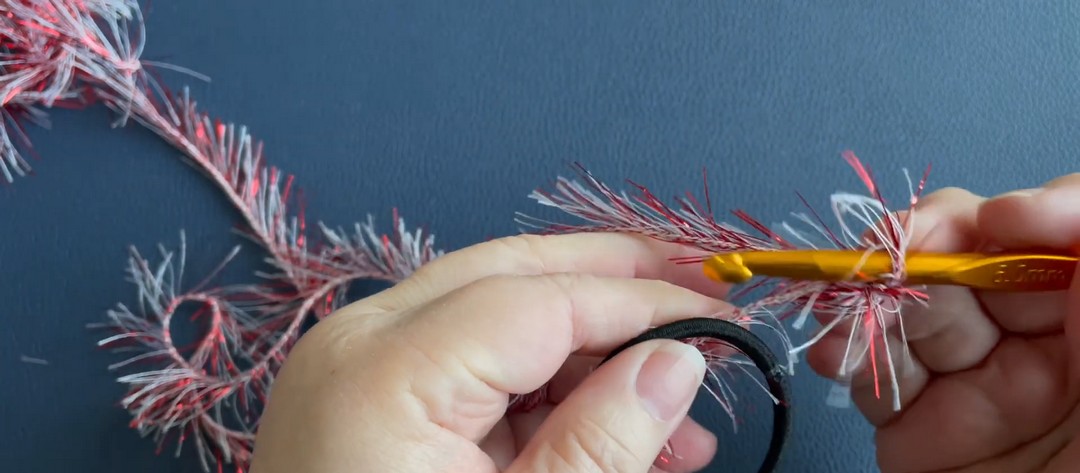
2. Attach the Yarn to the Hair Band
- Insert your hook through the elastic hair band.
- YO, pull the yarn through the hair band.
- YO and pull through the loop on the hook.
- This secures the yarn to the hair band.
3. Begin Crocheting Around the Hair Band
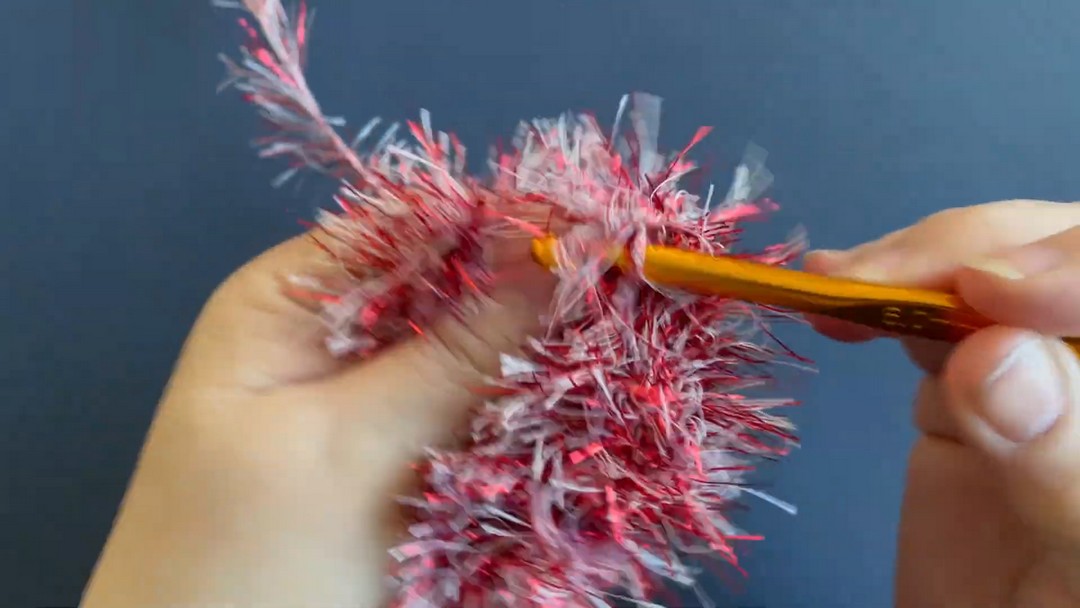
- CH 1 to start your round.
- Work US DCs (UK Trebles) as follows:
- YO, insert the hook under the hair band.
- YO, pull up a loop (you’ll now have 3 loops on the hook).
- YO, pull through the first 2 loops.
- YO, pull through the remaining 2 loops.
- Repeat this process, creating DCs all the way around the hair band.
- Take care to push the stitches tightly together on the band as you go.
- This ensures the scrunchie looks full and fluffy.
4. Adjust the Fullness
- Periodically pull the stitches tightly around the hair band to create room for more stitches.
- Continue crocheting DCs until the hair band is completely covered and the scrunchie is as full as you’d like.

5. Finish the Round
- Once satisfied with the fullness, locate the top of your first DC stitch.
- This can be difficult with tinsel yarn, so use your fingers to feel for the top of the stitch.
- Insert your hook into this stitch and SL ST to join the round.
6. Tie Off and Weave In Ends
- CH 1 to secure your work.
- Cut the yarn, leaving a small tail.
- Pull the yarn tail through the final loop to fasten off.
- Tie a knot with the loose ends for added security.
- Use a darning needle to weave in the loose ends through the stitches.
- The tinsel yarn’s texture is forgiving, so slight imperfections won’t show.
7. Fluff and Shape
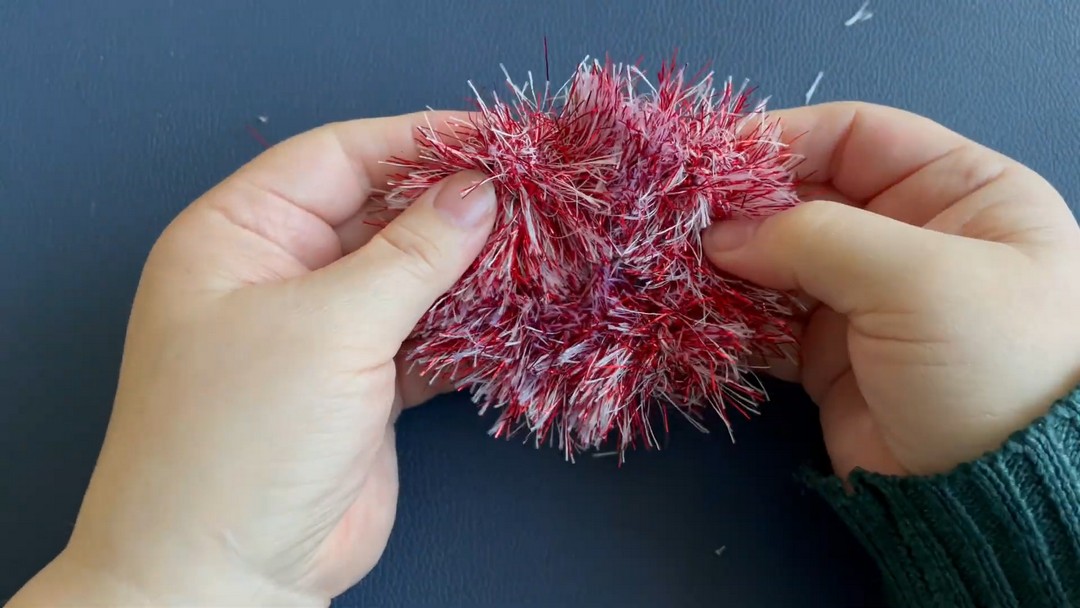
- Fluff the scrunchie to enhance its festive, fluffy appearance.
- Trim any stray ends if needed.
Extra Tips
- Use a strong elastic hairband to ensure durability.
- Tinsel or glittery yarns shed a bit, so prepare for some sparkle during the process!
- This project is quick to make and requires only one round of stitches, which makes it beginner-friendly and perfect for last-minute gifts.
Final Touch
Your festive Christmas scrunchie is ready! Pair it with holiday outfits, gift it as part of a stocking filler, or add it to an advent calendar for a seasonal surprise.