Tiny Chick Amigurumi Crochet Pattern Free
Looking for an ultra-small crochet chick with plenty of personality? This tiny amigurumi pattern turns basic stitches into cute wings, heart-shaped comb, rosy cheeks, and useful little charms.
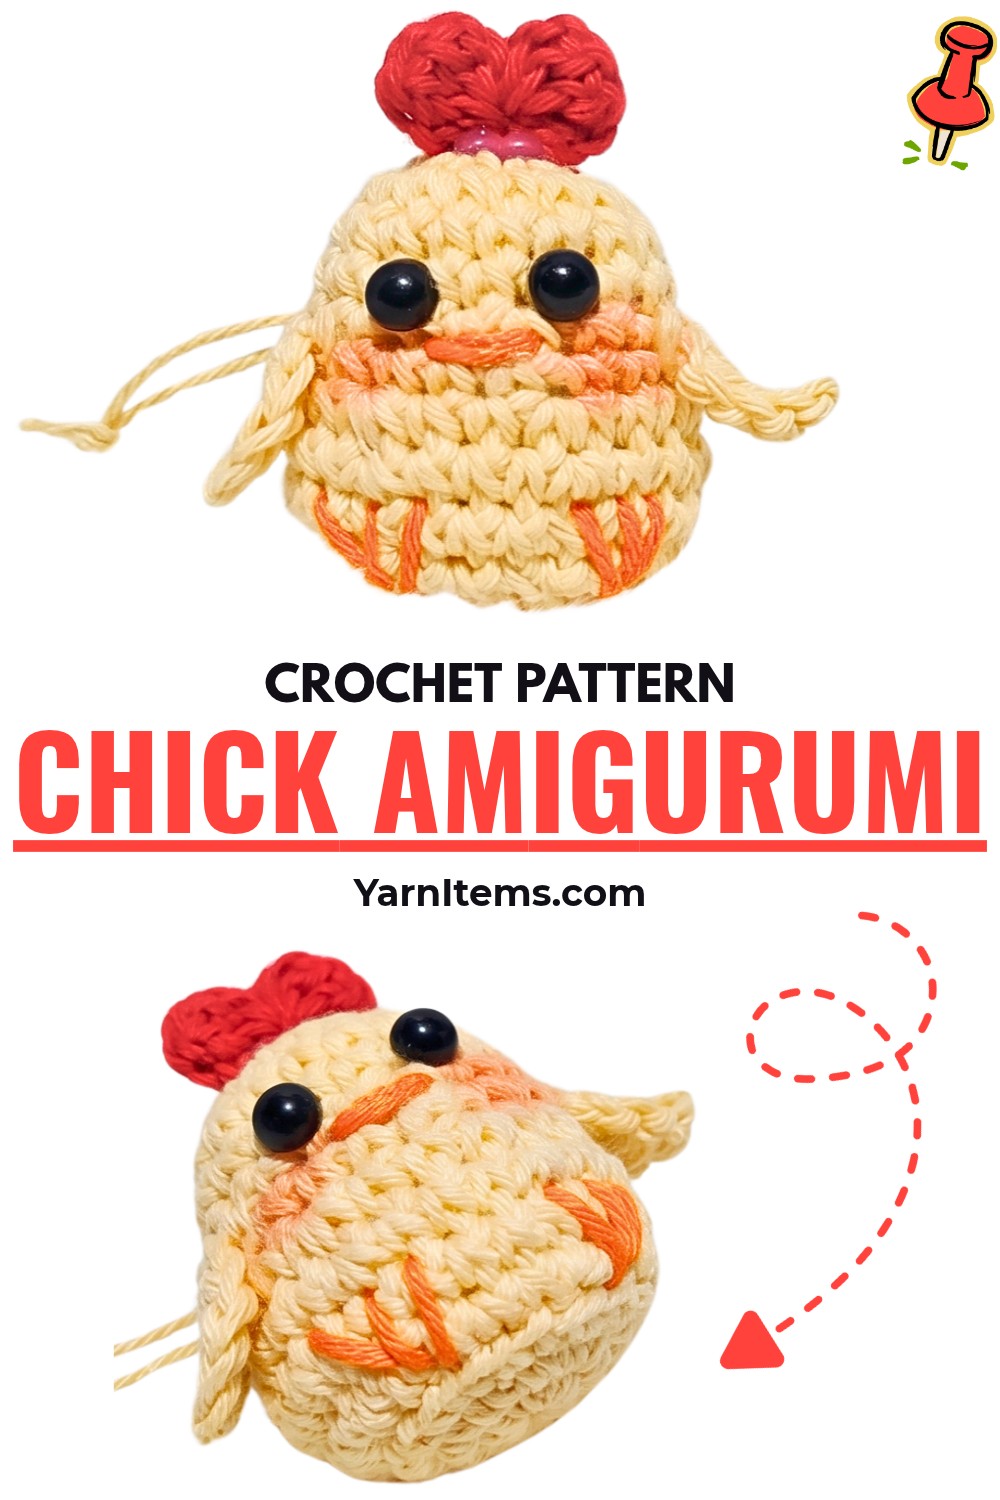
Tiny crochet pieces can feel tricky because every stitch has such an important role in shaping. This crochet chick keeps its rounded form simple, while small embroidered details give it plenty of character without complicated shaping.
Within this crochet pattern, you’ll build the chick from one yellow body, then add crochet wings, red comb, eyes, orange facial details, and soft cheek color. Clear round counts and finishing guidance make each crochet stage easier to follow from start to finish.
Credit ghazi craft
Materials & Tools
- Cotton Yarn: Yellow for the main body, red for the comb/bow, and orange for the beak, feet, and embroidered accents
- Crochet Hook: No. 3, approximately 2.2 mm–2.3 mm
- Eyes: 5 mm bead eyes or small safety eyes
- Stuffing: Dacron or polyester fiberfill
- Notions: Stitch marker, tapestry needle, scissors, and hot glue or fabric glue
- Extras: Pink makeup blush palette with a small brush for cheek tinting
Finished Size & Customization
Finished chick measures approximately 1.5–2 inches tall, giving it a miniature size that works especially well for keychains, charms, and phone case straps.
For an attachment loop, add a longer chain loop through top head stitches so finished chick can hang from a keyring or phone charm strap.
You can also replace standard yellow yarn with pastel or variegated colors for different spring chick designs.
Pattern Abbreviations & Terminology
- ch: Chain
- sc: Single crochet
- dc: Double crochet
- inc: Increase – work 2 sc in same stitch
- dec: Decrease – work 2 sc together
- sl st: Slip stitch
- R: Round
- […]: Total stitch count at end of each round

Step-by-Step Crochet Pattern
Step 1: Shape the Yellow Body and Head
Start with yellow yarn and build chick’s rounded body from top through decreasing rounds. Keep stitch tension reasonably firm so stuffing stays inside without showing through gaps.
Foundation: Make a Magic Ring and chain 1.
R1: Work 6 sc into magic ring. (6)
R2: Work inc around. (12)
R3: Repeat (1 sc, inc) 6 times. (18)
R4–R7: Work 1 sc in each stitch around. (18 each round)
At this stage, body should begin forming its compact rounded shape. Continue with increases to widen its middle.
R8: Repeat (2 sc, inc) 6 times. (24)
R9: Repeat (3 sc, inc) 6 times. (30)

Step 2: Narrow the Body Before Stuffing
Once widest point has been reached, use decreases to bring body inward. Keeping round counts accurate here helps preserve chick’s small oval shape.
R10: Repeat (3 sc, dec) 6 times. (24)
R11: Repeat (2 sc, dec) 6 times. (18)
R12: Repeat (1 sc, dec) 6 times. (12)
Now firmly stuff body with Dacron or polyester fiberfill. Add enough stuffing to give chick good shape while keeping stitches closed neatly.
R13: Repeat dec 6 times. (6)
Cut yarn, leaving tail. Thread tail onto tapestry needle, weave through remaining 6 stitches, and pull firmly to close opening. Secure yarn and hide remaining tail inside body.

Step 3: Crochet Two Small Wings
Create two simple yellow wings separately. Their short chain foundation keeps each piece tiny enough to sit neatly against chick’s sides.
For each wing:
- Make slip knot.
- Chain 4.
- Skip first chain from hook.
- Work 3 sc into remaining chains.
- Chain 1.
- Cut yarn, leaving short tail for attachment.
Make 2 wings total.
Keep attachment tails available rather than trimming them too closely, since they can help with securing each wing.

Step 4: Form Heart-Shaped Red Comb
Red yarn creates small heart-like comb that gives finished chick its distinctive top detail.
- Make Magic Ring.
- Work directly inside ring: (2 ch, 2 dc, 2 ch, sl st) × 2.
- Chain 1 and cut yarn.
- Pull Magic Ring tail firmly to cinch shape into small heart bow.
Leave enough yarn for securing comb to chick’s head.

Step 5: Position Eyes and Wings
With body complete and all small crocheted pieces ready, place facial and side details carefully before permanently securing them.
Attach two 5 mm bead eyes between Rows 5 and 6. Use hot glue to secure them as shown in source instructions.
Next, position one yellow wing on each side of body between Rows 7 and 8. Glue or sew both wings securely into place.
Check both sides before final attachment so wings sit at similar heights.
Step 6: Add Red Comb and Embroidered Face Details
Place red heart-shaped comb at top center of chick’s head and glue it securely.
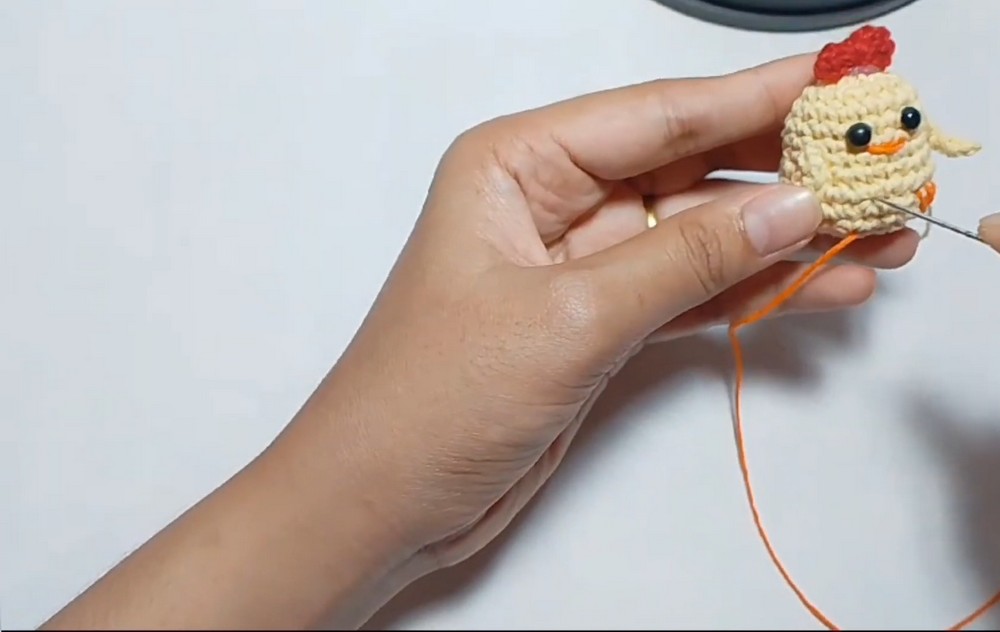
Next, use orange yarn and tapestry needle to embroider facial and base details:
- Create small triangular beak directly below eyes.
- Add cute little feet at bottom base.
Keep embroidered stitches compact because miniature scale makes even small details highly visible.
Step 7: Give Chick Soft Rosy Cheeks
For final expression, use pink makeup blush and small brush.
Dip brush lightly into blush, then gently dust soft circular touches onto both cheeks. Build color gradually rather than applying too much at once, since tiny cheeks need only subtle tinting.
Once blush is even on both sides, finished chick has its final sweet expression.
Turn Your Tiny Chick Into a Charm
Finished chick can be used as more than miniature décor. Thread a loop through top head stitches to attach it to a phone case, zipper pull, or keychain charm.
For keyrings or longer phone straps, use a longer chain loop so chick hangs securely without crowding its head stitches.
Your tiny chick is now ready to become a cheerful spring accessory or miniature handmade gift.