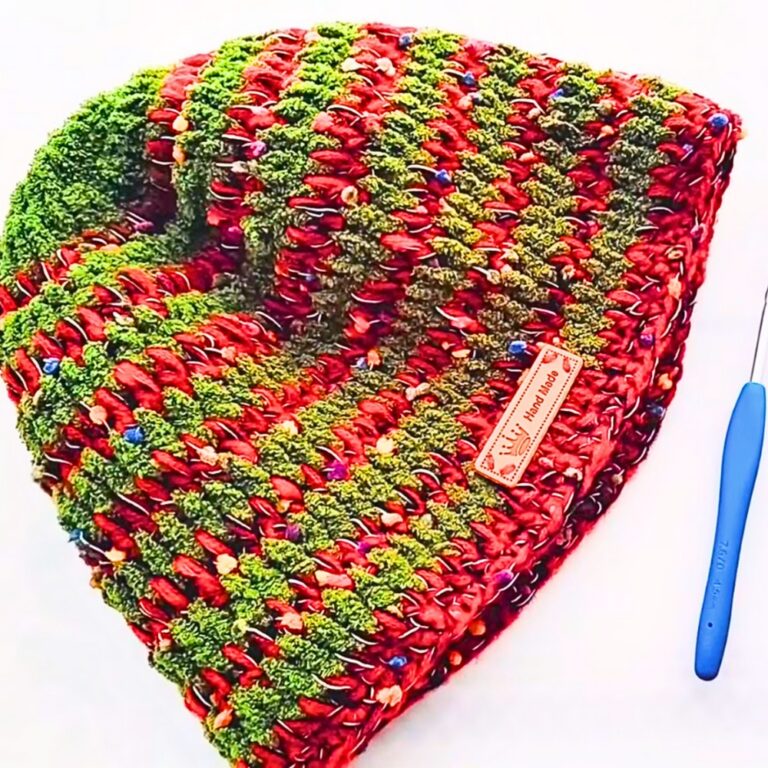
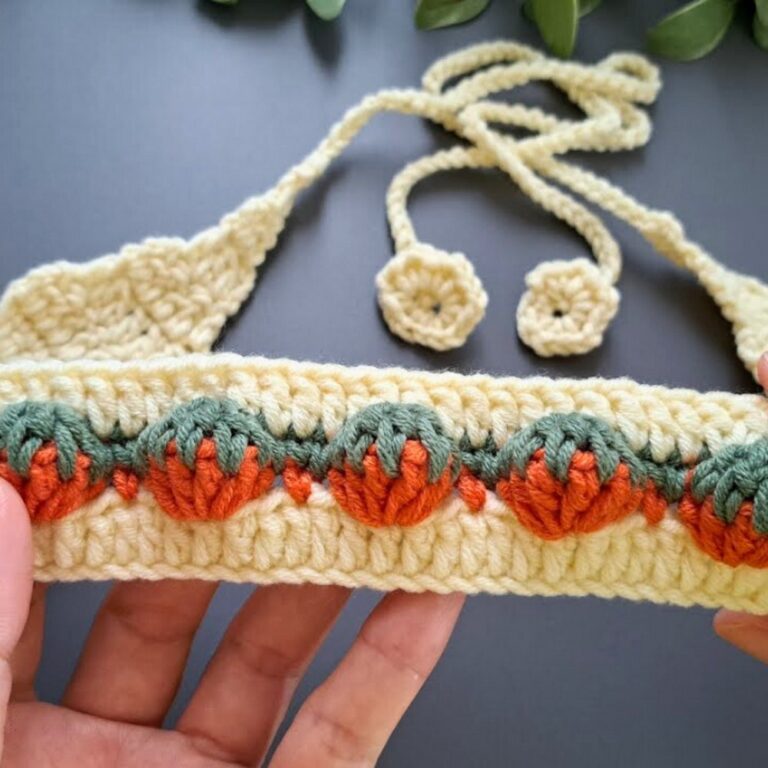
Crochet Textured Baby Beanie Pattern with Folded Brim
Here’s how to crochet a cozy textured beanie with a folded brim and raised snowflake stitches, using a simple row-by-row pattern for little ones.
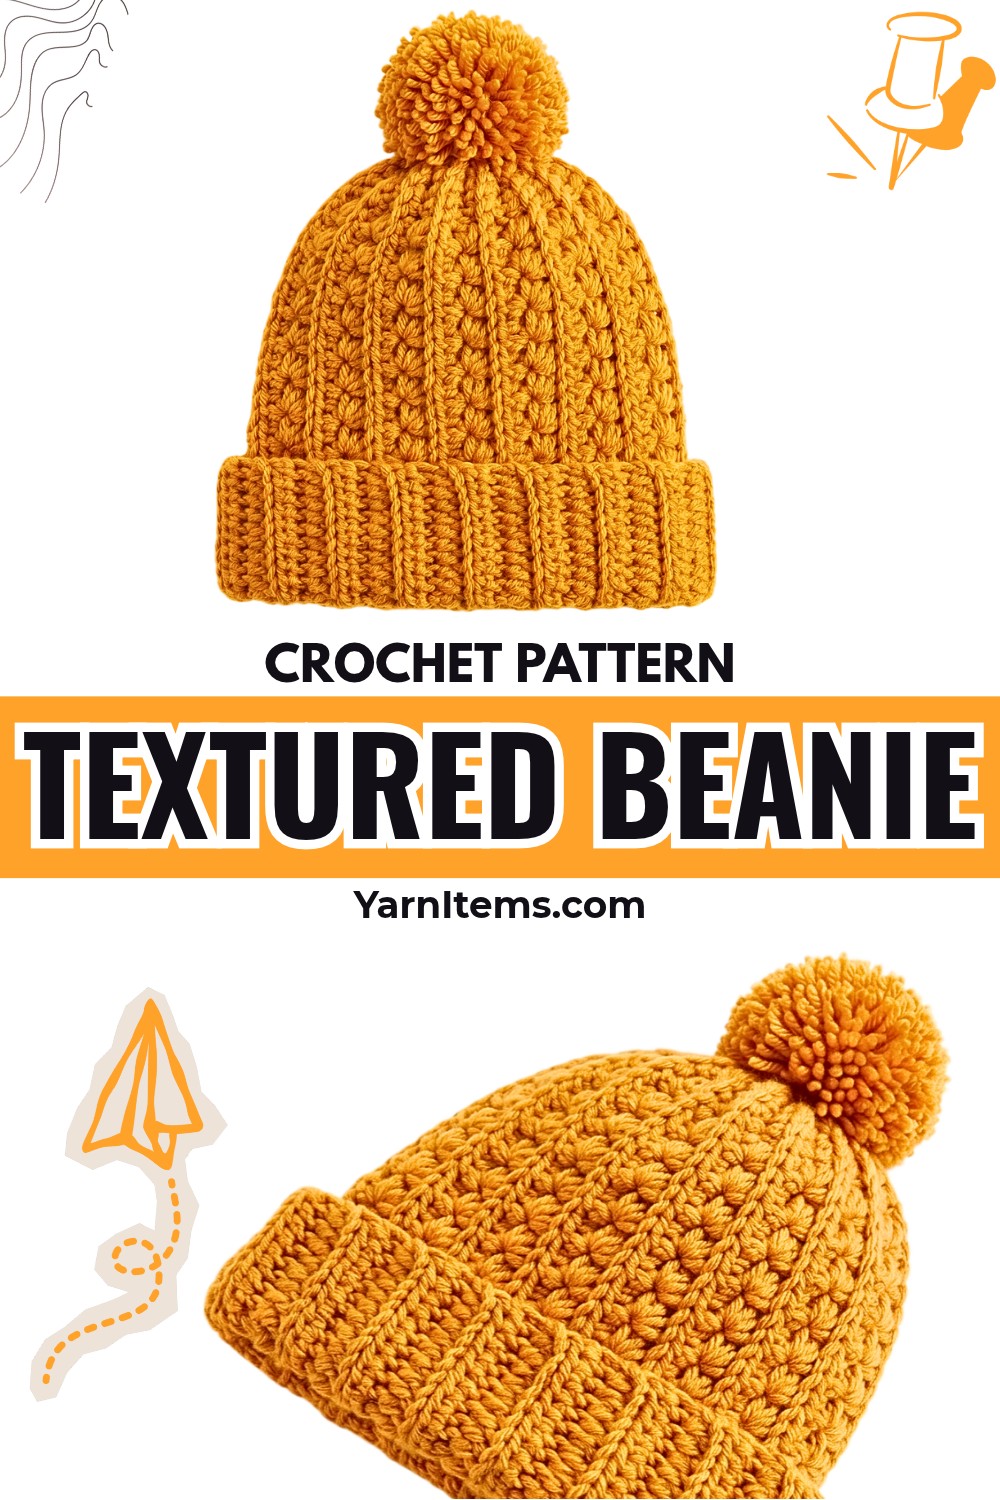
Soft yarn, a thick textured surface, and a folded brim give this crochet beanie a cozy look for chilly days. Raised snowflake-style stitches add visual interest, and the snug fit pairs well with winter coats, sweaters, and other cold-weather outfits. Optional details, such as a pom-pom or front label, can add an extra personal touch to your finished crochet hat.
This crochet pattern guides you through building a flat panel, creating repeating textured clusters, and joining the edges to shape a beanie. You’ll learn how the slip-stitch brim, distinctive stitch pattern, and gathered crown work together, with practical guidance for adjusting the fit and finishing your crochet hat neatly.
Credit anxin_crochet
Materials & Tools
- Yarn: Soft medium-weight or plush baby yarn in your preferred color. The example uses light blue.
- Crochet hook: A size suitable for your yarn, such as 4.5 mm or 5 mm.
- Tapestry or sewing needle: For joining the side seam and closing the crown.
- Stitch marker: Optional, for keeping track of your work.
- Scissors: For cutting yarn and trimming loose ends.
Finished Size and Fit
The supplied pattern is intended for a child around 2-3 years old. Its foundation chain measures approximately 24 cm.
- To adjust the width: Add or remove foundation-chain stitches, keeping the stitch count compatible with the repeating pattern.
- To adjust the folded brim: Change the number of starting slip stitches and the spacing used for the brim section.
- Before continuing: Check the panel against the child’s head measurement. Yarn thickness, hook size, and individual tension can all affect the final fit.
Crochet Abbreviations
- ch: Chain stitch
- sl st: Slip stitch
- Short st (sc): Single crochet
- Med-long st: Medium-long stitch used in the supplied tutorial
- Snowflake cluster: Raised cluster made by drawing up six loops and pulling through them together
Note about stitch terminology: The source describes a medium-long stitch as pulling up loops through back loops or vertical lines, then drawing through all loops together. Because this is not a universally standardized abbreviation, follow the accompanying video demonstration for the exact hook placement and movement.

Step-by-Step: Crochet the Textured Beanie
Step 1: Make the Foundation Chain
Start with a loose foundation chain that forms the length of the flat hat panel.
- Make a slip knot and place it on your hook.
- Chain 35 stitches, lifting each loop slightly as you work to avoid a tight foundation.
- Measure the chain. It should be approximately 24 cm for the stated child-size version.
Fit check: If your chain is noticeably shorter or longer, check your tension and hook size before continuing. Adjusting the chain may change the number of repeats that fit across the finished panel.
Step 2: Create the Brim Edge
The slip-stitch section forms the narrow edge that will become the folded brim.
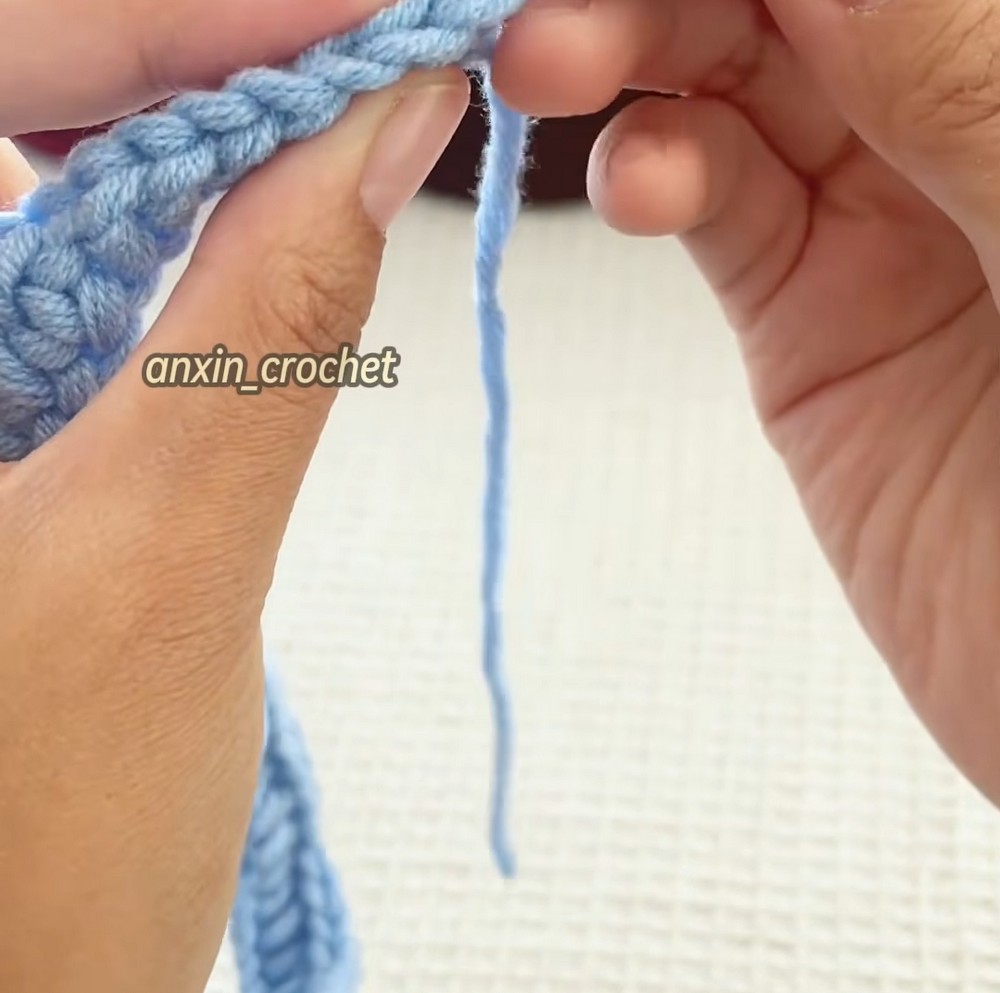
- Work 2 slip stitches into the chain as shown in the source tutorial.
- Return to the 35th stitch.
- Work medium-long stitches through the back half of the chain stitches, continuing until you reach the eighth stitch from the end.
- Work 7 slip stitches.
- Turn your work and make another 7 slip stitches back up the side.
- Work 1 short stitch, then chain 1 to prepare for the textured pattern.
Keep the slip stitches even. They create a firmer edge, so avoid pulling them too tightly or they may restrict the brim’s flexibility.
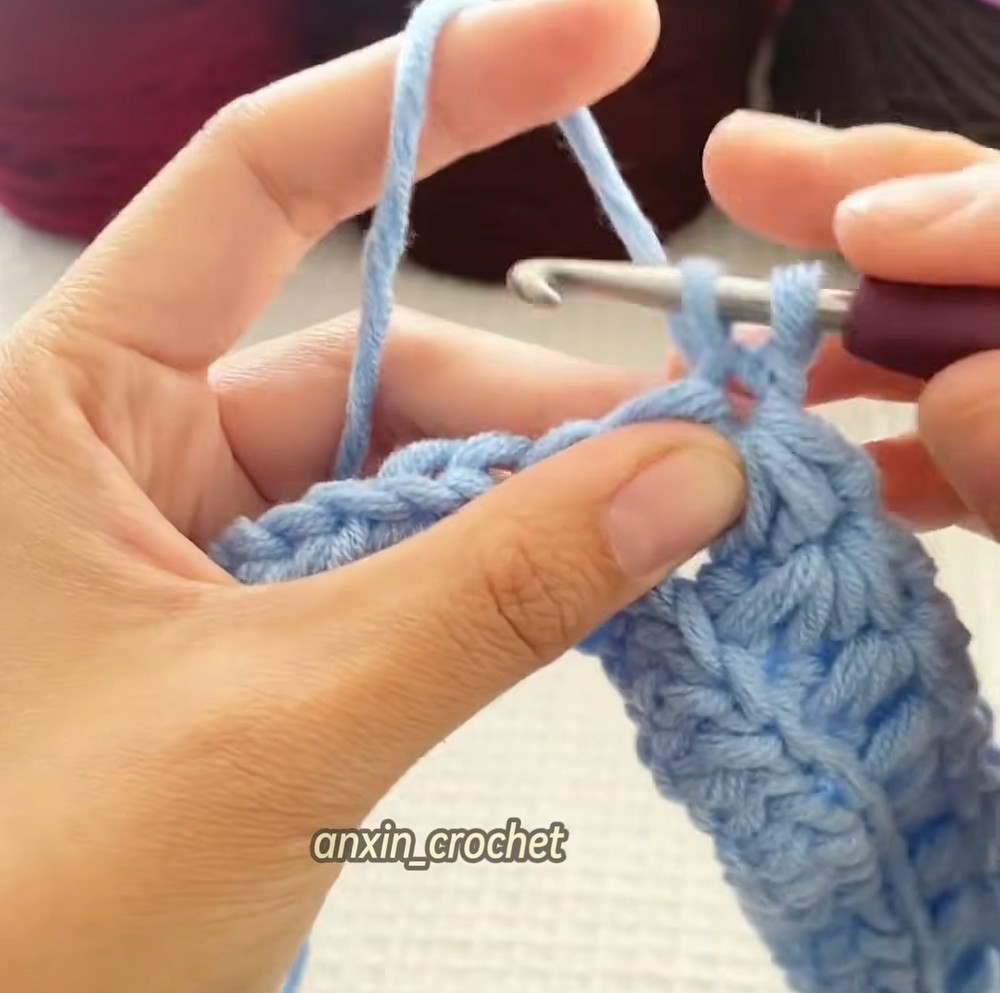
Step 3: Form the First Snowflake Cluster
This raised cluster creates the distinctive texture across the beanie panel.
- Pick up loops through the vertical line of the short stitch, the working loop, and the next stitches forward, following the source video’s placement.
- Draw up 6 loops in total on your hook.
- Yarn over and pull through all 6 loops together.
- Work 2 chain stitches to secure the cluster.
Keep the loops at a similar height so the raised clusters have a consistent appearance. If one loop is much shorter than the others, the cluster may look uneven.
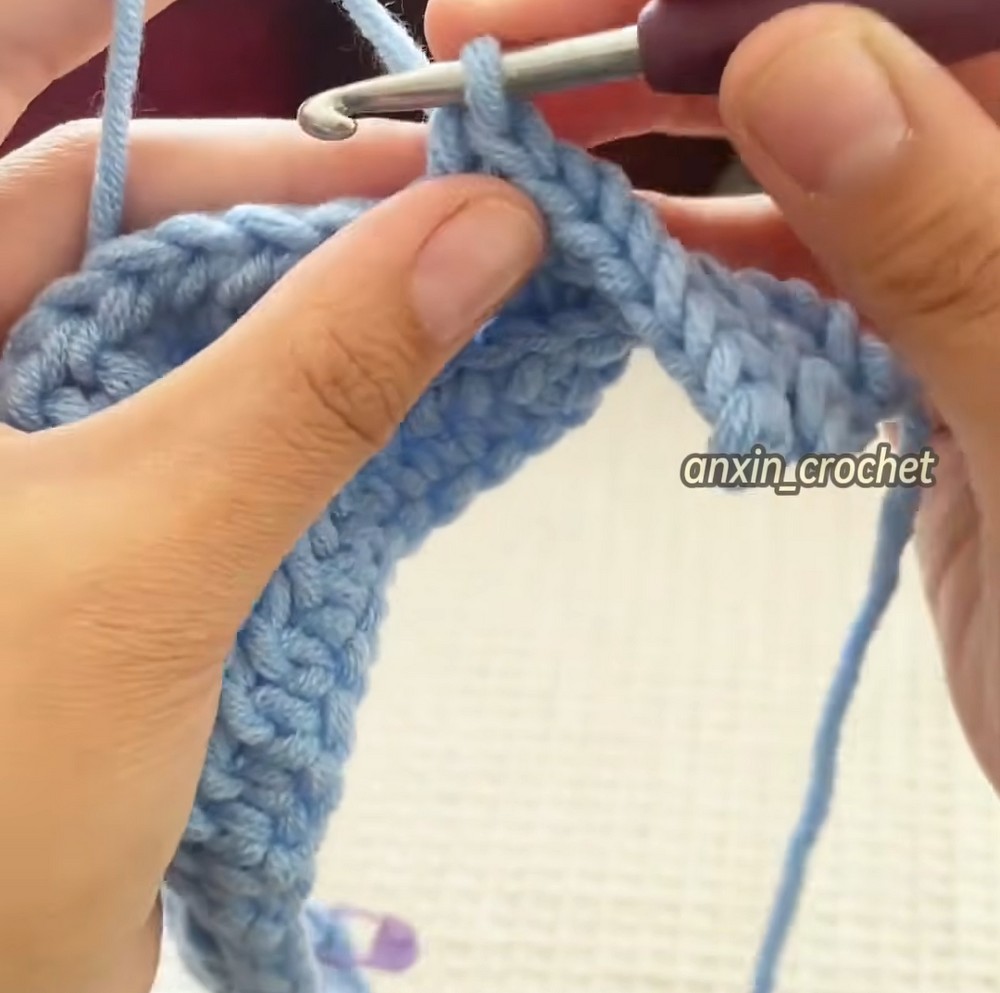
Step 4: Continue the Textured Row
Repeat the snowflake-style cluster pattern along the panel.
Work successive clusters using the same loop-pickup method demonstrated in the source. At the end of the row, leave the remaining 5–6 stitches unworked, then turn your work.
Leaving this small section unworked is part of the supplied instructions. Avoid filling in the edge automatically, as doing so may alter how the brim and textured panel meet.
Step 5: Work Back Across the Clusters
The return row fills in the spaces around the raised texture and helps the fabric develop its thickness.
- Work 5 medium-long stitches back over the flower or snowflake pattern.
- Continue with medium-long stitches into the holes and tops of the clusters until you reach the end of the row.
- Finish with 7 slip stitches down to the brim section.
Pay attention to the spaces between clusters. Work into the intended openings and tops rather than pulling stitches through random loops, which could distort the pattern.
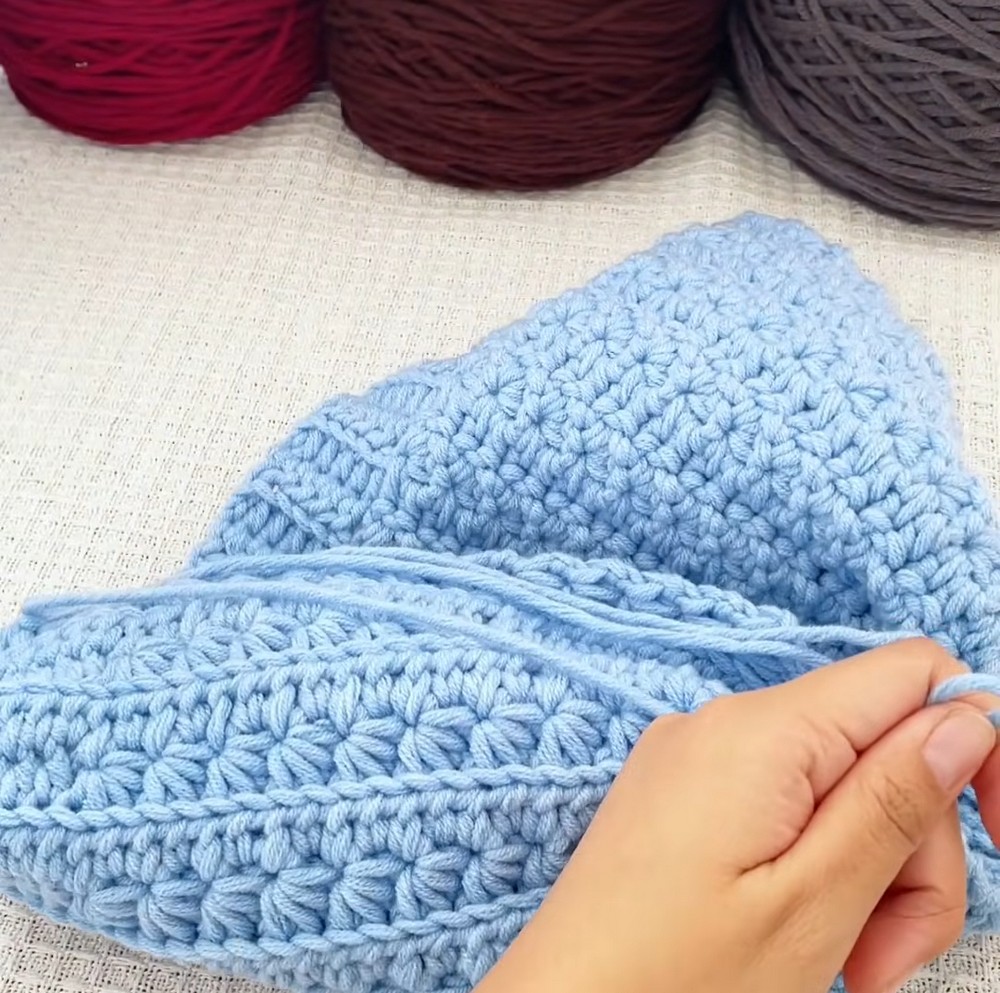
Step 6: Prepare for the Next Textured Row
Set up the next repeat before creating more clusters.
- Turn your work.
- Work 7 slip stitches back up the brim edge.
- Make 1 short stitch.
- Chain 2.
These stitches position the work for the next textured row. Keep the brim-side slip stitches consistent with the previous row so the edge remains straight.
Step 7: Repeat the Snowflake Pattern
Alternate the textured cluster row and the medium-long return row to extend the panel.
- Textured row: Form the six-loop clusters and secure each with 2 chain stitches, following the sequence established earlier.
- Return row: Work medium-long stitches into the cluster tops and spaces, then finish with 7 slip stitches down to the brim.
- Next repeat: Turn, work 7 slip stitches up the edge, make 1 short stitch, and chain 2 before beginning the next textured row.
Continue alternating these rows until the panel reaches a length that wraps comfortably around the child’s head.
Important: The source gives the sequence and several stitch counts, but it does not provide a complete written count for every repeat. Use the video to confirm the exact placement of each cluster and compare the panel against the intended head measurement before seaming.
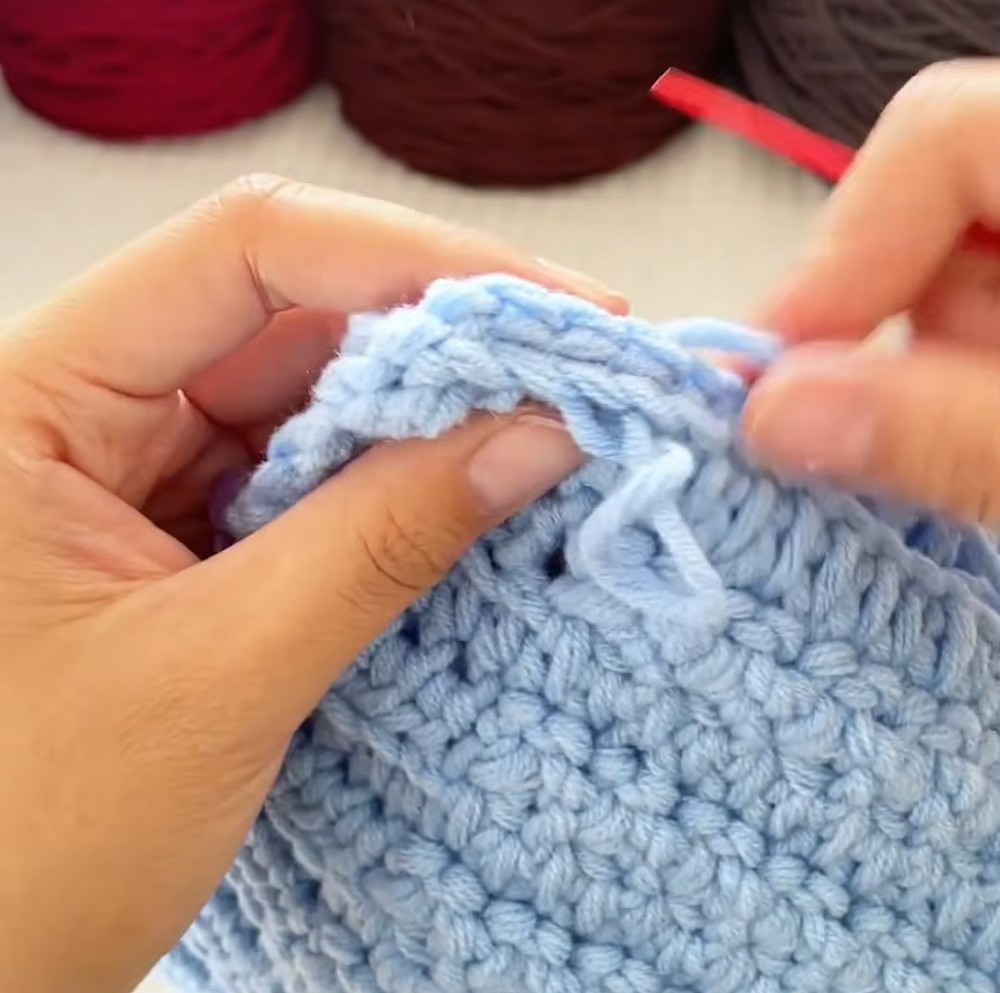
Step 8: Check the Panel Before Sewing
Lay the crocheted piece flat and inspect its shape before joining the edges.
- Check that the textured rows follow a consistent pattern.
- Confirm that the slip-stitch edge runs evenly along the brim.
- Wrap the panel around the intended wearer’s head, allowing for a comfortable fit.
- Make sure the brim can fold upward without pulling the main fabric too tightly.
This check is especially useful because the final circumference depends on the yarn, hook, tension, and number of pattern repeats.
Step 9: Leave a Long Tail for the Seam
Once the panel reaches the desired size, prepare enough yarn to sew the side seam and gather the crown.
Measure the bottom edge of the panel and cut the working yarn, leaving a tail approximately three times the length of the fabric, as directed in the source tutorial.
Thread the tail onto your tapestry needle. Keep the tail long enough to complete the seam and the crown-gathering step without running short.
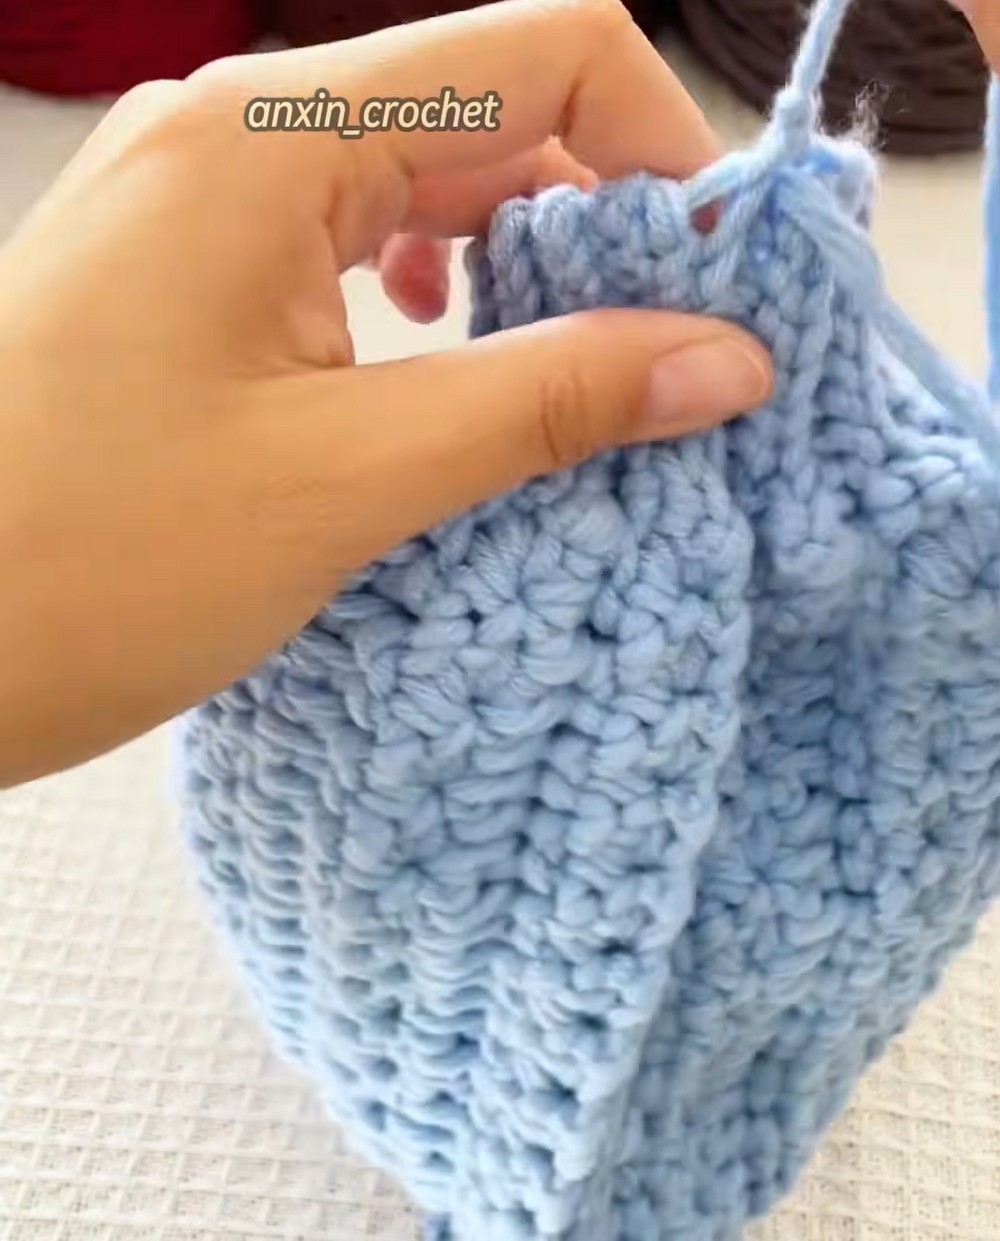
Step 10: Join the Side Seam
Fold the panel with its textured side facing inward, as shown in the tutorial. This keeps the pattern on the inside while you sew.
Using your tapestry needle, whipstitch or mattress-stitch the vertical edges together. Start at the bottom brim and work upward toward the crown, matching the corresponding stitches along both edges.
Seaming tip: Match the edges gradually instead of pulling the yarn tight after every stitch. Even, controlled sewing helps prevent a bulky seam or an uneven brim.
Step 11: Gather and Close the Crown
With the side seam joined, close the open top to create the rounded beanie shape.
- Use your needle to weave in and out through the stitches around the open top edge.
- Continue around the entire opening.
- Pull the yarn tail firmly to gather the fabric until the crown closes completely.
- Secure the gathered area with knots.
Pull the opening closed evenly. If the fabric gathers to one side, redistribute the folds before securing the yarn.
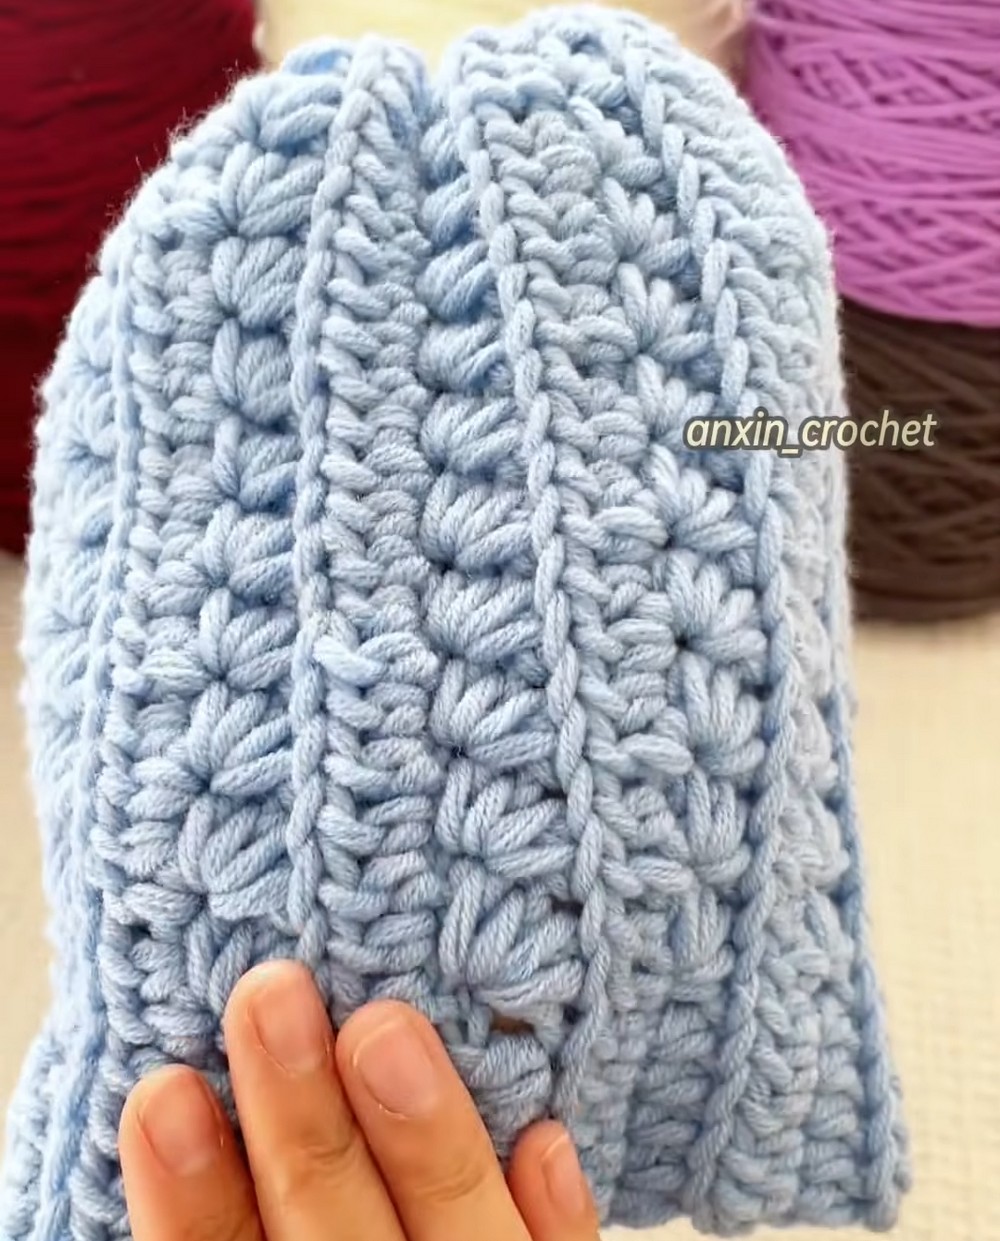
Step 12: Finish the Beanie
Secure the yarn and prepare the hat for wearing.
- Fasten off securely.
- Weave in all loose yarn ends with your tapestry needle.
- Trim excess yarn once the ends are secure.
- Turn the beanie right-side out to reveal the raised textured pattern.
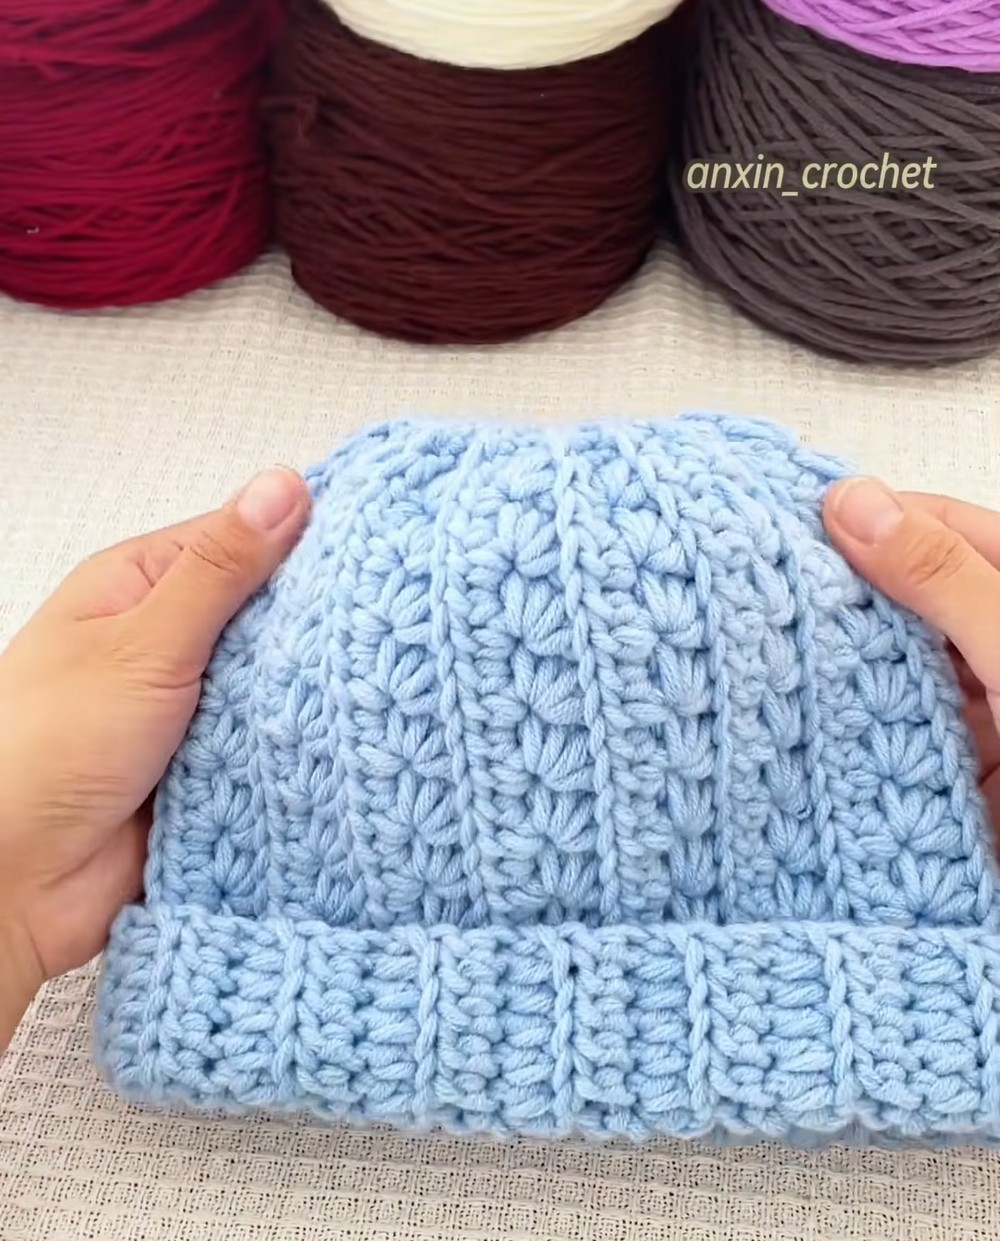
Fold the lower brim upward to the desired height. You can keep the hat simple or personalize it with a pom-pom or front label, provided these additions are securely attached and suitable for the wearer’s age.

Your textured crochet beanie is now ready to wear with winter outfits. The folded brim, raised snowflake-style fabric, and gathered crown give it a cozy finish, while adjustments to the foundation chain and brim height help you tailor the fit.