Crochet Bavarian Square Blanket Pattern with Textured Shells
Turn simple treble clusters into a richly textured Bavarian square that can become anything from a small hot pad to a full-size blanket.
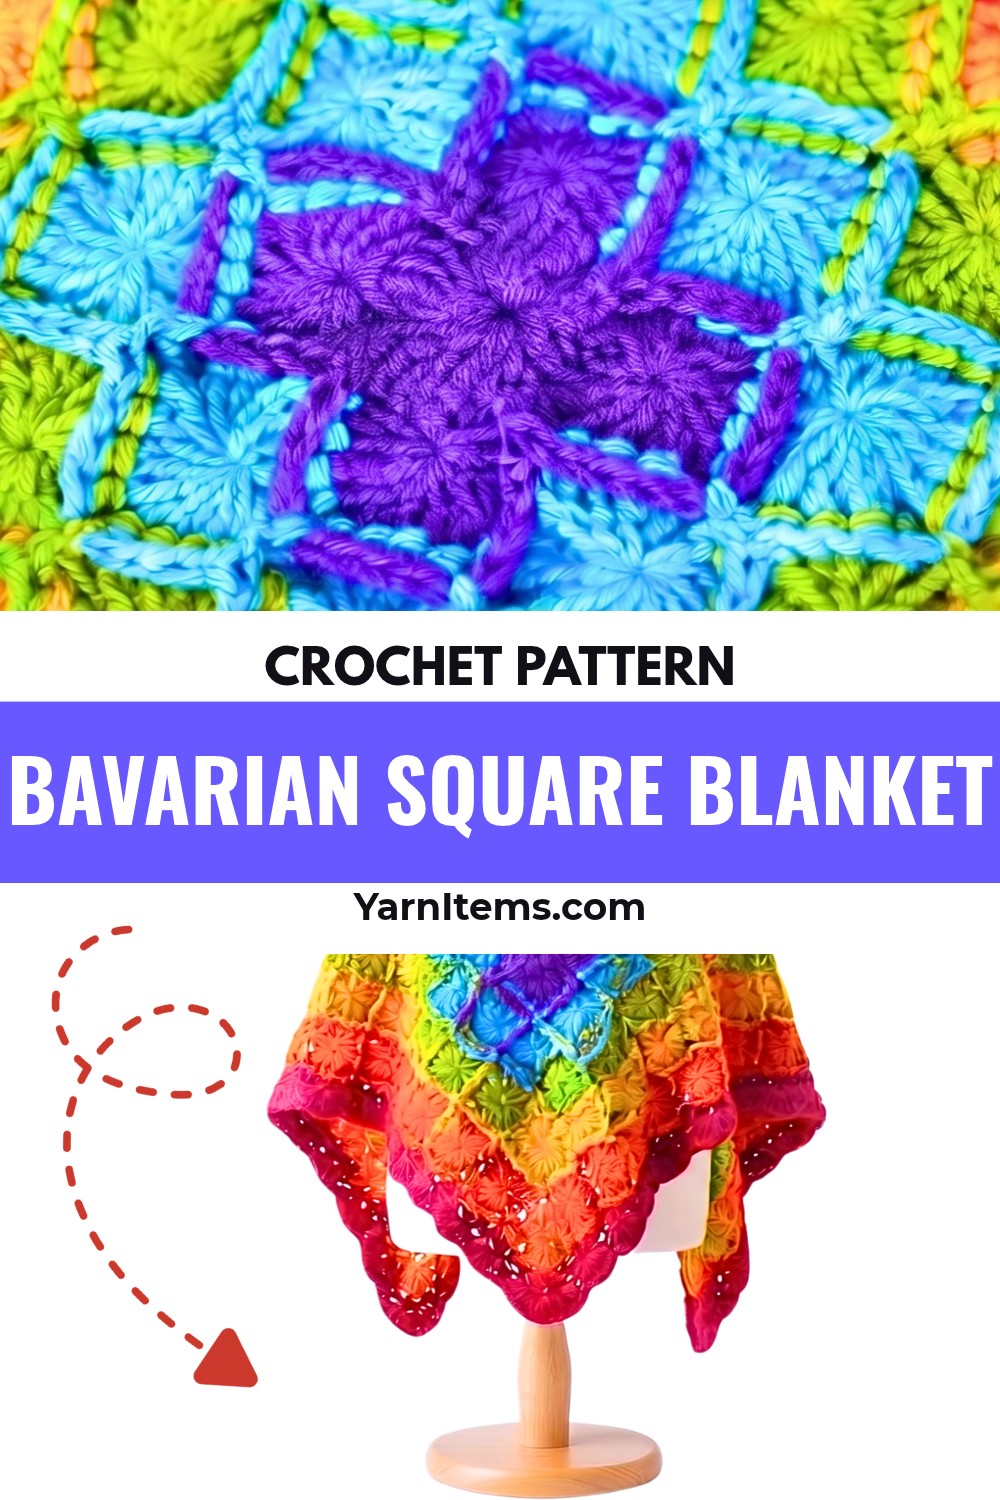
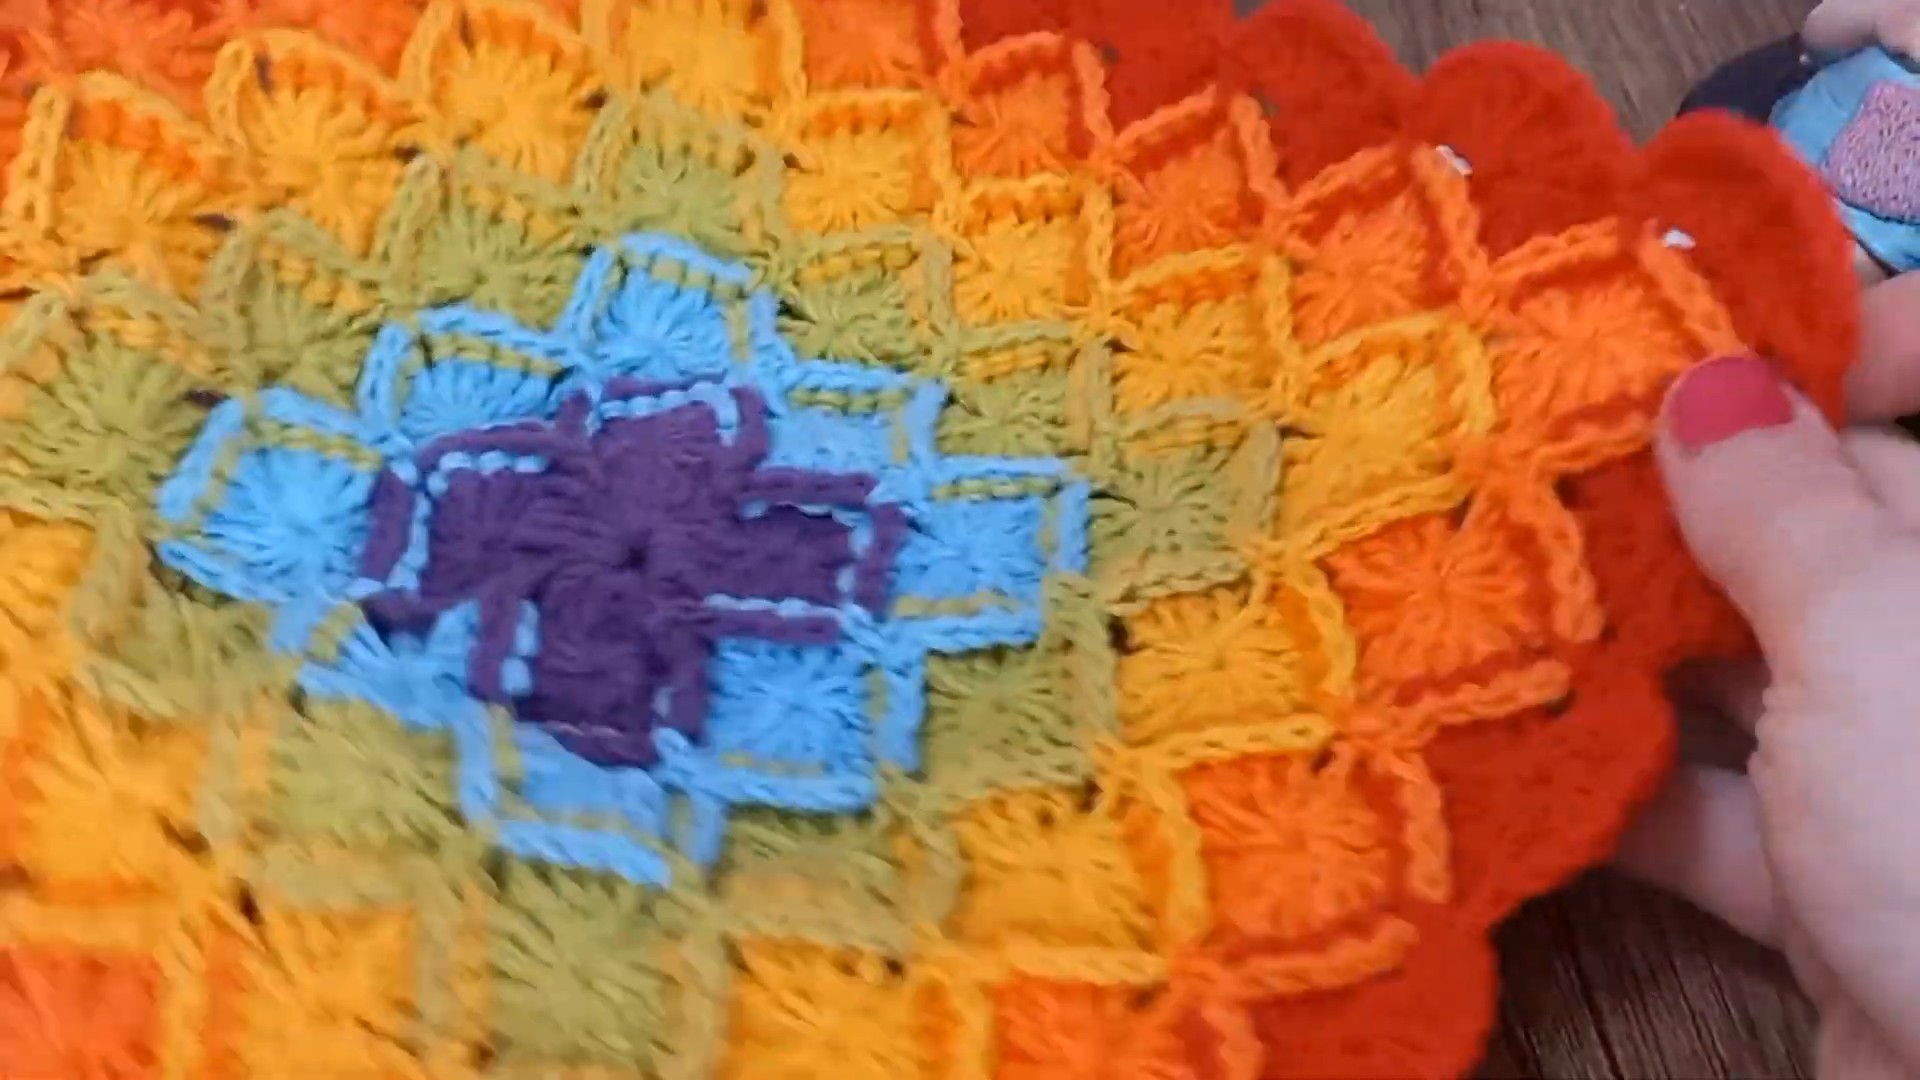
A crochet Bavarian square has a wonderfully raised texture that makes even a simple color change look much more detailed. The repeating shells and clustered stitches build outward from a tiny center, creating a crochet square with four defined corners and plenty of visual depth.
Once you understand how the back-post clusters connect the shell sections, the pattern becomes much easier to follow as it grows. You can keep the colors simple or use gradients and bright seasonal shades, while the repeating two-round rhythm lets you stop at almost any size.
Credit Simple Crochet
Choose the Size Before You Keep Repeating
This Bavarian square grows continuously, so there is no fixed final stitch count or required blanket size. Stop after only a few rounds for a hot pad or small cushion, or continue repeating the pattern to create a baby blanket or larger throw.
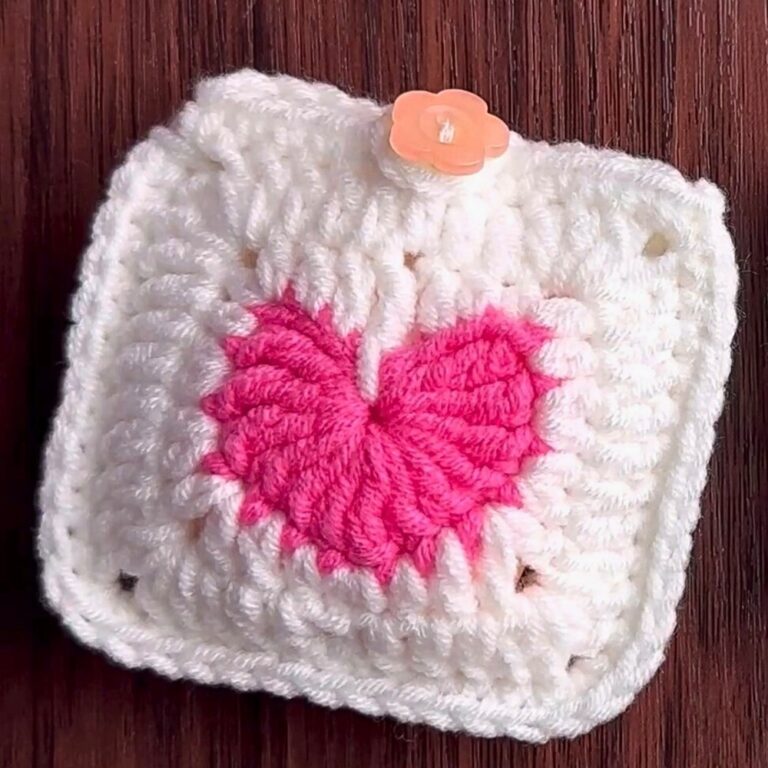
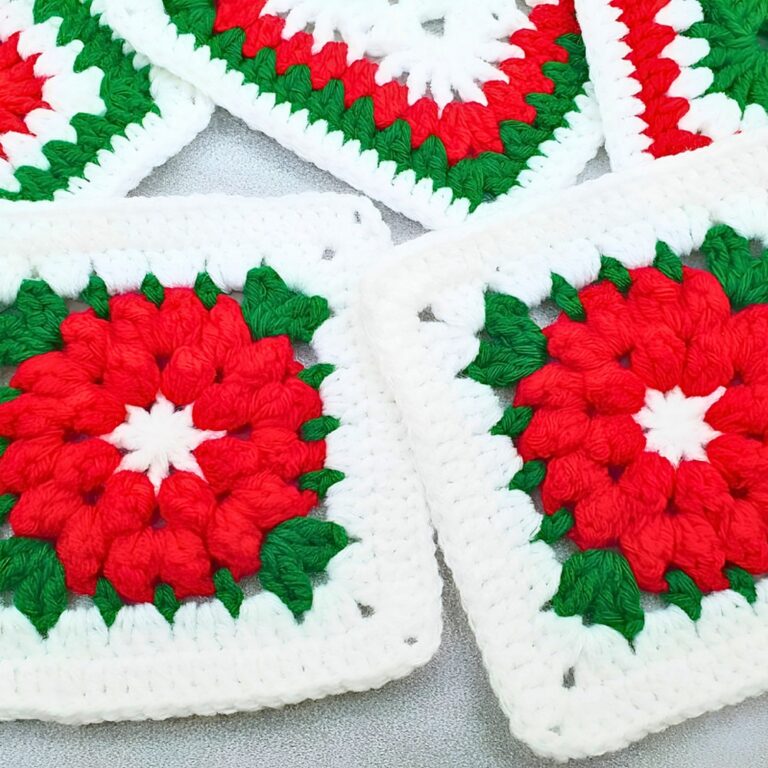
A gradient from pink to red can make the raised texture especially noticeable, while rainbow colors give each round a different look. For a seasonal version, orange, green, and black can create a Halloween-inspired palette.
You’ll need a 3.0 mm crochet hook, cotton-blend yarn such as YarnArt Jeans, scissors, and a tapestry or yarn needle. A single color also works if you want the texture itself to be the main feature.
The Stitch Language You’ll Use
The pattern uses US crochet terms:
- ch – Chain
- sc – Single Crochet
- sl st – Slip Stitch
- tr – Treble Crochet, yarn over twice
- bptr – Back Post Treble Crochet
- 4-tr cl – 4 Treble Crochet Cluster; pull through 5 loops
- 4-bptr cl – 4 Back Post Treble Crochet Cluster; pull through 5 loops
- 8-bptr cl – 8 Back Post Treble Crochet Cluster; pull through 9 loops
The important difference comes in Round 3, where the back post clusters are used to pull sections of the previous shell forward and create the characteristic raised texture.

Create the Four Center Spokes
Begin with a small ring. You can make it from 6 chains joined with a slip stitch, or use a magic ring if you prefer. The four clusters made here become the foundation for the first set of large shells.
Round 1: Ch 5, make a 4-tr cl into the ring by working four partial treble crochets and pulling through all 5 loops together, ch 5, sc into the ring; repeat (ch 5, 4-tr cl into the ring, ch 5, sc into the ring) 3 more times, giving you 4 center spokes and 4 sc anchors.
When the round is complete, check that the four clusters are separated evenly around the center. These spaces will become the points where the first large shells sit.
Turn Each Spoke into a Shell
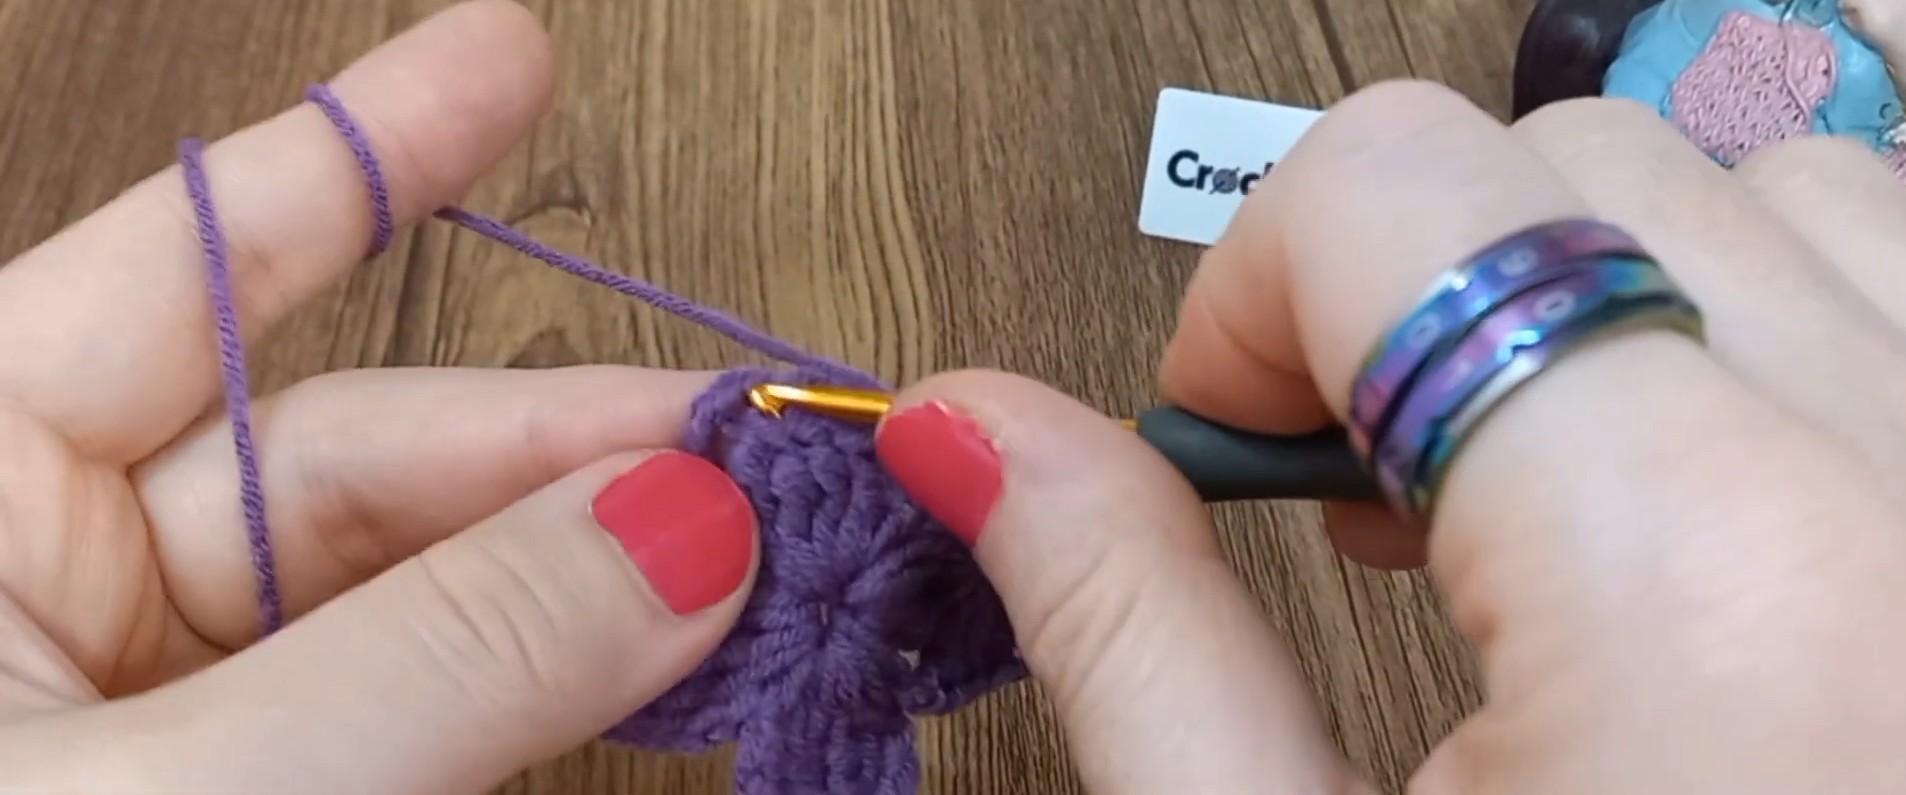
The next round spreads the small center into four substantial shell sections. Work directly into the top space of each cluster rather than into individual treble stitches.
Round 2: Ch 2, working into the top space of the first spoke, make 4 tr, ch 1, 4 tr, ch 1, 4 tr, sc into the previous-round sc; repeat around for all 4 spokes, then join, cut yarn, and fasten off if changing colors.
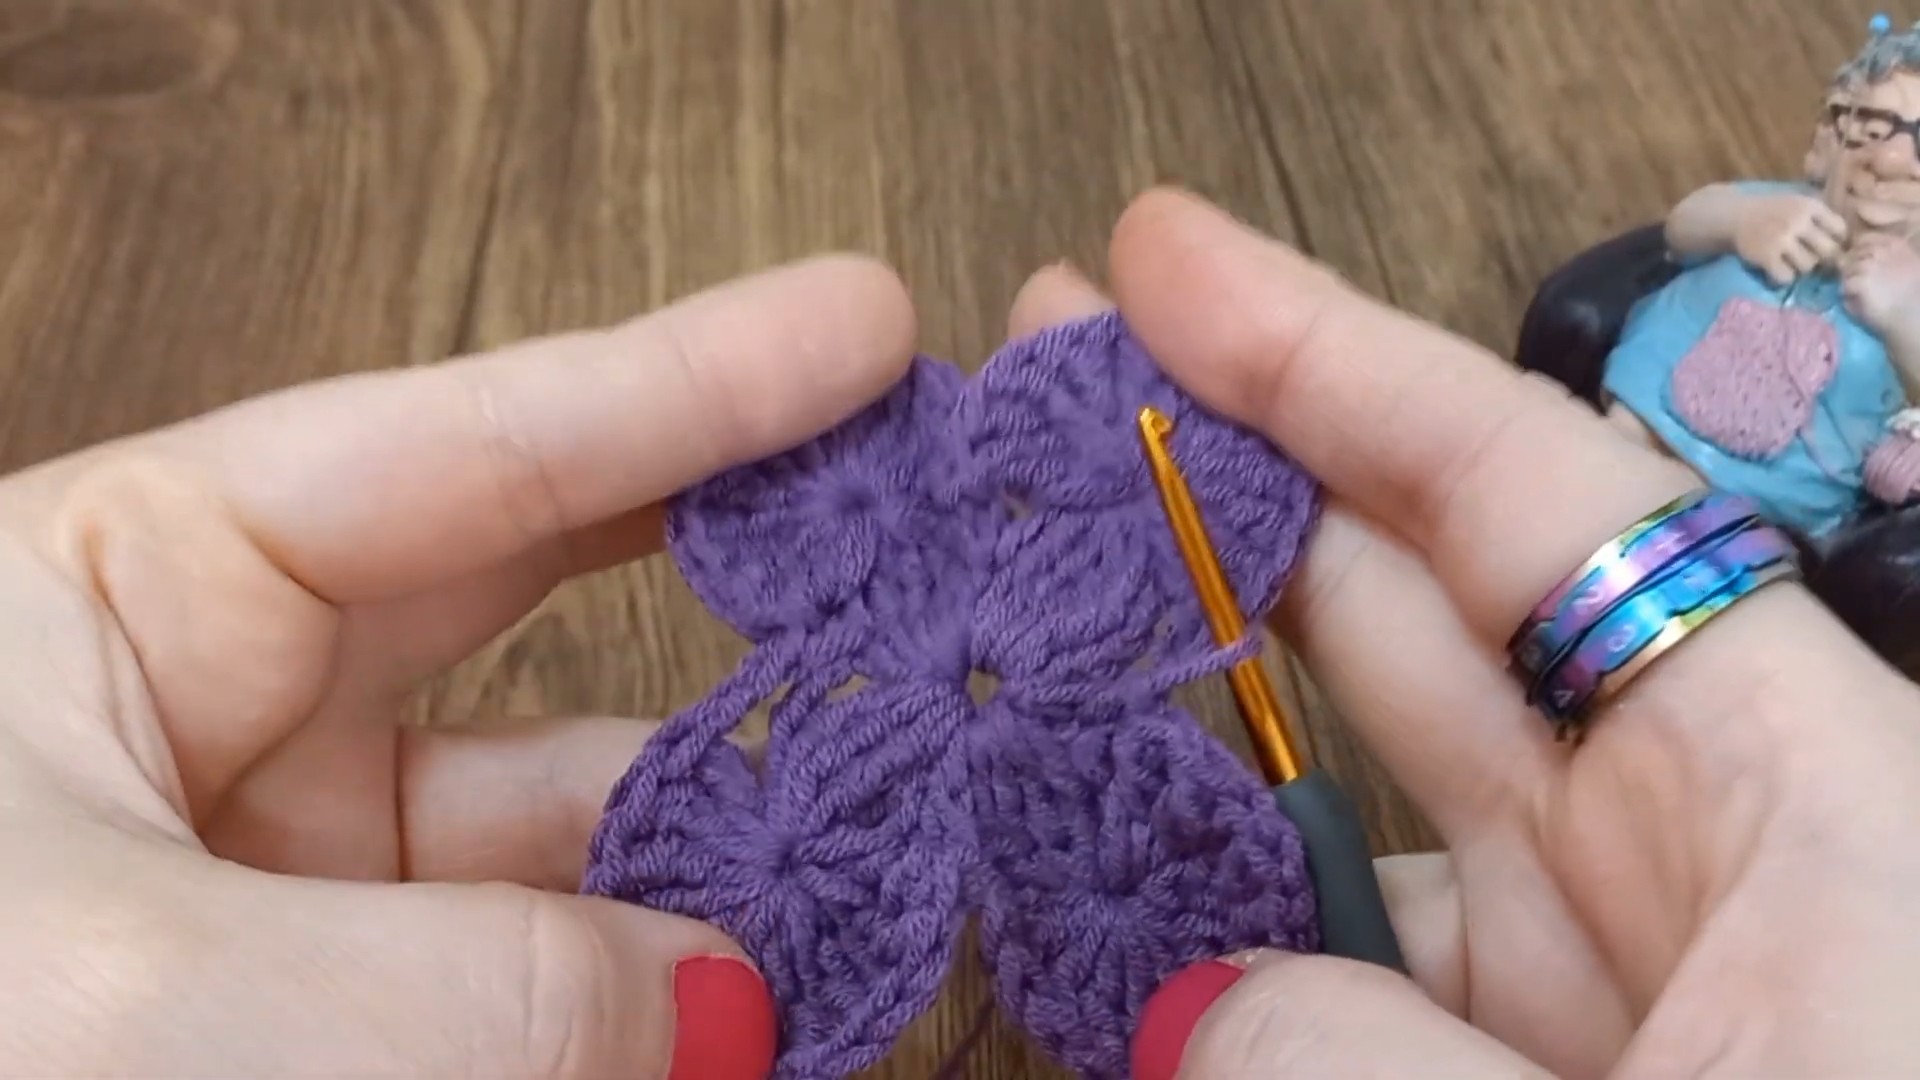
You should now have four large shells, with each shell containing twelve treble stitches separated by two chain-1 spaces. These four sections establish the four corners of the square.
Use Back Post Clusters to Build the Texture
Round 3 is where the Bavarian texture begins to take shape. If you are changing colors, join the new yarn into the first ch-1 space of the previous shell with a sc.
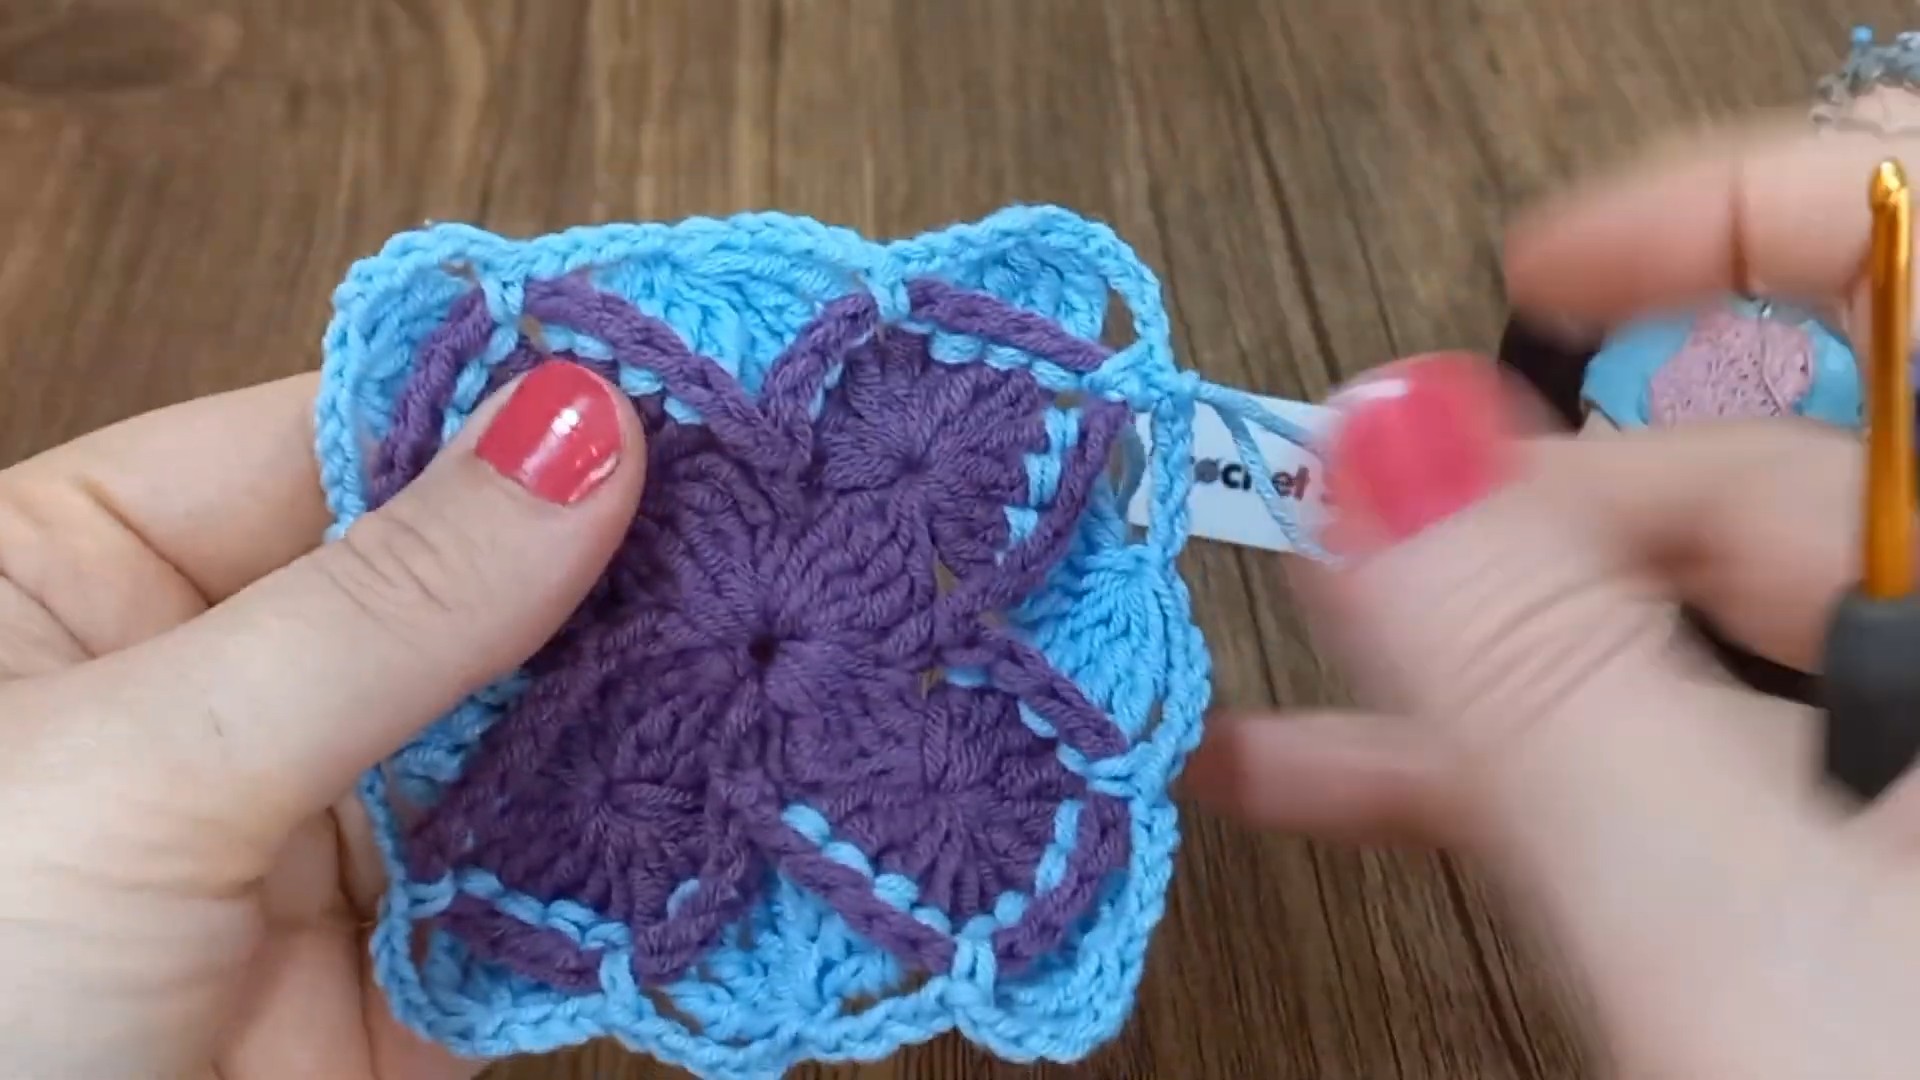
The 4-bptr clusters form the corners, while the larger 8-bptr clusters stretch across the flat sides. Pay attention to the center sc between neighboring shells: it is skipped when the 8-bptr cluster crosses from one shell to the next.
Round 3: Join new color with sc into the first ch-1 space, ch 5, 4-bptr cl around the next 4 tr, ch 5, sc into the next ch-1 space, ch 5, 8-bptr cl across the next shell sections by working around 4 tr from one shell, skipping the middle sc, then working around 4 tr from the adjacent shell, ch 5, sc into the next ch-1 space; repeat around with 4-bptr cl at each corner and 8-bptr cl across each side, finish with ch 5 and sl st to the first sc.
For each 4-bptr cl, work around the back posts of the four designated treble stitches and pull through all 5 loops together.
For each 8-bptr cl, work one bptr around each of the next four treble stitches, skip the sc between the shells, then work one bptr around each of the following four treble stitches. You will have 9 loops on the hook before pulling through them all.
The visual cue is useful here: the smaller clusters should mark the four corners, while the longer clusters should bridge the straight sides.
Rebuild the Shells Around the Clusters
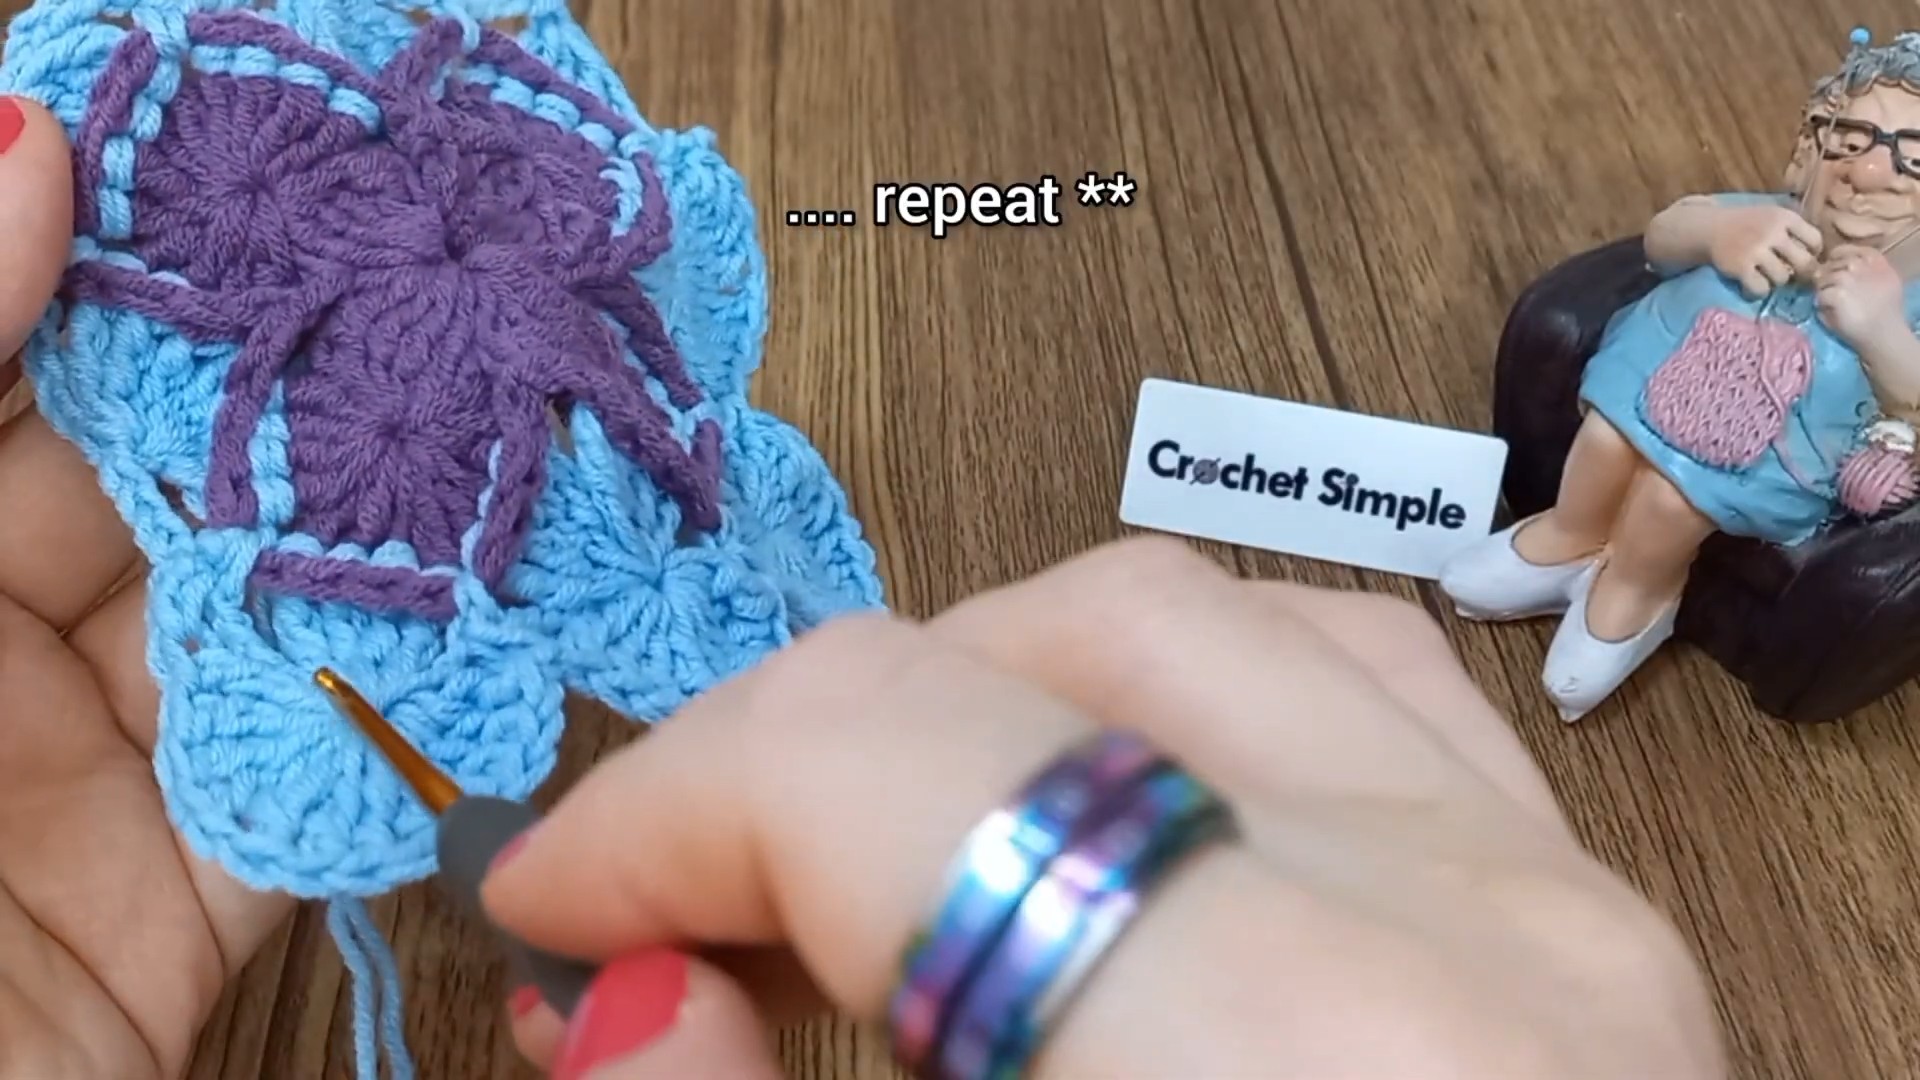
Round 4 covers the raised clusters with new shell sections. The corners receive the larger three-part shell, while each side cluster receives the smaller two-part shell.
Round 4: Ch 1, sc into the same sc, work 4 tr, ch 1, 4 tr, ch 1, 4 tr into the top of the corner 4-bptr cl, sc into the next sc, work 4 tr, ch 1, 4 tr into the top of the side 8-bptr cl, sc into the next sc; repeat this corner-and-side sequence around, then join with a sl st to the first sc, cut yarn, and fasten off.
The distinction between the two shell sizes is important:
- Corner 4-bptr cl → 4 tr, ch 1, 4 tr, ch 1, 4 tr
- Side 8-bptr cl → 4 tr, ch 1, 4 tr
Following that difference keeps the square expanding in the correct shape.
Keep Growing with the Same Two-Round Rhythm
After Round 4, the basic rhythm is established. Each new pair of rounds adds another textured layer to the square.
Next Round 3: Join the new color and repeat the back post cluster structure, placing a 4-bptr cl at each of the four corners and working an increasing number of 8-bptr cl along each straight side.
Next Round 4: Rebuild the shells again, using the large 4 tr, ch 1, 4 tr, ch 1, 4 tr shell over every corner cluster and the smaller 4 tr, ch 1, 4 tr shell over every side cluster.
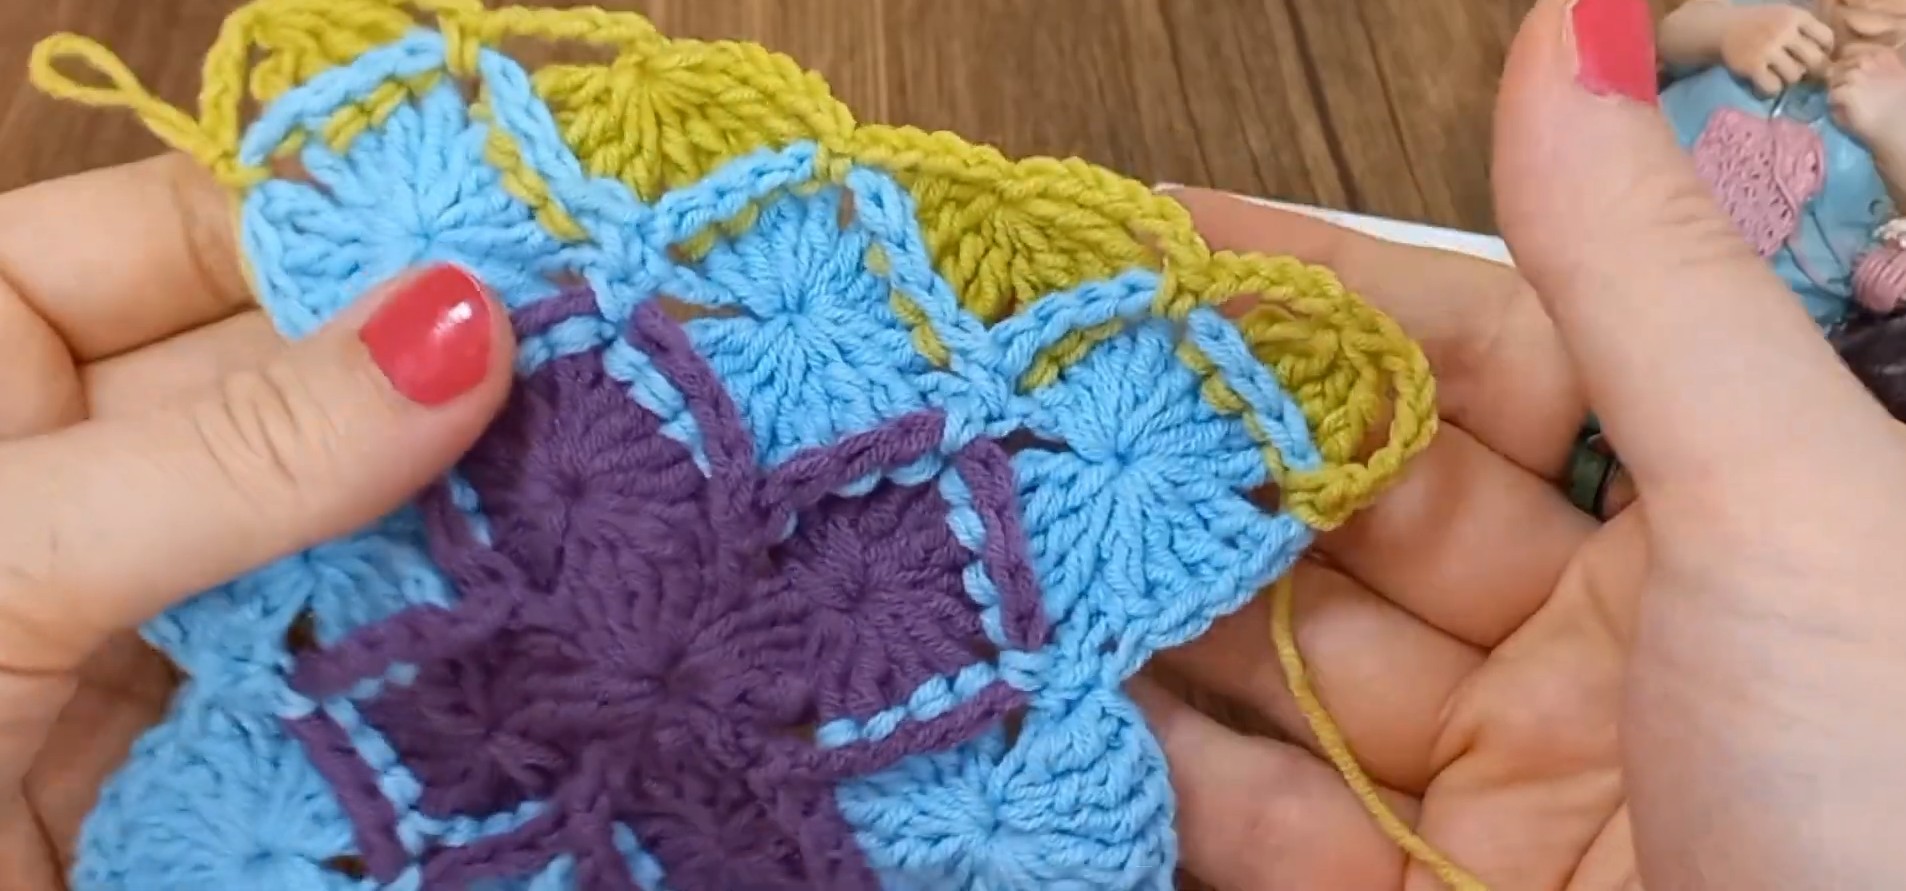
As the square grows, you will naturally have more 8-bptr clusters along each straight side. The corners remain anchored by the same 4-bptr cluster structure, so you can keep alternating these two rounds until the square reaches your desired dimensions.
Let the Texture Guide Your Placement
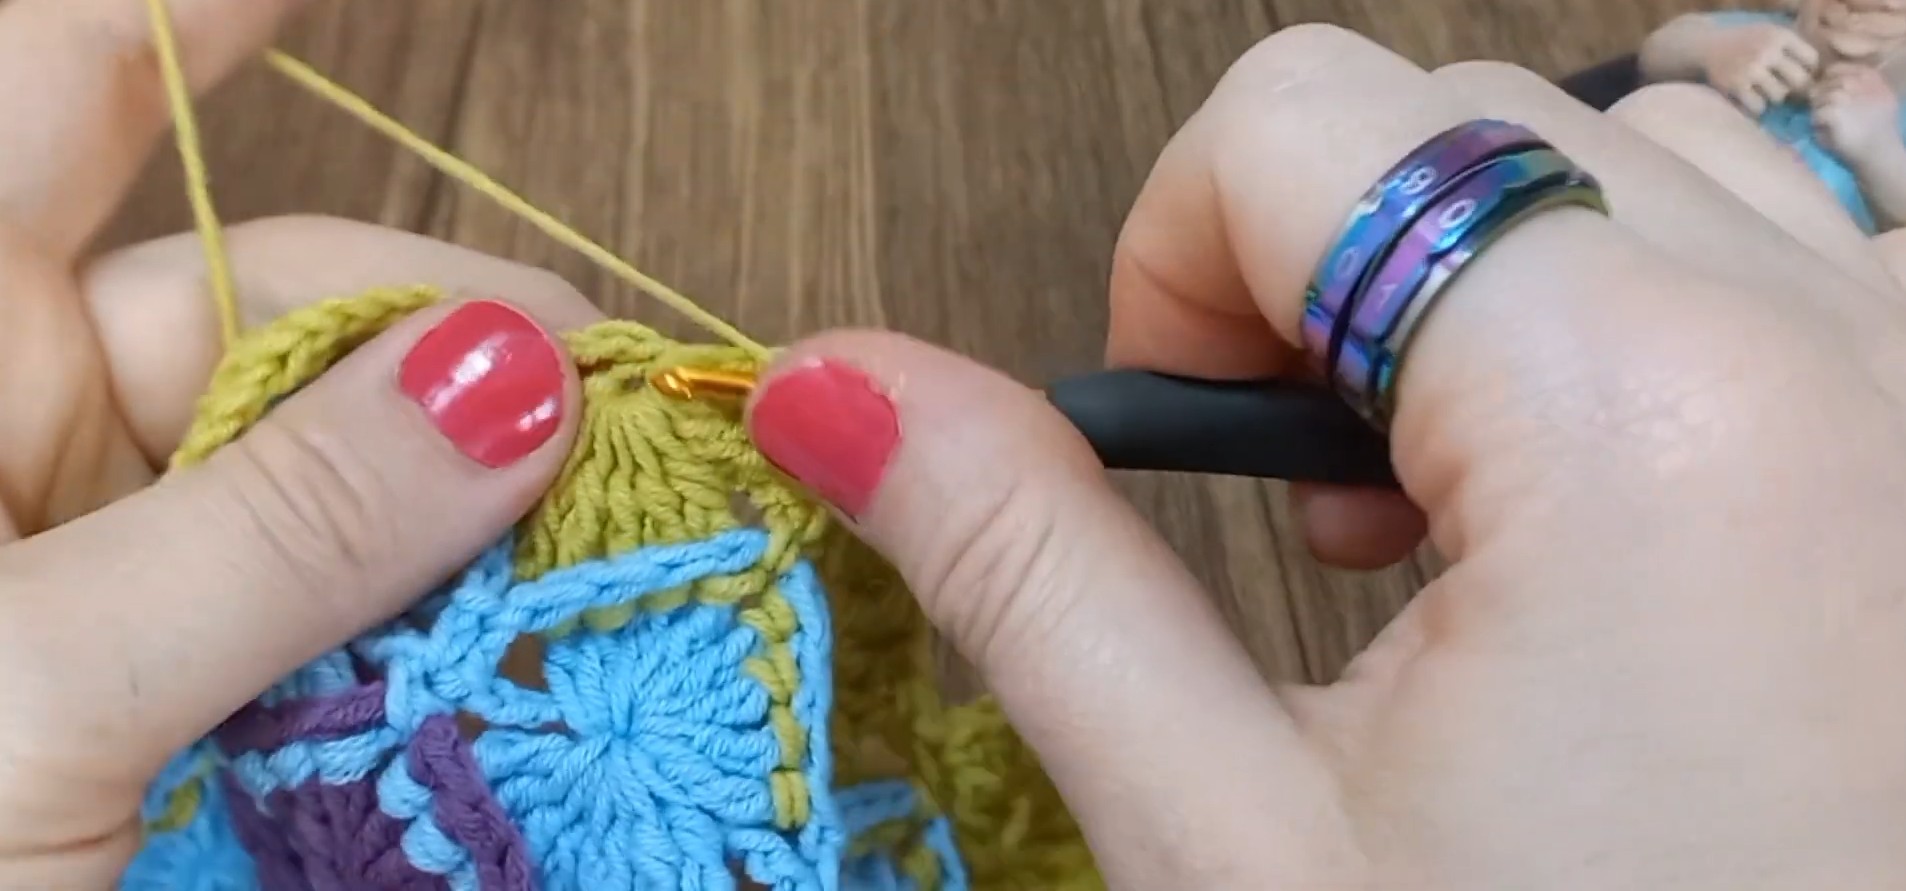
The easiest way to stay oriented in the later rounds is to identify the four corners first. The corner clusters always receive the larger three-part shell in the following shell round. Everything between those corners belongs to the straight sides and receives the smaller shell.
That visual distinction becomes increasingly helpful as the blanket grows, especially when several colors make the round boundaries less obvious.
Finish When Your Square Reaches the Desired Size
Because you work the entire blanket continuously in rounds, you don’t need to sew or assemble it at the end. Once the square reaches your preferred dimensions, complete a final Round 4.
Fasten off securely, then use the tapestry needle to weave the remaining yarn tails into the dense textured areas on the back of the work. Trim the ends after they are securely hidden.