Easy Crochet Party Hat Pattern With Pom-Pom
A cheerful crochet party hat with a pointed shape, ruffled edge, and tiny pom-pom is a fun way to add a handmade touch to any celebration.
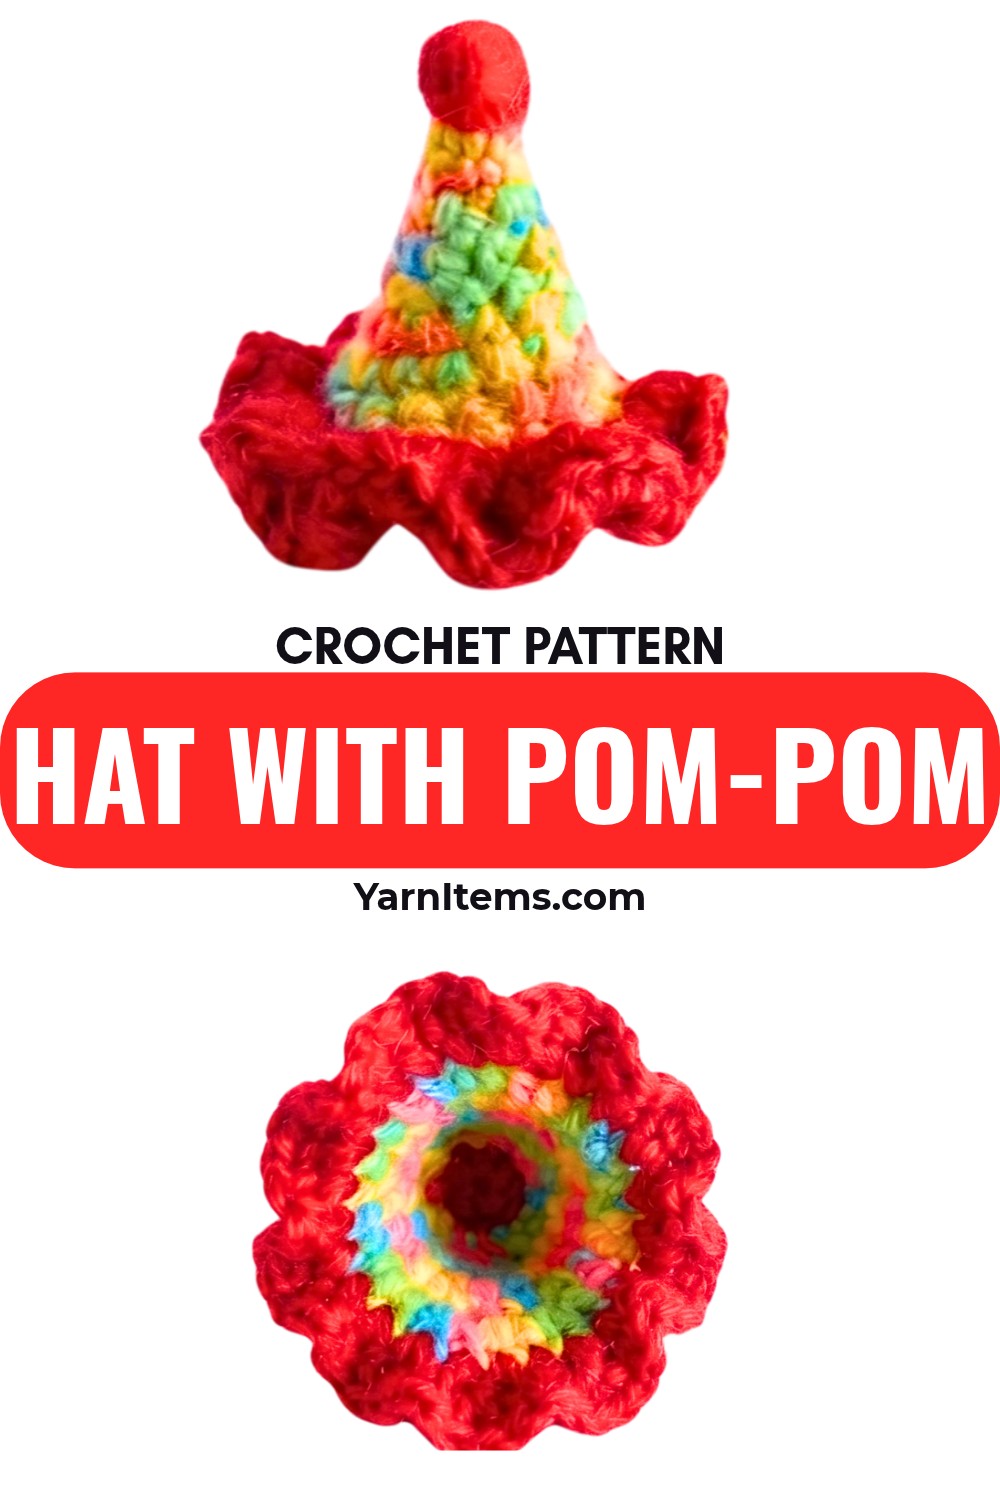
Party hats do not need complicated crochet stitches to look special. This version begins with a small magic ring and grows gradually with simple single crochet increases, creating the pointed hat shape before the contrasting ruffle is added around the edge.
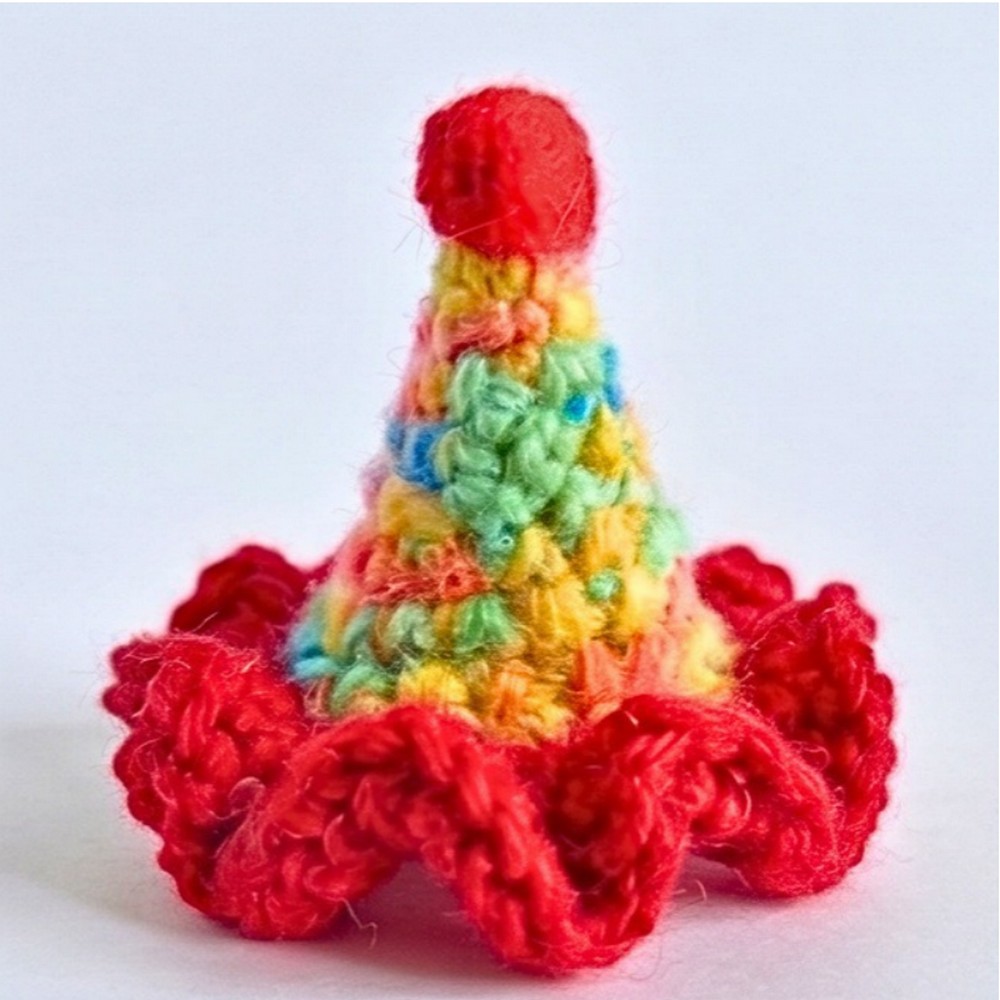
The color change at Round 9 is where the look of the crochet hat starts to come together. From there, four half double crochets in each stitch create the full ruffle, while a mini pom-pom glued to the top gives the finished hat its playful character.
Credit The Hook Nook Crochet
Materials Needed
- Yarn: Size 4 (worsted weight) yarn in two colors-one for the hat and one for the ruffle
- Hook: 4.0 mm crochet hook
- Notions: Scissors, tapestry needle, and a stitch marker
- Finishing: Mini pom-pom and hot glue
Abbreviations (US Terms)
- SC: Single Crochet
- HDC: Half Double Crochet
- INC: Increase – 2 single crochets in the same stitch
- SL ST: Slip Stitch
- CH: Chain
Crochet Party Hat Pattern
The hat is worked from the pointed top downward. The first eight rounds gradually increase the stitch count, giving the piece its cone-like shape. Round 9 keeps the stitch count at 18 while preparing for the contrasting ruffle.
Hat Body – Main Color
Round 1: Create a magic ring; make 4 SC into the ring. (4 stitches)
Round 2: (1 SC, INC) repeat 2 times. (6 stitches)
Round 3: (2 SC, INC) repeat 2 times. (8 stitches)
Round 4: (3 SC, INC) repeat 2 times. (10 stitches)
Round 5: (4 SC, INC) repeat 2 times. (12 stitches)
Round 6: (5 SC, INC) repeat 2 times. (14 stitches)
Round 7: (6 SC, INC) repeat 2 times. (16 stitches)
Round 8: (7 SC, INC) repeat 2 times. (18 stitches)
Round 9: SC in each stitch all the way around. In the very last stitch of the round, half-finish the single crochet and change to your secondary color. (18 stitches)
Color Change Check: Make sure the color change happens in the very last stitch of Round 9. Cut the old color and tie the ends together to secure them before beginning the ruffle.

Add the Ruffled Edge
The contrasting ruffle is worked directly around the 18 stitches from the hat body. Each stitch receives four HDCs, which creates the fuller, gathered edge that gives the hat its party-ready look.
Ruffle – Secondary Color
Round 10: SL ST into the next stitch, then CH 2. Make 4 HDC into the same stitch that you slip stitched into.
Continue: Place 4 HDC into every stitch all the way around the hat to create the ruffle.
Finish the Round: Make 1 SL ST into the initial CH 2 space.
Fasten Off: Fasten off and use your tapestry needle to weave in the ends.
Watch the Ruffle: Because four HDCs are worked into every stitch, the edge will naturally become much fuller than the hat body. Keep your stitches worked into the intended stitches so the ruffle develops evenly around the entire edge.

Add the Pom-Pom
Once the yarn ends have been woven in, the crocheted portion is complete. The mini pom-pom goes directly on the pointed top of the hat.
Take the mini pom-pom and use hot glue to attach it directly to the top point of the party hat. Allow the glue to set securely before handling the finished hat.
The final detail is small, but it changes the character of the hat completely: the pointed crochet shape, contrasting ruffle, and pom-pom now read as one cheerful party accessory.