Crochet Front-Tie Cardigan Pattern Perfect for Beginners
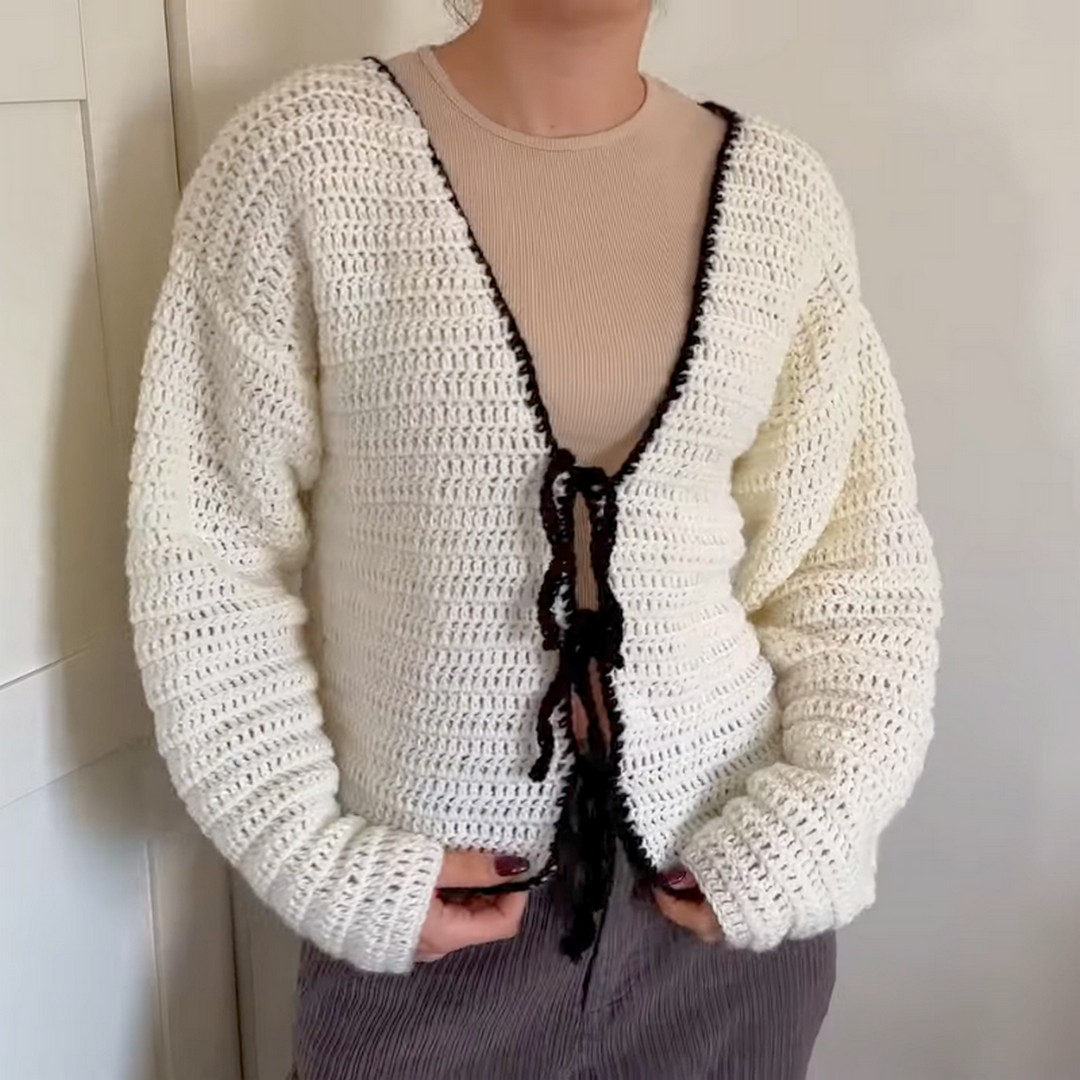
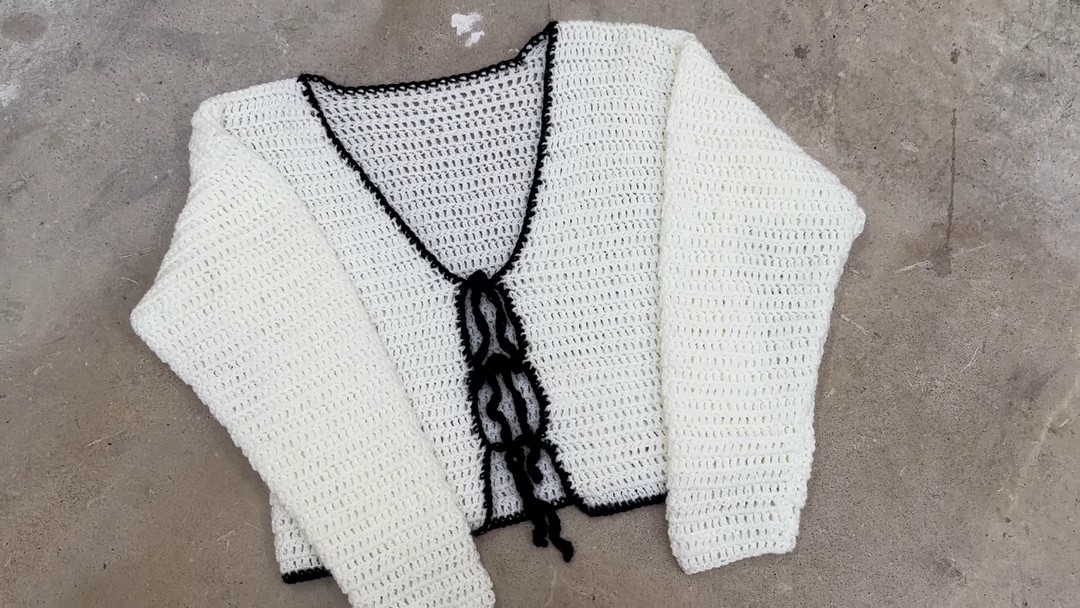
A cardigan doesn’t need buttons or complicated shaping to feel special. This front-tie crochet cardigan gets its character from a simple V-neck, soft double-crochet fabric, and adjustable ties that wrap naturally around the front.
The construction is straightforward: make the back, create two front panels with neckline shaping, crochet the sleeves, then bring everything together with a neat border.
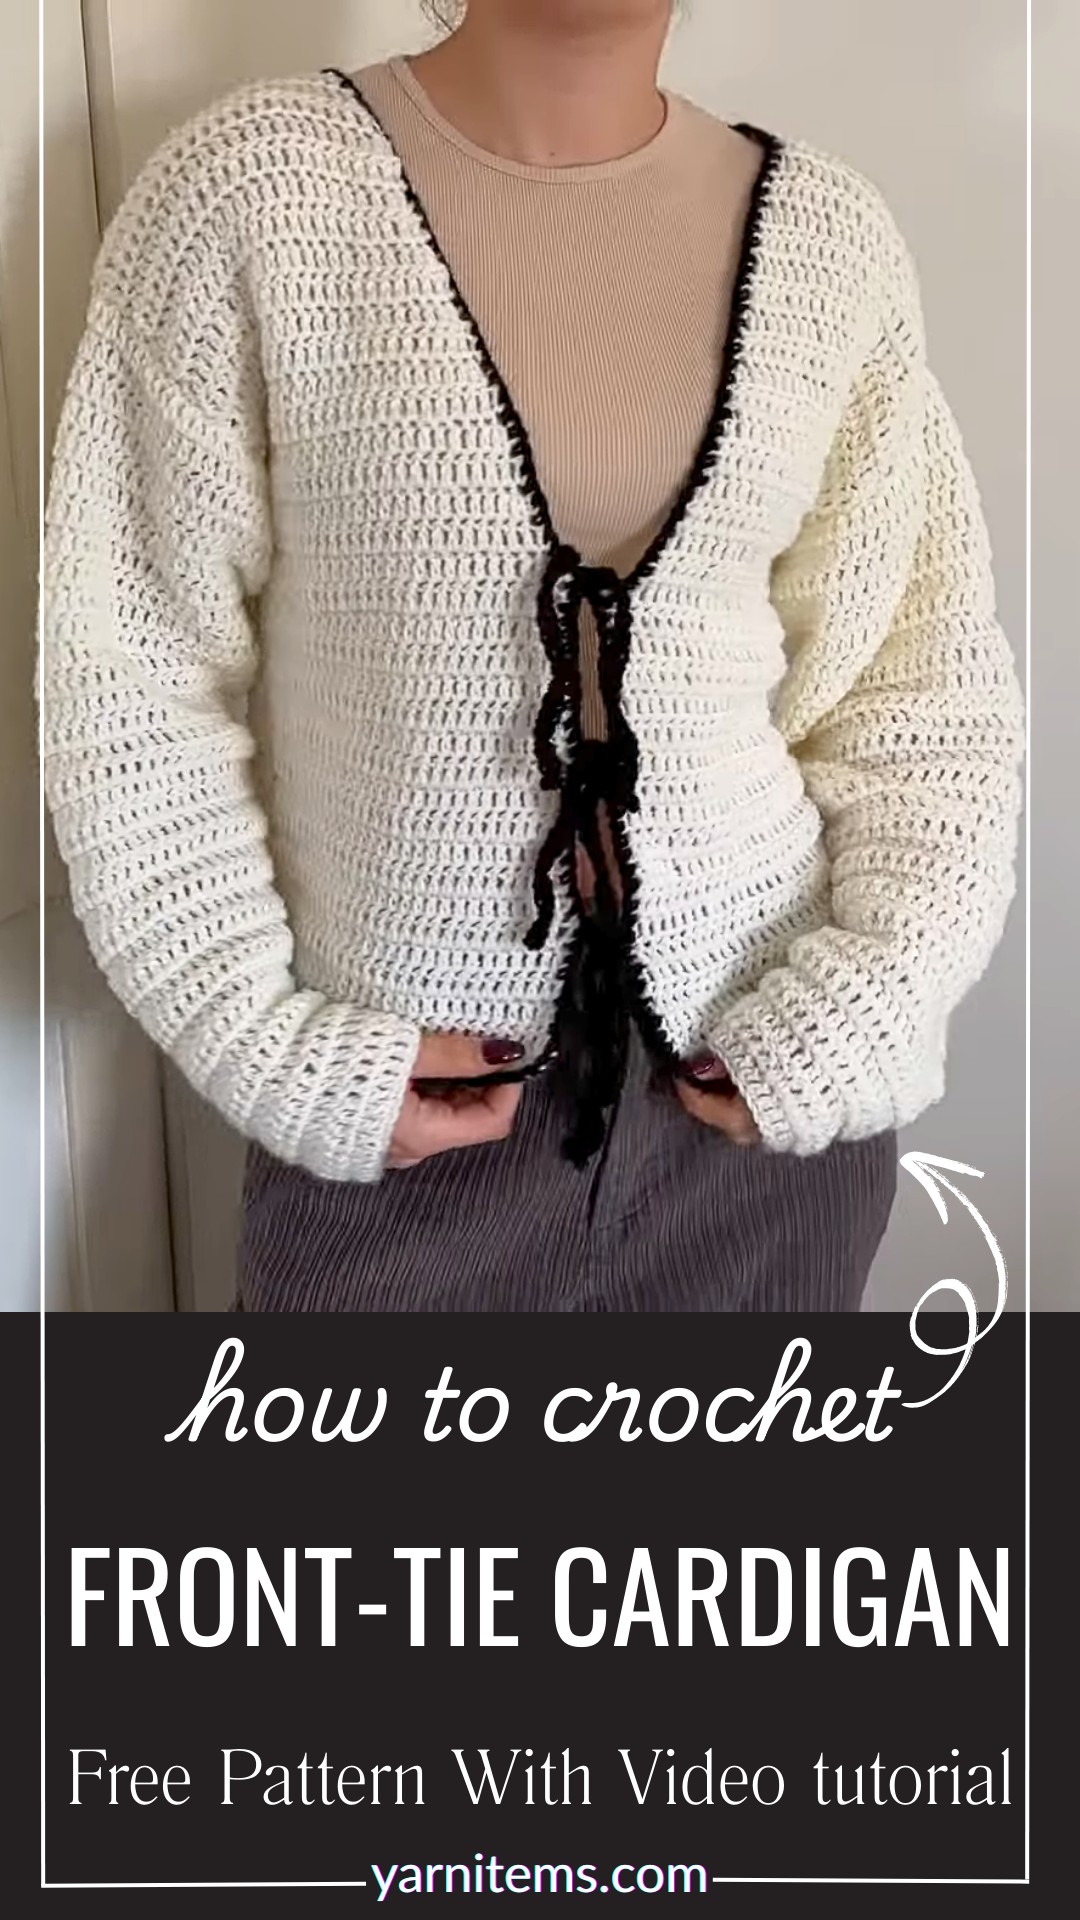
It’s a particularly nice pattern if you’re learning how separate crochet pieces become a wearable garment. The ties also give you a little more freedom with the fit. You can make them longer for a more relaxed wrap or keep them shorter for a cleaner finish.
Credit Kenikse Crochet
What You’ll Need
- Double-knit acrylic yarn
- Approximately 400 g in the main color
- Black double-knit acrylic for the accent details
- 4.5 mm crochet hook
- Yarn needle
- Scissors
- At least 6 stitch markers
Before starting, make sure your yarn and hook combination gives you a comfortable fabric. A cardigan should have enough drape to move naturally rather than feeling stiff.
Before You Crochet
This cardigan is made from separate pieces:
- Back panel
- Left front panel
- Right front panel
- Two sleeves
The pieces are joined after crocheting.
The basic construction is therefore:
Back → Front panels → Sleeves → Assembly → Border → Ties
Keeping this structure in mind will make the instructions much easier to follow.
One important measurement
Don’t choose the panel width from waist measurement alone.
Measure a cardigan or top that fits you comfortably, or compare the planned panel width with your own shoulder and body measurements. Then decide how much ease you want.
A handmade cardigan usually feels better when it has a little room rather than fitting exactly against the body.
Pattern Basics
The main fabric is made using simple double crochet.
Abbreviations
- ch: chain
- dc: double crochet
- dec: decrease
- st/sts: stitch/stitches
- RS: right side
- WS: wrong side
The chain 3 turning chain does not count as a stitch.
Keep this detail consistent throughout the pattern so your stitch counts remain accurate.
Step by Step Pattern
Crochet the Back Panel
Start with a slip knot.
For the example, chain 64 stitches, or choose an even number that gives you the width you need.
Then add the turning chain as specified below.
Row 1
Skip the first 3 chains.
Work 1 dc into the fourth chain.
Continue working 1 dc into each chain across.
You should have 64 stitches for the example.
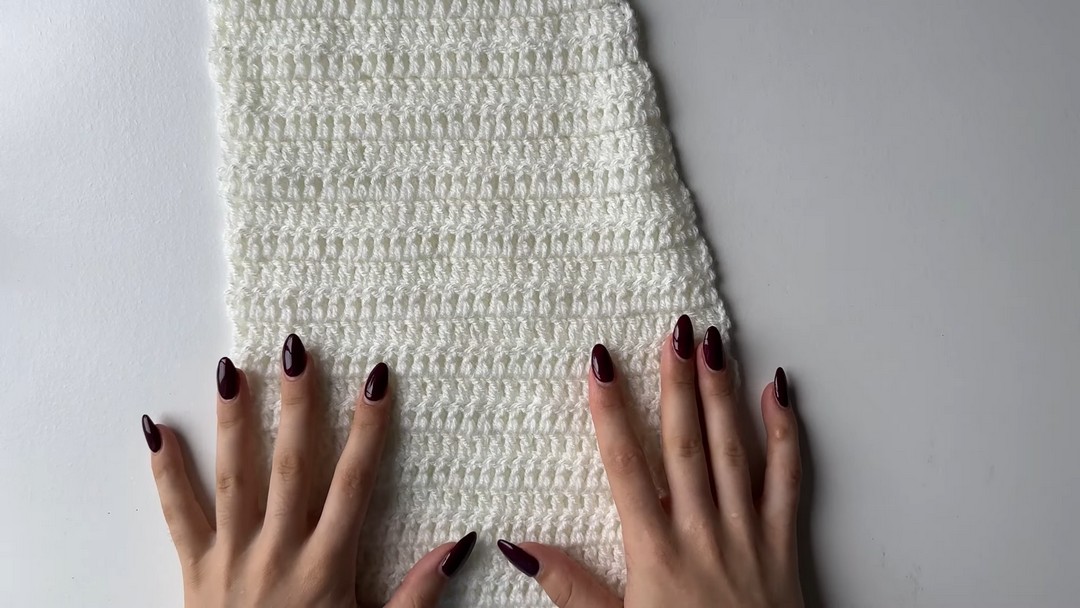
Rows 2–34
Chain 3 and turn.
Because the turning chain does not count as a stitch, work your first dc into the first actual stitch.
Continue with 1 dc in every stitch across.
Keep the edges as straight and even as possible.
A quick check
After several rows, place the panel flat.
If the sides are noticeably slanting inward or outward, check your stitch count before continuing. Finding the problem early is much easier than correcting it after the cardigan has been assembled.
Shape the Back Shoulders
Once the main back section is complete, the upper edge needs to be shaped for the shoulders.
For the example, work across the first 23 stitches for one shoulder.
Then shape the shoulder edge according to the pattern.
On the next row, work the decrease at the appropriate edge before continuing across.
Finish the first shoulder with a long yarn tail for sewing.
Repeat the shaping on the opposite side, reversing the decrease placement so both shoulders remain symmetrical.
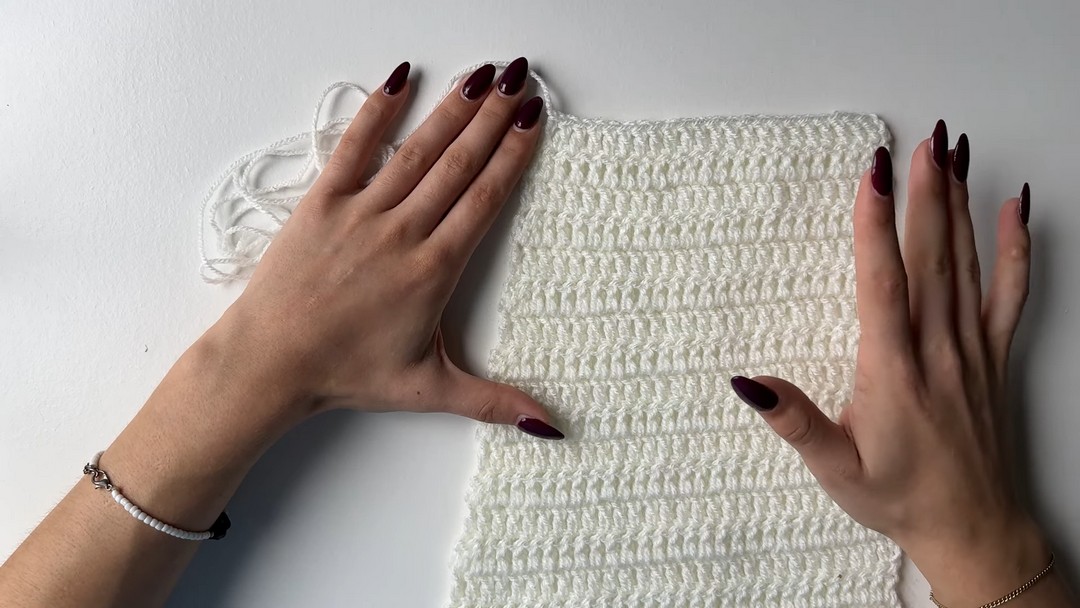
Why symmetry matters here
The two shoulders will eventually connect to the front panels.
If one side has more rows or a different stitch count, the neckline and shoulder seams can sit unevenly.
So this is a good place to stop and compare both sides before moving on.
Make the Two Front Panels
Each front panel is approximately half the width of the back.
For the example, chain 32 stitches, plus the turning chain.
You’ll make two panels, but the neckline decreases will be mirrored.
Work the Main Section
For the first 16–20 rows, work regular double crochet without neckline decreases.
Keep both front panels the same length.
Then begin shaping the V-neck.
Shape the V-Neck
This is the most important shaping detail in this cardigan.
The decreases happen along the neckline edge every other row.
For one front panel, place the decrease at the end of the row when the right side is facing.
For the opposite front panel, reverse the decrease placement and work it at the beginning of the row.
Continue shaping until the front panel reaches the same shoulder stitch count as the back—approximately 23 stitches in the example.
Keep the two panels beside each other
As you work, occasionally place the left and right panels next to one another.
The neckline slopes should mirror each other.
They don’t need to be joined yet, but checking them together makes it much easier to catch an accidental difference in shaping.
Finish both panels with long tails for assembly.
Crochet the Sleeves
The sleeves begin with a foundation chain based on the width you need.
For the example, start with 32 chains and add the turning chain.
Row 1
Work one double crochet into each chain across.
Shaping the Sleeve
Every other row, add one increase near each side:
- one increase in the second stitch
- one increase in the second-to-last stitch
This adds two stitches on each increase row.
Continue increasing until the sleeve reaches the desired width.
Then work regular double-crochet rows until the sleeve reaches your preferred length.
Don’t forget to compare the sleeves
Make the second sleeve using the same stitch counts and row sequence.
Before assembly, lay both sleeves flat together.
Their width and length should match as closely as possible.
Assemble the Shoulders
Now the separate panels become a cardigan.
Place the front and back panels with the right sides positioned as needed for your chosen joining method.
Align the shoulder edges carefully.
Use either:
- slip stitches, or
- a yarn needle and sewing method
to join the shoulder seams.
For the example, the shoulder section contains approximately 23 stitches.
Repeat on the opposite side.
Attach the Sleeves
Fold the cardigan so the front and back panels are positioned correctly.
Find the center of each sleeve and mark it.
Align that center with the shoulder seam.
This small step helps distribute the sleeve evenly around the armhole.
Use slip stitches or sewing stitches to attach the sleeve edge to the armhole.
Repeat for the second sleeve.
Close the Side and Sleeve Seams
Turn the cardigan inside out.
Starting at the underarm, seam downward toward the cuff.
Use the same joining method you used for the other seams.
Repeat on the opposite side.
Once this is finished, turn the cardigan right side out.
You should now be able to see the complete garment shape.
Add the Front Border
The border gives the open front a cleaner and more finished appearance.
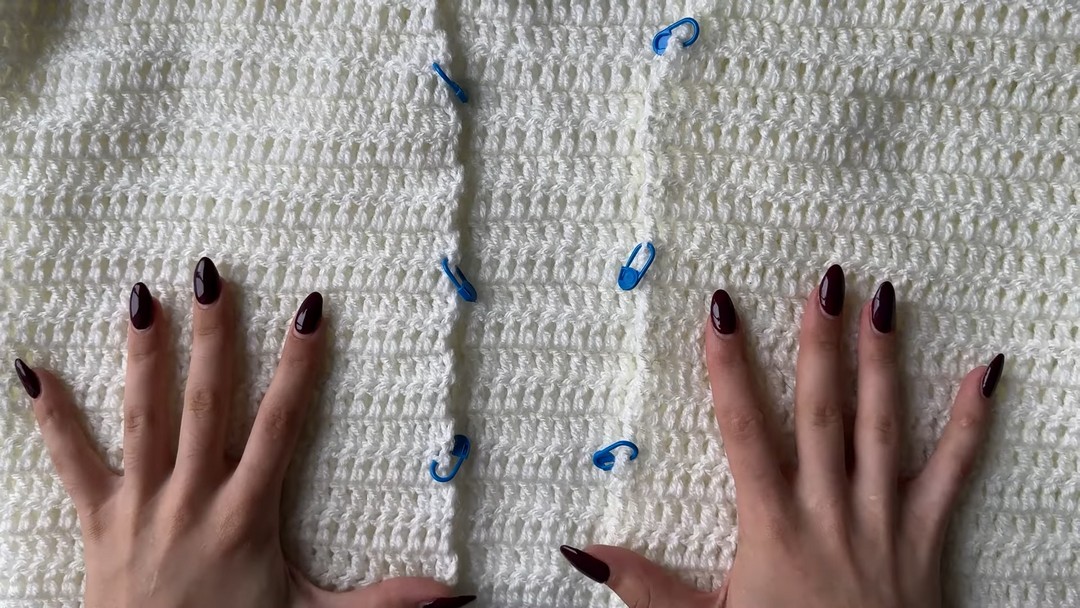
Place your stitch markers along the front edge according to where you want the ties to sit.
The example spaces the tie positions approximately every 6 rows from the lower front edge.
Attach your accent yarn and begin working single crochet.
Work the border:
up the first front → around the body → around the neckline → down the opposite front
Keep your stitches even around corners so the border doesn’t become too tight or wavy.
Create the Front Ties
This is the detail that gives this cardigan its distinctive look.
When you reach a marked tie position:
- Chain 26.
- Turn back along the chain.
- Work single crochet into the chains.
- Return to the cardigan border.
- Continue working single crochet along the edge.
Repeat the process at the remaining marked positions.
Make the ties fit you
The suggested 26-chain length is only a starting point.
If you want a longer wrap, add chains.
If you prefer shorter ties, reduce the chain count.
The best length is the one that allows you to tie the cardigan comfortably without pulling the front panels out of position.
Finish the Border
Once the entire border is complete, slip stitch into the first stitch to close the round.
Cut the yarn and secure it.
Use your yarn needle to weave all loose ends into the fabric.
Take a few minutes to clean up the inside of the cardigan—especially around the shoulders, sleeve joins, and ties.
Check the Fit Before You Call It Finished
Put the cardigan on and check a few simple things:
- Do the shoulders sit comfortably?
- Does the V-neck lie flat?
- Are both front panels the same length?
- Do the sleeves hang evenly?
- Are the ties long enough to wrap comfortably?
- Does the bottom edge sit where you want it?
If something needs adjusting, it’s better to find it before the final finishing touches.
Easy Ways to Personalize It
The basic design can easily become several different cardigans.
Make it longer
Add rows to the back and front panels before assembly.
Change the sleeve length
Stop the sleeves earlier for a shorter style, or continue the straight rows for longer sleeves.
Change the ties
Make longer ties for a more relaxed wrap or shorter ones for a subtle front closure.
Play with color
Keep the cardigan one color for a simple wardrobe staple, or use a contrasting accent color for the border and ties.
You could even make the border darker than the body to emphasize the V-neck and front opening.
The Finished Front-Tie Cardigan
The beauty of this cardigan isn’t complicated stitching.
It’s the way a few simple elements work together: rectangular panels, gentle neckline shaping, easy double crochet, clean borders, and adjustable ties.
Once you’ve made one, you’ll also have a better understanding of how garment pieces relate to each other—how a back panel becomes the foundation, how the V-neck changes the front shape, and how sleeves need to be positioned before everything is joined.
And that’s what makes this more than just another crochet pattern.
You finish with a cardigan you can wear, but you also learn a construction method you can use to create your own variations later.