How to Crochet a Mini Santa Angel Ornament
A tiny Santa hat, gathered wings, and a red-and-white dress come together in this sweet crochet Santa angel ornament with a wooden bead head.
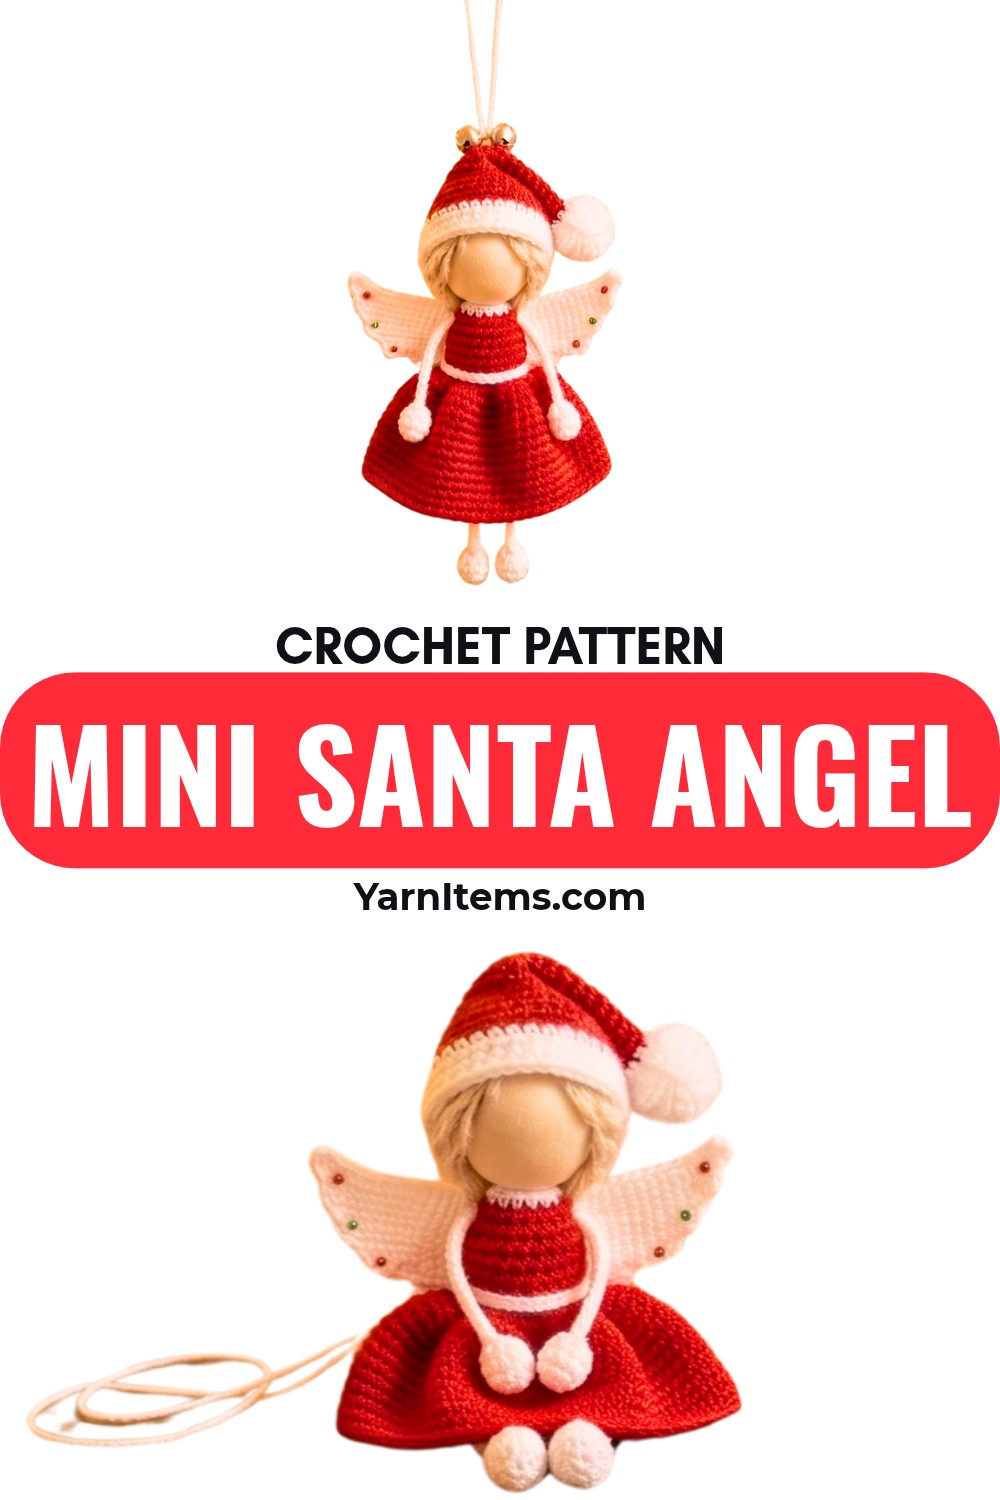
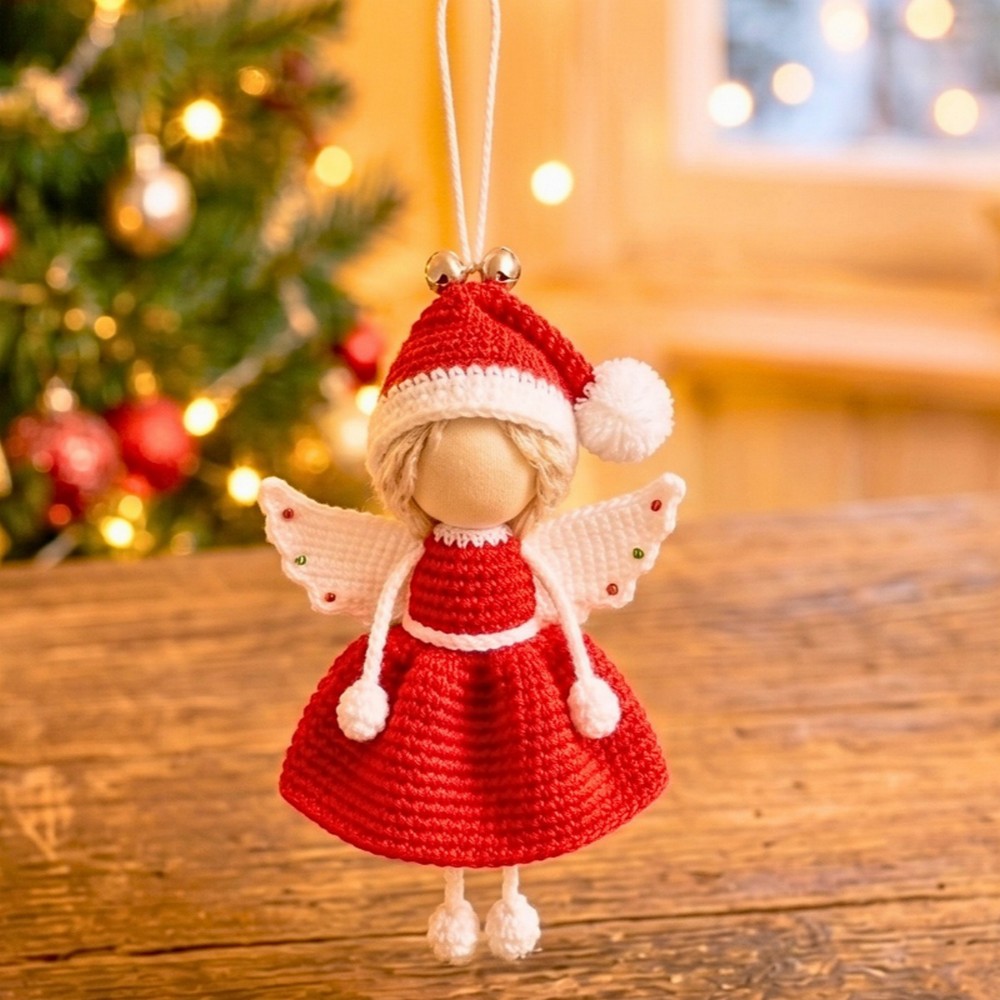
Christmas decorating gets a charming handmade touch with this mini Santa angel ornament. The crochet design combines a simple red-and-white dress with delicate white wings, little arms and legs, and a wooden bead for the head. The separate pieces are small, but each one has a specific role in creating the final angel shape.
The dress is the main piece to keep an eye on because its narrow upper section and fuller skirt are formed in different ways.
In the crochet pattern, the bodice stays compact through repeated single crochet rounds, while the first skirt round uses several double crochets in each stitch to create the flare. Once that center piece is ready, the wings, limbs, wooden bead, and pointed Santa hat can be positioned around it to complete the ornament.
Materials & Tools Needed
- 3-ply yarn in red and white
- 2.5 mm or 2.75 mm crochet hook
- Wooden bead for the head
- Hot glue or adhesive
- Scissors
- Yarn needle
Crochet Abbreviations
- ch: chain
- sl st: slip stitch
- sc: single crochet
- hdc: half double crochet
- dc: double crochet
- dec: decrease
- st(s): stitch(es)
- rep: repeat
How to Crochet a Mini Santa Angel Ornament
Crochet the Dress and Bodice
The dress begins as a narrow tube, so the first part of the pattern is intentionally compact. Keeping the opening joined as a ring is important because the bodice needs to remain continuous around the body.
Red Body Base
With red yarn, make 14 ch and join with a sl st to form a ring.
Round 1: 1 ch, work 1 sc in each st around, join with a sl st.
Rounds 2–5: Repeat the previous round to complete 5 total rounds of sc, then fasten off red.
At this stage, the piece should still look relatively narrow. That is expected—the fuller lower section comes next rather than being created by increasing during these first five rounds.

Add the White Neck Border
Attach white yarn to the top edge of the red bodice.
Round 1: 1 ch, work 1 sc, 1 dec around.
Round 2: Work 3 sc, 1 dec, rep around, finish with a sl st and fasten off.
The decreases gradually reduce the opening at the neck. If this edging looks slightly more fitted than the red body, that is the intended effect; the shaping helps define where the wooden bead head will later sit.
Create the Flared Skirt
Attach red yarn to the bottom opening of the dress.
Round 1: 3 ch, work 3 dc in each st around, join with a sl st.
Round 2: 3 ch, work 1 dc in each st around, join with a sl st, then fasten off.
The first skirt round is where the silhouette changes noticeably. Working 3 dc into each stitch adds considerably more fullness than the single crochet bodice, producing the flared lower edge. The second round then works one dc in each stitch to continue the skirt without adding another burst of fullness.
Before moving on, check that the skirt is opening evenly around the bottom rather than pulling to one side.

Make the Arms
The arms are worked separately in white yarn and are intentionally simple.
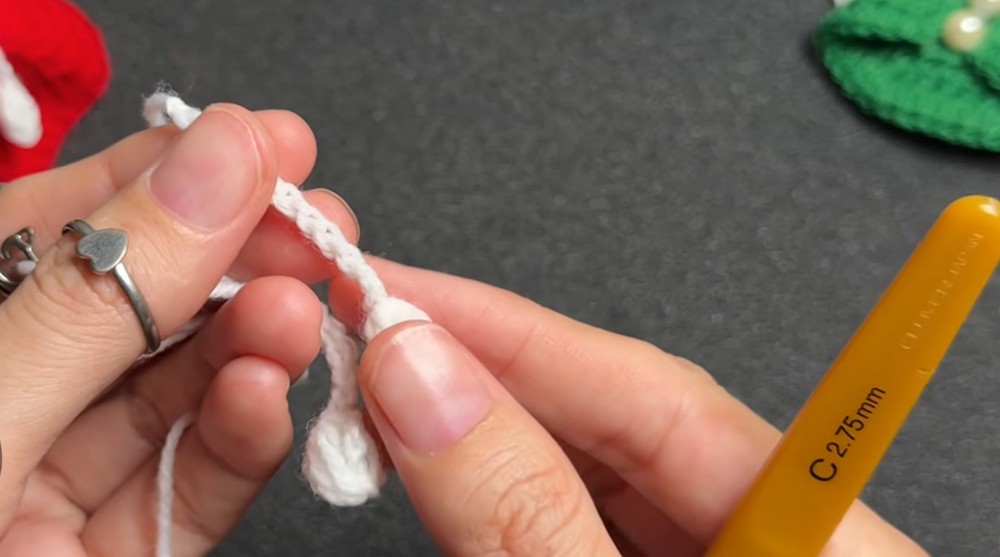
With white yarn, ch 4, work a puff stitch in the first stitch, then ch 12 and fasten off.
Make a second matching arm piece.
The puff stitch forms the small end detail, while the chain section becomes the longer arm strap. Try to keep the two pieces similar in length because they will be positioned on opposite shoulders during assembly.

Make the Legs
The legs are also made as separate white pieces.
Leaving one side of the yarn long, ch 4 and work a puff stitch in the first stitch.
Continue with double chaining to create a sturdy length, then fasten off.
Make a second matching leg.
Keep the long yarn end on the first leg as instructed. It provides extra yarn for handling and attachment, so it should not be trimmed away prematurely.
Shape the Wings
The wings start as a longer strip and become narrower through the following rows. This gradual reduction is what allows the finished piece to gather into a two-sided wing shape.
With white yarn, ch 19.
Row 1: Skip 1 st, sc in each st across.
Following Rows: Turn, sl st, sc in each next st leaving the last one unworked, repeating across to shape the layered wing piece for about 8 rows.
As the rows become shorter, the wing piece develops its layered shape. Leaving the final stitch unworked on each row is important because it progressively reduces the width rather than keeping a rectangular strip.
Once the rows are complete, gather and tie the center of the piece with yarn to form the dual-wing shape.
Check the gathering before attaching it to the dress. The two sides should open out from the center so the wings remain recognizable rather than bunching into one narrow bundle.

Crochet the Santa Hat
The Santa hat is made separately and fitted over the wooden bead head later.
Make the Hat Brim
Chain a length that fits around the wooden bead face; 15 ch is given as an example. Join with a sl st.
Rows 1–2: 2 ch, hdc in each st around, join with a sl st.
The important point here is fit rather than treating the example chain count as a fixed measurement. The brim needs to sit around the wooden bead, so checking it against the bead before continuing helps prevent a hat that is too loose or too tight.
Shape the Point
Shaping: Work 2 hdc, 1 hdc dec, rep around.
Continue with consecutive hdc rows, gradually decreasing with 2 hdc, 1 dec until only 1 hdc remains at the tip.
The decreases are responsible for turning the cylindrical brim into the pointed Santa hat shape. Each decrease reduces the circumference, so the upper portion should become progressively narrower as you continue.
If the top is still wide after a decrease round, continue following the gradual shaping rather than trying to force the tip closed immediately. The pattern is designed to narrow toward the final single hdc.

Add the Pom Pom
Wrap white yarn around your fingers to make a small bundle of loops. Tie the center securely and trim the loops to form a small pom pom.
Glue the pom pom to the tip of the finished hat.
Assemble the Santa Angel
Once the individual crochet pieces are complete, assembly brings the angel silhouette together. Position each piece before applying adhesive so you can correct its placement while everything is still movable.
1. Attach the Legs
Glue the top ends of the legs inside the bottom opening of the dress skirt.
The legs are placed inside the opening rather than simply on the outside edge, which keeps their attachment point tucked into the dress.
2. Attach the Arms
Position the arm straps around the shoulders of the dress on both sides and glue them securely.
Check both sides before the adhesive sets. Matching the arm positions helps the small angel look balanced from the front.
3. Attach the Wings
Place the gathered wing piece centrally on the back of the dress and glue it securely.
The center gathering should sit against the middle of the back, with the two wing sections extending outward. If the wings are attached too high, too low, or off-center, the angel can look uneven even when the crochet itself is correct.
4. Add the Wooden Head
Glue the wooden bead onto the top neck opening.
The white neck border creates the transition between the red bodice and the wooden bead, so make sure the bead is centered over the opening before the adhesive sets.
5. Finish with the Santa Hat
Place the finished Santa hat over the wooden bead head and glue it securely.
Make sure the hat is sitting straight and that the pointed top is facing upward before leaving the adhesive to set.

Final Check
Before calling the ornament finished, look at it from both the front and back. The red dress should remain centered, the arms should sit evenly at the shoulders, the legs should hang from the skirt opening, and the gathered wings should spread clearly from the center of the back.
The Santa hat completes the theme, while the red-and-white color combination ties the dress, wings, limbs, and hat together. The result is a small crochet Santa angel with several separately made details that come together into one festive ornament.