Crochet Bobble Stitch Beanie Hat In Multicolor
A burst of texture and color makes this crochet beanie impossible to ignore. The Crochet Bobble Stitch Beanie Hat combines soft worsted-weight yarn with eye-catching bobble stitches to create a warm and cheerful piece.
Designed for babies aged 6 to 12 months, it also includes simple adjustments for larger or smaller sizes. The stretchy brim provides a snug, comfortable fit while the rich texture adds extra charm.
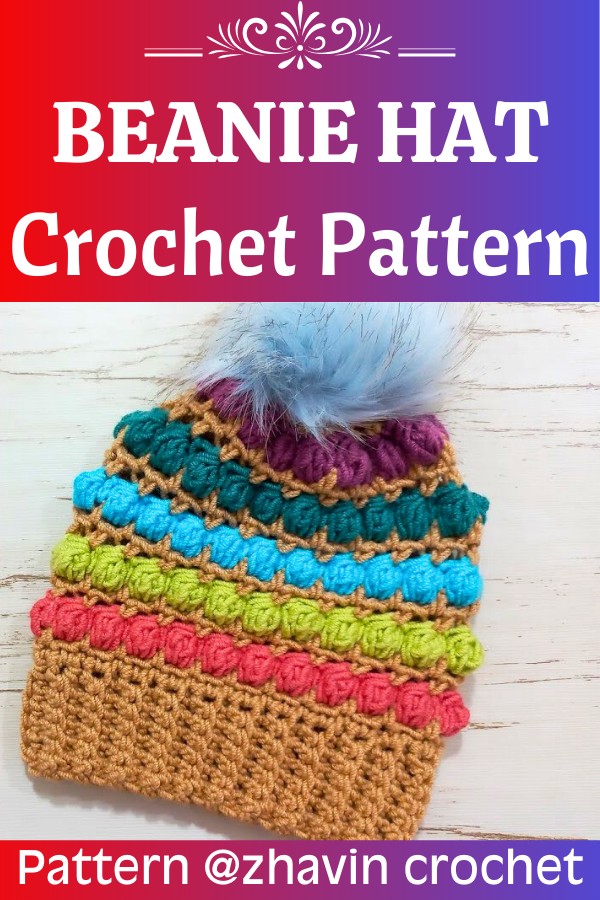
Every colorful bobble brings this crochet beanie to life with delightful character. Whether you choose two coordinating shades or mix several colors, this handmade item always looks bright and inviting.
The pattern is easy to personalize with different yarn combinations, making every finished piece feel special. A fluffy pom-pom on top completes the look with a playful touch that makes the crochet beanie even more adorable.
Credit zhavin crochet
Estimated Time
The pattern takes approximately 2–4 hours, depending on your crochet experience and familiarity with color changes and bobble stitches.
Why You Will Love This
- Dynamic Design: The multicolor bobble stitch creates a playful and vibrant texture that’s visually appealing.
- Customizable: Easy to adjust for different head sizes and color combinations.
- Perfect Gift: The hat is adorable for babies, making it a great, handmade present.
- Skill-Building: A great project for learning bobble stitches and seamless joining techniques.
Materials & Tools Needed
- Yarn:
- Worsted weight yarn (6 colors recommended for the multicolor version).
- Alternatively, you can use two colors: one for the main body and another for bobble stitches.
- Hooks:
- 5 mm crochet hook (for the brim).
- 5.5 mm crochet hook (for the body of the hat).
- Scissors.
- Tapestry needle (for sewing at the crown).
- Pom-pom (optional, for embellishment).
Gauge
- Brim: 7 single crochets per row.
- Final Body Gauge:
Height from brim to crown should be 7 inches for baby hat size (6–12 months).
Pattern Notes
- Adjustable Size:
- Add more rows to the brim for larger sizes.
- Ensure the total rows are a multiple of two.
- The brim length should measure 2 inches less than the intended head circumference for a snug fit.
- Color Changes: Each round of bobble stitches can be worked in a different color for a multicolor look.
- Stretch: The brim is designed with single crochet in the back loop for elasticity.
Finished Size & Customization Ideas
- Baby size (6–12 months): 16-inch circumference.
- To make hats for bigger sizes:
- Increase the length of the brim and repeat additional rounds until the desired height is achieved.
- Adjust the top decreases accordingly.
Helpful Tip Before You Start
- When changing colors, ensure the new yarn is tightly pulled to prevent gaps between stitches.
- Use stitch markers to keep track of rounds, especially if working with multiple color changes.
Pattern Abbreviations & Terminology
- ch: Chain.
- sc: Single crochet.
- sl st: Slip stitch.
- blsc: Back loop single crochet.
- bobble st: Bobble stitch. (Four incomplete double crochets worked in the same space and pulled together.)
- dec: Decrease.
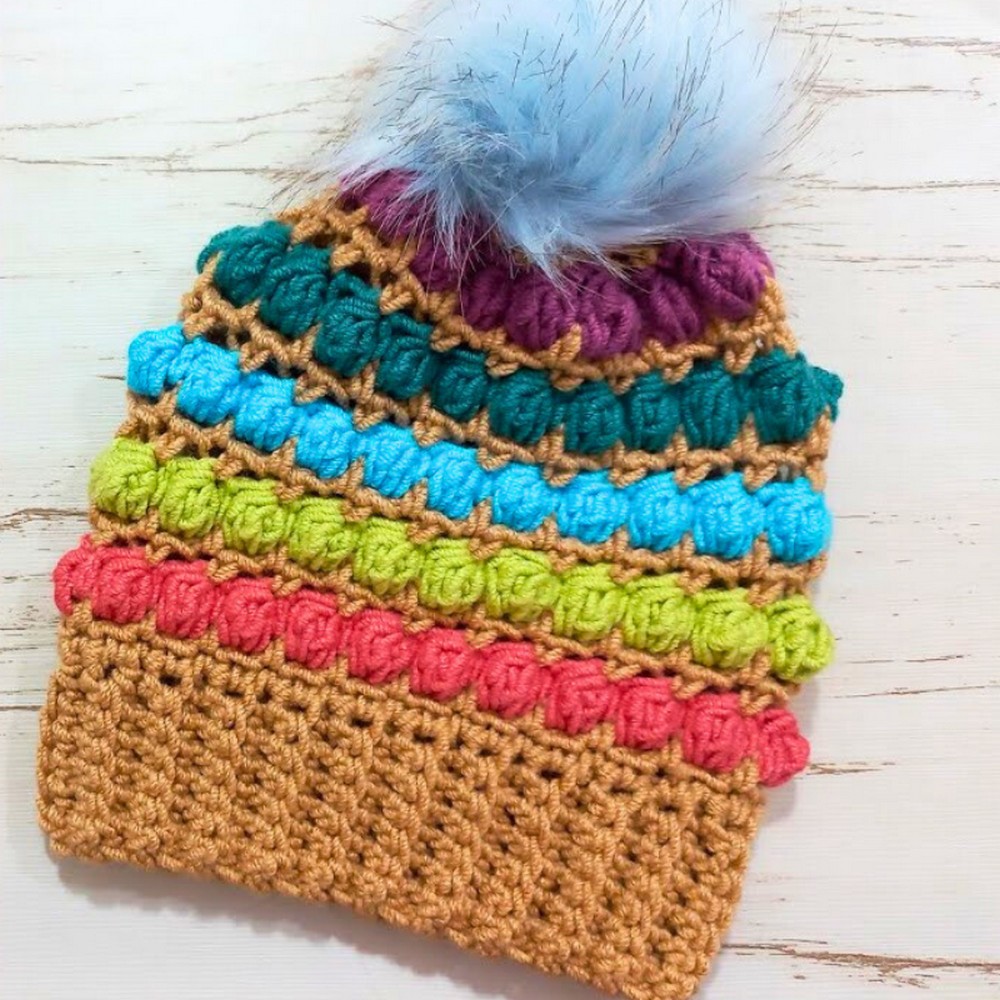
Step-by-Step Detailed Crochet Instructions
Part 1: Brim
- Round 1:
- Using the 5 mm hook and main yarn, make a slip knot.
- Crochet 8 chains. (For larger sizes, add more chains.)
- Round 2:
- Skip the first chain and make 1 single crochet in each of the remaining chains across (7 stitches total).
- Chain 1, turn.

- Subsequent Rows:
- Work 1 back loop single crochet (blsc) in each stitch across the first 6 stitches of the row.
- For the last stitch, work 1 normal single crochet under both loops.
- Chain 1, turn.
- Repeat Row 2 until the brim length reaches the desired circumference.
- Example: For a 6–12-month size, crochet 44 rows (allowing for 2 inches of stretch).
- Join Brim:
- Fold the brim in half and join the edges using slip stitches.
- Insert the hook under both loops of the stitches on the last row and into the unused loops on the first row.
- Slip stitch across to create an invisible seam.

Part 2: Body
- Starting Round 1 (with larger hook):
- Switch to the 5.5 mm hook.
- Work 1 single crochet per row of the brim around the long edge. (For 44 rows, you’ll have 44 single crochets.)
- Join with a slip stitch to close the round.
- Round 2:
- Chain 1, make a single crochet into the first stitch.
- Chain 1, skip 1 stitch, single crochet into the next.
- Repeat (ch1, skip 1 stitch, sc) around.
- At the end, slip stitch into the first single crochet.
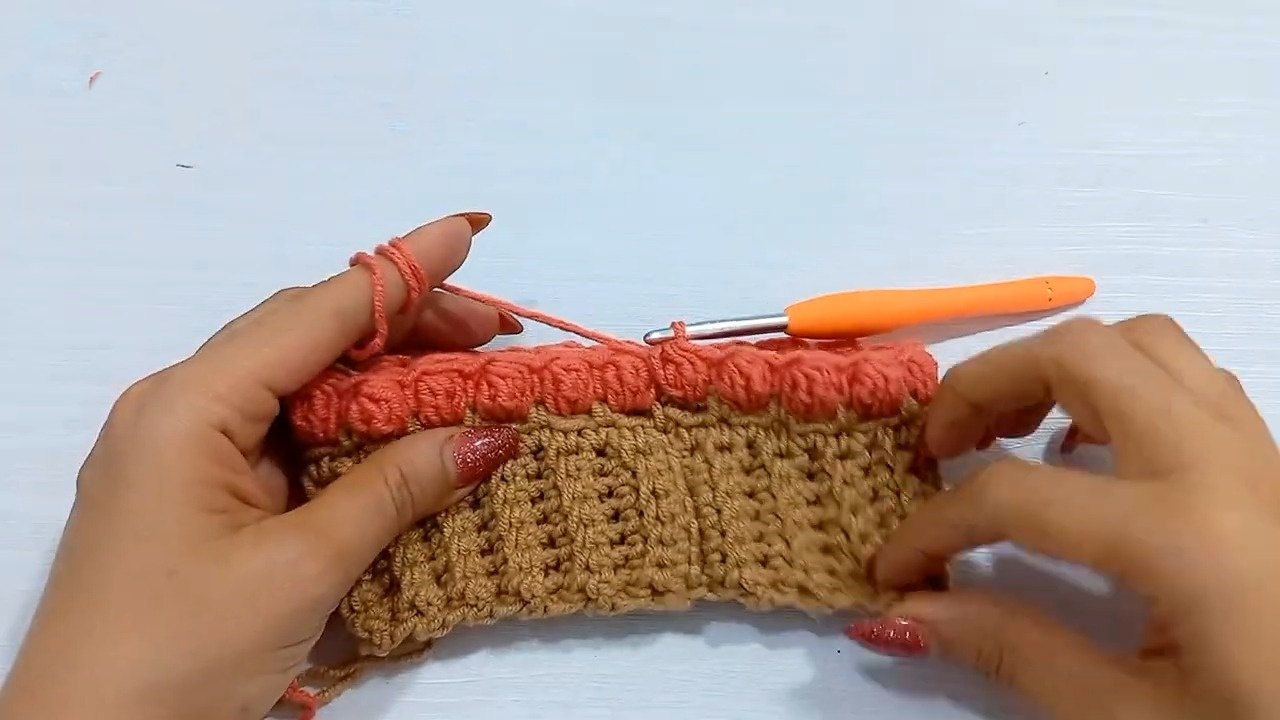
Part 3: Bobble Stitch Rounds
- Round 3:
- Attach new yarn color and chain 1.
- Make 1 single crochet into the first stitch.
- Work 1 bobble stitch into each chain space:
- Yarn over, insert hook into chain space, pull up a loop, yarn over, pull through 2 loops.
- Repeat this process 4 times in the same space. Yarn over and pull through all 5 loops on the hook.
- Make 1 single crochet into every single crochet of the previous round.
- Push the bobbles to the front as you go.
- Slip stitch to the first single crochet to join the round.
- Round 4:
- Switch back to the main color (or continue with the same yarn).
- Chain 1, make 1 single crochet in the first stitch.
- Chain 1, skip each bobble stitch, single crochet into the next stitch of the previous round.
- Repeat around. Slip stitch to join.
- Round 5:
- Repeat the same pattern as Round 4.

Part 4: Repeating Bobble Rounds
- Continue repeating Rounds 3–5 until the body height reaches 7 inches (or desired height).
Part 5: Crown & Decreases
- Decrease Round 1:
- Chain 1, make 1 single crochet in the first stitch.
- Skip the bobble stitch, make 1 single crochet in the next.
- (Do not make chains in this round.)
- Decrease Round 2:
- Chain 1, work a decrease single crochet:
- Insert hook into the first stitch, pull up a loop.
- Insert hook into the second stitch, pull up a loop.
- Yarn over, pull through all 3 loops on the hook.
- Repeat around.
- Chain 1, work a decrease single crochet:
- Repeat Decrease Round 2 until the crown becomes very small.
- Finish by fastening off, leaving a long tail for sewing.

Part 6: Assembly
- Using a tapestry needle, sew the remaining stitches of the crown together:
- Pass the needle through each stitch, and pull tight to close the hole completely.
- Secure with additional stitches to ensure the crown stays closed.
- (Optional) Attach a pom-pom to the top using the yarn tail.
Troubleshooting
- Loose Bobbles: Ensure you pull through all loops tightly when completing the bobble stitch.
- Uneven Brim: Count your stitches after each row to maintain consistency.
- Gaps at Color Changes: Pull the yarn tightly after switching colors to create a seamless transition.
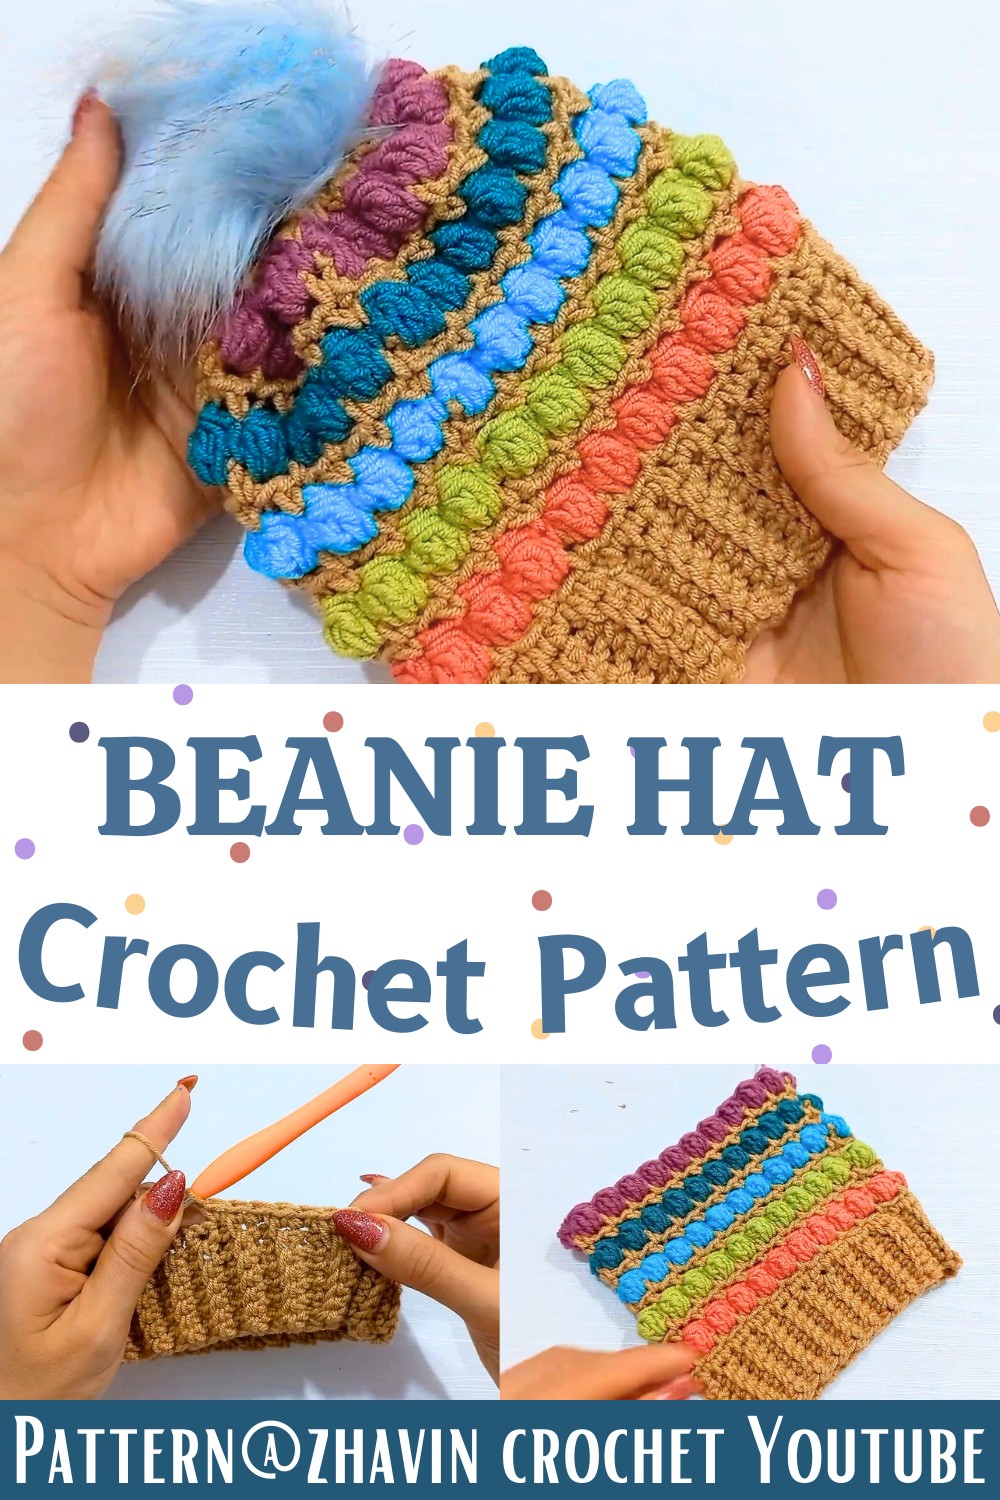
Conclusion
This crochet bobble stitch hat is an exciting project that’s both functional and visually stunning. It’s perfect for babies, but easily adjustable for other sizes. By alternating colors, you create a fun and dynamic texture, and the pom-pom adds a whimsical finishing touch.