How to Crochet Baby Hat for Newborns (Easy 0–3 Months Tutorial)
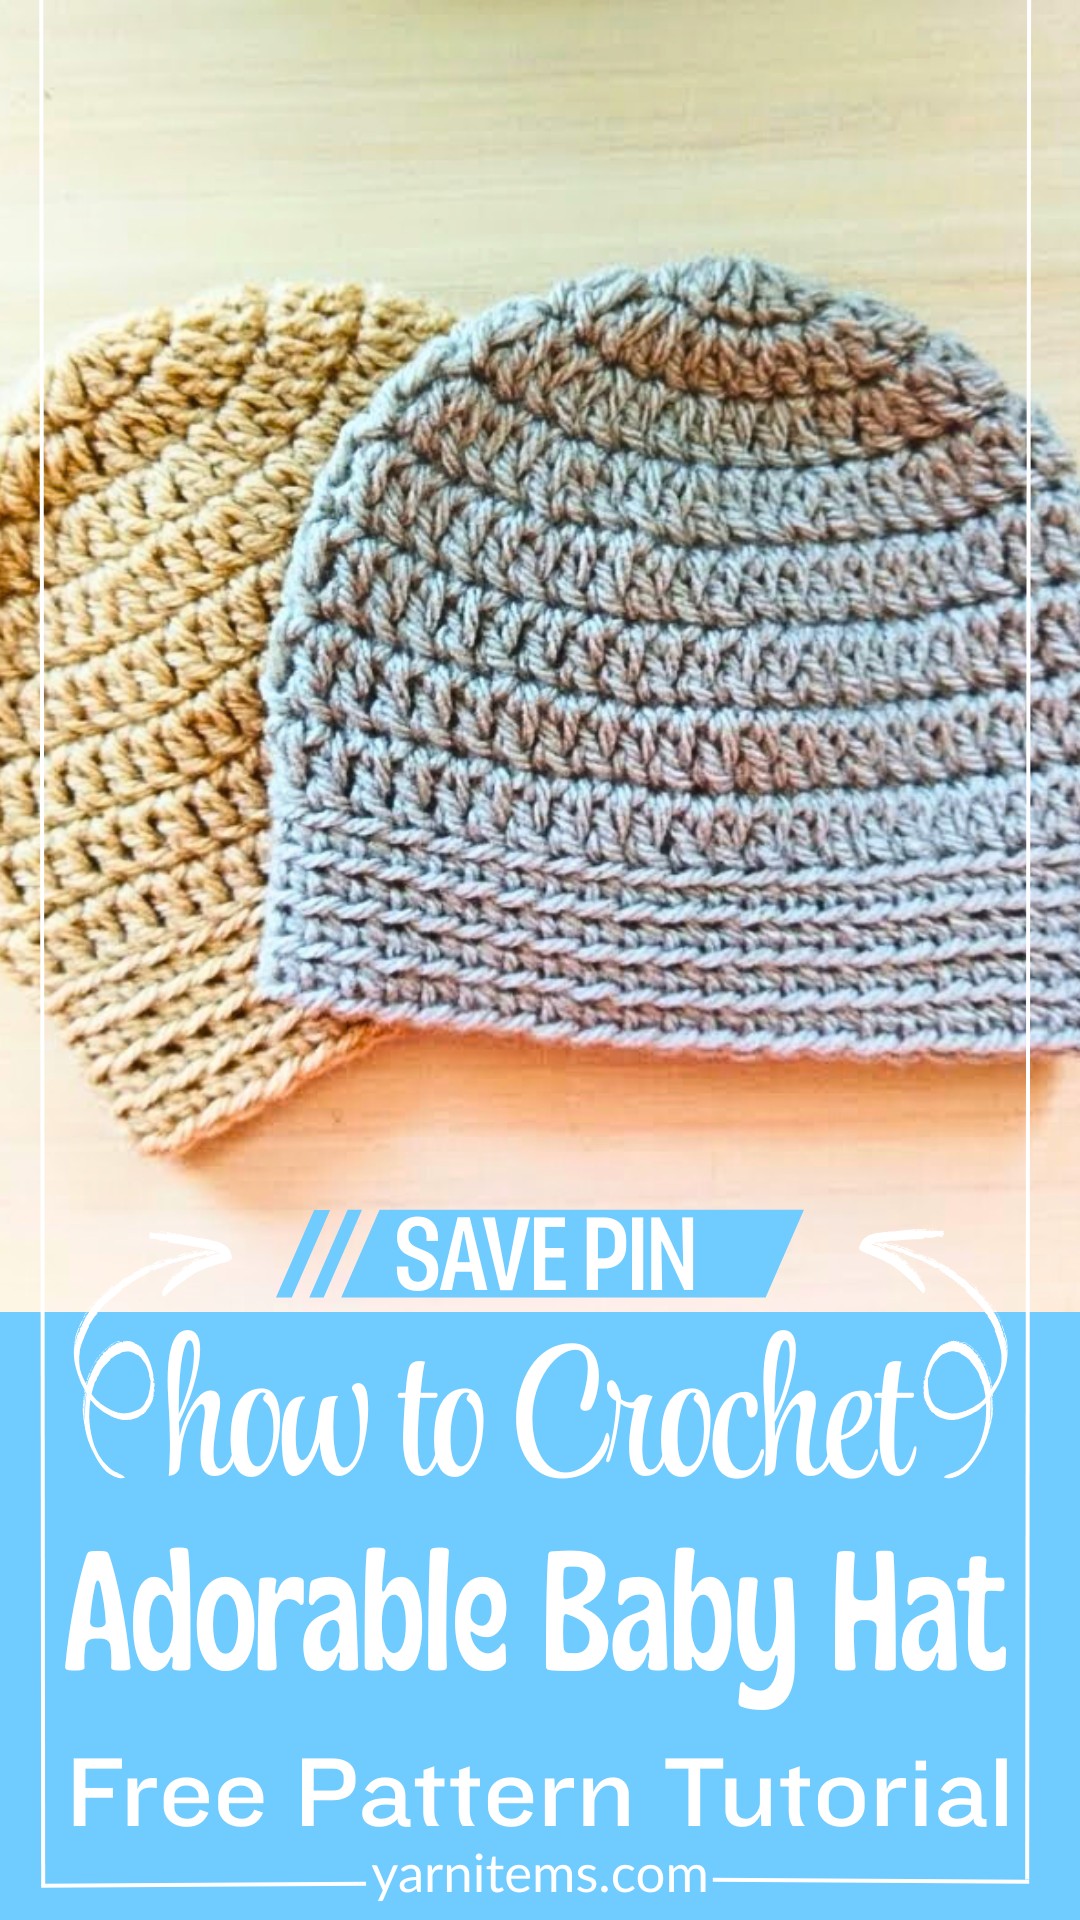
A tiny handmade baby crochet hat can instantly become the sweetest piece in a newborn’s wardrobe. Soft gray yarn and a classic design come together to create an item that looks timeless while keeping little ones cozy.
Made for babies aged 0–3 months, this charming baby hat is both practical and thoughtful for everyday wear or special gifts. Every round gradually shapes a comfortable-fit crochet baby hat that feels gentle against delicate skin.

Even the simplest stitches can create a beautiful handmade crochet piece with an elegant finish. This guide walks through each stage in a clear, beginner-friendly order using basic crochet techniques and easy-to-follow rounds.
Along the way, you’ll discover helpful details about sizing, supplies, finishing, and care to achieve a neat result. By the end, you’ll have a soft, durable baby hat that’s ready to be treasured or gifted with love.
Credit Crochet With Anna
Grab These Supplies Before You Begin
Gather these materials to start:
- Medium-weight yarn (used in the tutorial: a cute gray yarn)
- 5 mm crochet hook
- Yarn needle for weaving ends
- Scissors
The Gauge Trick for Picture-Perfect Results
Ensure your stitches match the following approximate gauge (not explicitly mentioned in the video but common for medium-weight yarn with a 5 mm hook):
- 4″ x 4″ = 16 double crochets and 8 rows
Pattern Notes
- Skill Level: Beginner
- Chain 2 at the start of each round does not count as a stitch.
- Always join at the end of each round to the first stitch with a slip stitch.
Crochet Abbreviations
Basic Crochet Stitches
- ch: Chain
- sl st: Slip Stitch
- sc: Single Crochet
- hdc: Half Double Crochet
- dc: Double Crochet
- tr: Treble (Triple) Crochet
- dtr: Double Treble Crochet
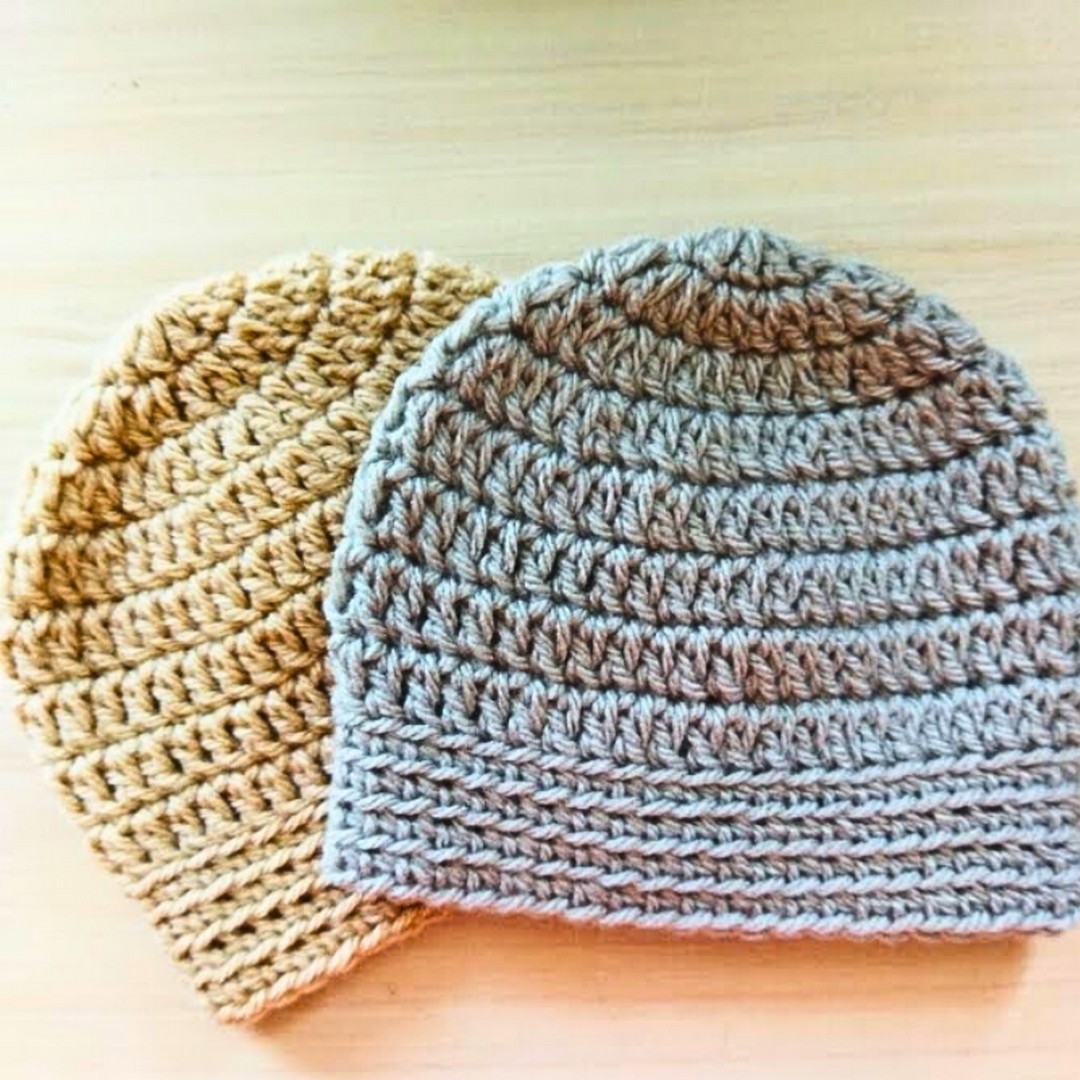
Here’s Exactly How Big It Will Be
- Hat size: Fits 0–3 months
- Dimensions: Approximately 6–7 inches wide and 5–6 inches tall
Step-by-Step Instructions
Round 1:
- Start: Create a slip knot and chain 3.
- Form Ring: Join to the first chain with a slip stitch to form a ring.
- Stitch: Chain 2, then make 11 double crochets (dc) into the ring.
- Join: Slip stitch into the first double crochet.Total stitches: 11 (excluding chain 2)
Round 2:
- Start: Chain 2.
- Increase: Make 2 double crochets (dc) in each stitch around.
- Join: Slip stitch into the first double crochet.Total stitches: 22
Round 3:
- Start: Chain 2.
- Pattern:
- 1 dc in the first stitch.
- 2 dc in the next stitch.
- Repeat: 1 dc, 2 dc, alternating around the round.
- Join: Slip stitch into the first double crochet.Total stitches: 33
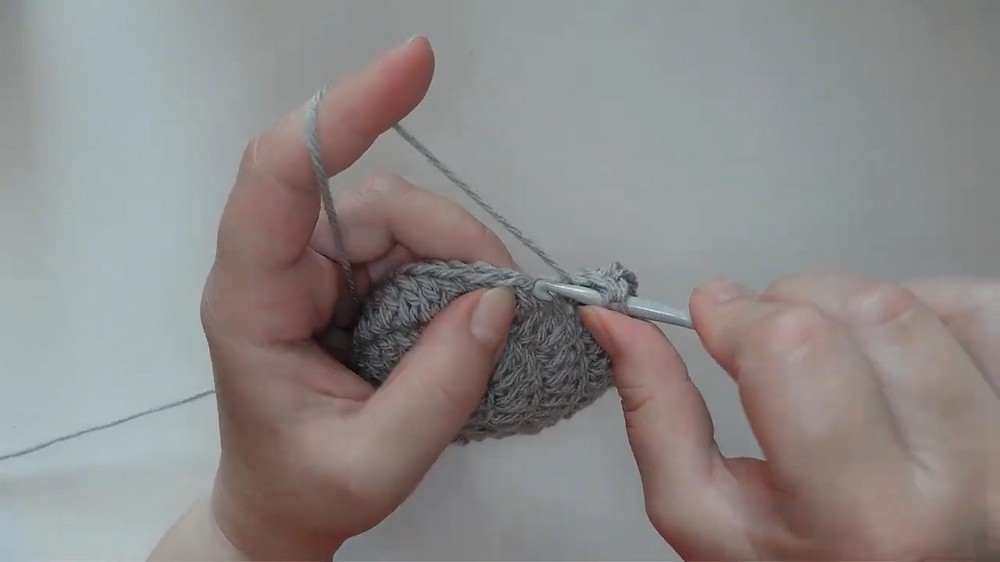
Round 4:
- Start: Chain 2.
- Pattern:
- 1 dc in the first two stitches.
- 2 dc in the third stitch.
- Repeat: 1 dc, 1 dc, 2 dc, alternating around the round.
- Join: Slip stitch into the first double crochet.Total stitches: 44Note: Starting from the next rounds, stop increasing.
Rounds 5–8:
- Start: Chain 2.
- Stitch: 1 double crochet (dc) in each stitch around.
- Join: Slip stitch into the first double crochet.Repeat the same steps from Round 5 to Round 8 (4 rounds total).Total stitches each round: 44
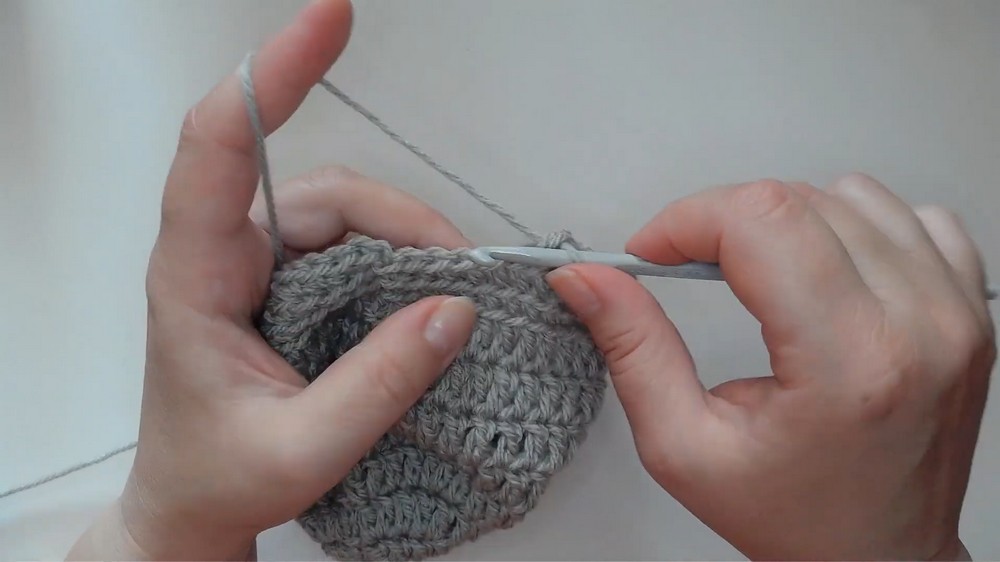
Round 9:
- Start: Chain 1.
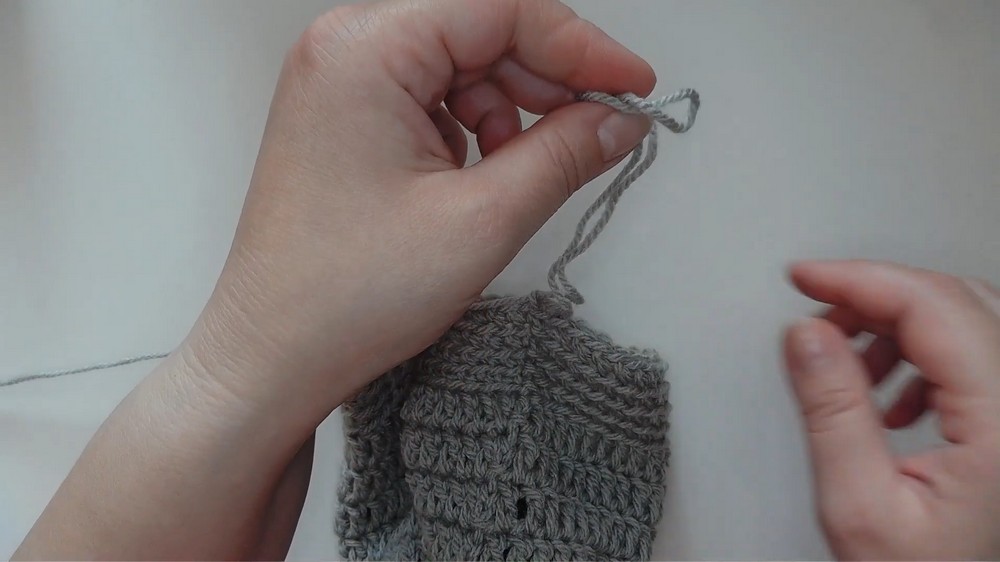
- Back Loop Only: Make 1 single crochet (sc) into the back loop of each stitch around.
- Join: Slip stitch into the first single crochet.Total stitches: 44

Rounds 10–12:
- Start: Chain 1.
- Back Loop Only: Make 1 single crochet (sc) into the back loop of each stitch around.
- Join: Slip stitch into the first single crochet.Repeat the same steps for Rounds 10, 11, and 12.
The Secret to a Professional Finish
- At the end of Round 12, join with a slip stitch.
- Chain 1, cut the yarn, and weave in the ends using a yarn needle.
Your hat should be neat and securely fastened with no loose ends.
Give It a Unique Handmade Touch
Tag Design Idea
- Shape: Use a small rectangular, circular, or heart-shaped tag made from cardstock, wooden chip, or fabric.
- Decorative Edge: Optional scalloped borders or punched edges for flair.
- String: Attach it with twine, ribbon, or yarn to the hat.
Suggested Wording
- Option 1:
“Handmade with + love.” - Option 2:
“Crafted Especially for You.” - Option 3:
“A Unique Gift, Made by Hand. - Option 4:
“Stitched Together with Love.” - Option 5:
“Made Just for You.”
You Did It! Time to Enjoy Your Finished Crochet Piece
Congratulations on completing your adorable baby hat! It’s now a cozy, delightful gift designed perfectly for newborns. Here’s what you can do next:
Share Your Creation
- Snap a photo of your finished hat and share it on social media.
- Use hashtags like #CrochetBabyHat or #HandmadeWithLove to show off your pattern and inspire others.
Gift It with Love
- Wrap it with care, add tissue paper, and place it in a cute box or gift bag.
- Attach a handwritten note or tag saying, “Handmade with love, just for you!”
Make More
- Experiment with different colors, patterns, and embellishments.
- Crochet a matching pair of baby booties or a tiny blanket to create a full set.
Tips for Lasting Care
Remind the recipient to:
- Wash gently in cold water.
- Lay flat to dry for best results.