Create a Cozy Baby Blanket With Seamless Knitting Techniques
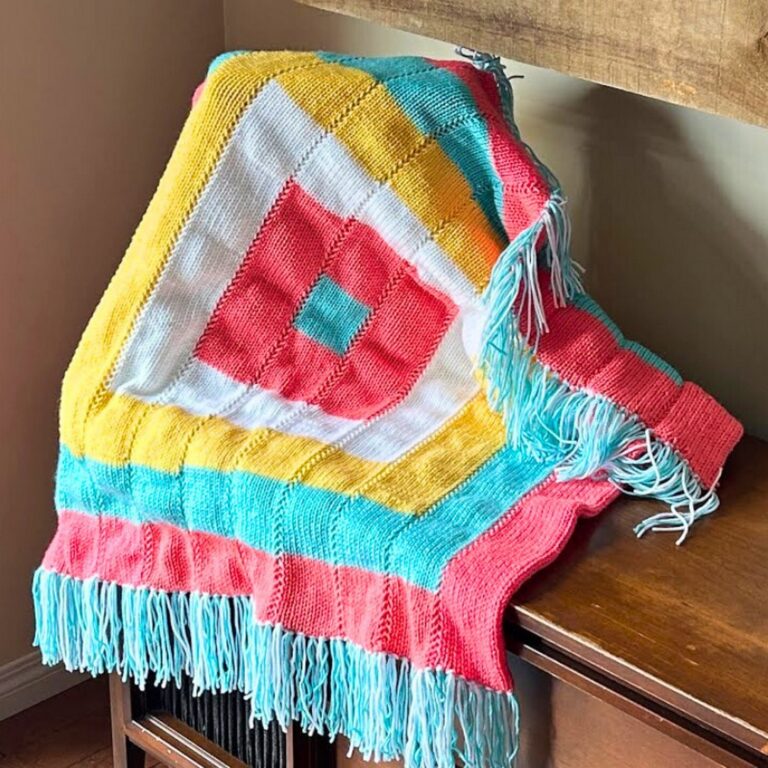
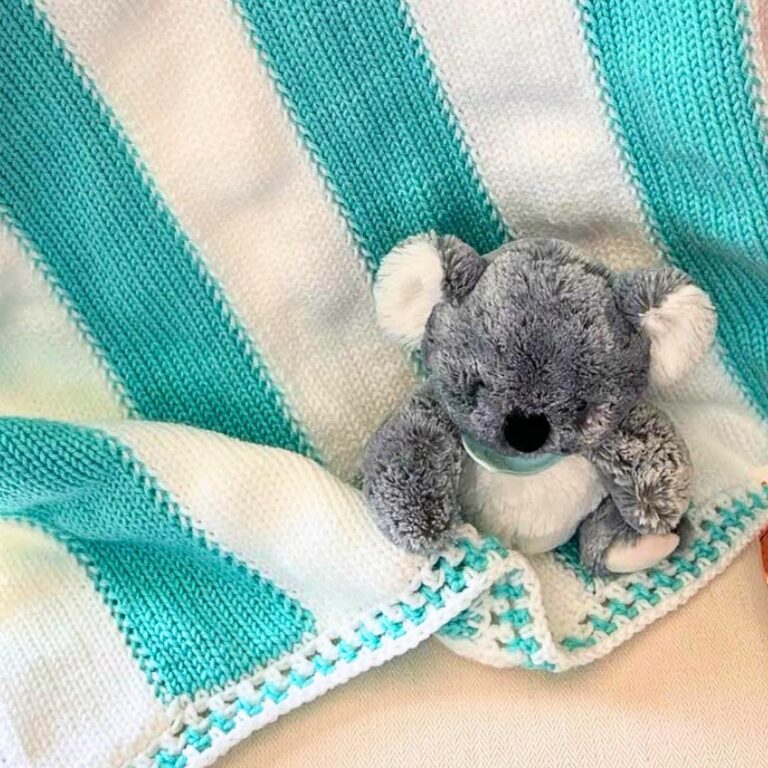
Explore the delicate art of creating a baby blanket that radiates both charm and warmth; this tutorial offers an enchanting journey into handmade goodness. Designed with a blend of pastel hues and snug textures, the pattern is perfect for personalizing nursery spaces. Benefitting from Shelley’s tried-and-true guidance, you will learn how to pair softness with durability, providing both a decorative touch and a comforting wrap for babies, establishing an ideal keepsake.
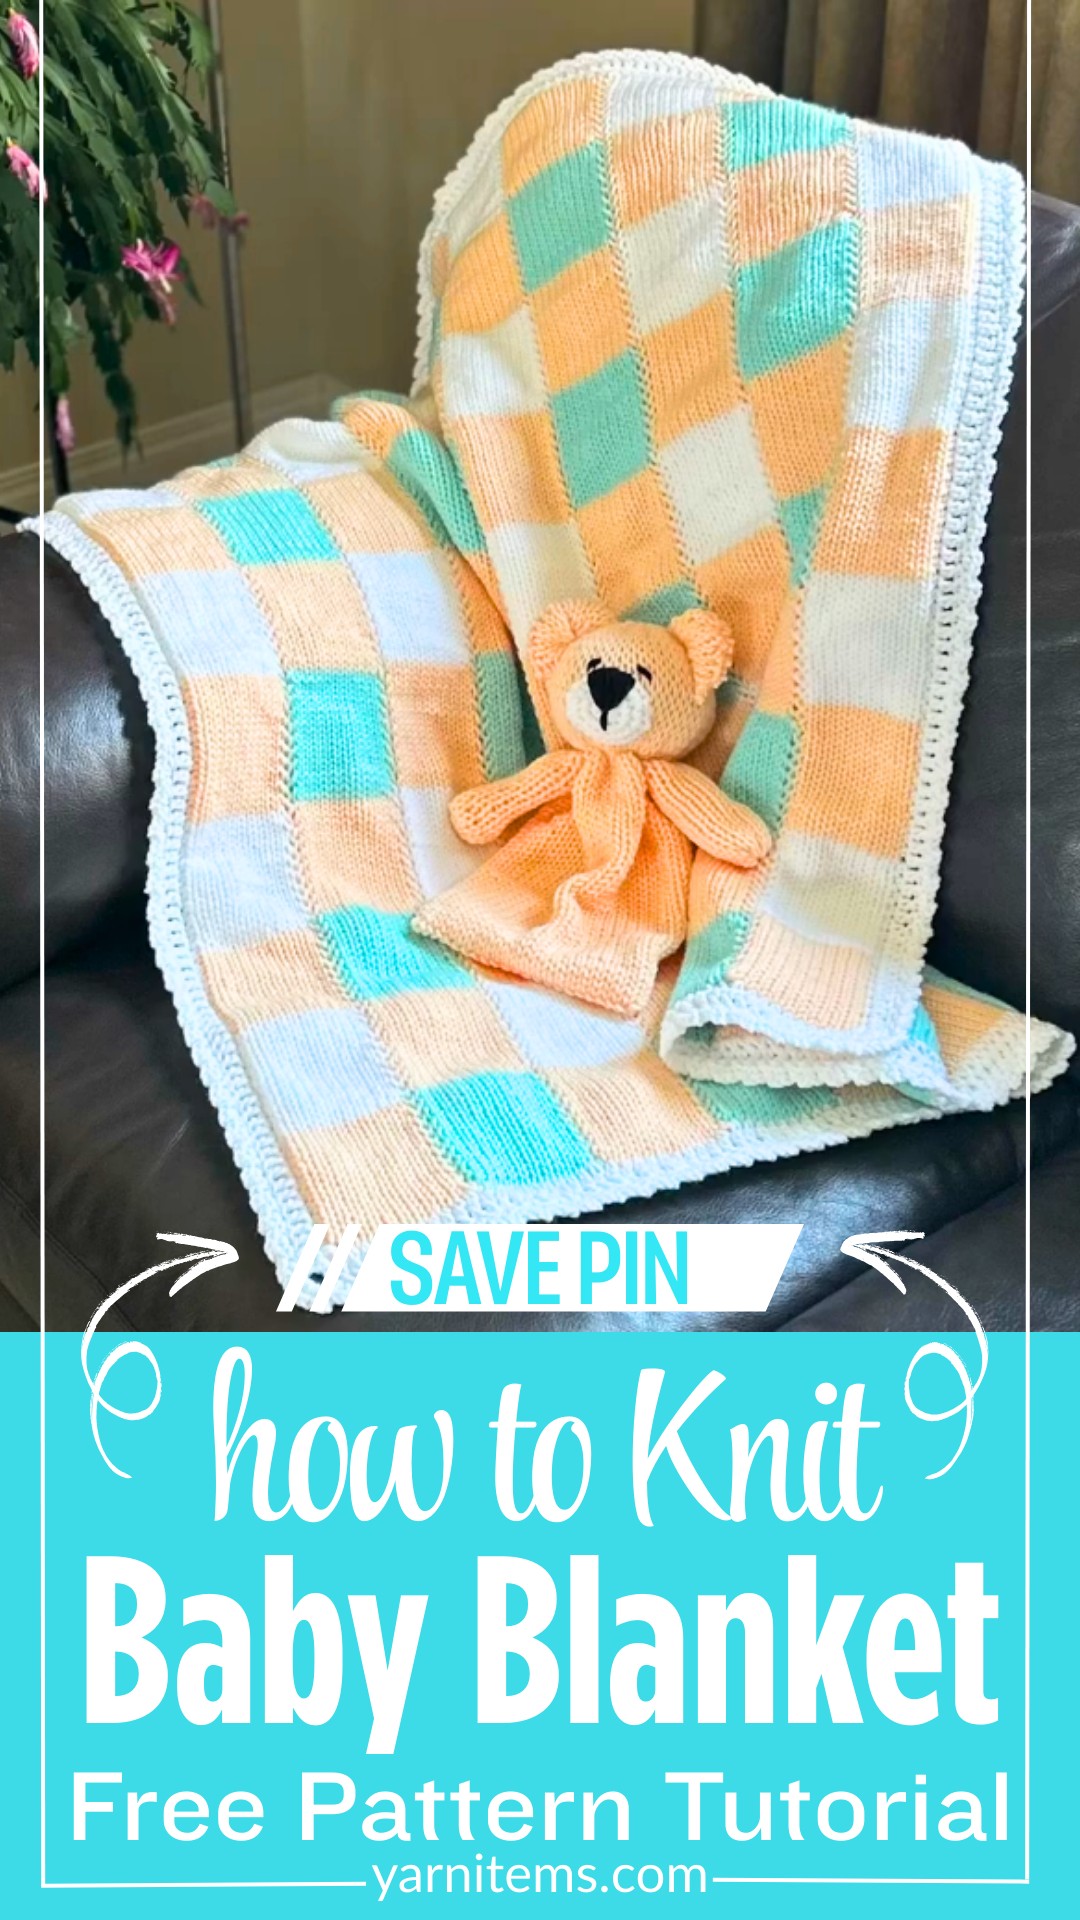
Cozy Baby Blanket
This blanket tutorial highlights the seamless transition techniques with Shelley’s unique jogless join approach, ensuring your color changes are flawless. Using the Addi 22 Needle machine, Shelley transforms complex knitting into a manageable task, offering invaluable tips to maintain consistent tension. Her adaptive method guarantees clean edges while incorporating waste yarn, resulting in a polished finish that’s both eye-catching and professionally crafted.
Pattern Highlights
Yarn Choice Insight
Shelley initially chose Loops & Threads Soft Classic Acrylic yarn, but shares insights on why Bernat Premium might be a better fit for a smoother knitting experience.
Jogless Join Technique
Experience Shelley’s method for invisible transitions, ensuring a polished look that expertly aligns color changes and maintains seamless rows.
Credit Koala Knits and Knacks
Step-by-Step Pattern
Materials
Here’s what you’ll need to complete this project:
- Yarn: Use a lightweight acrylic yarn for softness and durability. In the video, the creator used:
- 3 balls of Loops & Threads Soft Classic in peach
- 2 balls each of Loops & Threads Soft Classic in white and mint
However, if you’re looking for a recommendation, Bernat Premium Yarn may work better with your machine.
- Knitting Machine: A 22-pin circular knitting machine, such as the Addi Egg or Sentro, is ideal for this project.
- Crochet Hook: A 5 mm crochet hook (or 5.5 mm depending on your preference) for the border.
- Stitch Markers: Bobby pins or actual stitch markers to keep track of stitch rows and corners.
- Scissors
- Tapestry Needle: For weaving in yarn ends.
- Circular Row Counter (if your machine doesn’t have a built-in option).
Stitch Guide: Knitting Machine Basics
If you’ve never used a circular knitting machine before, here’s a quick rundown of the techniques you’ll need:
- Casting On with Waste Yarn: Waste yarn is a contrasting color used to start a project on a knitting machine. It makes it easier to identify beginning stitches when finishing.
- Knitting in the Round: The machine loops the yarn onto all needles consecutively, creating a continuous tube.
- Changing Colors: Using different yarns allows you to create stripes. Perform a “jogless join” at the color swap for a cleaner finish.
- Mathematics of the Pattern: Each row in your circular knitting machine counts across all 22 needles. Multiply this by the number of rows needed for each section or tube.
- Closing Tubes: Use the crochet hook and waste yarn edges to seam the edges into a flat panel.
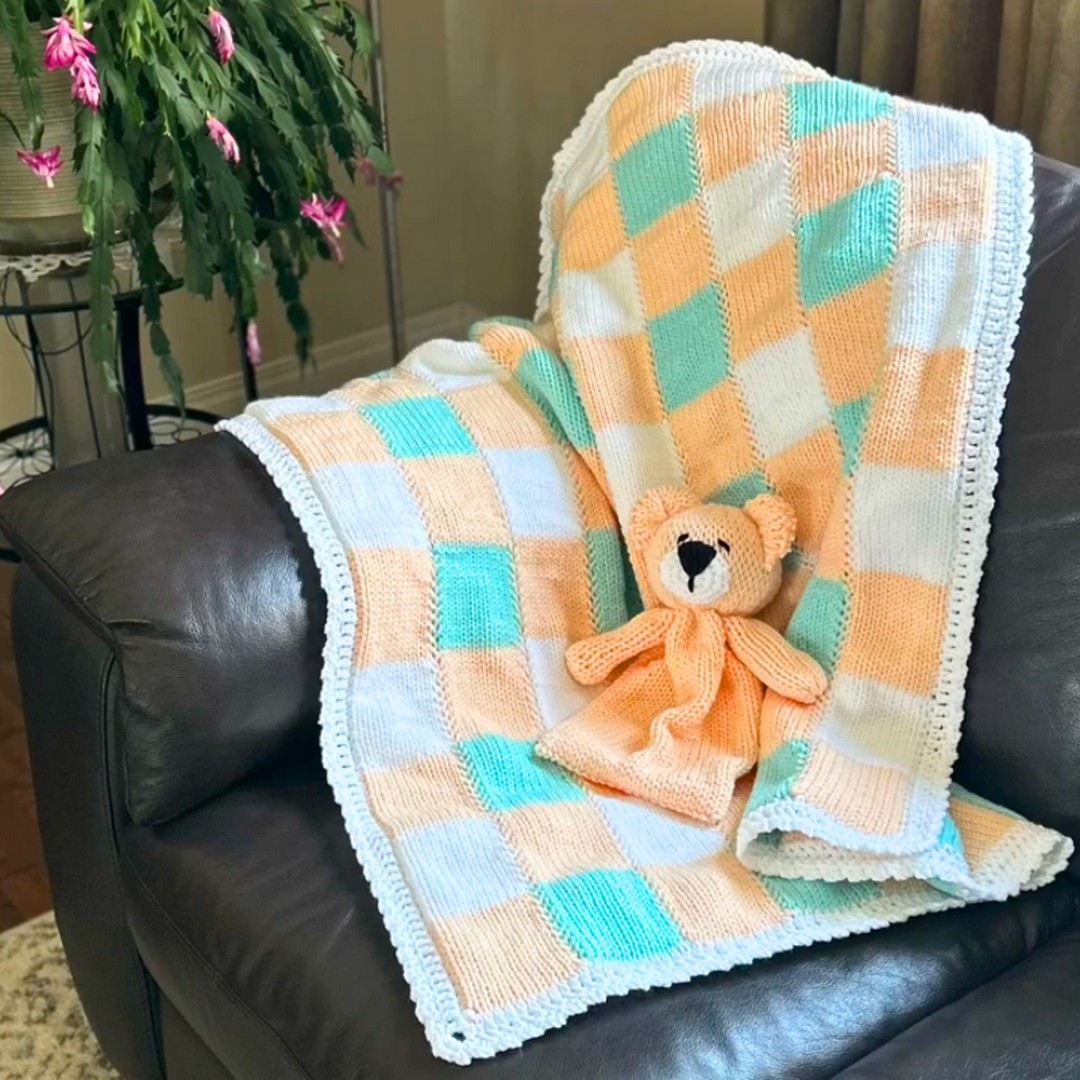
Notes
- Yarn Compatibility: Not all yarn works smoothly on circular knitting machines. The creator found that while Loops & Threads Soft Classic yarn was working at first, it caused tension issues midway through the project. Consider switching to a yarn that you know works well with your machine.
- Customization: You can adjust the blanket’s size by adding or removing panels and adjusting the number of rows.
- Gauge Adjustment: Knit a small test panel to determine how many rows will give you the blanket width and length you want.
Pattern Instructions
Now, let’s get started on your blanket!
1. Preparing the First Tube (Color Panels)
- Set Up the Machine:
- Place your white (or lightest) yarn into your starting position. Use waste yarn for the initial rows to set your stitches.
- Add Waste Yarn:
- Start casting on by alternating between “behind” and “in front” of every needle. Add 6–7 waste yarn rows to prevent the yarn from unraveling. This temporary yarn will help straighten edges later.
- Start Knitting the First Panel:
- Switch to the white (project) yarn and knit 20 rows. Maintain light tension by allowing the yarn to slip through your fingers naturally.
- Make sure to watch each needle closely for “tuck stitches” and knots as you crank.
- Change to the Second Color (Peach):
- Cut the white yarn, leaving a 6–8 inch tail. Add the peach yarn using the “jogless join” method.
- Swing the tail to the opposite side of the last needle for a seamless continuation. Tighten the yarn slightly after knitting a few stitches.
- Knit 20 rows with the peach yarn.
- Swap Colors Again:
- Return to the white yarn for another 20 rows, then repeat the process (alternating 20 white and 20 peach rows) until you complete 200 rows total.
- Add Waste Yarn at the End:
- Cut the project yarn and swap back to waste yarn. Knit 10–11 rows for extra reinforcement while handling your tube.
- Repeat for 6 Panels:
- Make six tubes alternating white and peach yarn every 20 rows.
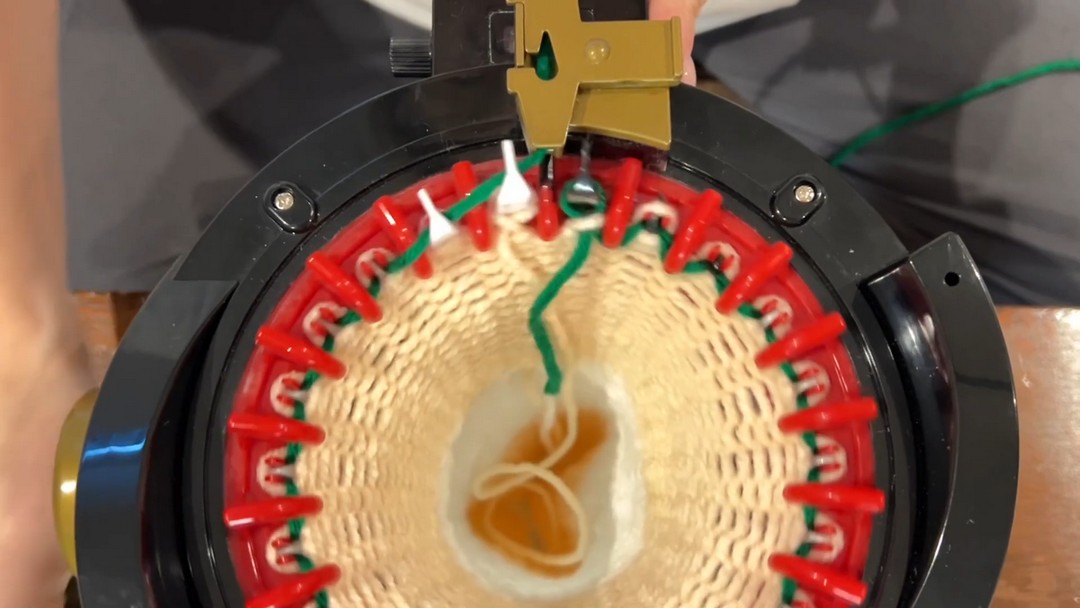
2. Preparing the Second Tube Color Combo
Follow the same process for the second set of tubes, but alternate between peach and mint yarn every 20 rows. Knit five of these tubes in total. You should now have 11 finished tubes.
3. Finishing the Tubes
- Stretch the Panels:
- Pull the tubes horizontally to align them and soften the fabric.
- Flip Inside Out:
- Turn each tube so the wrong side is inward and the finished knit side is outward.
- Close the Ends:
- Use a tapestry needle or crochet hook to catch and close the top loops on each end of the tube. Use the waste yarn edge to help make a flat, even seam.

4. Joining the Panels
- Align the Edges:
- Pair one white/peach tube with one peach/mint tube. Alternate these combinations.
- Begin the Mattress Stitch Join:
- Align the wide parts of the “V” stitches so both sides face correctly. Use a yarn needle and whipstitch or crochet into a braided join for a decorative finish.
- Add All Panels:
- Continue attaching panels until all 11 are joined. Stretch and align after each addition.

5. Adding the Border
- Prepare to Crochet:
- Attach your crochet hook and slip knot to your corner stitch.
- Single Crochet Edging:
- Work single crochets evenly across the top and sides of your blanket. Add 2 stitches at each corner to turn smoothly.
- Add Rows (Optional):
- Continue with as many rows of single crochet or double crochet as you want for a bolder border. You can alternate yarn colors here as well.

Final Thoughts and Tips
- Blocking: Once your blanket is finished, consider lightly steaming or wet-blocking it to smooth out any uneven tension.
- Customization Ideas: Add pom-poms to the corners, or crochet a shell-stitch border for a more intricate look.
This baby or lap blanket is a soft, elegant project that’s sure to impress. Whether you keep it or gift it, you’re bound to create something timeless and beautiful.

Pattern Question
Q: What if my panels seem uneven in length after knitting?
A: Don’t worry! Slight stretching differences can occur, but as long as all panels have the same number of rows, they’ll align correctly when stitched together.