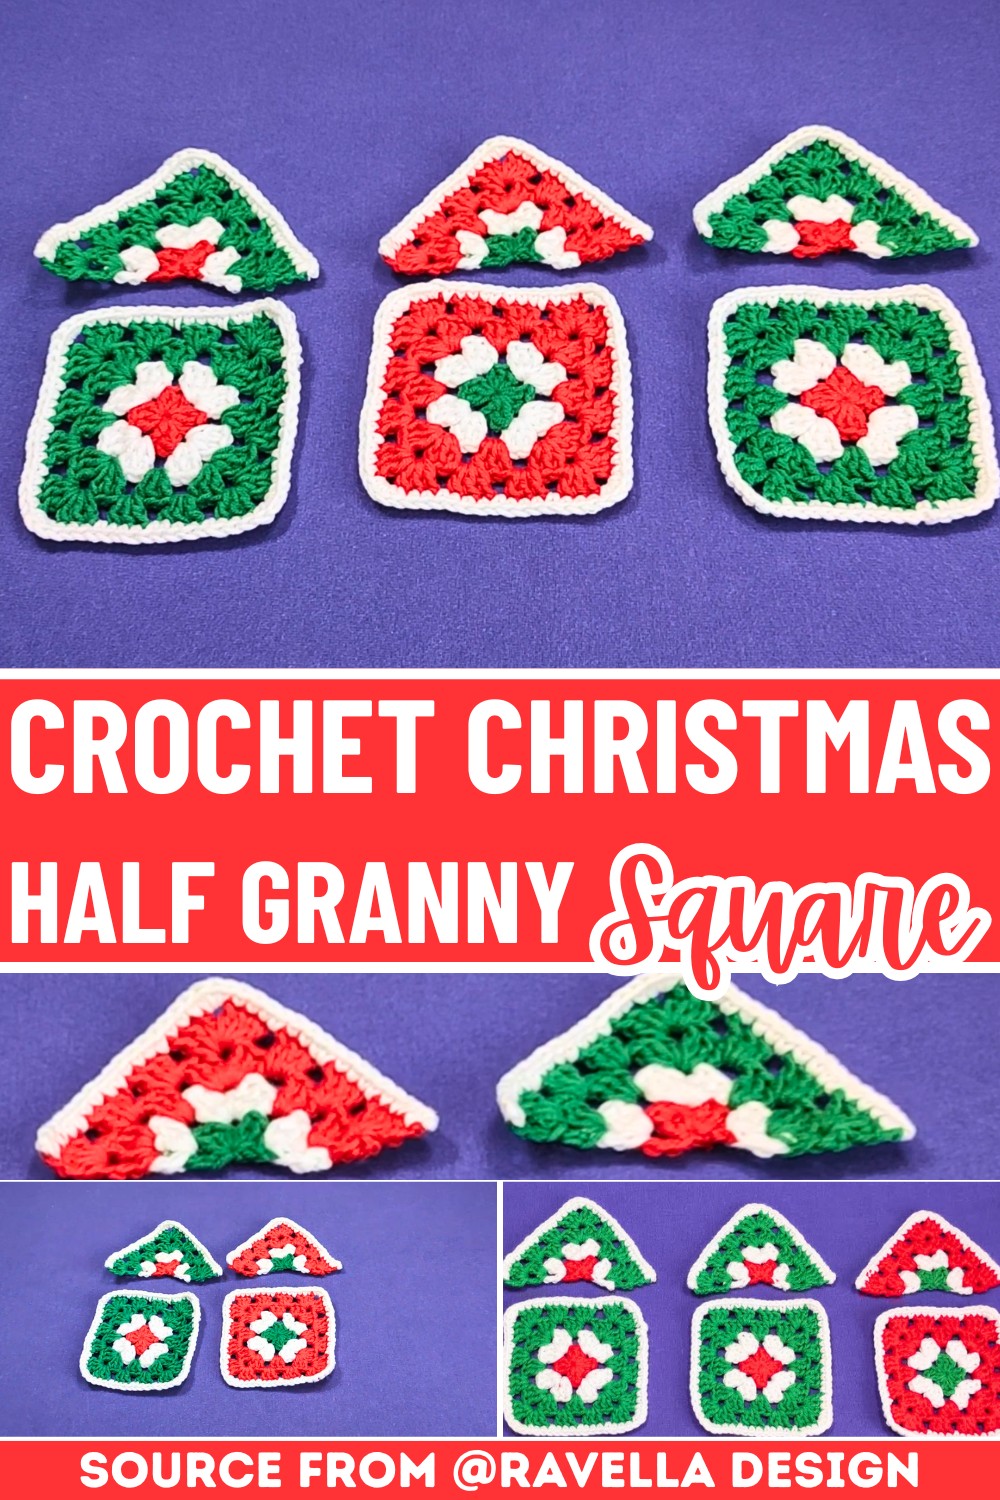
Crochet Christmas Half Granny Squares Patterns For Festive Holiday
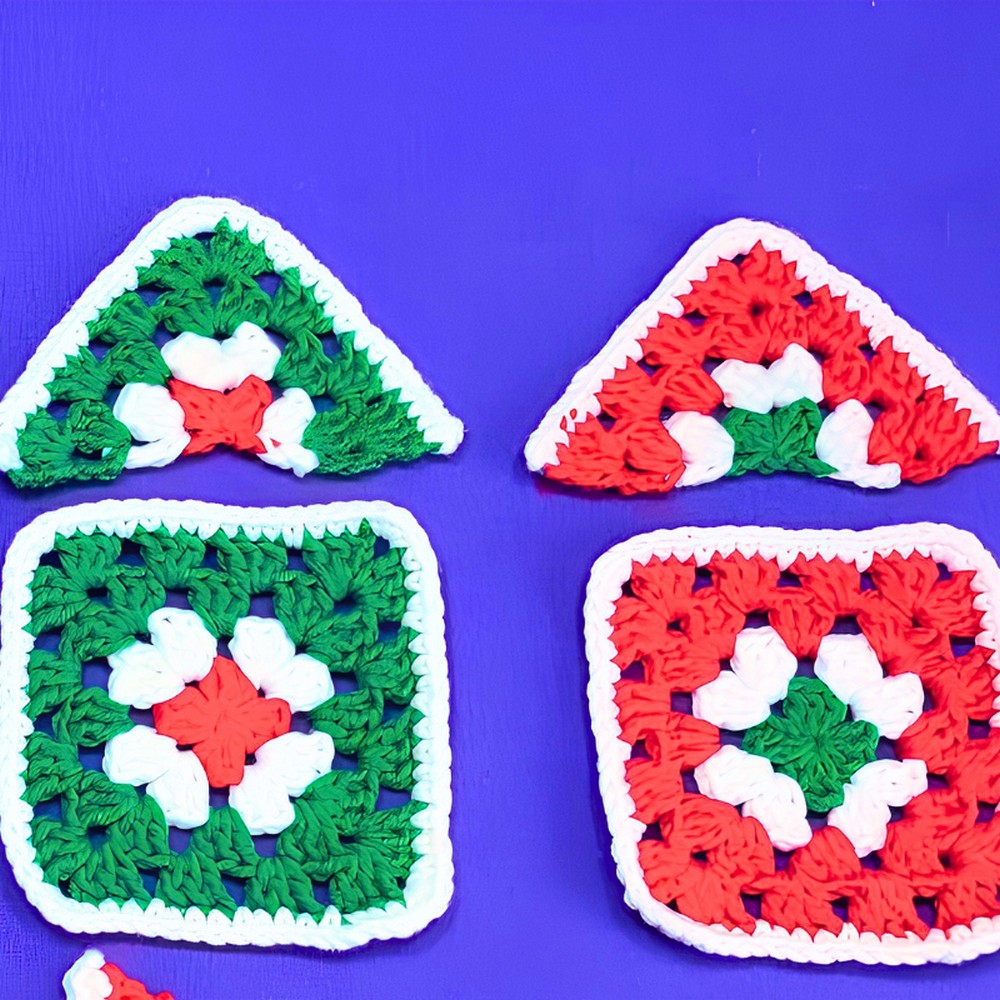
A crochet Christmas half granny square opens up creative possibilities that a full granny square simply can’t. Its neat triangular shape fits beautifully into V-necks, shawls, bunting, tree skirts, and festive accessories, while showing off classic holiday colors in a fresh way.
If you’re looking for a crochet piece that feels both decorative and practical, then this little motif is a wonderful place to begin.
Crochet Half Granny Squares
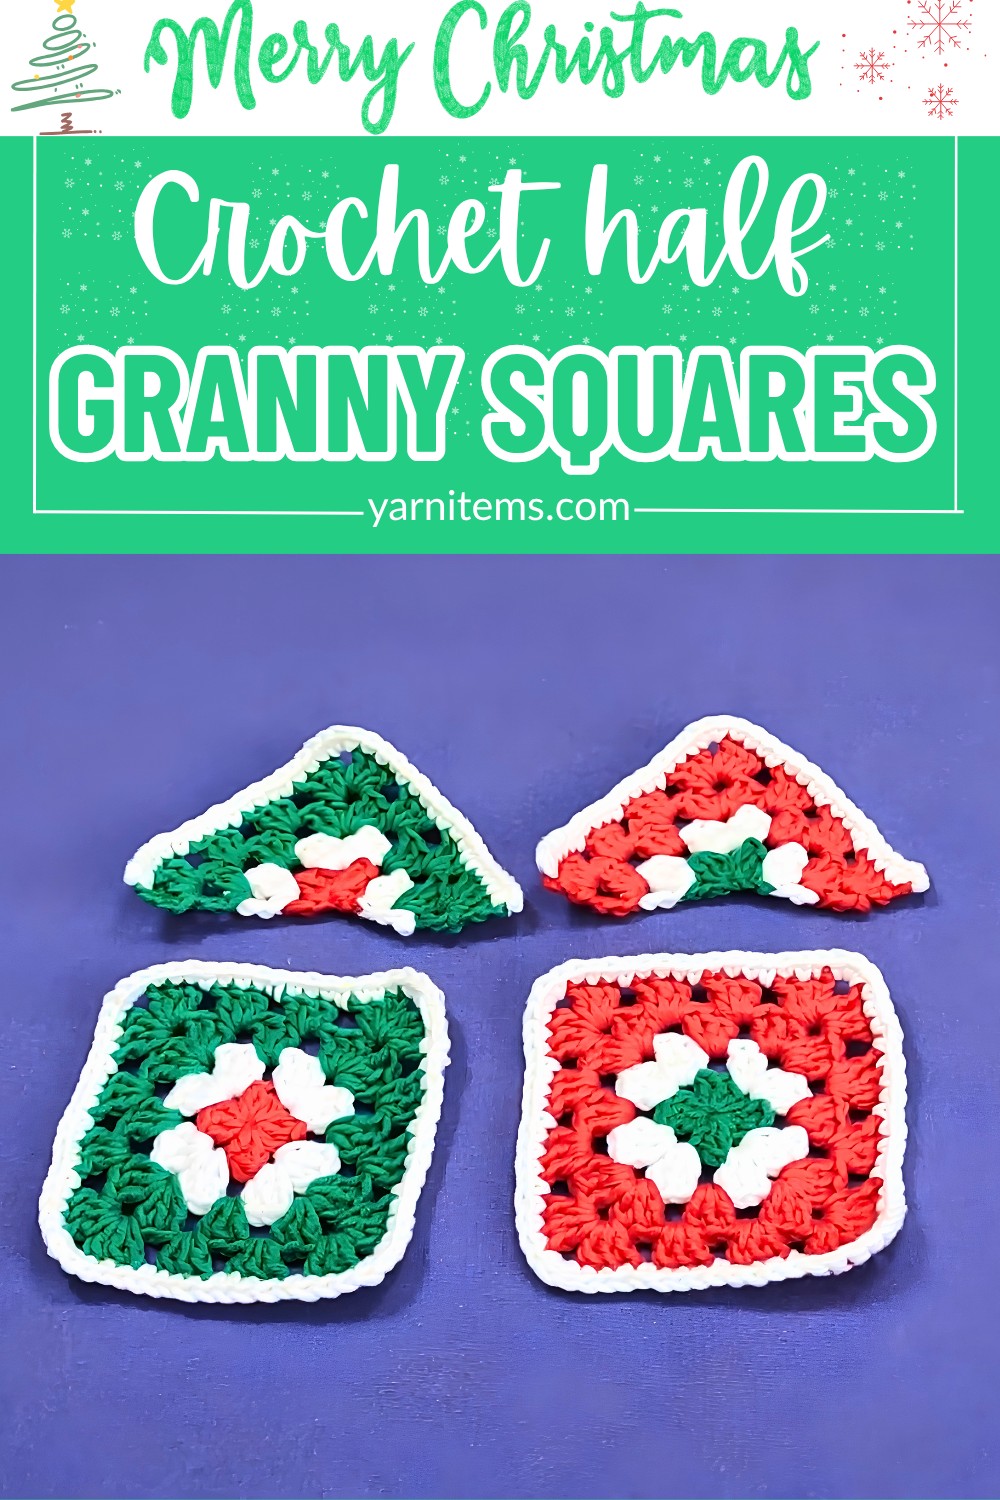
Whether you’re making a single accent piece or joining several together for a larger piece. This pattern offers plenty of room to experiment with color and layout. The step-by-step instructions keep the process easy to follow. Helping you build each crochet granny square with confidence. By the end, you’ll have a festive piece that’s ready to become part of your favorite Christmas crochet piece.
Credit Ravella Design
Materials & Tools Needed
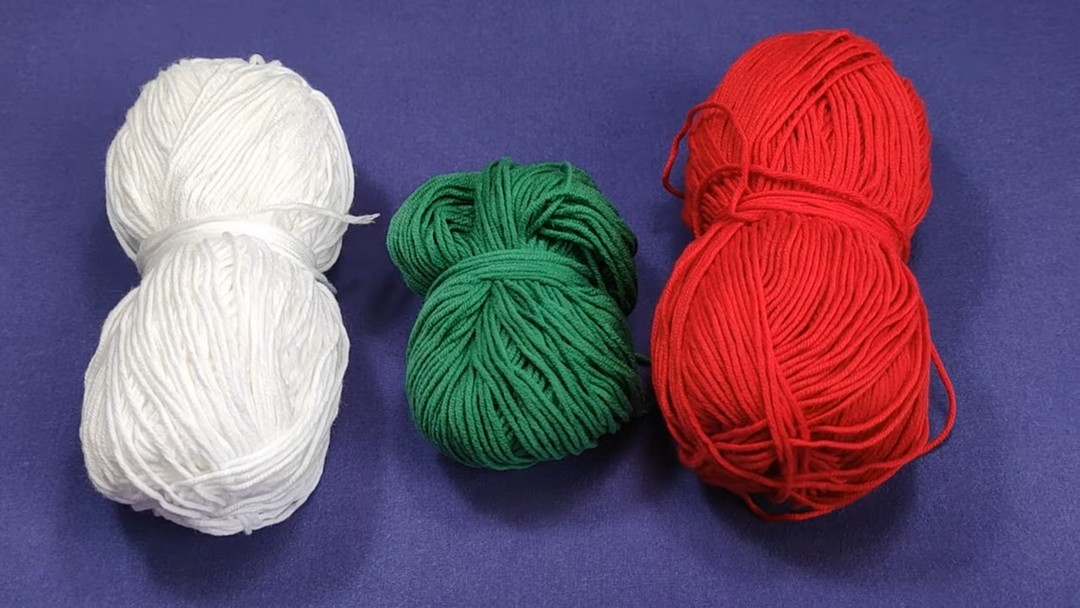
- Yarn: Cotton yarn in 3 Christmas colors (e.g., red, white, green).
- Hook: 3 mm crochet hook.
- Darning Needle: For hiding yarn ends.
- Scissors: For cutting the yarn.
Finished Size & Customization Ideas
- The finished half granny square can be used for various holiday projects such as:
- Triangular shawls.
- Neck warmer triangles.
- V-neck sweaters, cardigans, or jumpers.
- Triangle bandanas.
- You can customize the size by adding more rounds using the same color scheme or substituting colors.
Pattern Abbreviations & Terminology
For this pattern, US crochet terminology is used:
- Ch: Chain.
- Sl st: Slip Stitch.
- DC: Double Crochet.
- TR: Triple Crochet (or Treble Crochet).
- YO: Yarn Over.
- St(s): Stitch(es).
- Magic Ring: Adjustable ring used to begin crocheting at the center.
Step-by-Step Detailed Crochet Instructions
Notes
- The project is worked in rounds with color changes.
- Always crochet from the front side to maintain a clean look.
- Cut yarn between color changes and secure the ends.
Round 1 – Red Color
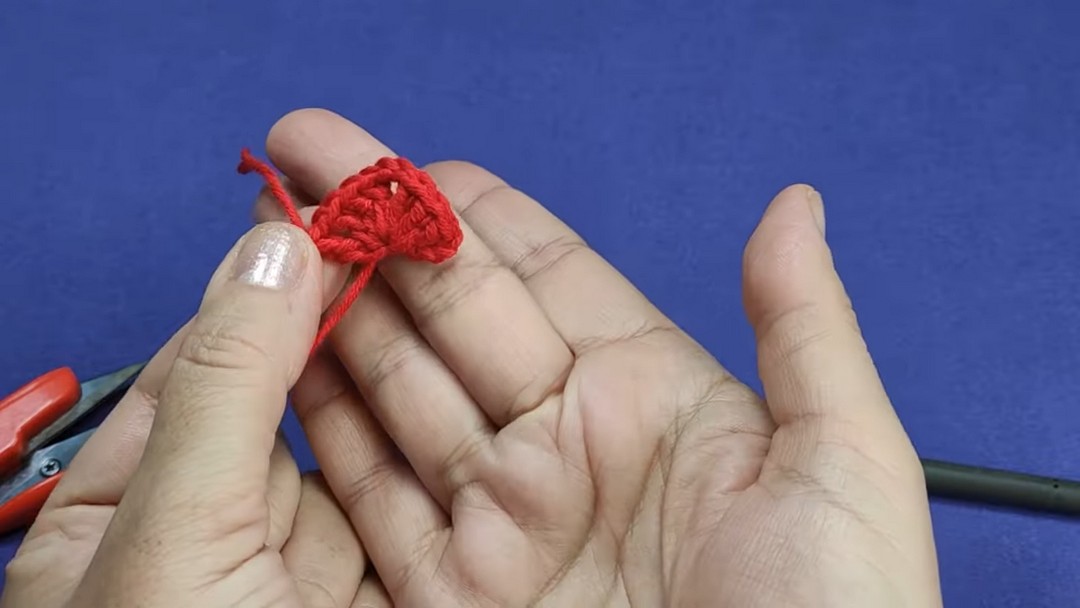
- Start with a Magic Ring:
- Wrap the yarn to create a magic ring.
- Ch 4 (does not count as a stitch).
- First Group of DCs:
- YO, insert the hook through the ring, and make 3 DC. This is one group of DCs.
- Create the Corner:
- Ch 2 (corner space), then YO and make another group of 3 DCs through the magic ring.
- End the Round:
- Ch 1. Tighten the magic ring by pulling the yarn end.
- Finish with a TR by YO three times and pulling through loops step-by-step (this aligns the edges neatly).
- Fasten Off:
- Ch 1, cut the yarn, and pull tightly.
Round 2 – White Color
- Join White Yarn:
- Create a slip knot and insert the hook through the chain-4 space from the previous round.
- Begin with a TR (pull through loops 3 times) for a smoother edge.
- First Group of DCs:
- Ch 1, then YO and make 3 DC in the chain-4 space.
- Corner Space:
- Move to the corner (ch-2 space from Round 1).
- Make 3 DC, Ch 2, and then another 3 DC in the corner space.
- Next Space:
- Proceed to the next chain-1 space. Make 3 DC, then Ch 1, and finish with a TR to create a smooth side edge.
- Fasten Off:
- Ch 1, cut the yarn, and secure the end.
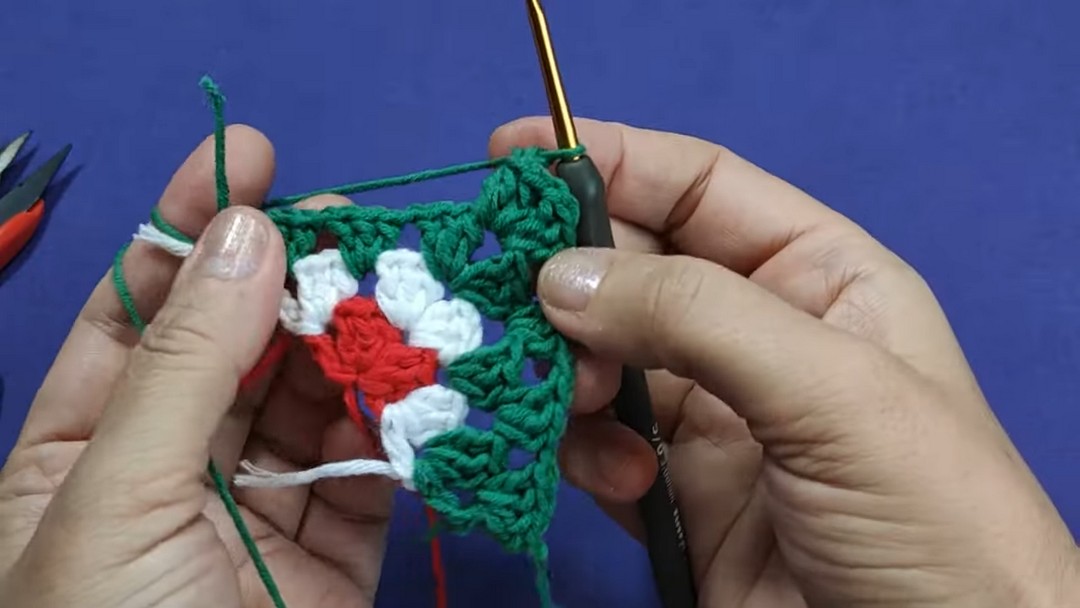
Round 3 & Round 4 – Green Color
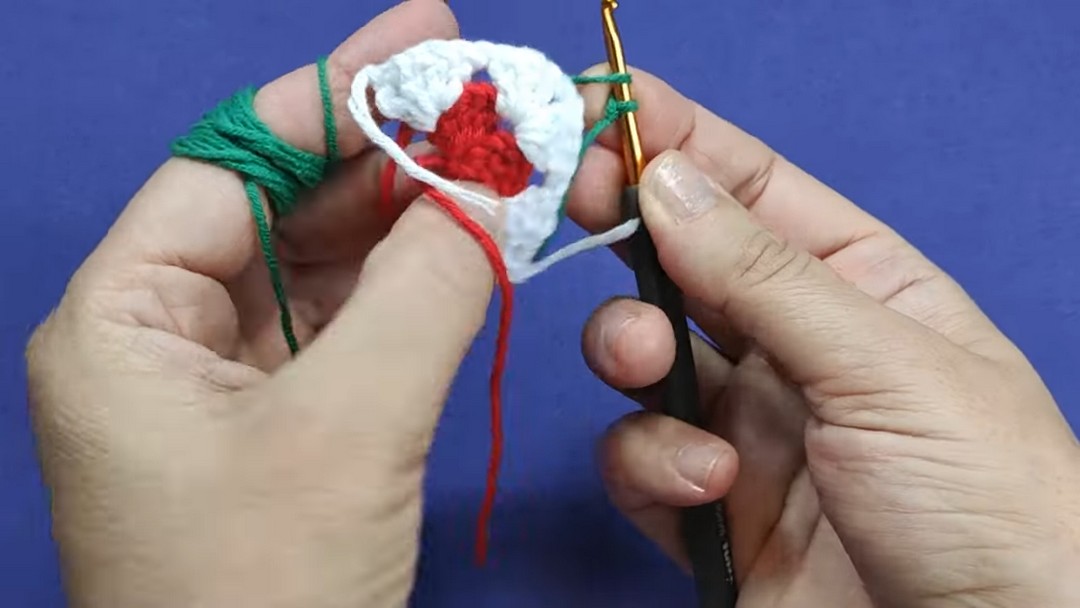
- Adding Green Yarn:
- Join green yarn with a slip knot. Insert the hook in the chain-1 space between the TR and first DC group from the previous round.
- Begin with a TR (pull through loops 3 times).
- Group and Corner Work:
- Work 3 DC in the same chain-1 space, Ch 1, and move to the next chain space, repeating 3 DC followed by Ch 1.
- At the corners:
- Make 3 DC, Ch 2, and another 3 DC.
- Ending Each Round:
- At the last chain-1 space, complete 3 DC, Ch 1, and finish with a TR.
- Cut the yarn and fasten off.
- Fourth Round:
- Begin again with green yarn using the same method.
- Work groups of 3 DC with Ch 1 between spaces and corners as described.
- Finish this round similarly by fastening off with a TR.
Final Round – White Color Border
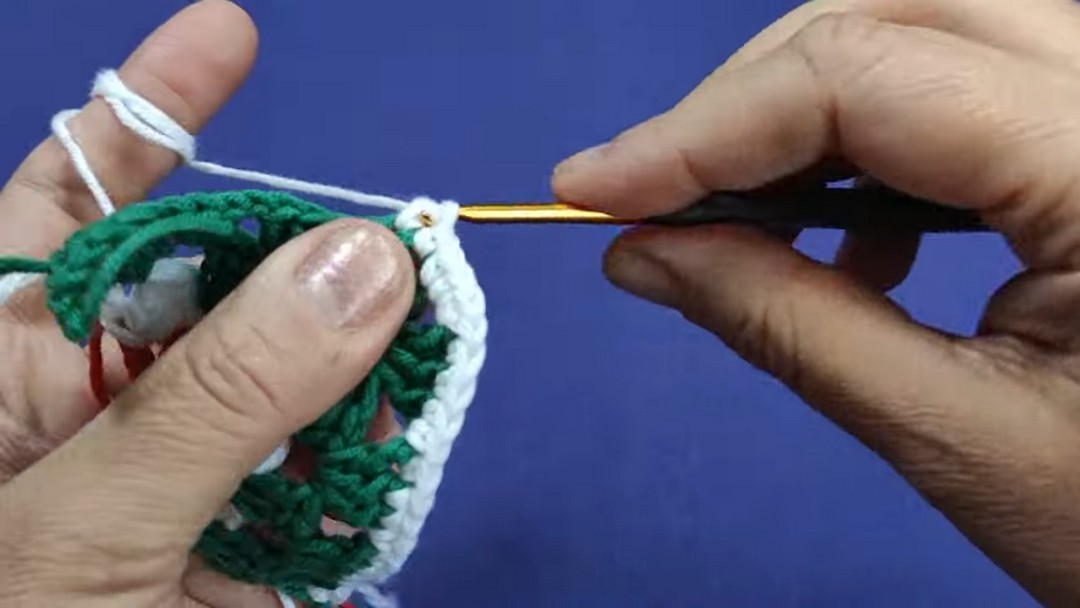
- Join White Yarn:
- Insert the hook at the first stitch of the triangle and join white yarn with a slip knot.
- Make 2 single crochet (SC) in the first stitch to prevent stretching.
- Work Single Crochets:
- Crochet 1 SC in each stitch along the straight edges.
- At the corner spaces:
- Make 3 SC in the center corner to create a sharp turn.
- Finish the Border:
- On the final stitch, make 2 SC for a neat edge.
- Ch 1, cut the yarn, and secure the end.
Finishing Techniques
- Hide Yarn Ends:
- Use a darning needle or small hook to gently slide the yarn ends through the back stitches of the same color.
- For the center magic ring, tie a small knot to prevent it from loosening.
- Trim any excess yarn.
- Blocking (Optional):
- Lightly block the half granny square for a polished finish.
Summary
You now have a festive half granny square that’s perfect for Christmas-themed projects! The design features clean edges, vibrant holiday colors, and versatile usage. Customizing the size or color combinations can create a variety of holiday decorations or garments.