Beginner-Friendly Pattern For Crochet Leaf Design
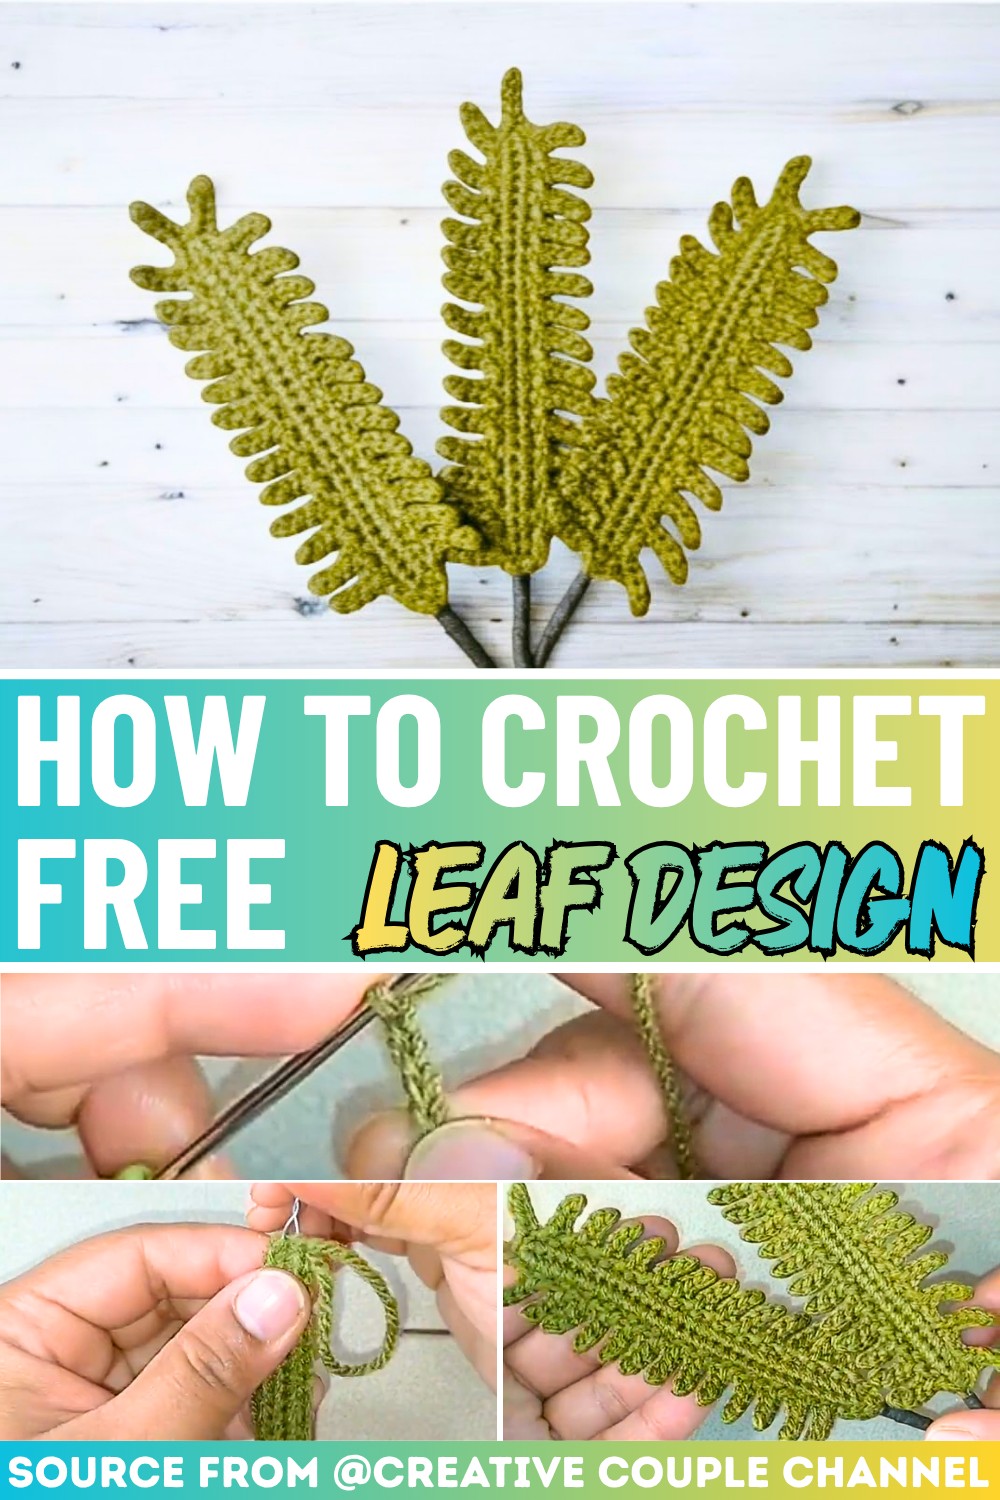
Creating a crochet leaf can be a fun, relaxing way to add a bit of nature to your handmade items. This simple leaf pattern is perfect for beginners and can be used for various purposes, like decorating bags, hats, or even making garlands. The design is neat and smooth, showing off the gentle curves of a leaf while keeping it easy to follow. You can make it small and delicate or slightly bigger for a bold touch. Its functionality comes through in how versatile it is, whether you’re aiming for something pretty and small or something that stands out.
Crochet a Beautiful Leaf Pattern
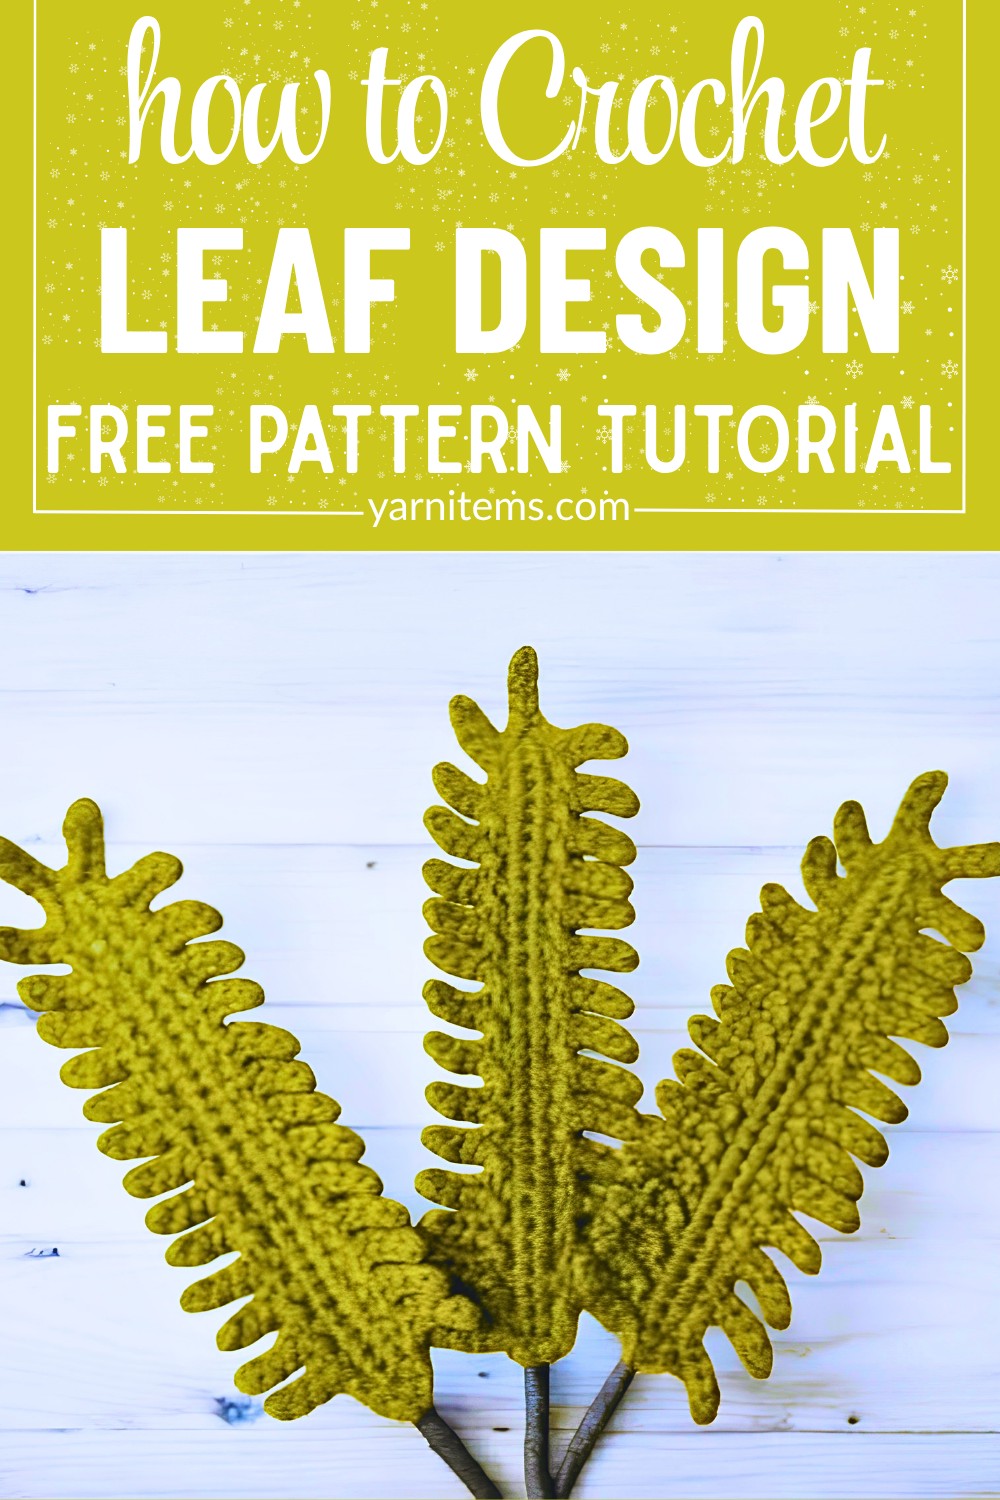
One of the best things about this crochet leaf pattern is how easy it is to adjust. You can make larger or smaller leaves just by changing the yarn thickness or hook size. It’s also simple to add details like veins using contrasting colors or by experimenting with textured stitches. You don’t need much—just your favorite yarn and a hook—but the result can match your imagination! The pattern may look detailed, but it is easy to customize for everything from soft pastel leaves to vibrant autumn colors, letting your creativity shine.
For extra fun, you can try unique stitches or add embellishments, like beads or embroidery, to make the leaf one-of-a-kind. If you want to challenge your skills, work this leaf into a larger project, like a scarf or blanket. Beginners and kids can enjoy making these leaves too—it’s a great way to learn simple crochet techniques and play with colors. No matter the occasion, this crochet leaf design brings nature and creativity together in the simplest way possible.
Credit creative couple channel
Materials & Tools Needed
-
Yarn: Medium-weight yarn in a deep olive or forest green color.
-
Hook: Hook n. 2 (approx. 2.0mm to 2.5mm) to keep your stitches tight and crisp around the wire frame.
-
Crafting Wire: A piece of bendable jewelry or craft wire (cut slightly longer than your intended leaf).
-
Floral Tape: Dark green self-adhesive floral tape to cleanly wrap the wire stem.
-
Scissors
-
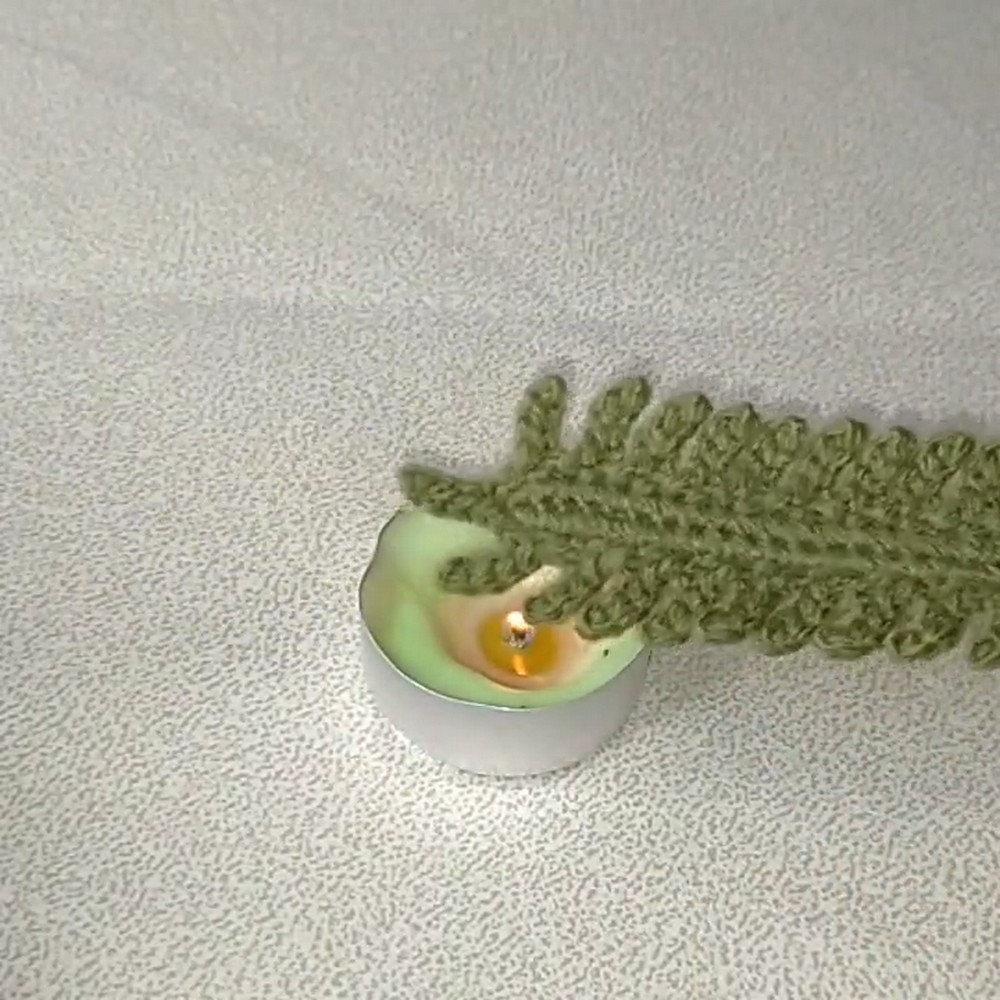
Singeing Tool (Optional): A candle or lighter (used carefully to give your finished project a smooth, non-fuzzy texture).
Pattern Highlights & Construction
-
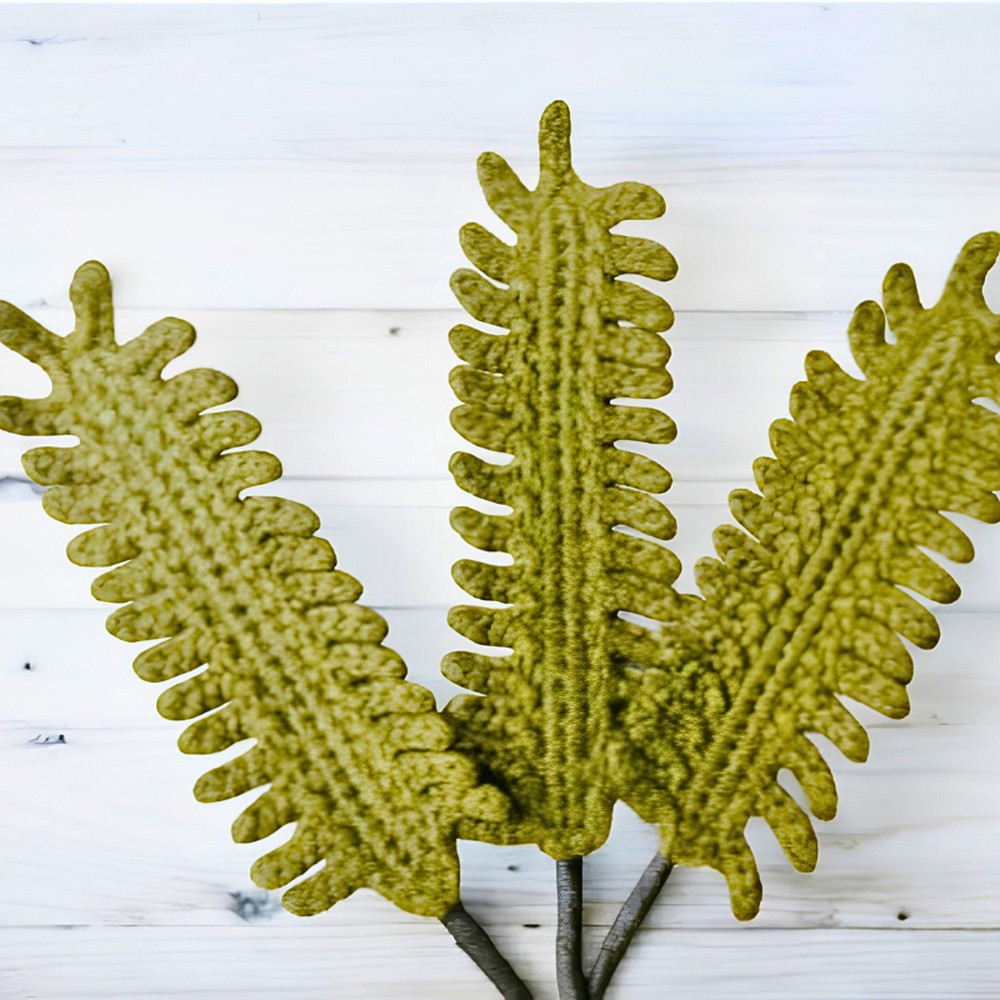
Trapping the Wire Frame: The foundation row is worked directly over a piece of craft wire, creating an interior skeleton that allows you to bend and style the leaf.
-
Two-Sided Base: The spine is constructed by working single crochets down one side of a starting chain, turning at the tip, and working back down the opposite side of the chain.
-
The Leaflet Repeating Pattern: The delicate “needle” or “fern” texture is made by chaining 5 and slip stitching back down into the base, repeating this sequence 27 times along each side of the spine.
Step-by-Step Pattern
Part 1: The Core Spine
-
Foundation Chain: Make a slip knot and chain 31.
-
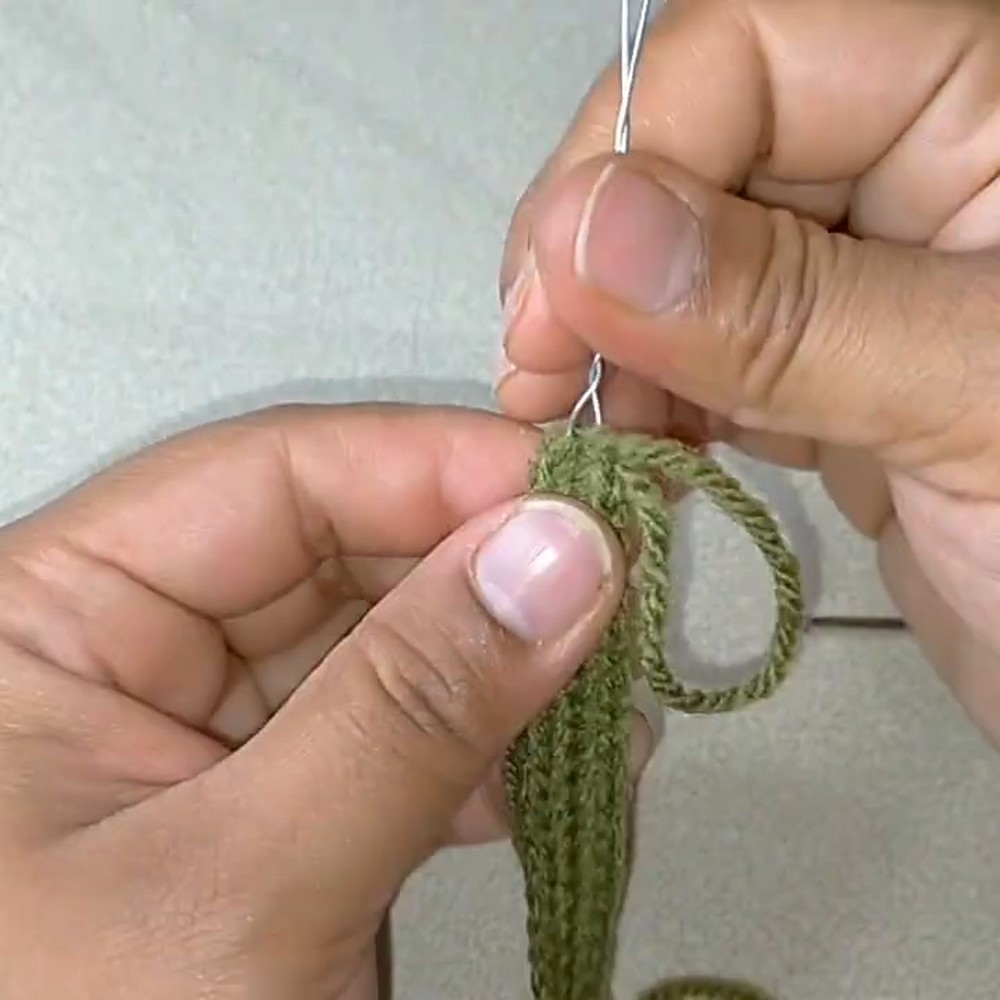
Incorporate the Wire: Lay your craft wire flat against your chain. Starting in the second chain from your hook, work 29 single crochets (sc) down the line, pulling your loops around the wire to envelope it inside your stitches.
-
Turning the Tip: When you reach the very last chain at the end, work 3 single crochets into that single loop. This pivots your work around the edge, seamlessly rounding out the top of your spine.
-
Working the Reverse Side: Turn your piece to work along the uncrocheted underside loops of your starting chain. Work another 29 single crochets back down to the base, continuing to trap the wire inside. Fasten off your yarn.
-
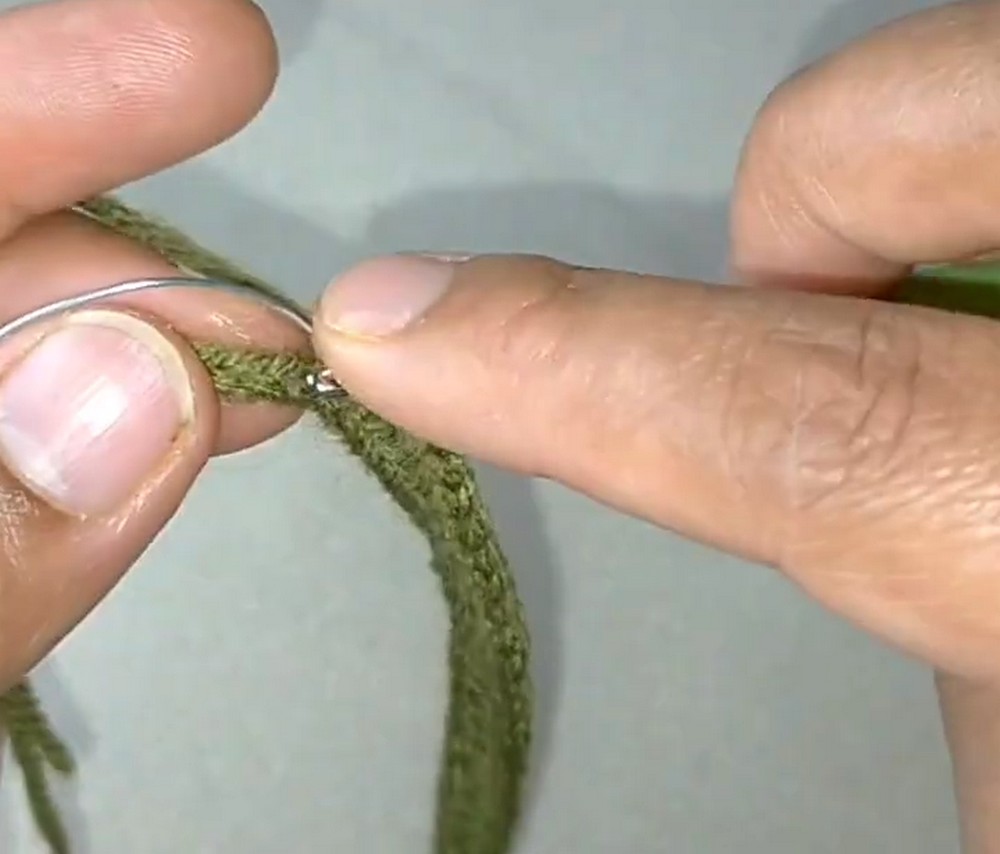
Secure the Base: Take the two wire tails sticking out of the bottom of your leaf base and twist them tightly together to create a solid, stable stem.
Part 2: Growing the Leaflets
-
Attach at the Base: Reattach your green yarn at the bottom base of the spine.
-
The Tip Stitch: Slip stitch your way up to the top center stitch of your leaf tip. To make a tiny defined point, work:
1 slip stitch, chain 1, 1 slip stitchall into that same tip loop. Move to the next stitch with a slip stitch.
-
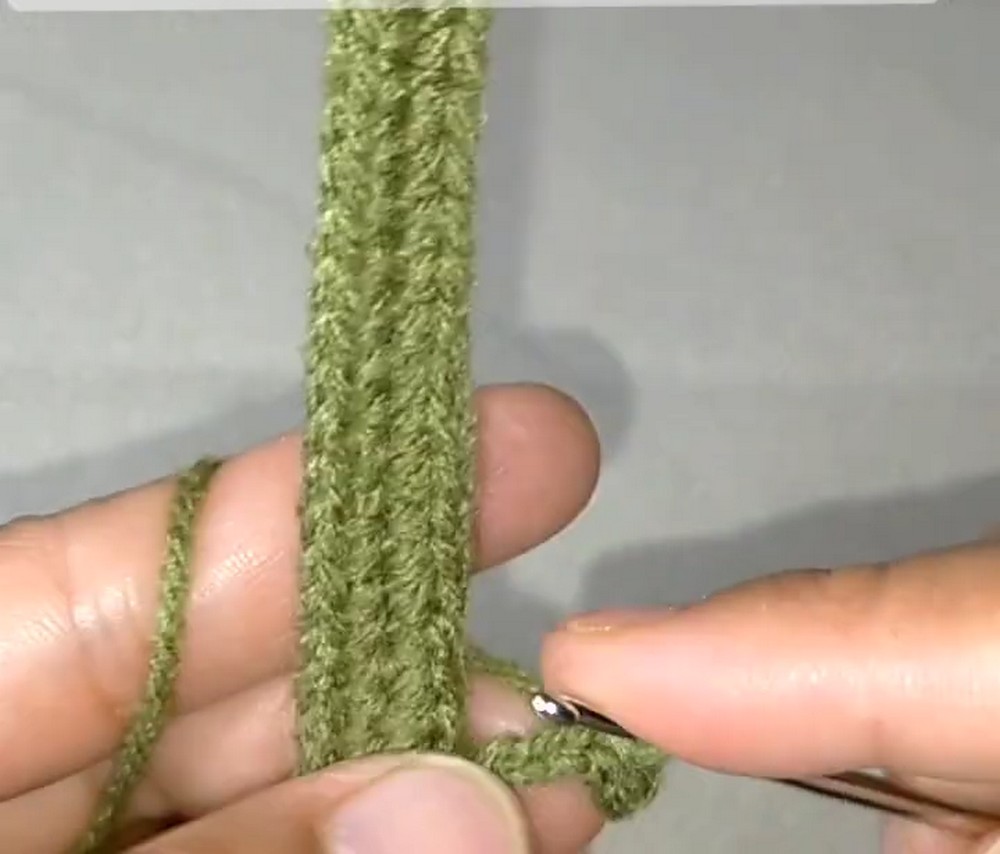
Crocheting the Side Needle Branches: Now, you will work all the way down the side of the spine to create the needle texture. Repeat this sequence 27 times down the edge:
-
Chain 5, then starting from the 2nd chain from your hook, make 4 slip stitches back down the chain. -
Skip 1 stitch along the spine base, and secure your new leaflet branch with a slip stitch into the next stitch.
-
-
Mirror the Other Side: Fasten off, reattach your yarn back at the top tip, and repeat the exact same leaflet sequence down the opposite side of the spine so both sides match perfectly.
-
Wrap the Stem: Use your green floral tape to wrap tightly around the twisted wire tails at the bottom, sealing them into a clean, smooth stem.
Troubleshooting & Suggestions
-
Handling the Wire Core: If you find the wire sliding around or popping out while trying to work your first row of single crochets, try holding the wire slightly behind your chain loops rather than right on top of them. Pull your loops up just a fraction higher than usual to easily clear the wire.
-
Creating Clean Edges: If your yarn is a standard acrylic or wool blend, the tiny leaf branches can sometimes look a little bit fuzzy. To get that perfectly sharp, professional look, carefully pass the completed leaf over a candle flame for a split second! This instantly singes away the tiny rogue hair fibers and leaves your leaf looking incredibly clean and crisp.
-
Creative Adaptations: While forest green makes a gorgeous evergreen leaf, you can easily adapt this pattern for a stunning autumn garland! Try using variegated yarn in shades of burnt orange, rust, and mustard yellow. You can also scale this pattern up into a giant tropical fern leaf by using bulky category 5 yarn and a 5.0mm hook, increasing your starting chain to 50 or 60 stitches.