Free and Special Crochet Christmas Gifts for Pets
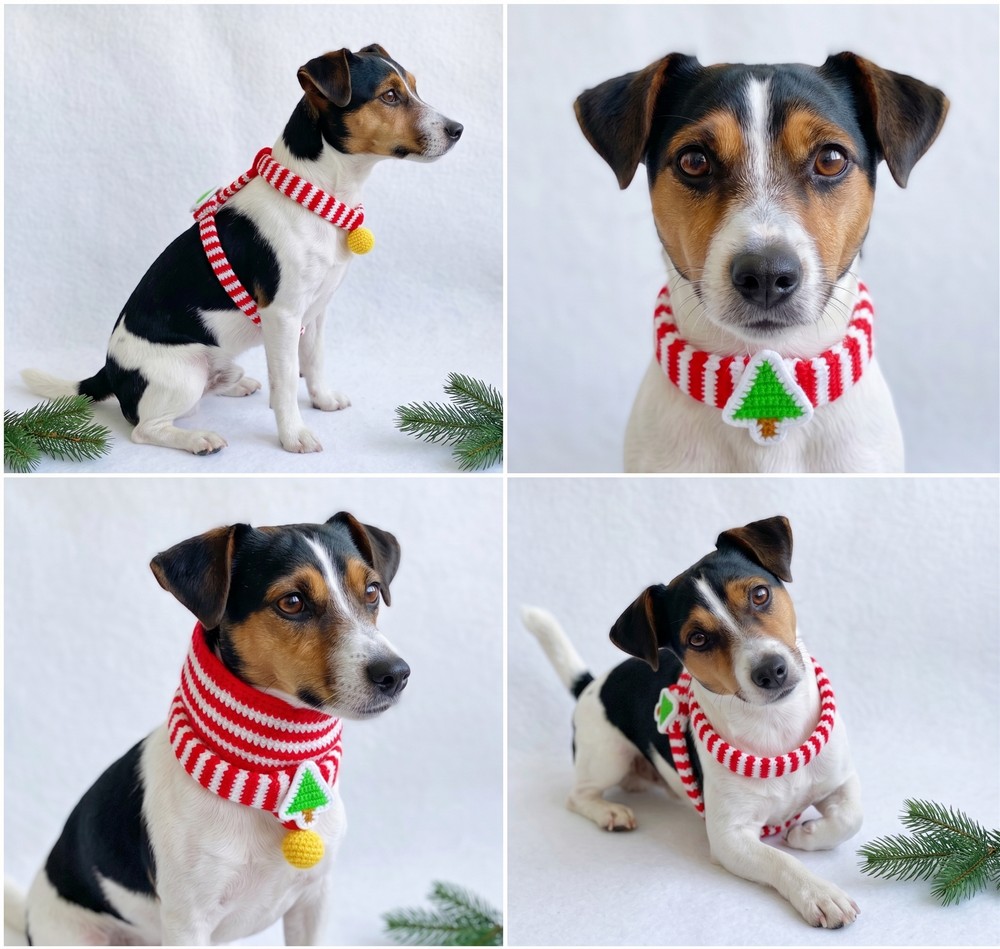
Handmade Christmas gifts are not just for people; your beloved pets deserve something special too. This crochet pet piece adds a festive touch while giving your furry companion a little extra holiday cheer.
Whether it’s made for your own cat or dog or wrapped as a gift for another pet lover. This crochet pattern turns a few simple stitches into a heartwarming Christmas keepsake that’s both fun to make and delightful to use.
Crochet Christmas Gifts Pattern
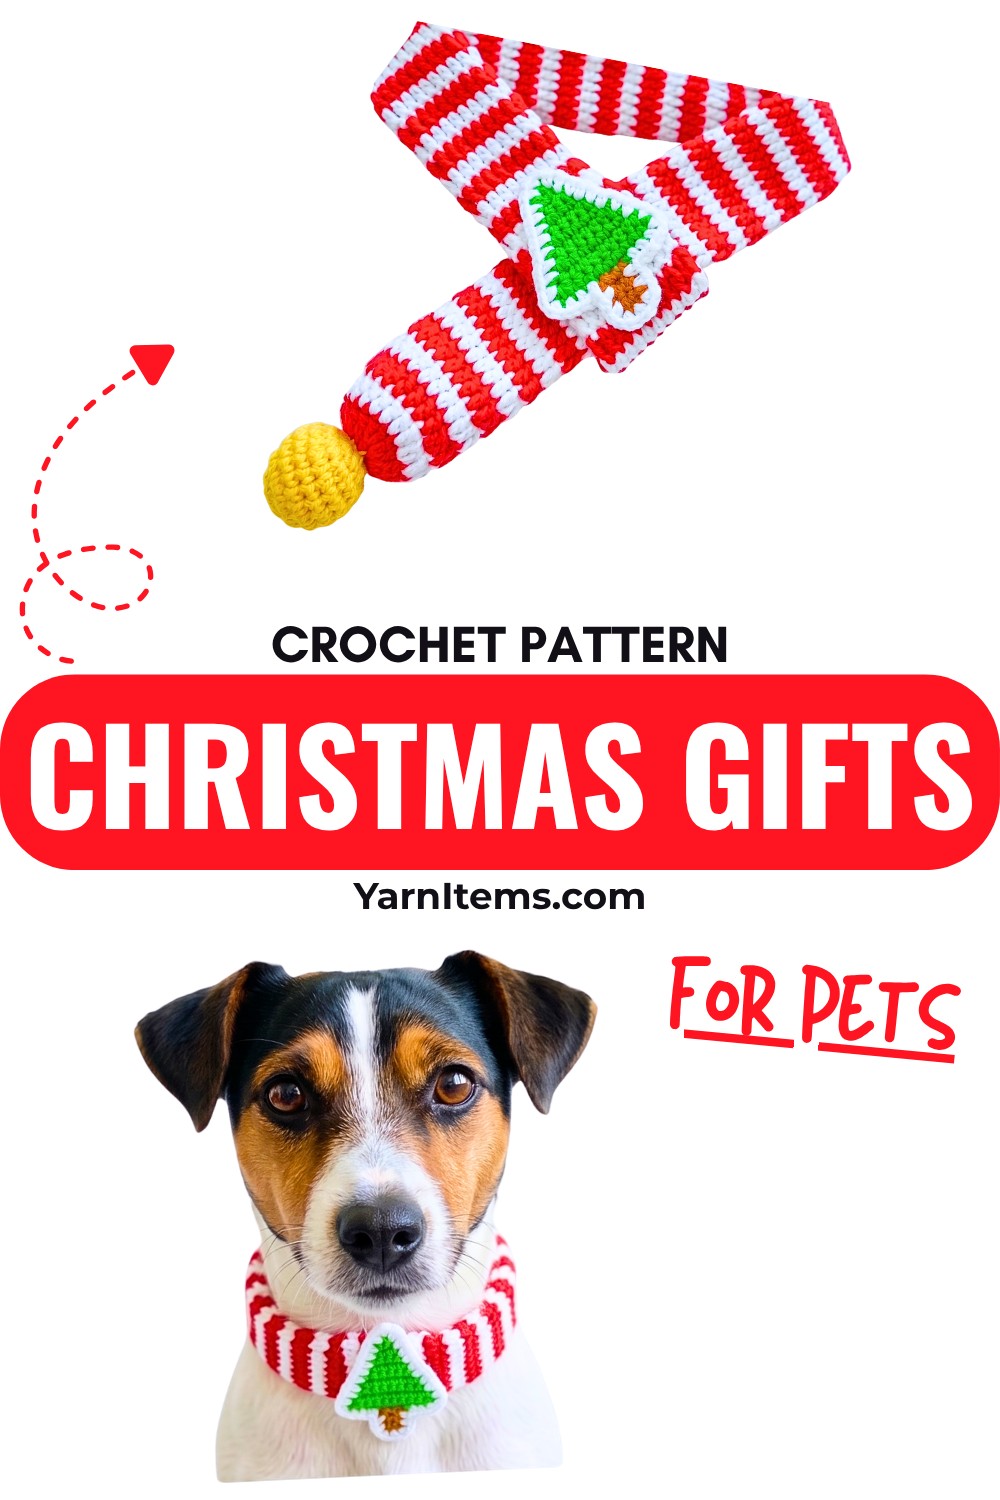
The pattern is designed with simplicity in mind, making it easy to customize for different pets and sizes. You’ll work through clear steps to create a festive piece using classic crochet Christmas colors, with plenty of room to add your own creative touches. Before long, you’ll have a charming handmade crochet gift that’s ready to become part of your pet’s holiday celebrations.
Credit Let’s crochet
Materials & Tools Needed
- Yarn: Red, white, or any colors you prefer (medium weight yarn recommended).
- Hook Size: Suitable to the yarn weight (suggested: 3.5mm or 4mm hook).
- Tapestry needle: For sewing and weaving ends.
- Stuffing: For the decorative ball add-on.
- Scissors: To cut yarn.
Finished Size & Customization Ideas
- Finished Size: The scarf can be crocheted to fit any pet by adjusting the number of rows and circumference.
- Customization Ideas:
- Choose festive colors for a Christmas theme (e.g., red, white, and green).
- Add personal touches such as small bells, bow-shaped appliqués, or crocheted motifs for decoration.
- Adjust the width and length of the scarf and the size of the decorative ball as needed for your pet’s size.
Pattern Abbreviations & Terminology
- ch: Chain
- sl st: Slip Stitch
- sc: Single Crochet
- dc: Double Crochet (also referred to as “long stitch” in the tutorial)
- inc: Increase (two stitches worked in the same stitch)
- dec: Decrease (two stitches worked together)
- st(s): Stitch(es)
- yo: Yarn Over
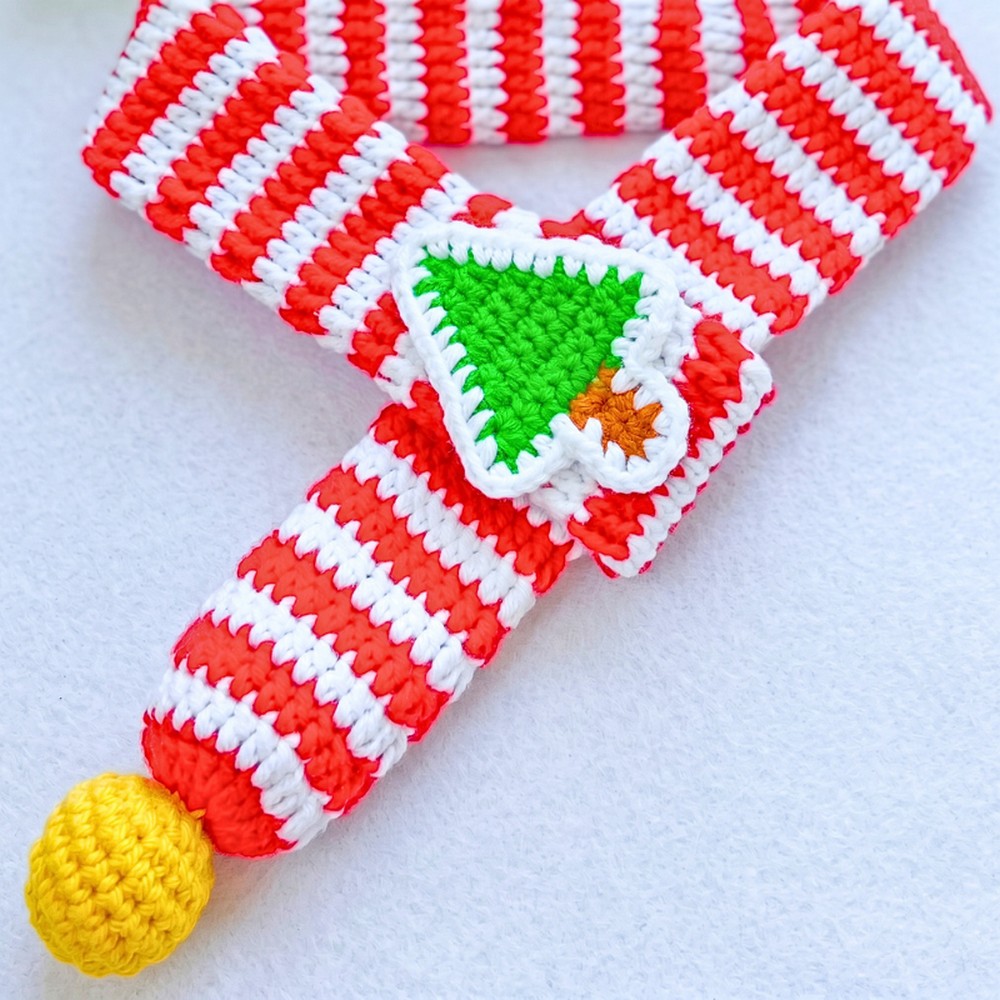
Step-by-Step Detailed Crochet
Part 1: The Scarf Base
- Foundation Ring
- Create a magic ring.
- Pull the thread out of the magic ring to form a slip knot.
- Chain 1 to make a standing stitch (this does not count as a stitch).
- Round 1
- Insert the hook into the ring and yo, pulling a loop through.
- Yo again, pull through two loops to create the first sc.
- Continue creating scs around the ring until you have 6 sc.
- Tighten the loop to close the magic ring.
- Join the round with a sl st into the first sc.
- Round 2
- Chain 2 to stand as the first “long stitch” (dc).
- Work 2 dc in each stitch around (this creates an increase in every stitch).
- You should now have 12 dc.
- Join the round with a sl st.
- Round 3 and Beyond
- Continue in this manner, adding rows of dc. In each new round, insert 1 dc in the current stitch and 2 dc (inc) in the next stitch to gradually expand.
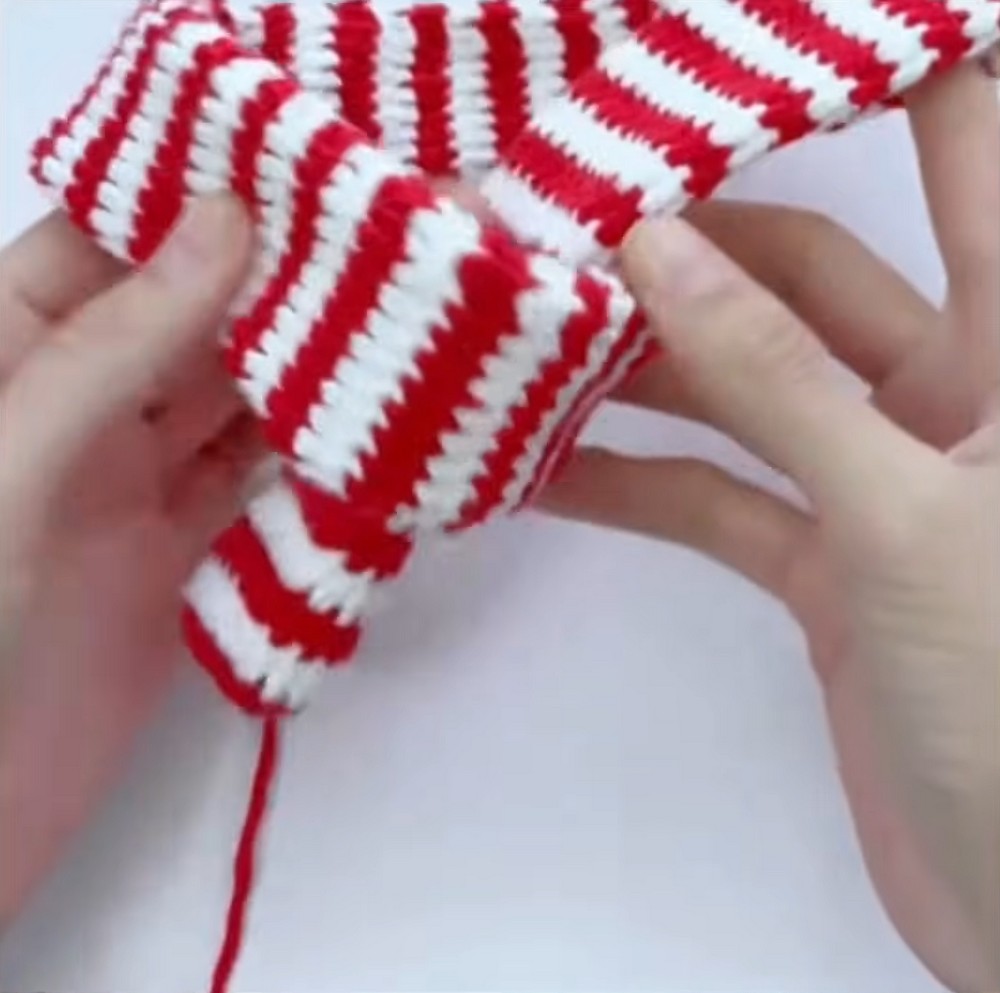
- Alternate color changes (e.g., red to white), leaving a long tail of the previous color to weave in and secure.
- Achieving Final Length
- Crochet 70 rows of dc following the pattern above (or adjust as needed for your desired length).
- Fasten off the yarn, leaving a longer tail for sewing.
- Finishing the Scarf
- Fold the piece so that the ends overlap neatly.
- Sew the ends together at the 6th or 8th row (this will create a slightly tighter seam or leave flexibility based on preference).
- Hide loose threads at the back and weave them into the stitches to secure.
Part 2: Decorative Ball
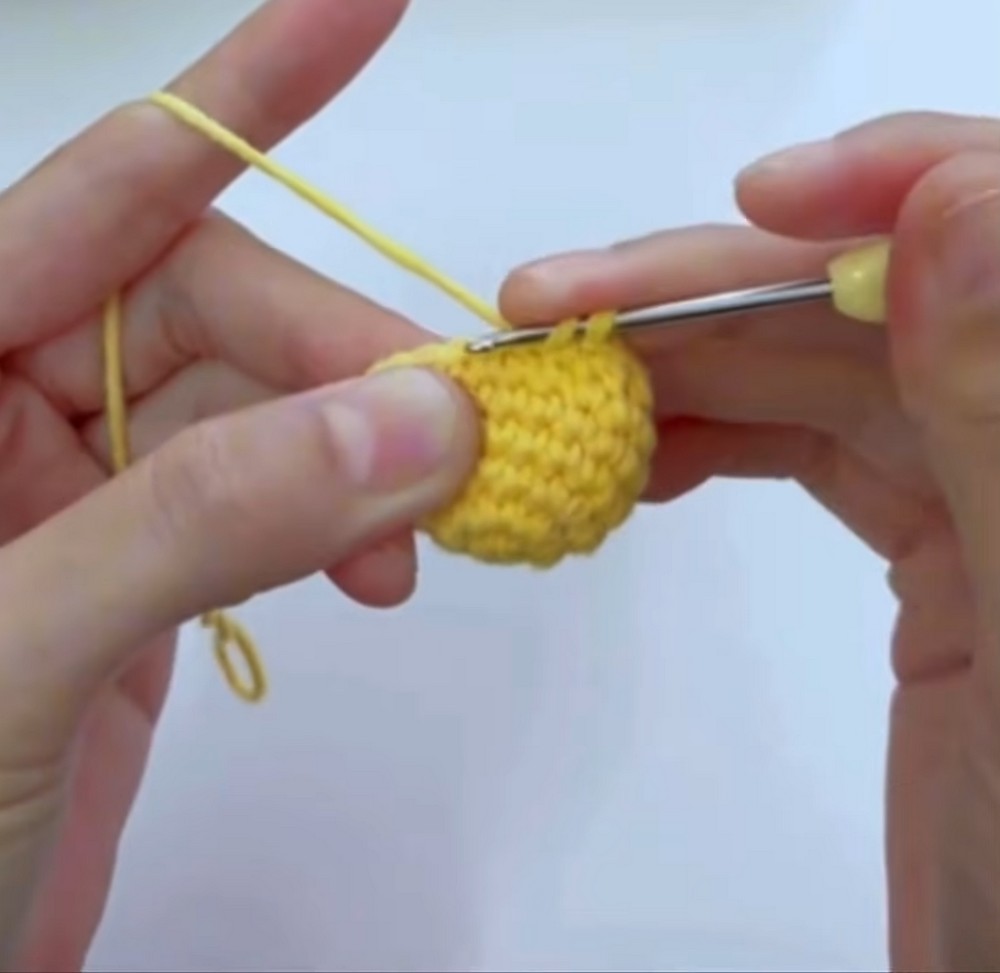
- Start Round
- Create a magic ring.
- Chain 1 for a standing stitch.
- Work 6 sc into the magic ring.
- Tighten the loop and join with a sl st.
- Round 2
- Work 2 sc (inc) in each stitch around — this creates a total of 12 sc.
- Join with a sl st.
- Round 3
- Work 1 sc, inc (repeat this pattern for every stitch) around. You will have 18 sc.
- Rounds 4–6
- Crochet 1 sc into each stitch, for a total of 18 sc per round.
- Join with a sl st at the end of each round.
- Round 7
- Decrease: Crochet 1 sc, dec (work a decrease by combining two stitches into one).
- You will now have 12 sc.
- Round 8
- Continue decreasing: Work dec in every stitch around to reduce the stitch count to 6 sc.
- Fasten off, leaving a long tail of yarn.
- Stuffing and Closing
- Insert stuffing into the ball.
- Using the yarn tail, pick up the front loops of the last row and pull to close the opening tightly.
- Sew the ball securely to the scarf using a tapestry needle.
Part 3: Bow Decoration
- Foundation Start
- Chain 2.
- In the second chain from the hook, work 2 sc in the same stitch.
- Chain 1, turn.
- Increasing Rows
- Repeat these rows: Work 1 inc (2 sc) into the first st, then sc into the following sts as needed.
- Continue incrementally increasing as follows:
- Row 2: 1 inc, 1 sc.
- Row 3: 1 inc, 2 sc.
- Row 4: 1 inc, 3 sc.
- Continue this process until you have reached 10 rows (or desired size).
- Decreasing Rows
- Begin each row with 1 dec (crochet the first two sts together), then work sc into the remaining sts.
- Continue decreasing until the bow tapers to a point.
- Assembly
- Fold the bow to create a loop shape.
- Secure the bow by wrapping yarn tightly around the center and sewing it into place.
Final Assembly & Customization
- Sew the decorative ball onto the loop of the scarf.
- Attach the bow at the top or side of the scarf for extra flair.
- Ensure that all threads are tightly secured and hidden to avoid any small pieces becoming choking hazards for pets.