Free Crochet Skull Motif for Cute and Spooky Halloween Design
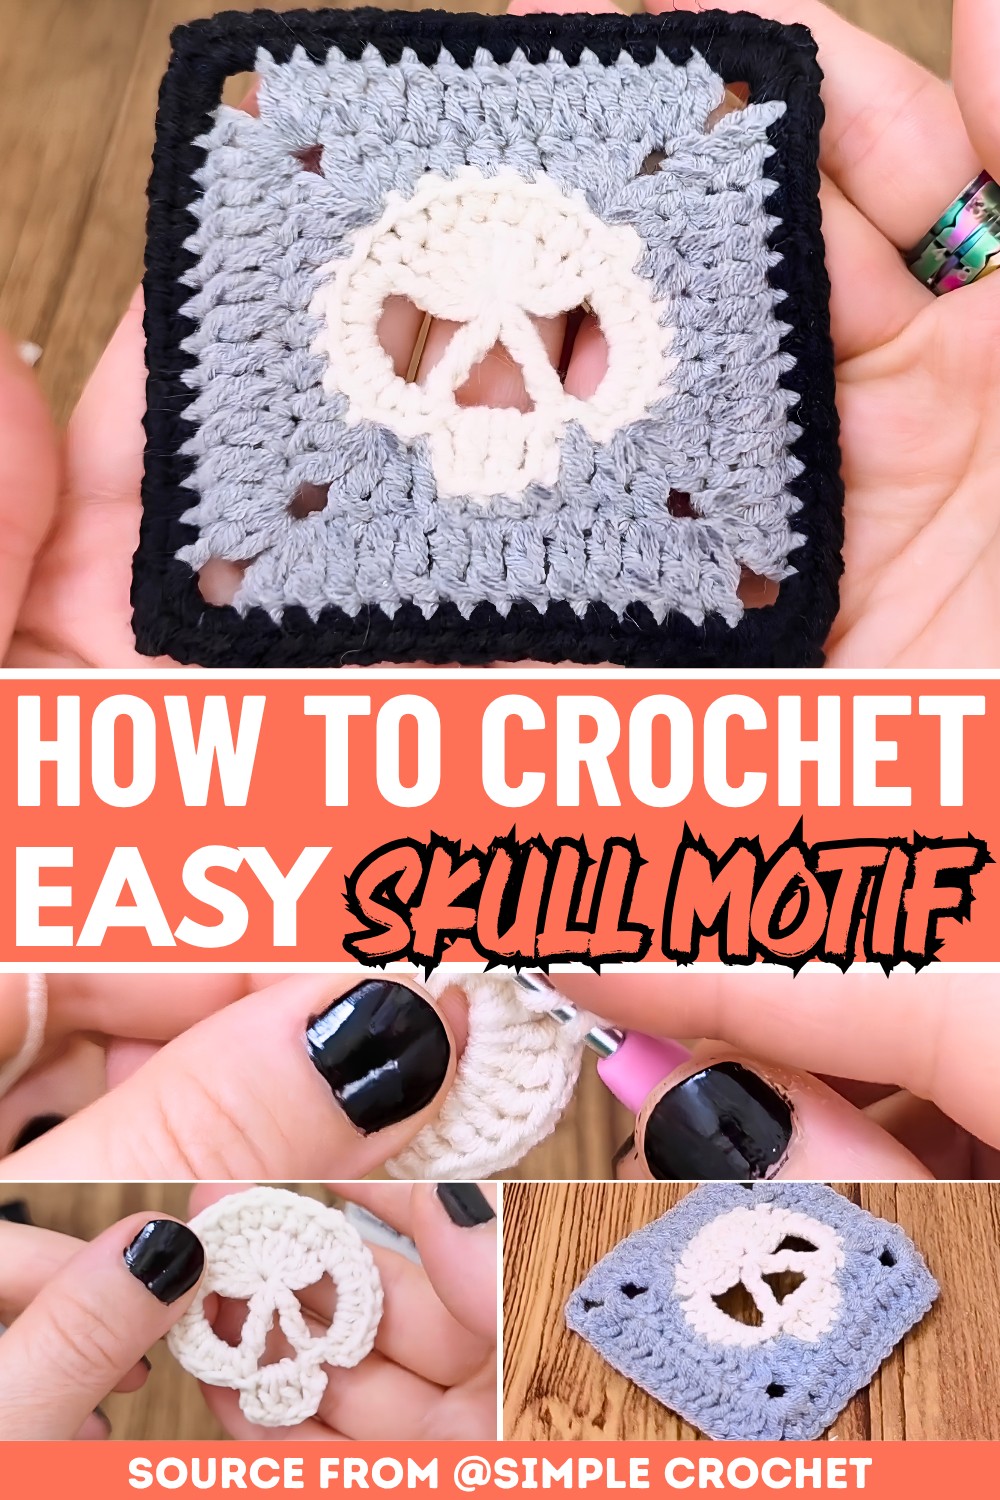
A crochet skull motif is a perfect decoration for Halloween or any quirky projects. It’s a small design with big visual impact, great for patches, coasters, or adding spooky elements to crafts.
How to Crochet a Skull Motif Pattern
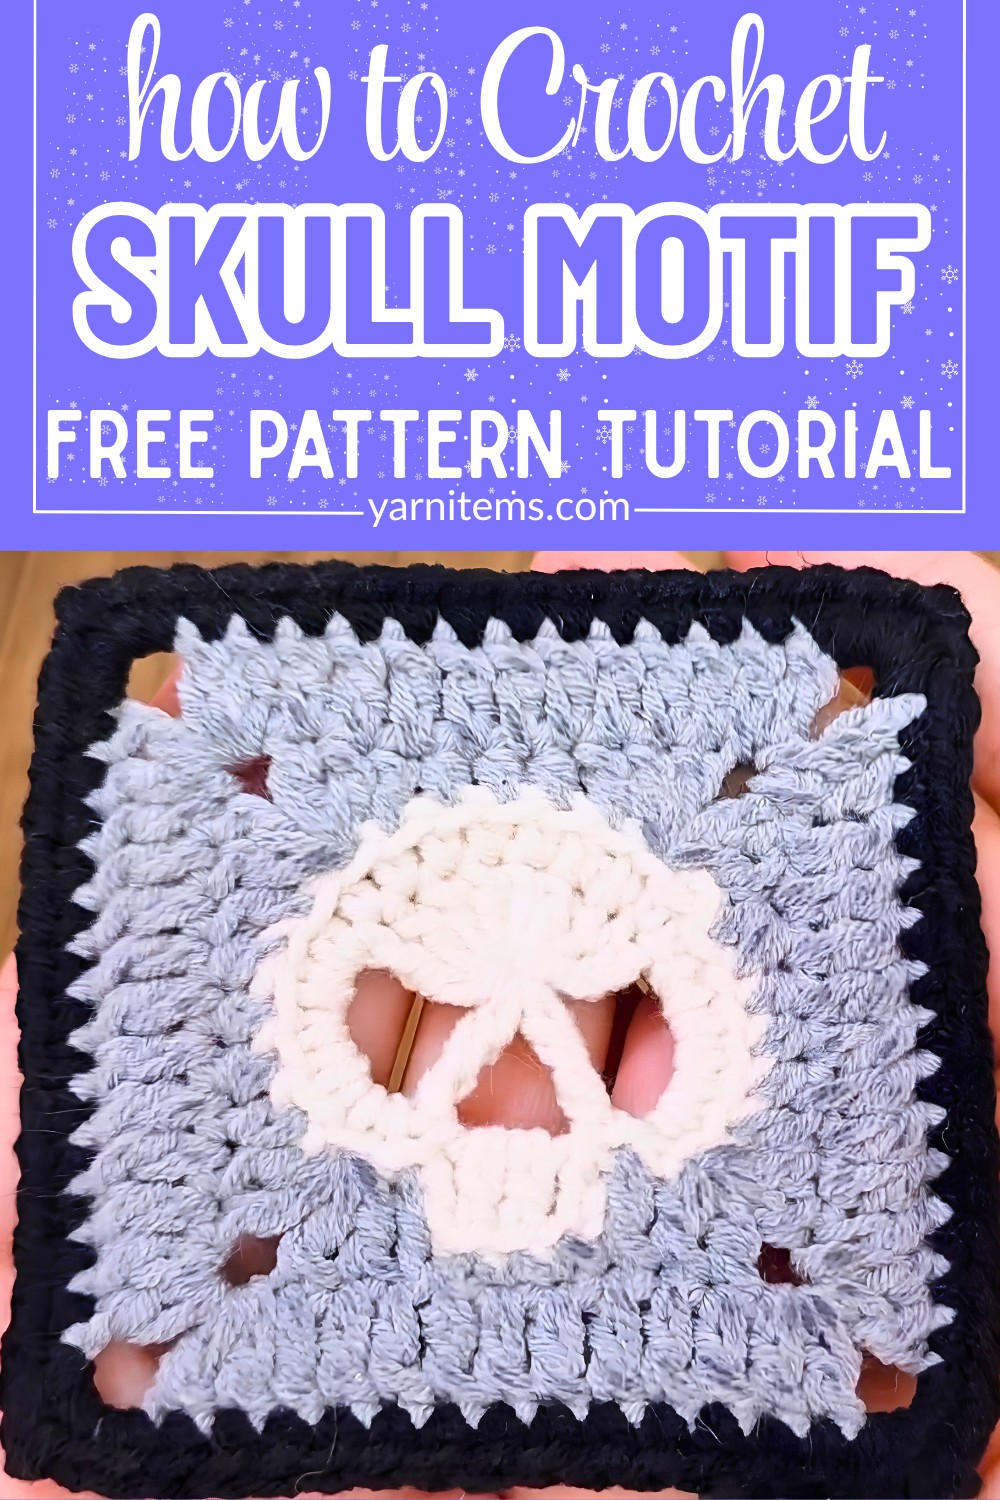
This pattern is adjustable! Make bigger skulls by adding rounds or turn them into squares for decor like coasters or banners. Customize by changing yarn colors to match your style or Halloween vibes.
Add a fun touch by outlining the skull with black yarn for contrast. Neatly steam your piece for a polished look. Turn your motif into Halloween patches, accessories, or unique mini decorations!
Credit Simple Crochet
Materials & Tools Needed
-
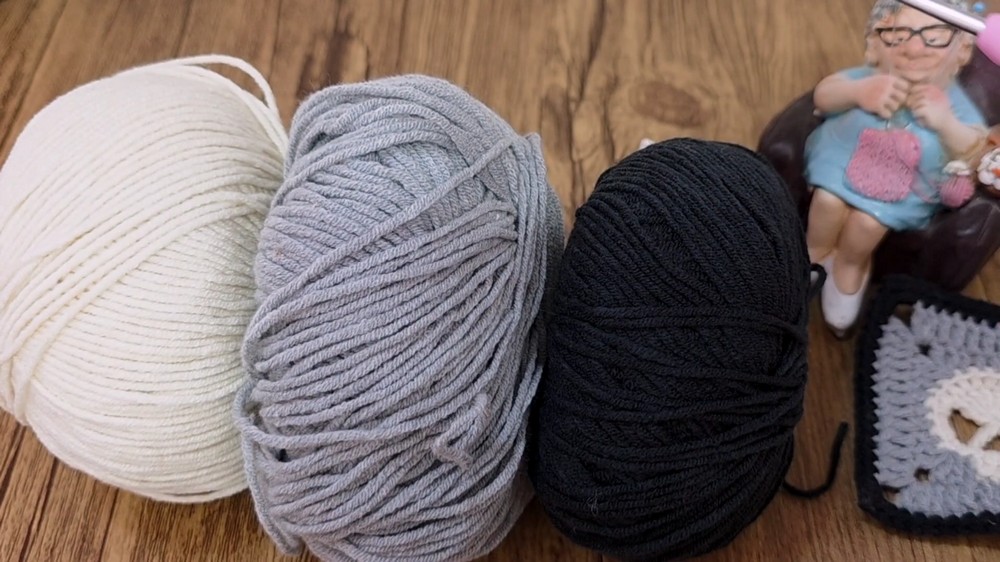
Yarn: Sport weight yarn (the tutorial uses Yarn Art Jeans, a cotton-acrylic blend that provides great stitch definition). You will need three colors:
-
Color A (White/Cream): For the skull motif centerpiece.
-
Color B (Gray/Contrast Color): To turn the skull into a square shape.
-
Color C (Charcoal/Black): For a clean, prominent outer border.
-
-
Crochet Hook: 2.5 mm hook (or a size that matches your chosen yarn to keep stitches tight and neat).
-
Tools: Tapestry needle for a seamless finish and securing tails, scissors, and a steam iron for blocking.
Pattern Construction & Key Features
-
Inside-Out Construction: This motif starts as a round skull centerpiece before transforming into a classic square shape by using different stitch heights (single, half double, and double crochets) to flatten out the curves.
-
Negative Space “Eyes”: The iconic skull eyes are created cleverly in Round 1 using a combination of chain loops, triple crochets, and working in the round.
-
The “Invisible” Edge Finish: Instead of a traditional slip stitch join, the designer uses a tapestry needle to mimic a crochet stitch loop at the end of each color change, eliminating any visible seams.
-
Texture Strategy: To make the skull centerpiece pop visually, the first background row is worked strictly into the back loops and third loops of the skull stitches, creating a raised ridge that defines the skull shape.
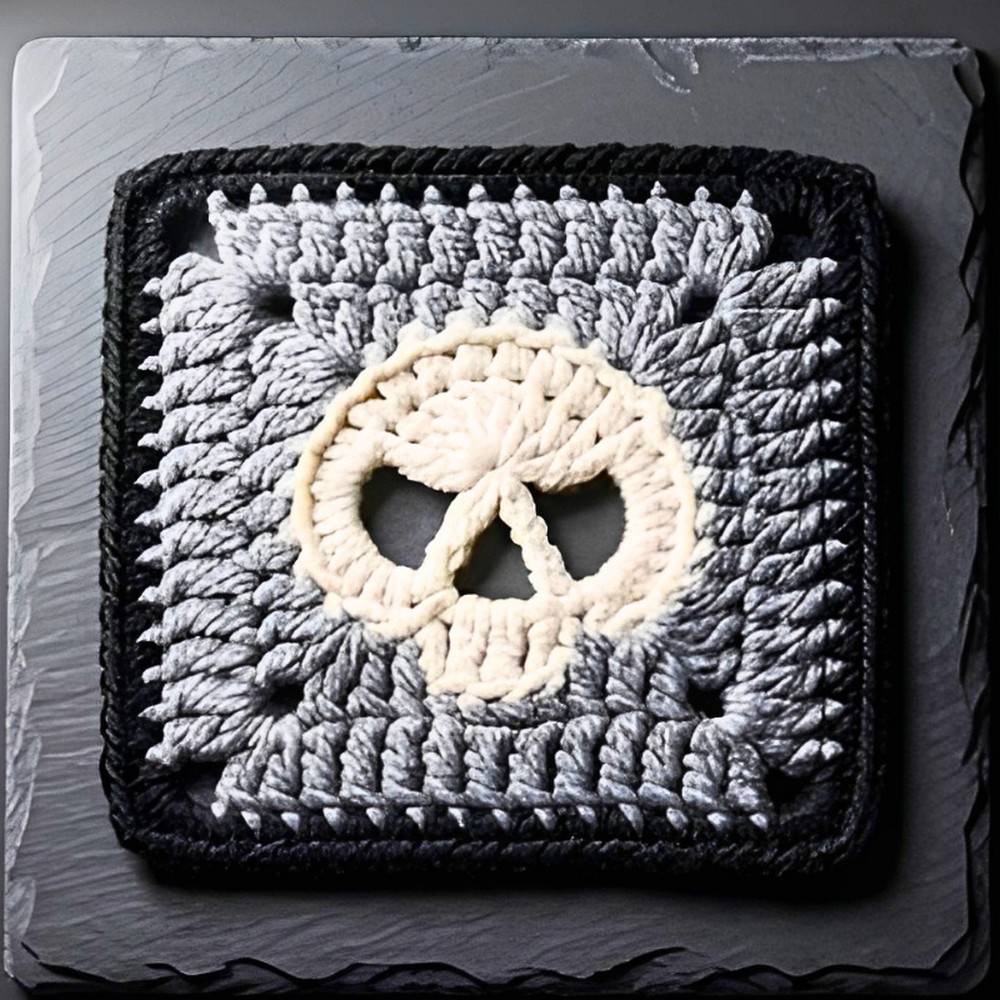
Step-by-Step Pattern (Round Form)
Part 1: The Skull Centerpiece (Color A)
-
Round 1 (The Eyes & Head): Start with a magic ring. Chain 3 (counts as your first double crochet) and place 8 more double crochets into the ring (9 total). Chain 5, make a triple crochet into the ring, chain 3, make another triple crochet, and chain 5. Pull the magic ring tight to close the center hole. Slip stitch into the 3rd chain of your initial chain-3 to finish the round. You will now see the skull shape and two large eye-loops.
-
Round 2 (Shaping the Jaw & Cheeks): Chain 2 (counts as first half double crochet). Work 1 half double crochet into each of the next 8 stitches until you hit the first chain-5 loop. Work 6 half double crochets directly into that chain-5 space. Slip stitch into the middle chain-3 space, chain 3, and work 2 double crochets, chain 3, and slip stitch back into that same space to form the mini teeth/jaw. Move to the next chain-5 space, make a slip stitch, chain 2, and work 5 more half double crochets into that loop. Fasten off using a tapestry needle to create a seamless faux-stitch join over the beginning chain.
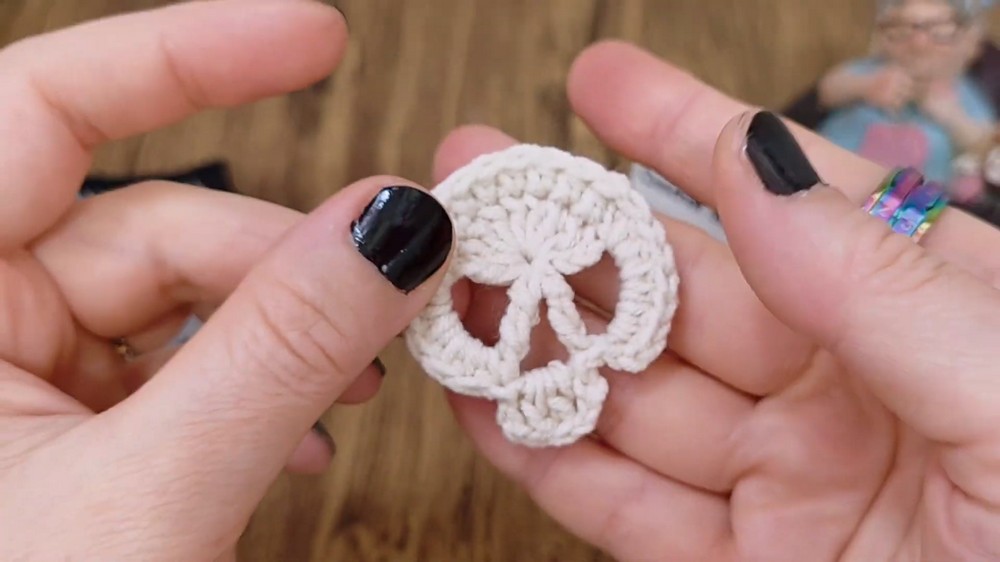
Part 2: Squaring Off the Background (Color B)
-
Round 3 (Turning the Circle into a Square): Attach Color B with a slip knot into the back loop and third loop of your finishing stitch. Working only in the back and third loops to create a dimensional border, build your first corner: Chain 6 (counts as double crochet + chain 3) and place 2 double crochets in the same space.
-
Side 1: 1 double crochet, 3 half double crochets, 1 double crochet.
-
Corner 2: 2 double crochets, chain 3, 2 double crochets all in the next stitch.
-
Side 2: 1 double crochet, 4 half double crochets, 1 double crochet.
-
Corner 3: 2 double crochets, chain 3, 2 double crochets.
-
Side 3 (Bottom/Jaw area): 1 double crochet, skip 3 stitches, 3 single crochets across the bottom of the teeth, 1 double crochet.
-
Corner 4: 2 double crochets, chain 3, 2 double crochets.
-
Side 4: 1 double crochet, 4 half double crochets, 1 double crochet. Finish by putting 1 double crochet back into the very first corner space, and slip stitch to join.
-
-
Round 4 (Expanding the Square): Slip stitch into the corner chain-3 space. Chain 6 (counts as double crochet + chain 2) and make 2 double crochets in the same space. Work 1 double crochet into every stitch down the side. In every corner chain-space, work a standard granny-style corner: 2 double crochets, chain 2, 2 double crochets. Complete the perimeter, slip stitch to join, and fasten off with your needle finish.
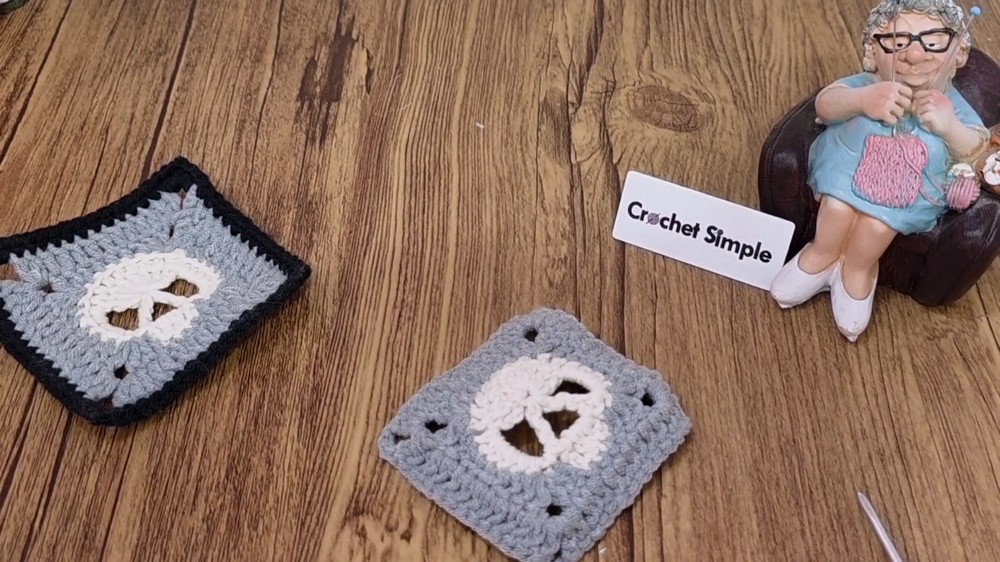
Part 3: The Crisp Outer Border (Color C)
-
Round 5 (Final Single Crochet Frame): Attach Color C to any corner chain-space. Make a single crochet, chain 2, and 2 single crochets in that same space. Work 1 single crochet evenly across every stitch on the sides. In each corner space, work 2 single crochets, chain 2, 2 single crochets. Complete the round, slip stitch to the first stitch, fasten off, and weave in all remaining tails on the back side of your work.
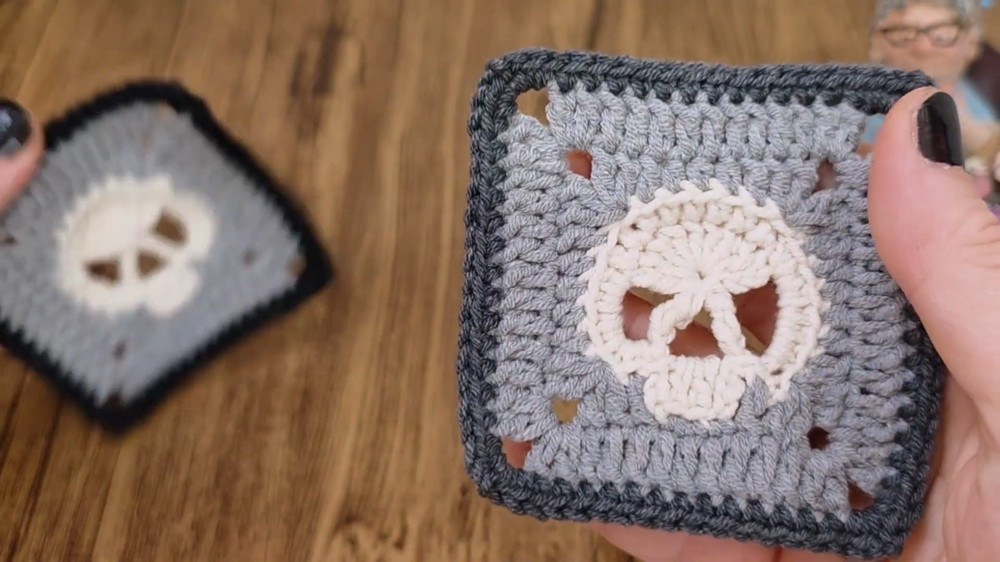
Troubleshooting & Suggestions
-
Fixing Curled Edges (The Steam Trick): Because you are working different stitch heights to square off a round object, the motif will naturally pull and warp slightly when fresh off the hook. Do not panic! This pattern relies heavily on steam blocking. Place your finished motif face down on a flat surface, hover your iron 2–3 cm above the fabric, and release a few heavy bursts of steam. Gently pull and stretch the four corners outward with your fingers to square it up completely.
-
Stitch Consistency in Loops: Round 3 requires working into both the back loop and the third loop (the loop hiding directly behind the back loop). It can feel tight at first. Keep your tension relaxed on Round 2 so your hook can effortlessly glide under both loops, keeping the frame clean and preventing the skull from distorting.
-
Creative Modifications:
-
Spooky Coasters or Garland: Leave the square as-is for a wonderful Halloween coaster! Alternatively, stitch a dozen of these together along a long chain to make a festive mantel banner.
-
Glow-in-the-Dark: Swap out the white cotton yarn for a glow-in-the-dark yarn for the skull centerpiece. The charcoal background will mask the edges perfectly, making the skulls look like they are floating in mid-air when the lights go out!
-