Crochet Flower Granny Square Tote Bag Pattern With Instructions
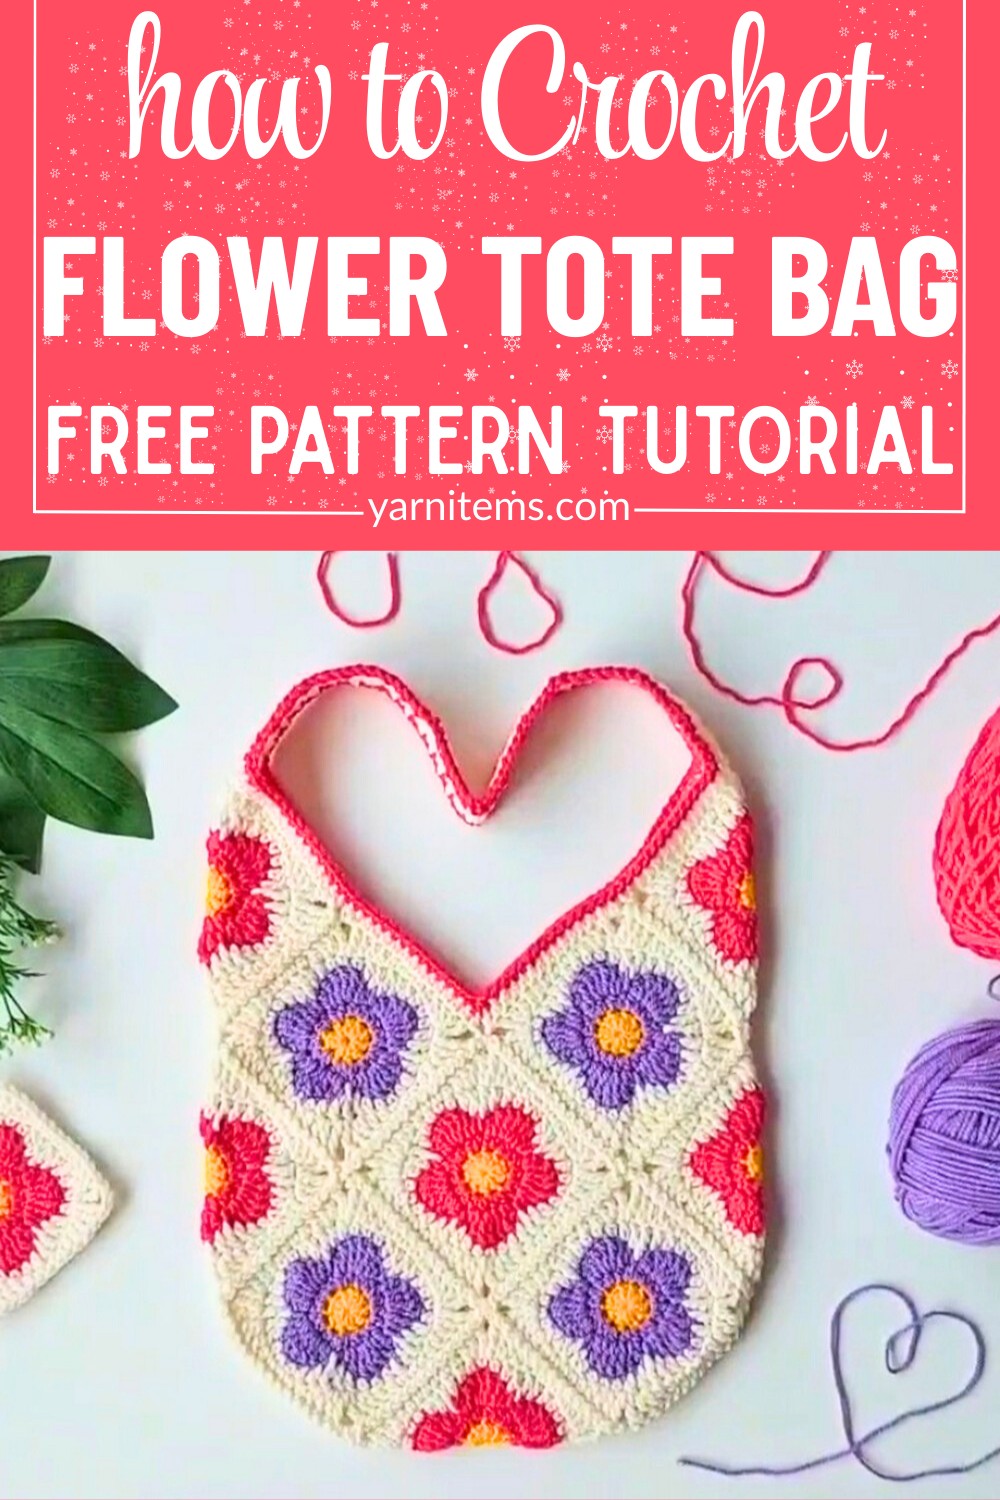
A burst of floral color makes this crochet tote impossible to overlook. The Crochet Flower Granny Square Tote Bag blends eye-catching flower motifs with a practical shape that fits beautifully into everyday life.
Each granny square adds texture and personality, creating a piece that feels both cheerful and timeless. From casual shopping trips to library visits, this handmade item brings charm wherever it goes.
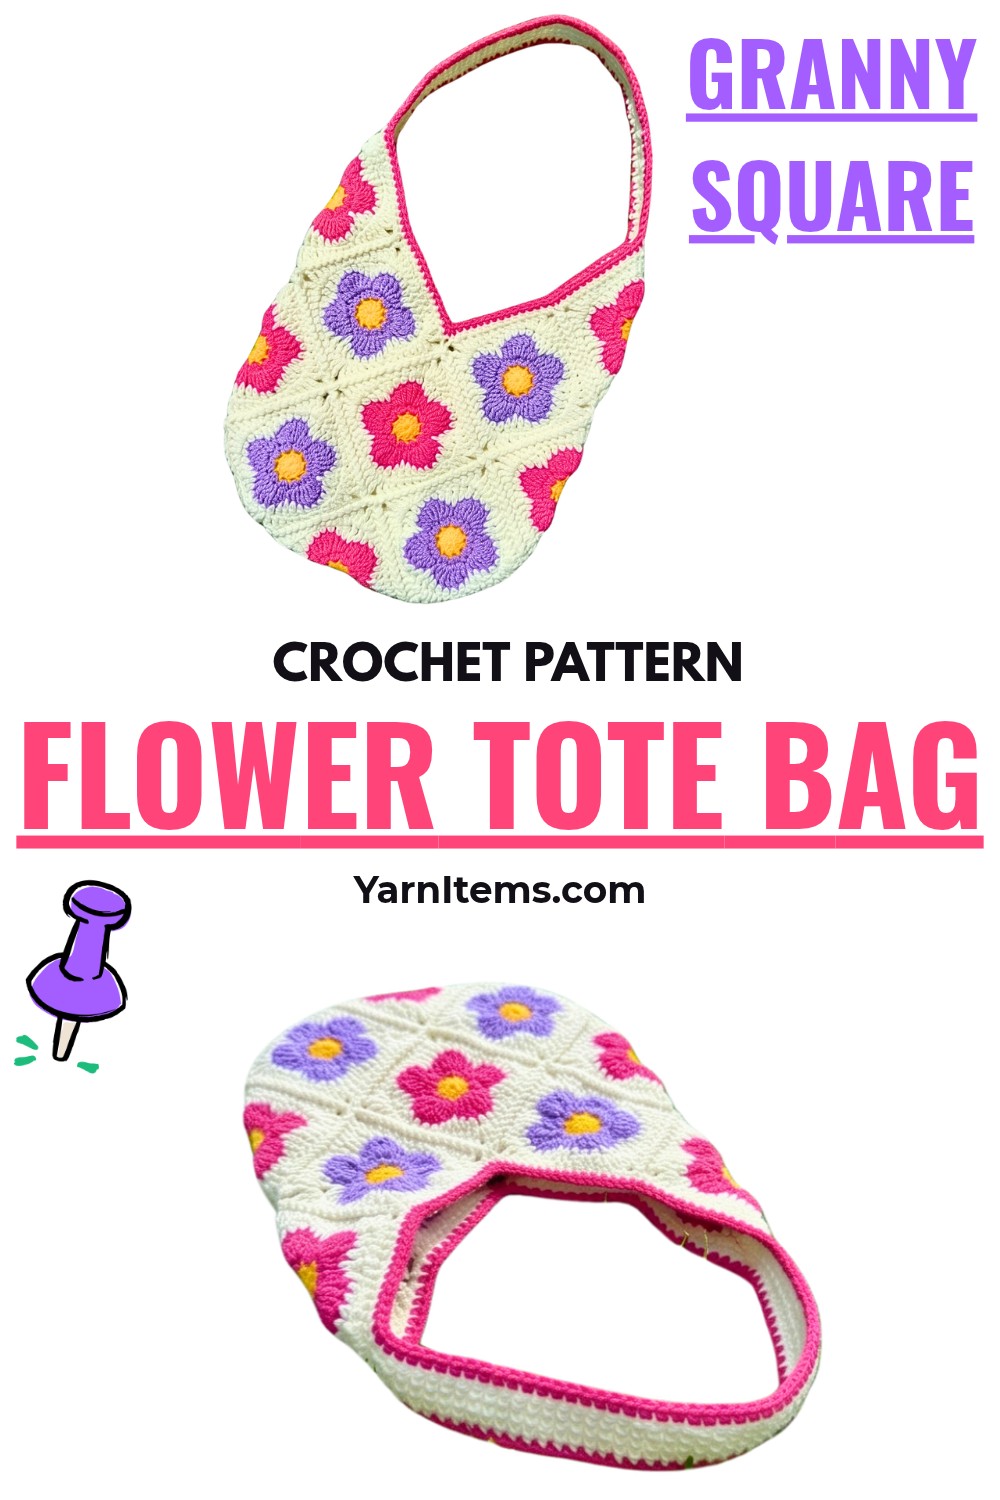
Beautiful details turn an everyday bag into something truly special. This lightweight crochet piece offers plenty of room for daily essentials while folding neatly when not in use.
The floral granny squares give it a fresh, handmade look that stands out without being overdone. Whether you keep it for yourself or create it as a thoughtful gift, this crochet item is a lovely combination of beauty, function, and creativity.
Credit Crochet & Yara
Materials & Tools Needed
- Yarn:
- 100% Acrylic yarn (100g / 241m per skein)
- Off-White / Cream: 1 skein
- Purple / Violet: 0.5 skein
- Hot Pink / Magenta: 0.5 skein
- Yellow: Small amount (for flower centers)
- 100% Acrylic yarn (100g / 241m per skein)
- Crochet Hook: Size 3.5 mm
- Tools:
- Scissors
- Darning/Tapestry Needle
Finished Size & Customization Ideas
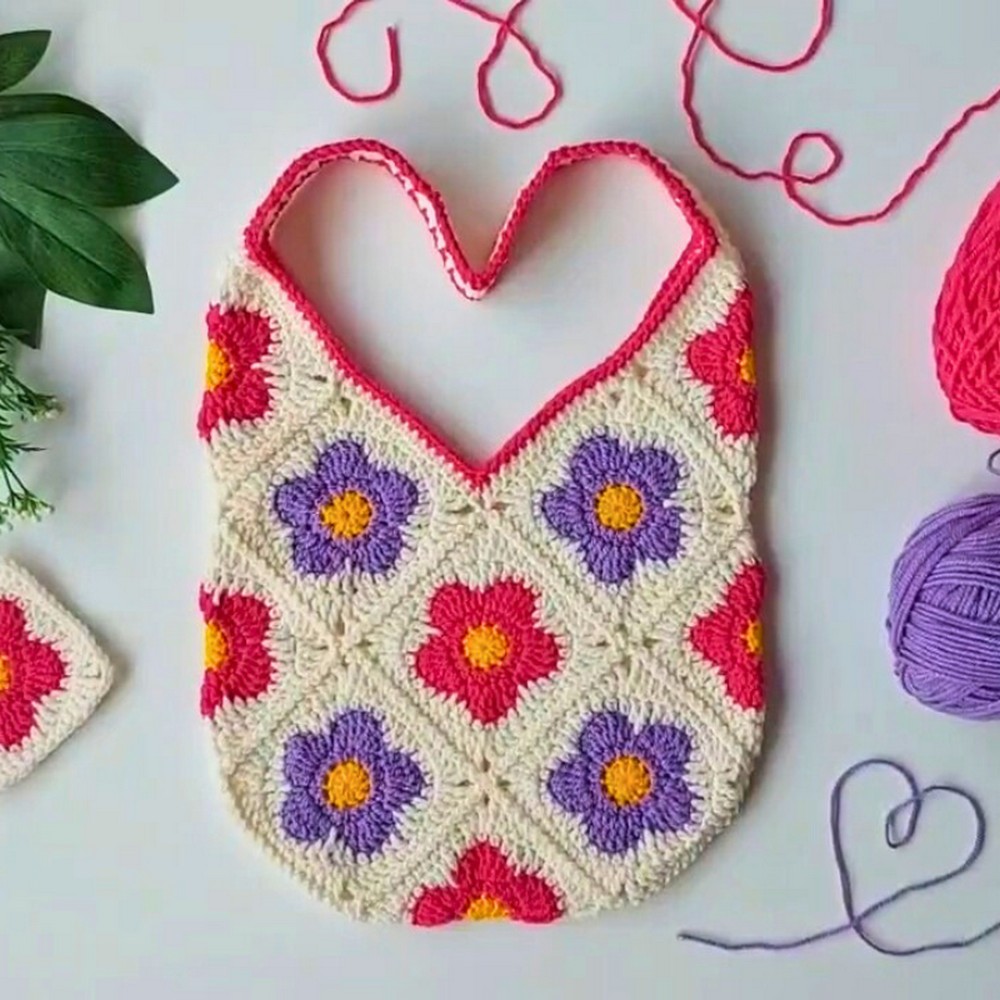
- Total Squares Needed: 15 flower granny squares:
- 7 Hot Pink Flower Squares
- 8 Purple Flower Squares
- Strap Length: Approx. 35 cm (customizable by adjusting rows of Single Crochet stitches).
Customization Ideas:
- Adjust Strap Length: Add or remove Single Crochet rows depending on your preference, such as for a shoulder or crossbody bag.
- Flower Color Options: Use a single color for all flowers or experiment with seasonal color schemes to personalize your bag.
Pattern Note
- Layout: The bag features a 3D assembly of 15 squares.
- Joining Method: Squares are connected using the Zig-Zag Slip Stitch Method.
- Finishing: After completing each major section, fasten off and securely weave in the ends.
Pattern Abbreviations & Terminology (US Terms)
- MR: Magic Ring
- Ch: Chain
- Sl St: Slip Stitch
- Sc: Single Crochet
- Hdc: Half Double Crochet
- Dc: Double Crochet
- Trc / Tc: Treble Crochet
- St(s): Stitch(es)
- Sp: Space
Tips Before You Start
- Consistent Tension:
Maintain even tension across all 15 squares to ensure uniform joining later. - Exact Stitch Counts:
Each square side should have 13 stitches for accurate alignment during the zig-zag slip stitch join. - Weaving Tails:
Weave in yarn tails at each color change as you go to simplify the final assembly process.
Step-by-Step Crochet Instructions
Part 1: Making the Flower Granny Squares (Make 15 Squares)
Round 1: Flower Center (Yellow Yarn)
- Start with a Magic Ring (MR).
- Chain 3 (Ch 3) — counts as the 1st double crochet (Dc).
- Work 9 Dc into the magic ring.
- Pull the MR tight and join with a slip stitch (Sl St) into the top of the Ch-3 (Total: 10 Dc).
- Cut yarn, pull through, and weave in the tail.

Round 2: Petal Base (Hot Pink or Purple)
- Attach color to any stitch with a slip knot.
- Chain 2, then 1 Hdc in the same space.
- Work (2 Hdc in each stitch) across all 10 stitches (Total: 20 Hdc).
- Sl St into the 1st Hdc to join.
Round 3: Petals (Hot Pink or Purple)
- Create petals across 5 repeats:
- In the same stitch: (Dc, Trc).
- Next stitch: 3 Trc.
- Next stitch: (Trc, Dc).
- Next stitch: Sl St.
- Cut yarn, pull through, and hide the tail.
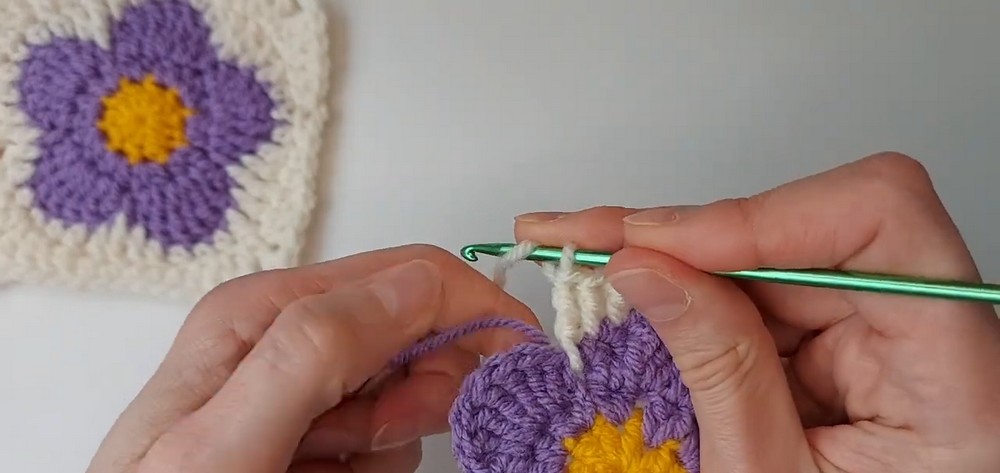
Round 4: Squaring with Cream/Off-White Background
- Attach cream yarn at the middle top stitch of any petal.
- Work Hdc, Dc, Dc, Trc, Dc, Dc, Hdc, Sc along each petal edge across all petals.
- Sl St to the first Ch-1 to join.
Round 5: Final Squaring Round (Cream Yarn)
- Using the cream yarn:
- Corners: Work (Trc, Ch 2, Trc).
- Sides: Work Hdc, Dc, 2 Dc in the same space, Dc, Hdc, Sc.
- Repeat for all four sides; each side should have 13 stitches.

Part 2: Layout & Joining Squares
- Arrange 15 squares (7 Red, 8 Purple) into a diamond tote bag shape.
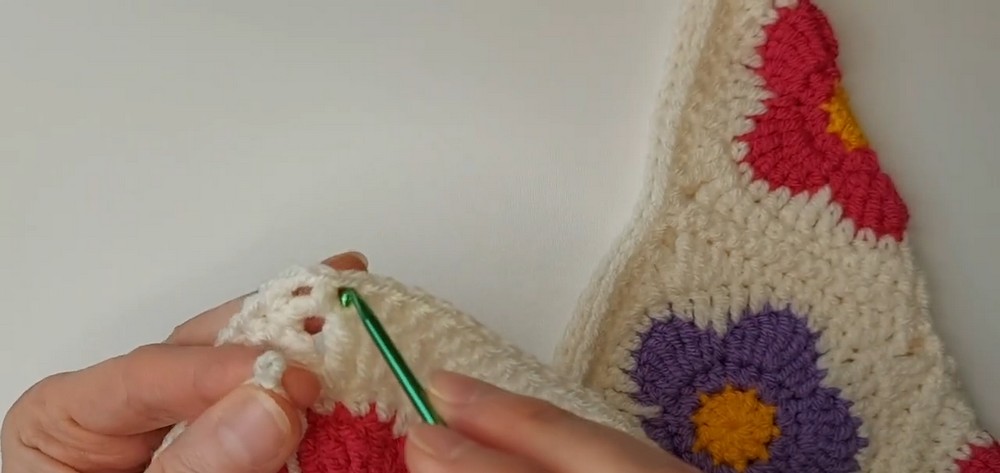
- Zig-Zag Slip Stitch Join:
- Attach the cream yarn and alternate Sl St into corresponding stitches from adjacent squares.
- Join all seams.
Part 3: Bag Edging & Strap
Body Top Edge (1 Row Hdc)
- Attach cream yarn to the upper edge.
- Work Hdc continuously around the entire top opening of the bag.
- Join, fasten off, and weave in ends.

Strap (Cream Yarn)
- Attach cream yarn to a peak corner and work 5 Sc stitches across.
- Continue working Sc rows (Ch 1 turning chains) until the strap is ~35 cm or desired length.
- Attach the strap to the opposite corner with 5 Sc stitches.

Final Assembly
Contrast Border (Hot Pink Yarn)
- Attach pink yarn to the top edge (near a V-corner).
- Work Sc continuously along the top edge and both strap sides.
- Use Sc decreases at inner V-corners for a sharp finish.
- Fasten off, weave in ends.
Conclusion
Your beautiful Crochet Flower Granny Square Tote Bag is ready! Enjoy showcasing your creation or gifting it to someone special.