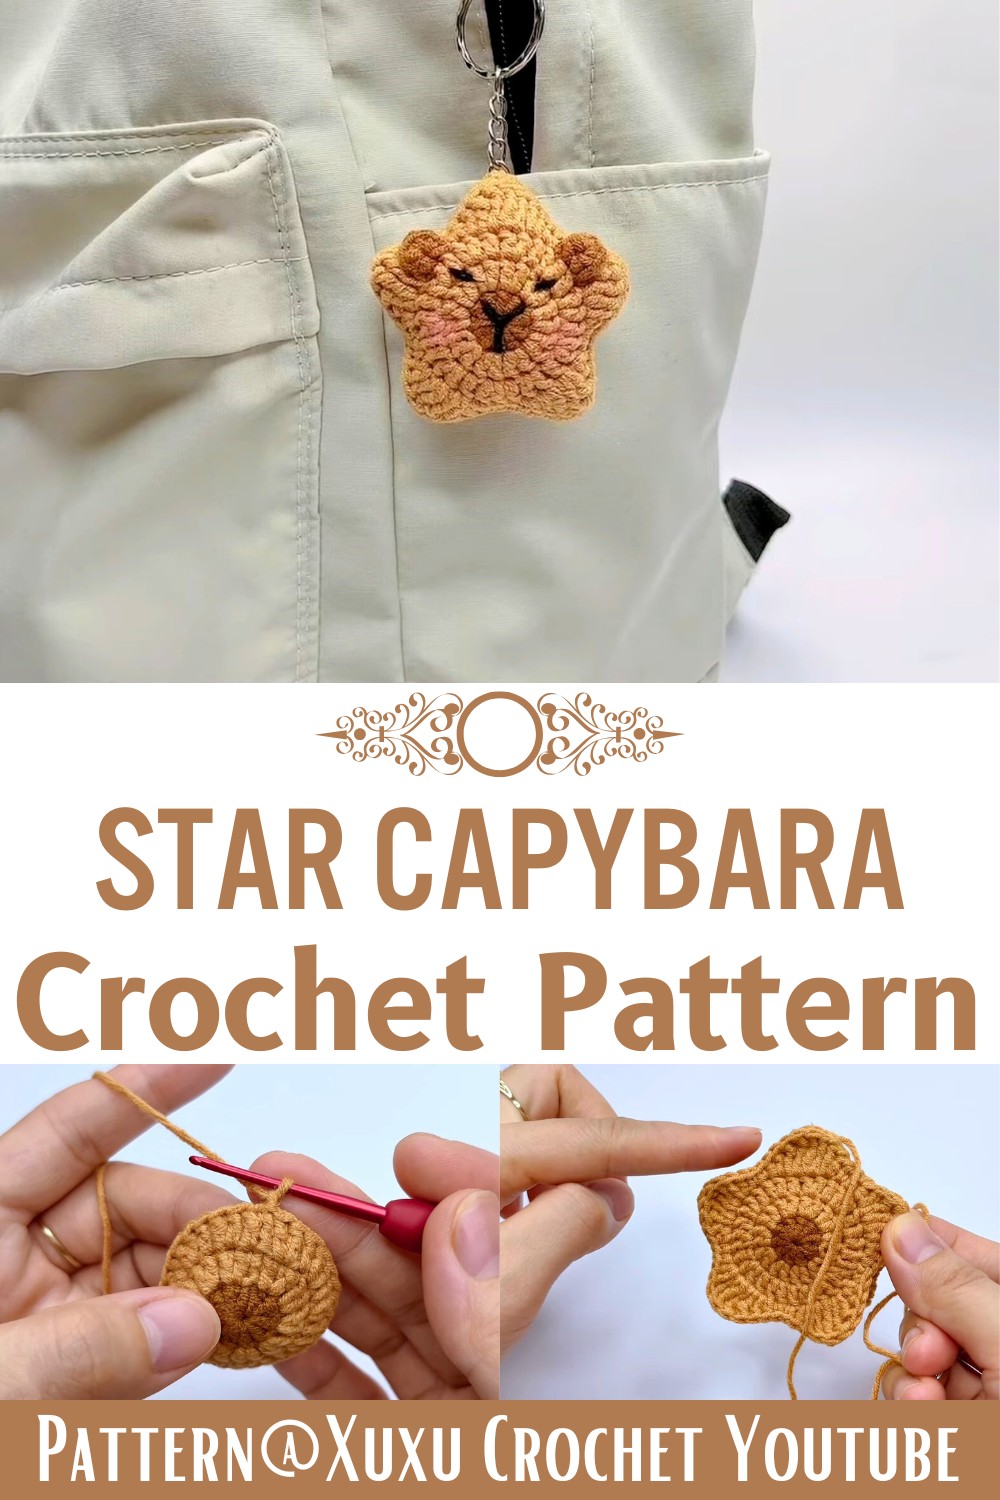
A stylish, crochet capybara keychain adorned with a vibrant star—a fun decorative accessory that combines beginner-friendly techniques with charming, detailed design.

This adorable Crochet Star Capybara Keychain is perfect for anyone who loves cute and playful accessories. It’s shaped like a capybara, a unique and charming animal, and features a cute star design. Small enough to fit in your pocket or backpack, this keychain makes it easy to carry your favorite animal everywhere. Whether as a fun addition to your keys, a bag charm, or a gift for someone special, it’s a bright and cheerful decoration to enjoy daily.
Crochet a Star Capybara
Creating the Crochet Star Capybara Keychain Pattern is simple and fun. Beginners will appreciate its straightforward design without worrying about complicated details. It’s a lovely way to try crochet while making something useful and adorable. Add your favorite colors or customize it for a personal touch; it’s a wonderful way to express your creativity through a small and impactful creation.
Credit Xuxu Crochet
Key Features and Construction
- Two main sections: A textured capybara body and a cheerful crocheted star.
- Classic amigurumi techniques: Work primarily in the round using single crochets, increases, and some decreases for shaping.
- Customization-ready: Create the star and capybara in different colors and sizes.
- Minimal assembly: Simple, secure attachment of key parts (star, ears, nose, and eyes).
- Functional and adorable: Finished as a sturdy and cute keychain.
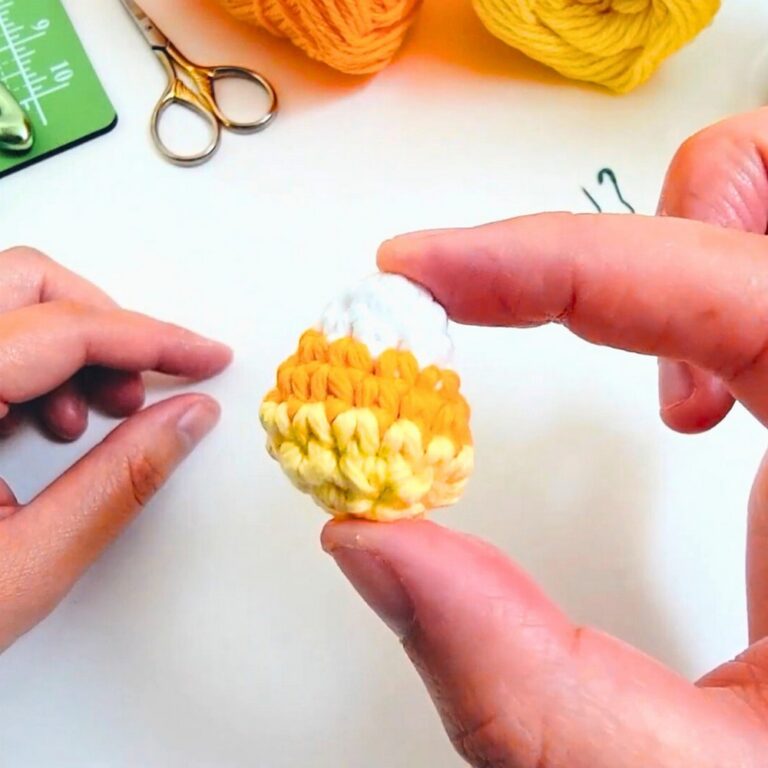
This delightful design begins with crocheting the five-pointed star. Using the magic ring technique as the foundation, you’ll work in single crochet rounds to form an evenly expanding circle. Through consistent increases, the star steadily grows in size, and you have the freedom to stop increasing when you’re happy with its dimensions. The star completes the whimsical design by adding a bright and cheerful contrast against the neutral coloring of the capybara.

For the main capybara body, you’ll once again start with a magic ring—a staple in amigurumi—and work in the round. Increasing evenly, the body takes on its trademark rounded and slightly oblong look. After finishing the desired body width, you’ll stop increasing and simply crochet in single stitches for a few rounds to give the capybara its tubular length. Bring the body to life with a little plush stuffing before moving forward.

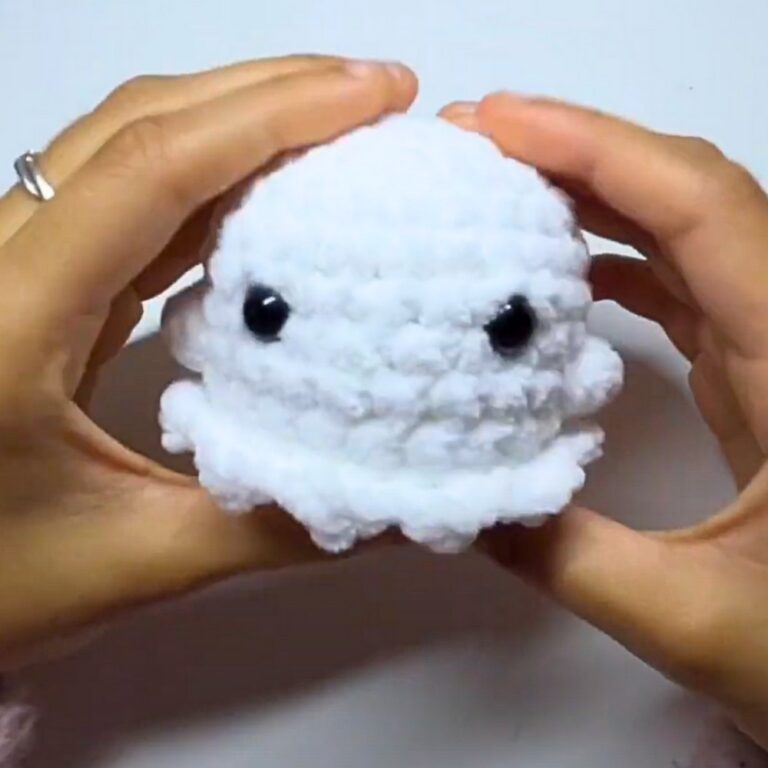
The head is crocheted separately in the same style as the body but with fewer increase rounds to create a smaller, more proportioned shape. Safety eyes are inserted into place before the head is stuffed and attached to the body. This simple step ensures the capybara’s personality shines through, and figuring out the perfect eye placement is half the fun!

Assembly ties the whole design together. The bright star is neatly secured to the top of the capybara’s back using a tapestry needle and yarn. Smaller details like the ears, nose, and other optional features are added next, using minimal yarn and stitching for a smooth finish. Finally, the entire design is transformed into a functional accessory by stitching a loop at the top and attaching your keychain hardware.
Video Tutorial
Step-by-Step Pattern
Materials and Key Techniques
Materials Needed:
- Worsted weight yarn in desired colors (brown, white, and a color for the star)
- Crochet hook size G/4.0mm
- Tapestry needle
- Fiberfill stuffing
- Safety eyes
- Stitch markers
- Scissors
Key Crochet Techniques:
- Chain (ch)
- Slip Stitch (sl st)
- Single Crochet (sc)
- Increase (inc): 2 sc in one stitch
- Decrease (dec): single crochet two stitches together
- Magic ring (mr)

Detailed Pattern
Beginning with the Star:
- Start with a magic ring.
- Round 1: 6 sc in magic ring. (6 st)
- Round 2: Inc in each stitch around. (12 st)
- Round 3: 1 sc, inc around. (18 st)
- Round 4: 2 sc, inc around. (24 st)
- Continue increasing until you reach the desired size for the star.
Creating the Capybara Body:
- With brown yarn, start with a magic ring.
- Round 1: 6 sc in magic ring. (6 st)
- Round 2: Inc in each stitch around. (12 st)
- Round 3: 1 sc, inc around. (18 st)
- Continue increasing similarly until you reach the desired body size.
- Round after reaching size: sc around for several rounds to form the length of the body.
Forming the Head:
- Use the same technique as for the body, but decrease the number of increase rounds.
- Attach safety eyes and stuff the head.
- Attach the head to the body using a tapestry needle and yarn.
Assembly:
- Attach the star to the top of the capybara body.
- Sew on any additional details such as nose and ears.
- Ensure all pieces are securely stitched and the toy is sufficiently stuffed.
Troubleshooting and Suggestions
- Magic Ring Mastery: Struggle with your first stitch in the magic ring? Practice tightening the loop evenly after placing each stitch to help maintain a uniform circle.
- Even Increases: If you notice your star or body taking on a lopsided shape, double-check that increasing happens consistently. Marking the start of each round with a stitch marker can also help.
- Attaching Parts: Securing the star or head to the body can occasionally feel tricky. Use pins to position pieces before sewing them on. Take your time stitching around the edges to avoid gaps.
- Stuffing Tips: Avoid over-stuffing the capybara, as this can stretch or distort the stitches. Add small amounts at a time until you achieve a smooth, firm shape.
- Creative Variations: Try using vibrant colors or multicolored yarn for the star to make it pop! Add a small scarf or bow to give your capybara an extra personal touch. You can also create additional stars in various sizes for a constellation effect.