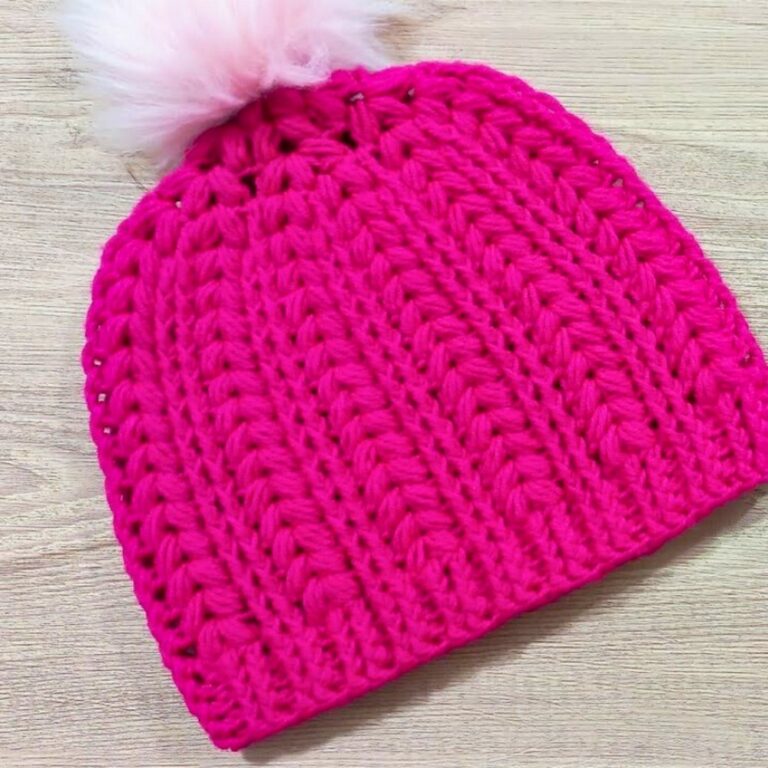
Adult Crochet Beanie Pattern with Puff Stitch Details
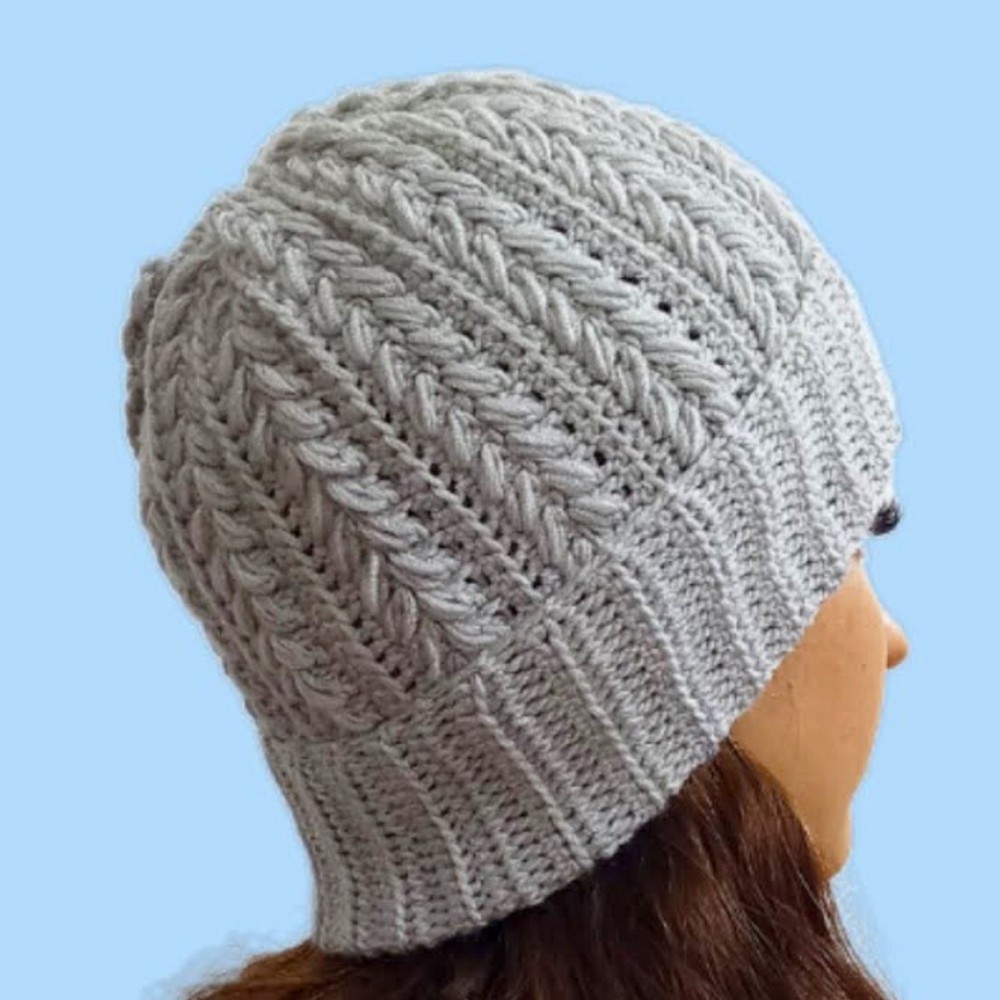
A classic beanie never goes out of style, especially when it’s handmade with beautiful texture and a comfortable fit. This crochet piece combines a folded brim with eye-catching puff stitches to create a warm accessory that feels both modern and timeless.
Made with simple techniques and a 4mm hook, the pattern is easy to follow while producing a polished finish. The result is a cozy item that pairs effortlessly with everyday outfits throughout the colder months.
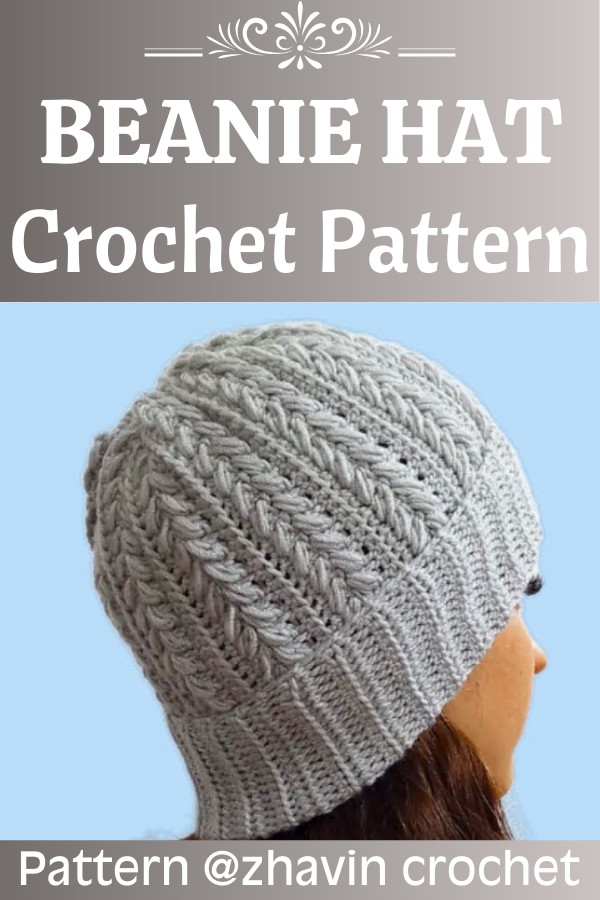
Small stitch details make this crochet piece stand out from ordinary hats without adding unnecessary complexity. The soft fabric stretches comfortably for an adult fit, while the textured body adds depth and a refined handmade look.
Whether you’re making it for yourself or creating a thoughtful gift, the pattern offers an enjoyable experience from beginning to end. The finished crochet item is durable, stylish, and designed to become a favorite part of any wardrobe.
Credit zhavin crochet
Materials & Tools Needed
- Yarn: Lita Baby Yarn, 100g (250m).
- Recommended substitute: Any medium-weight (#3 – Light) yarn.
- Hook: Size 4mm (US G/6) crochet hook.
- Tapestry Needle: For sewing the edges and closing the top of the hat.
Pattern Notes
- The hat is worked flat in rows back and forth, starting with the brim and ending with the closing of the top.
- It consists of repeating a simple 4-row sequence that creates subtle texture: single crochet rows, puff stitch pattern rows, and slip stitch rows.
- The brim is folded once complete, making it double layered for added warmth.
- Customization: To change the size of the hat:
- Height: Increase or decrease the starting chain length.
- Circumference: Adjust the number of row repeats.
Finished Size & Customization Ideas
- Adult Size Hat:
- Height (brim to crown): ~23-24 cm (~9-10″).
- Circumference: 54-56 cm (~21-22″).
- To make for younger children or other sizes, adjust the starting foundation chain for height or the number of rows for a smaller/larger circumference.
Pattern Abbreviations & Terminology
- Ch: Chain
- Sc: Single Crochet
- Sl st: Slip Stitch
- Puff Stitch (Puff):
- Yarn over, insert hook into the stitch, pull up a loop. (3 loops on hook)
- Yarn over, insert hook into the same stitch again, pull up another loop. (5 loops on hook)
- Yarn over, pull through the first 4 loops, then yarn over and pull through the last 2 loops to complete.
- RS/WS: Right Side/Wrong Side
- BL: Back Loop Only (insert the hook into only the back loop of the stitch beneath)
Step-by-Step Crochet Instructions
Section 1: Creating the Flat Panel
- Foundation Chain:
- Start with a slip knot and chain 59. These chains determine the height of the hat.
- The 59 chains are divided into 3 sections:
- First 24 chains: Brim of the hat (folded).
- Next 30 chains: Body of the hat.
- Last 4 chains: Top of the hat.
- Row 1:
- Start working from the second chain from the hook.
- Make 1 single crochet (sc) in each chain until you reach the last 4 chains (total = 54 sc).
- For the last 4 chains, make 1 slip stitch (sl st) in each chain. (4 sl sts)
- Total stitches at end of Row 1 = 58.
- Turn your work.
- Row 2:
- Ch 1 (loosely), turn.
- Make 1 slip stitch into the back loop (BL) only in each of the first 4 stitches. (4 sl sts)
- For the remainder of the row (54 stitches), make 1 sc in the BL only.
- On the last stitch, make 1 sc under both loops (not just BL).
- Turn your work. Total stitches = 58.
- Row 3:
- Ch 1 (tightly), turn.
- Work the stitches as follows:
- Make 1 sc in the first 24 stitches (brim portion):
- For the first stitch: Work under both loops (1 sc).
- For stitches 2-24: Work sc in the back loop only (BL only).
- For the next part (body of the hat, 30 stitches):
- Skip the first stitch. In the next stitch:
- Make 1 sc under both loops.
- Go back into the skipped stitch and make 1 Puff stitch.
- Repeat this sequence (skip 1, sc in the next, Puff in the skipped stitch) 15 times in total (15 Puff stitches).
- Skip the first stitch. In the next stitch:
- For the last 4 stitches (top of the hat): Make 1 sl st into the back loop of each of these stitches (4 sl sts).
- Make 1 sc in the first 24 stitches (brim portion):
- Turn the work.
- Row 4:
- Ch 1, turn.
- Work as follows:
- Begin with sl st into the BL of the first 4 stitches (the top of the hat, 4 sl sts).
- Work the Puff Stitch pattern for the body:
- Skip the first puff stitch, and make 1 sc into the single crochet of the previous row.
- Go back into the skipped puff stitch and make 1 Puff stitch.
- Repeat this sequence (skip 1, sc in the next, Puff in the skipped stitch) for all 15 puff stitches in the body of the hat.
- Work sc in the BL only for the first 24 stitches in the brim section.
- Turn the work.
- Row 5:
- Ch 1, turn.
- Make 1 sc in both loops in the first stitch.
- Continue making sc in the BL only across all stitches except the last 4.
- For the last 4 stitches: Make sl st in the BL only.
- Turn the work.
- Repeat Rows 2–5 until your hat reaches the desired circumference!
- For reference: The tutorial repeated these rows 13 additional times, ending on Row 4. Adjust based on the circumference you need.
Section 2: Joining the Hat
- Joining the Edges:
- Fold the panel lengthwise with the wrong side (WS) facing out.
- Slip stitch the first 24 brim stitches (front loops only) together.
- For the body and top: Slip stitch through 2 loops of the last row and the remaining front loop from the foundation row.
- Fasten Off:
- After completing the join, fasten off and leave a long yarn tail for sewing.
Section 3: Closing the Top of the Hat
- Weaving Through the Top:
- Thread the long yarn tail onto a tapestry needle.
- Weave through the last stitches of each row at the top of the hat.
- Pull the yarn tightly to close the hole completely.
- Secure:
- Secure the gathered top with a few sturdy stitches.
- Weave in the ends on the inside and cut the excess yarn.
Finishing
- Turn the Hat:
- Flip the hat right-side out so the seam is hidden inside.
- Fold the brim up to reveal the neat ribbed texture.
- Optional Embellishments:
- Add a pompom or embellish with designs to make the hat more personalized.
Customization Ideas
- Colors: Use variegated yarns or alternate colors for the brim and body.
- Puffy Designs: Instead of a solid puff stitch pattern, mix with other stitch designs for variety.
- Size Adjustments:
- Adjust starting chains for different heights.
- Add/remove row repeats for different circumferences.