
Crochet Cozy Baby Cardigan Pattern for 12–18 Months
Crochet a soft baby cardigan with simple stitches, delicate edging, and easy sleeve design for a cozy handmade layer sized for 12–18 months.
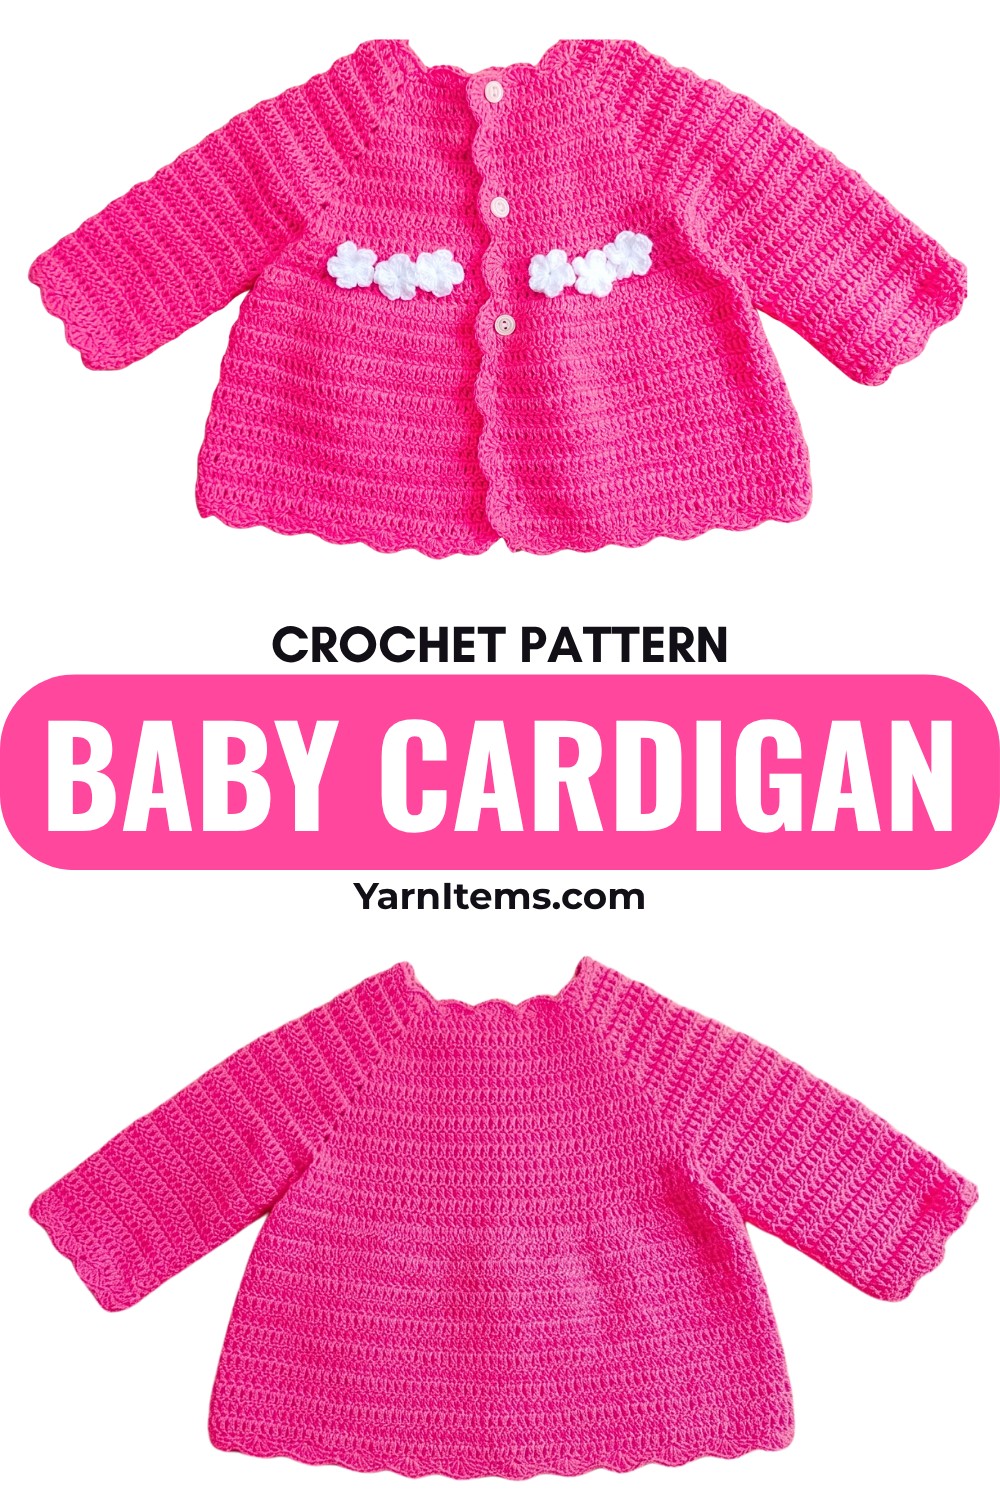
Crochet Cozy Baby Cardigan Pattern
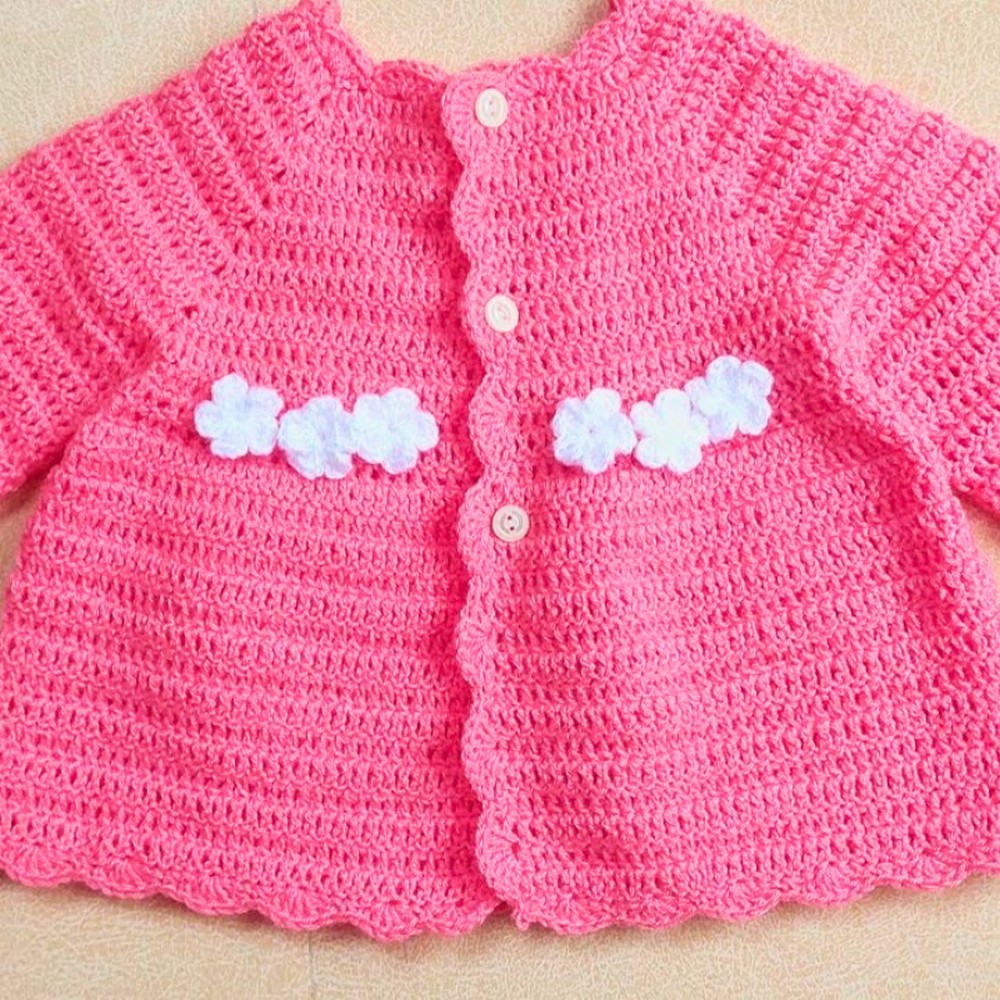
This cozy crochet baby cardigan is a lovely handmade layer for toddlers aged 12-18 months. Made with soft baby yarn and simple crochet stitches, it has a comfortable shape with pretty edging along the bottom, front, neckline, and sleeves. It works well for everyday wear, cool evenings, or as a thoughtful handmade gift.
The main crochet design is worked in sections, with the armholes shaped before the sleeves are added. That makes the armhole placement an important point to check as you work. Once the body is complete, the sleeves are built directly from the armholes, and a simple looped edging gives the cardigan a finished look. You can keep it classic in one color or add small crochet flowers for a more personal touch.
Cre dit Mom’s Crochet & Craft
Materials & Tools Needed
- Yarn: Vardhman Baby Soft Yarn
- A different soft baby yarn of a similar weight can also be used.
- Crochet Hook: 3 mm crochet hook
- Scissors
- Yarn needle: For weaving in ends and finishing seams
- Stitch markers: Optional, but helpful when tracking important stitch placements
Finished Size & Customization Ideas
This cardigan is designed for toddlers aged 12–18 months.
You can customize the design by:
- Using a different yarn weight to experiment with the finished size.
- Choosing a contrasting color for the decorative edging.
- Adding small crochet flowers to the front or sleeves.
- Using two colors for a simple color-blocked effect.
If you change the yarn weight, remember that the finished dimensions and fabric density may also change.
Pattern Abbreviations & Terminology
This pattern uses US crochet terminology.
- ch: Chain
- sc: Single crochet
- dc: Double crochet
- tr: Treble crochet
- sl st: Slip stitch
- st(s): Stitch(es)
- space: A chain-1 or other designated space between stitches
Before You Begin
Because this is a small garment, consistent tension is especially useful. A small difference in stitch height or width can become more noticeable across the front and back sections, so try to keep your stitches even as you work.
It also helps to identify the armhole sections before beginning the shaping row. The skipped stitches create the openings for the sleeves, so keeping those spaces balanced will make the finished cardigan sit more evenly.
Step by Step Instruction
Foundation Chain
- Chain 74.
- Skip the first 3 chains; these count as the first treble crochet.
- Work (1 sc, 1 tr, 1 sc) in the next chain.
- Work 1 sc in each of the next 22 chains for the back-panel section.
- Work (1 sc, 1 tr, 1 sc) in the designated shoulder chain at the indicated intervals.
- Work 1 sc in each of the remaining 11 chains for the other front-panel section.
Check your placement: Before moving ahead, look at the foundation row from both sides. The shoulder sections should be positioned consistently so the front and back areas remain balanced when you shape the armholes.
Rows 2-12: Build the Main Body
For Rows 2–12:
- Chain 1 and turn.
- Work 1 tr in each stitch across.
- Repeat the same construction through Row 12.
As you work these rows, keep the edges as even as possible. If your tension changes significantly, the cardigan may become wider or narrower as the rows build up.
Row 13: Shape the Armholes
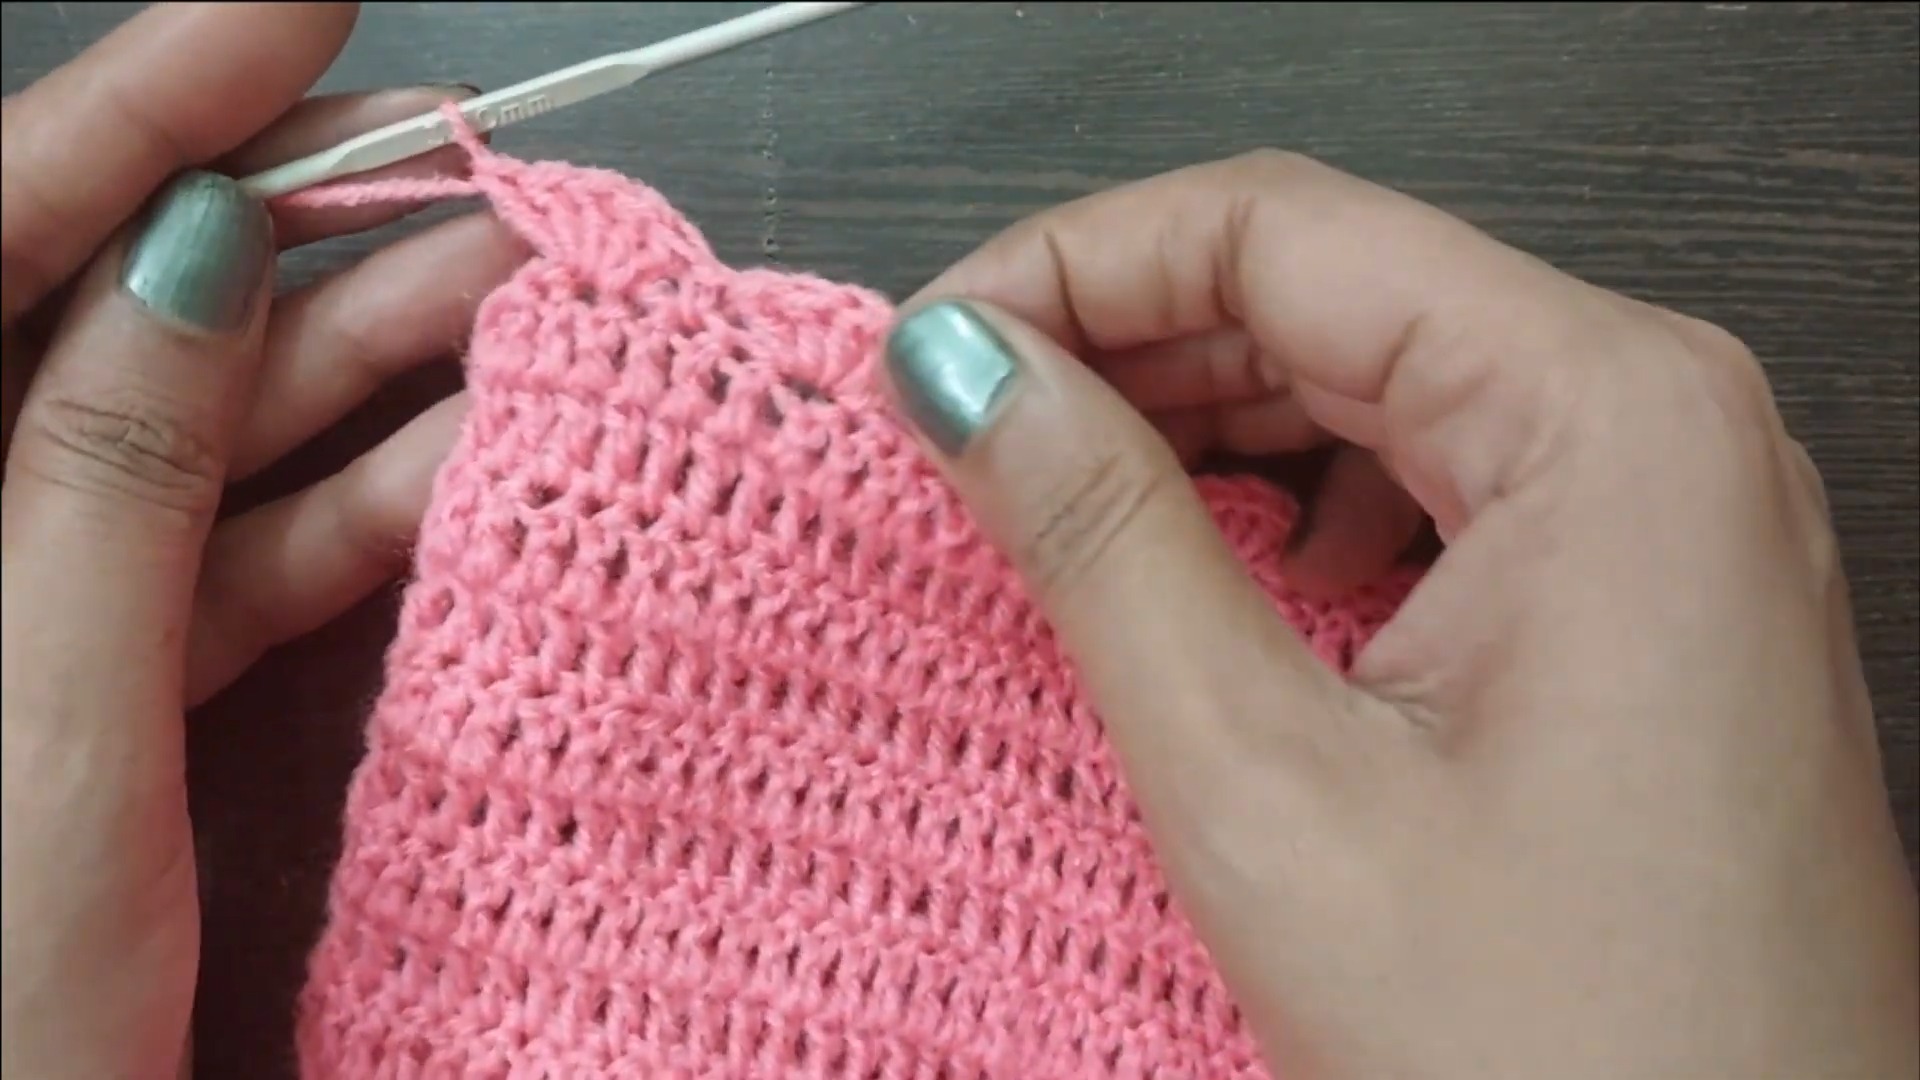
This is the key construction point where the cardigan begins to form its sleeve openings.
- Chain 1 and turn.
- Work 1 dc in each stitch across until you reach the designated armhole area.
- Skip the middle stitches indicated for the armhole opening.
- Continue working dc across the next section according to the pattern.
Armhole Check
Pause after completing the shaping and compare both armhole openings. They should be similar in width and positioned at corresponding points on the cardigan. If one side looks different, it is much easier to correct the stitch placement now than after the sleeves have been attached.
Rows 14-30: Continue the Body
- Continue working 1 dc in each stitch across.
- Repeat until you complete Row 30.
Keep checking the front edges occasionally as you work. A quick flat check can help you notice uneven tension or an accidental change in stitch placement before you begin the decorative finishing.
Row 31: Add the Bottom Edging
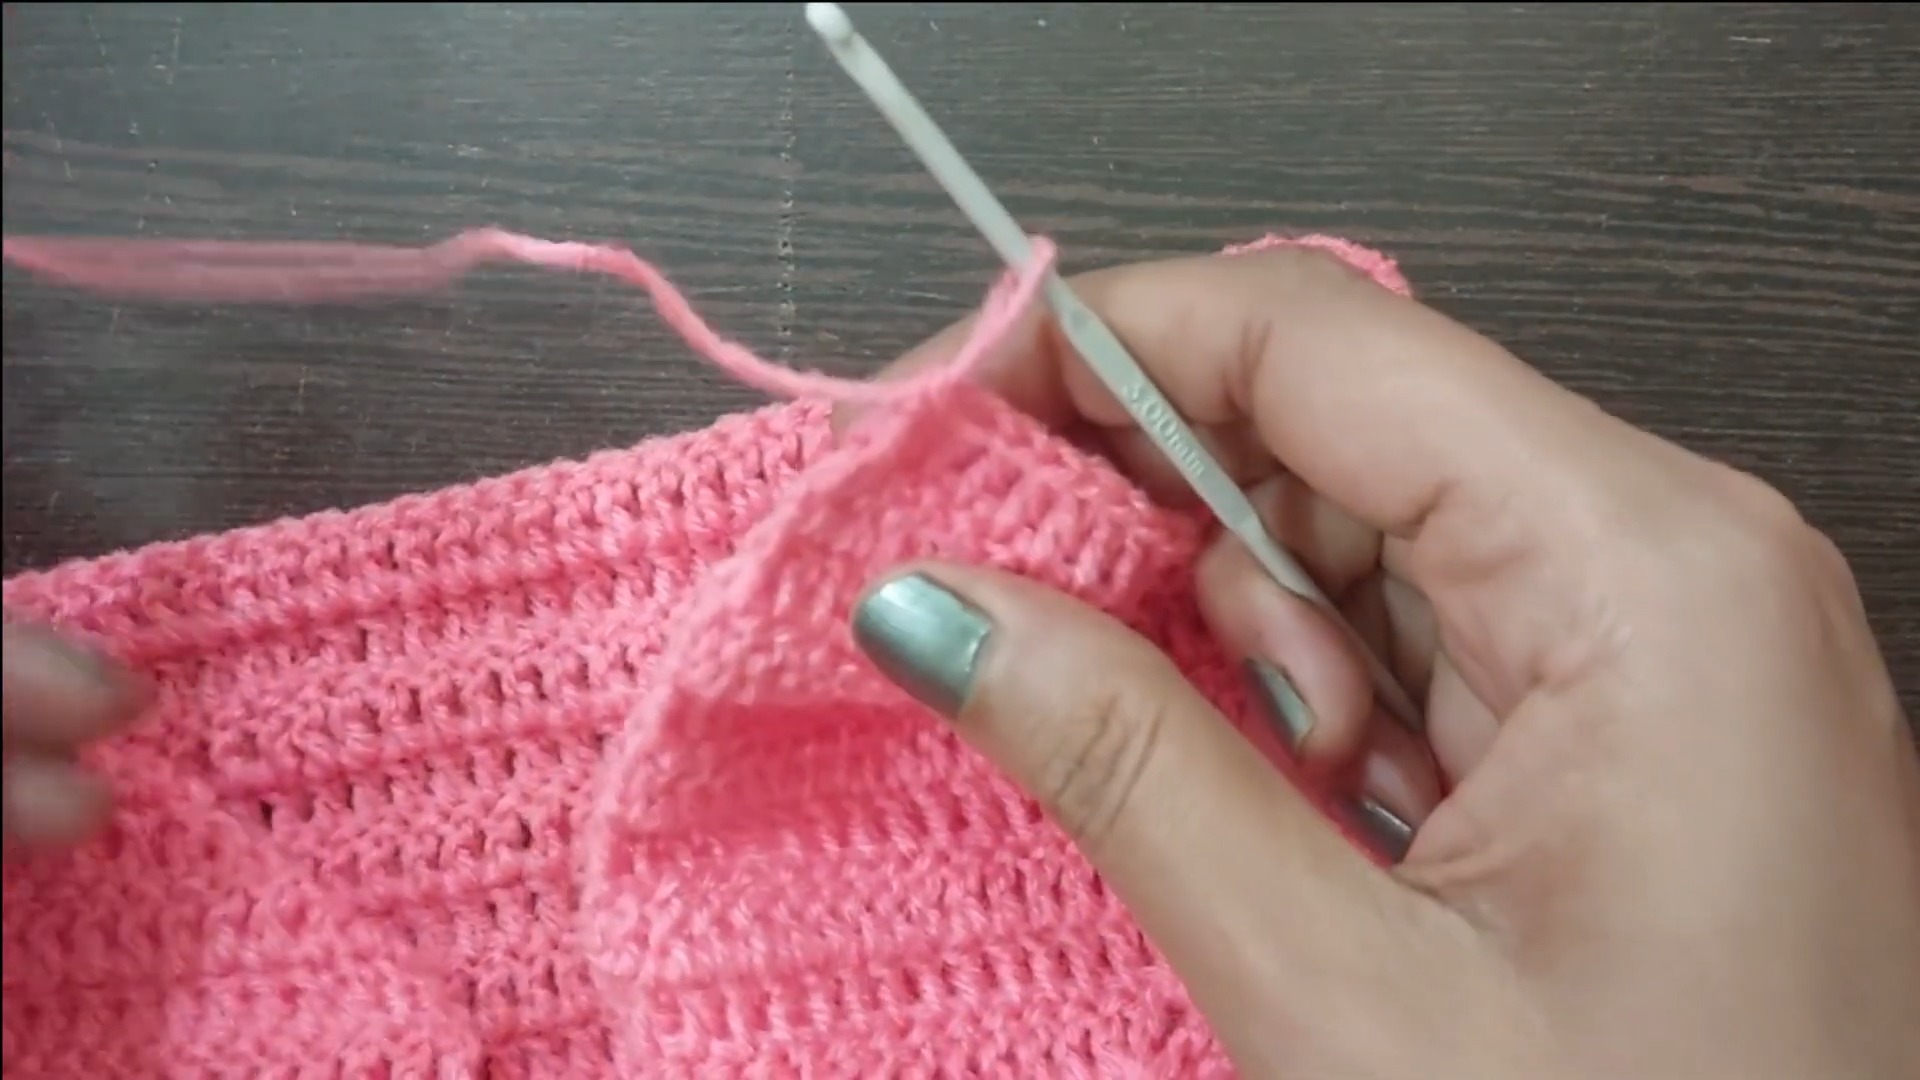
The bottom border uses simple chain loops to create a light decorative finish.
- Chain 1 and turn.
- Work 1 sc across the row.
- Skip 2 stitches.
- Chain 5.
- Work a sc into the 3rd stitch.
- Repeat this edging sequence across the row.
Keep the chain loops fairly even in size. Pulling them too tightly can make the border look crowded, while very loose loops can make the edge appear uneven.
Front Edge & Neckline Finishing
The same decorative idea continues around the front edges and neckline.
- Skip the first row of the front edge.
- Chain 7.
- Skip 1 row.
- Work 1 sc in the next row.
- Repeat the edging pattern until you reach the neckline.
- At the neckline, chain 9 to create the finished edge.
- Repeat the same edging on the opposite front side.
Symmetry check: Before completing the second front edge, compare it with the first side. Matching the spacing and height of the loops will give the cardigan a more polished finish.
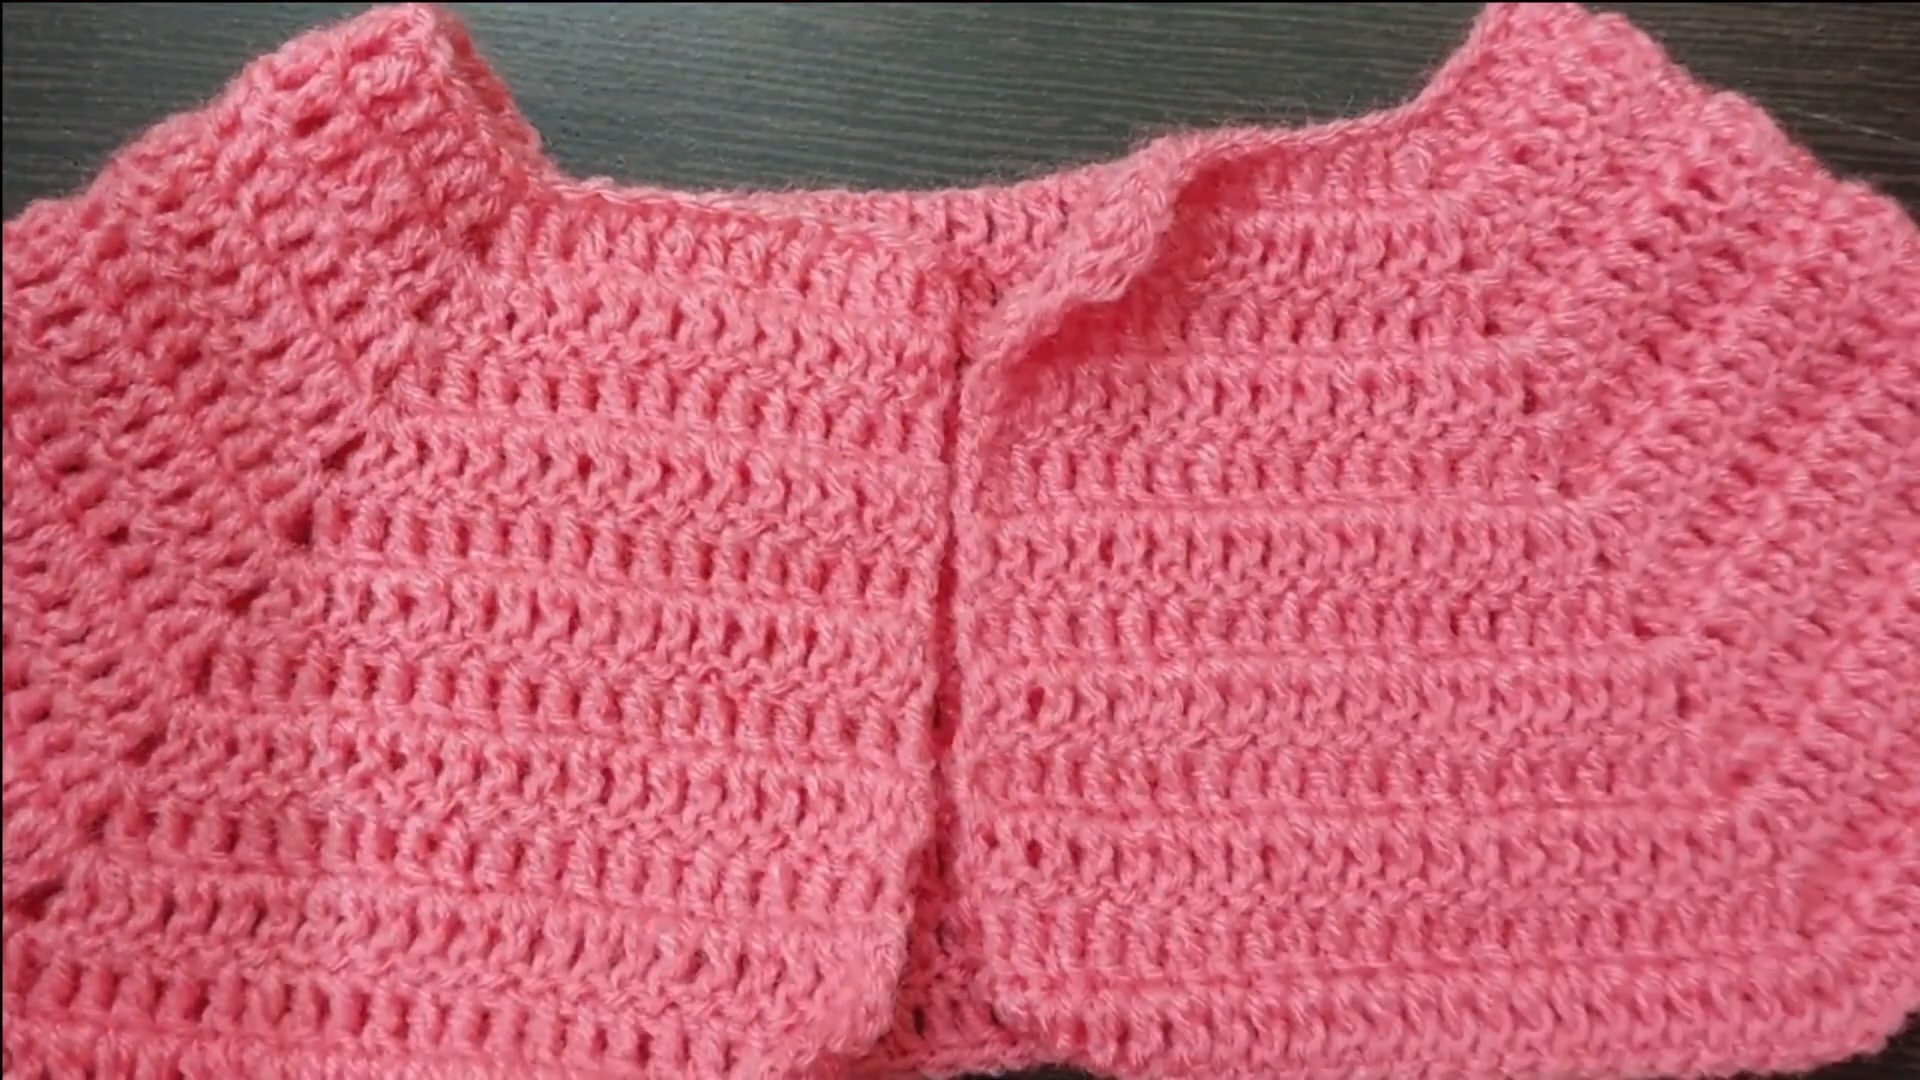
Sleeves
The sleeves are worked from the armhole openings, so this is another point where careful joining matters.
Join the Yarn and Begin the Sleeve
- Attach the yarn at the middle of the armhole using a slip knot.
- Begin with 38 stitches around the armhole.
- Join the first 2 stitches together as indicated.
- Work single crochet across the armhole stitches.
Work Sleeve Rows
For Rows 2–16:
- Chain 1.
- Work 1 sc in each stitch.
- Join the last stitch with a slip stitch.
Continue until Row 16 is complete.
Sleeve Check
After several rounds, lay the sleeve flat and check the joining point. Make sure the sleeve is not twisting around the armhole. If the opening looks twisted at this stage, correct the joining position before continuing.
Sleeve Edging
For Row 17:
- Chain 1 and turn.
- Work 1 sc.
- Skip 2 stitches.
- Chain 5.
- Secure the loop with a sc.
- Repeat the edging pattern around the sleeve.
Repeat the complete sleeve process for the second armhole.
Assembly
Once the cardigan body and sleeves are finished, complete the remaining seams and decorative details.
Seaming
- Use a yarn needle to seam the sides of the cardigan.
- Continue the seams underneath the sleeves.
- Keep the stitches neat and secure.
- Weave in the remaining yarn ends and trim the excess.
Avoid pulling the seams too tightly. A little flexibility in the seam helps the finished cardigan remain comfortable when worn.
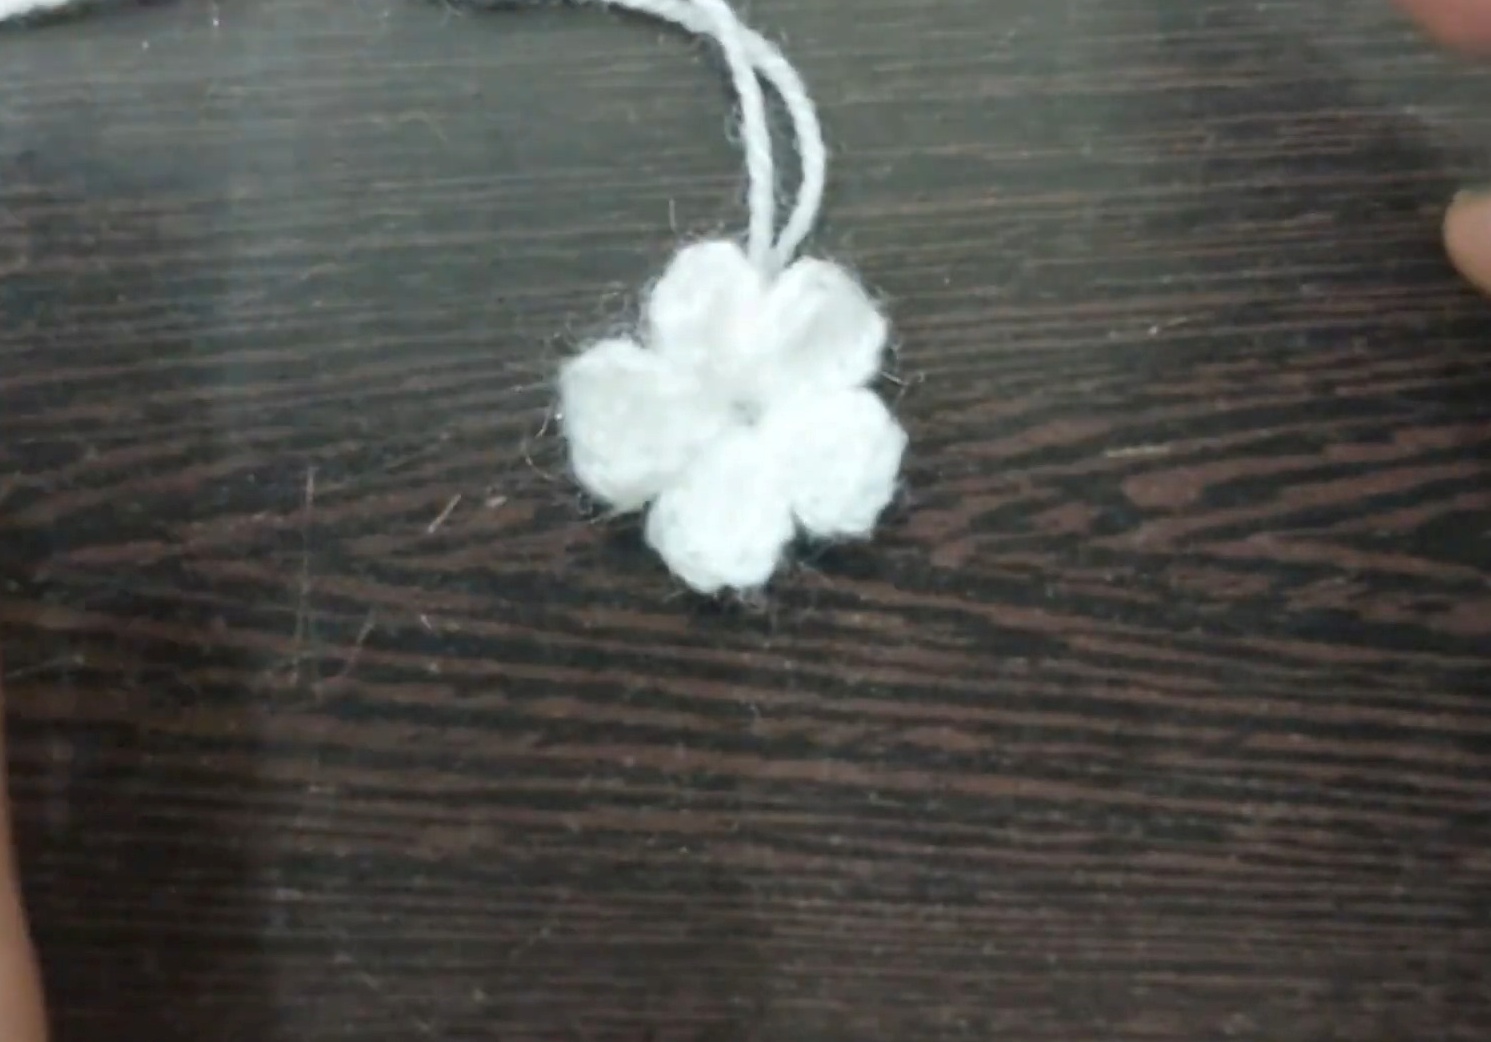
Optional Crochet Flower Embellishment
For a small decorative flower:
- Start with a slip knot and chain 2.
- Work 5 sc into the ring.
- Pull the yarn tight to close the center.
- Secure and weave in the yarn ends.
- Attach the flower securely to the front or sleeve.
You can make one flower or several small flowers, depending on the look you want.
Final Checks
Before calling the cardigan finished, take a moment to check:
- Both armholes are similar in size.
- The sleeves are joined without twisting.
- The front edging has even spacing.
- The neckline looks balanced.
- The side and sleeve seams are secure.
- All yarn ends are woven in neatly.
- Any decorative flowers are firmly attached.
These small checks are especially useful on a baby-sized garment because small differences can be more visible on a compact piece.
Customize the Finished Cardigan
The basic design leaves plenty of room for personal touches. Try a contrasting border, alternate two soft colors, or add small crochet flowers to the front. If you experiment with a different yarn weight, use the finished fabric and measurements as your guide because changing the yarn and hook can alter the final size.
With its simple body construction, shaped armholes, easy single-crochet sleeves, and delicate looped edging, this cardigan makes a practical project for creating a handmade layer for a little one.
Video Tutorial


One Comment