How to Crochet a Lightweight Ruffle Hat – Step-by-Step
A beautifully textured ruffle crochet hat can transform simple stitches into a graceful statement piece with remarkable ease. Its soft, lightweight design creates flowing layers that add movement and elegance without feeling bulky.
The delicate shape makes it comfortable to wear through changing seasons while bringing a stylish touch to everyday outfits. Every detail comes together to create a charming handmade crochet piece that’s both practical and eye-catching.

Gentle ruffles and a comfortable fit make this design a wonderful choice for crocheters who enjoy refined yet wearable accessories. This guide covers the materials, sizing tips, stitch sequence, and finishing details needed to achieve a neat, polished result.
You’ll also discover simple ways to personalize the crochet piece with different textures, colors, and fuller ruffle edges for a look that’s uniquely yours. From shaping the crown to completing the final row, every stage is designed to create a lightweight item you’ll love wearing or gifting.
Credit Mv Crochets
Materials & Tools Needed
- Yarn: Lightweight fine yarn
- Crochet Hook: 1.5 mm (labeled 6 in the video)
- Stitch Marker: Use a pin or any available tool if you don’t have one
- Tape Measure: Necessary for ensuring correct measurements
Finished Size & Customization Ideas
- Finished Size:
- Hat has an approximate diameter of 7 inches when folded.
- Customization Ideas:
- Adjust rows based on measurements rather than stitch counts (especially when using medium, bulky, or super bulky yarn).
- Extend the ruffle rows if you want a fuller or more dramatic look.
Read These Pattern Notes Before Your First Stitch
- Always measure your work for proper sizing, especially if you are using a different yarn weight or hook size.
- Row Counts For Adjustments:
- Stop increases at 6.5 inches for lightweight yarn.
- For smaller hats, aim for 6 inches before stopping your increases.
- Count stitches at the end of each row to avoid errors.
- Avoid working into slip stitches, which are used for joining rows.
Pattern Abbreviations & Terminology
- ch – Chain
- dc – Double Crochet
- sl st – Slip Stitch
- st(s) – Stitch(es)
- Magic Ring – Adjustable circle to begin the hat

Simple Ways to Make This Pattern Uniquely Yours
- Color Changes: Swap yarn colors before beginning the ruffle rows for contrast.
- Texture Variation: Use alternative stitches (e.g., half double crochet or puff stitches) for unique texture.
- Additional Rows: Add more rows of single crochet or double crochet to increase hat length.
Step-by-Step Detailed Crochet Instructions
Beginning Rows: Crown of the Hat
- Row 1 (Magic Ring & First Round):
- Create a magic ring by wrapping the yarn around your finger.
- Pull yarn through with your hook.
- Chain 2 and work 12 dc inside the ring.
- Pull the tail to tighten and close the ring.
- Join with a sl st in the first dc of the row.
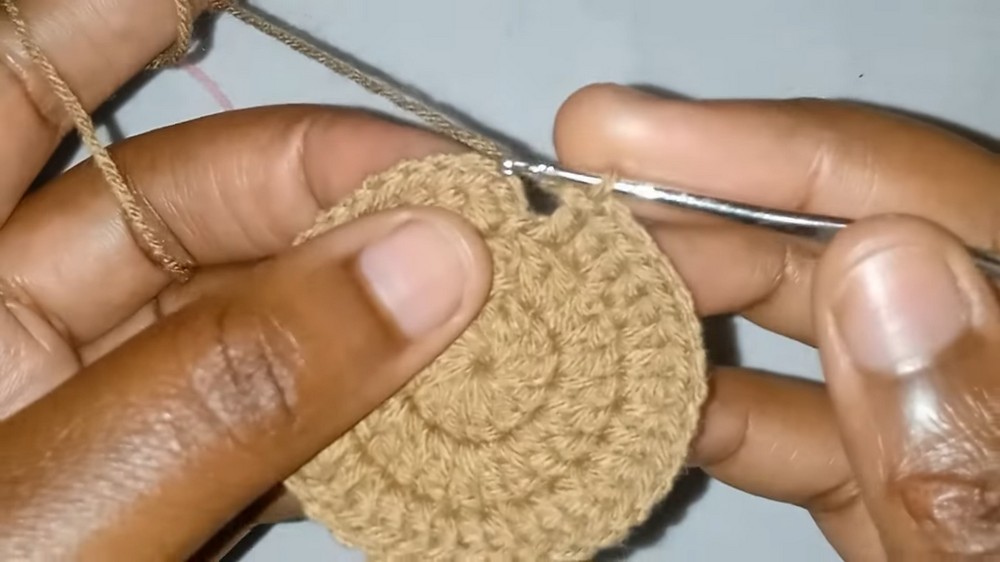
- Row 2 (Increase):
- Chain 2.
- Work 2 dc in the same stitch as the sl st.
- Continue working 2 dc in each stitch around (24 dc total).
- Join with a sl st in the first dc. Use stitch markers to identify slip stitches.
- Row 3:
- Chain 2.
- Work 2 dc in the same stitch as the sl st, followed by 1 dc in the next stitch.
- Repeat: (2 dc, 1 dc) around. (36 dc total).
- Join with a sl st in the first dc.
- Row 4:
- Chain 2.
- Work 2 dc in the same stitch as the sl st, followed by 1 dc in the next 2 sts.
- Repeat: (2 dc, 1 dc, 1 dc) around. (48 dc total).
- Join with a sl st in the first dc.
- Row 5:
- Chain 2.
- Work 2 dc in the same stitch as the sl st, followed by 1 dc in the next 3 sts.
- Repeat: (2 dc, 1 dc, 1 dc, 1 dc) around. (60 dc total).
- Join with a sl st in the first dc.
- Continue Increasing (Rows 6–11):
- Follow the pattern below for increasing:
- Row 6: (2 dc, 1 dc in next 4 sts) – 72 dc
- Row 7: (2 dc, 1 dc in next 5 sts) – 84 dc
- Row 8: (2 dc, 1 dc in next 6 sts) – 96 dc
- Row 9: (2 dc, 1 dc in next 7 sts) – 108 dc
- Row 10: (2 dc, 1 dc in next 8 sts) – 120 dc
- Row 11: (2 dc, 1 dc in next 9 sts) – 132 dc
- Follow the pattern below for increasing:

Body of the Hat:
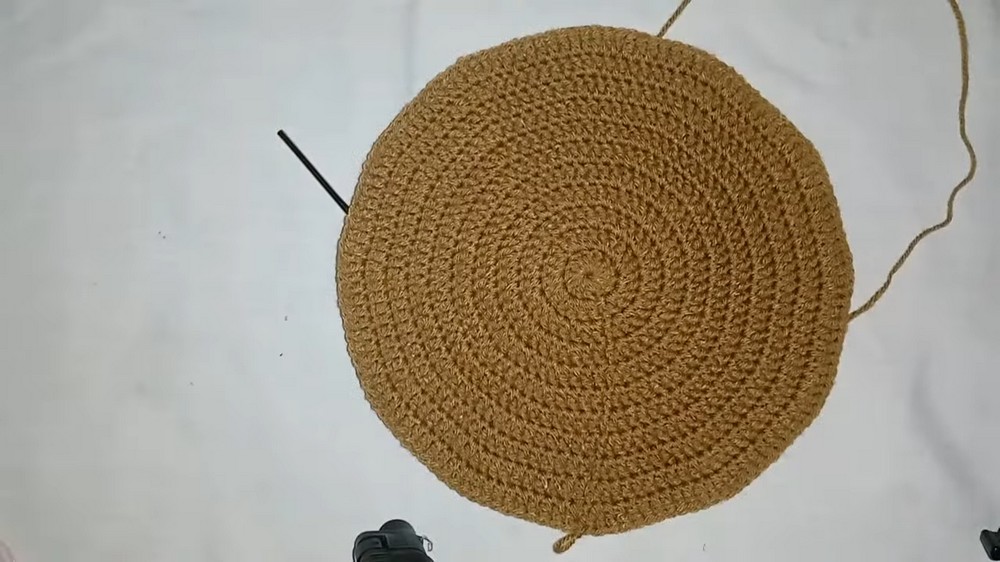
- Rows 12–25:
- Chain 2.
- Work 1 dc in each stitch around (no increases).
- Join with a sl st at the end of each row.
Creating the Ruffle Edge:
- Row 1 (Ruffle Start):
- Chain 2.
- In the same stitch as the sl st, work 3 dc.
- Continue working 3 dc in each stitch around.
- Join with a sl st in the first dc.
- Row 2:
- Chain 2.
- Work 2 dc in the same stitch as the sl st.
- Continue working 2 dc in each stitch around to create more ruffles.
- Join with a sl st in the first dc.
- Row 3:
- Repeat: Work 2 dc in each stitch around.
- Join with a sl st in the first dc.
- Row 4 (Final Ruffle Row):
- Chain 2.
- Work 1 dc in each stitch around with no increases.
- Join with a sl st, chain 1, cut yarn, and fasten off.

Final Assembly
- Weave in any loose ends using a yarn needle or hook.
- Check for any missed stitches or gaps, especially in the ruffle rows.
Smart Storage Tips Every Crocheter Should Know
- Store lightweight yarn in a breathable container to avoid tangling.
- Use stitch markers or pins to secure unfinished projects.
- Fold the ruffle hat gently and store it flat to retain its shape.
Share Your Finished Pattern Like a Crochet Influencer
- Take clear photos of the hat from multiple angles.
- Use a clean, neutral background to highlight the design.
- Post your project on social media with hashtags like #CrochetHat or #RuffleHat.
Conclusion
This lightweight and stylish ruffle hat is perfect for crochet enthusiasts who want to create a feminine and fun accessory. By adjusting measurements and following the exact stitch counts, you can ensure a perfect fit no matter the yarn weight. Happy crocheting!