Stylish Crochet Ruffled Scrunchie Pattern Free
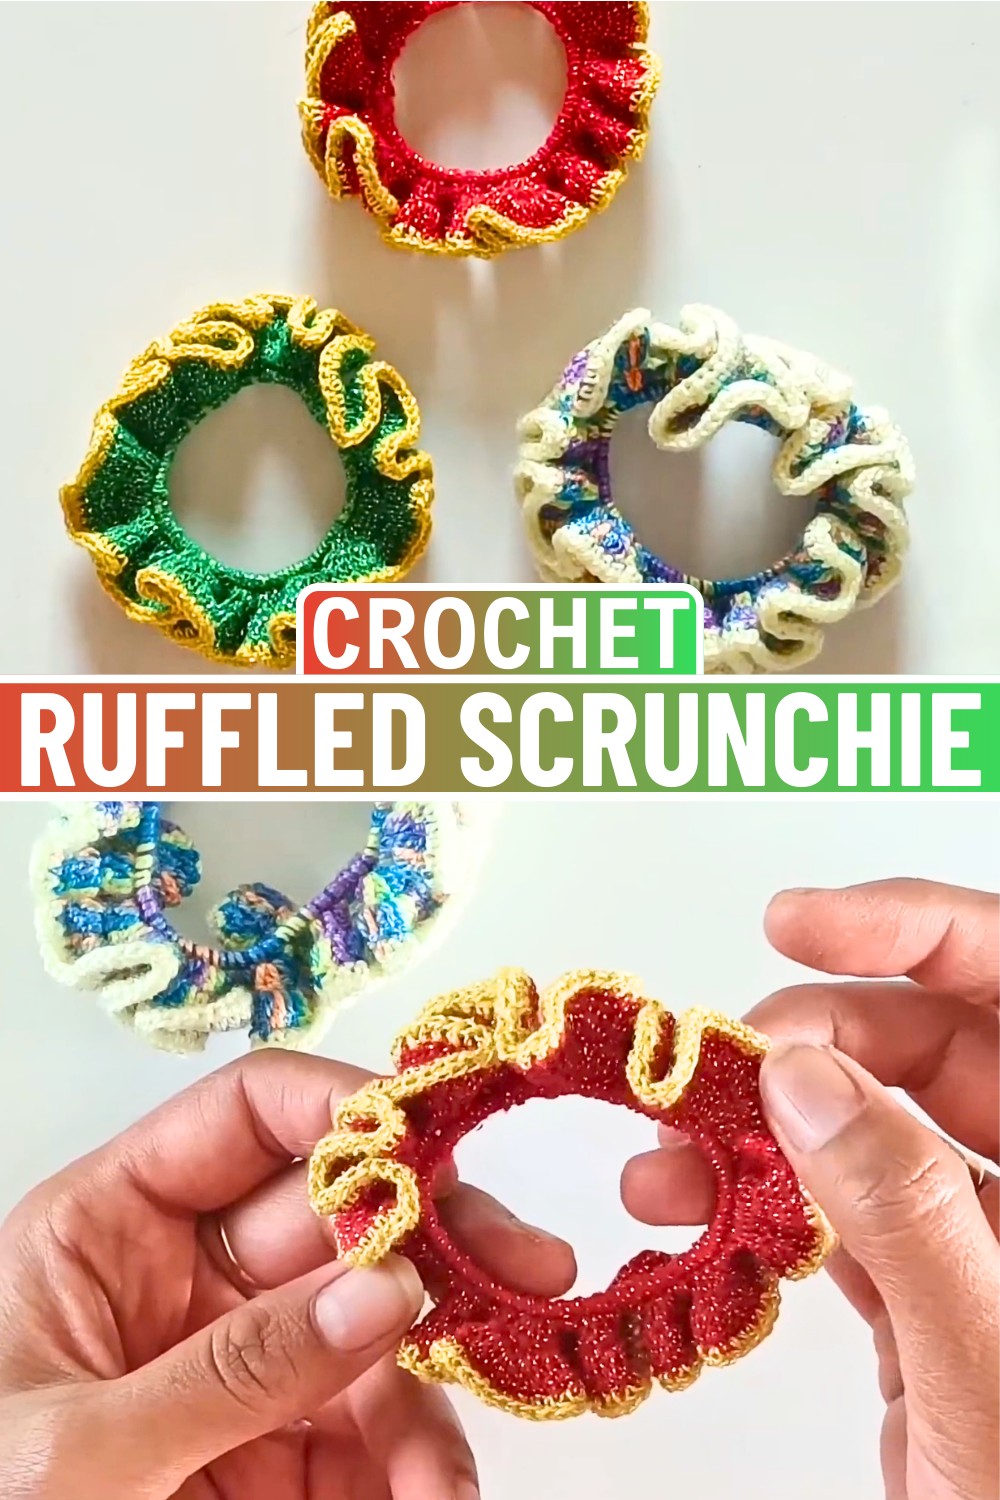
Nothing transforms a simple hair tie quite like soft crochet ruffles that add texture and personality. This charming Crochet Scrunchie wraps neatly around a regular elastic, creating a comfortable accessory that looks beautiful with casual or dressy outfits.
Gentle stitches build full, flowing layers that make the finished item stand out without feeling bulky. With endless color choices, it’s easy to create a crochet piece that matches your personal style.
Crochet Ruffled Scrunchie
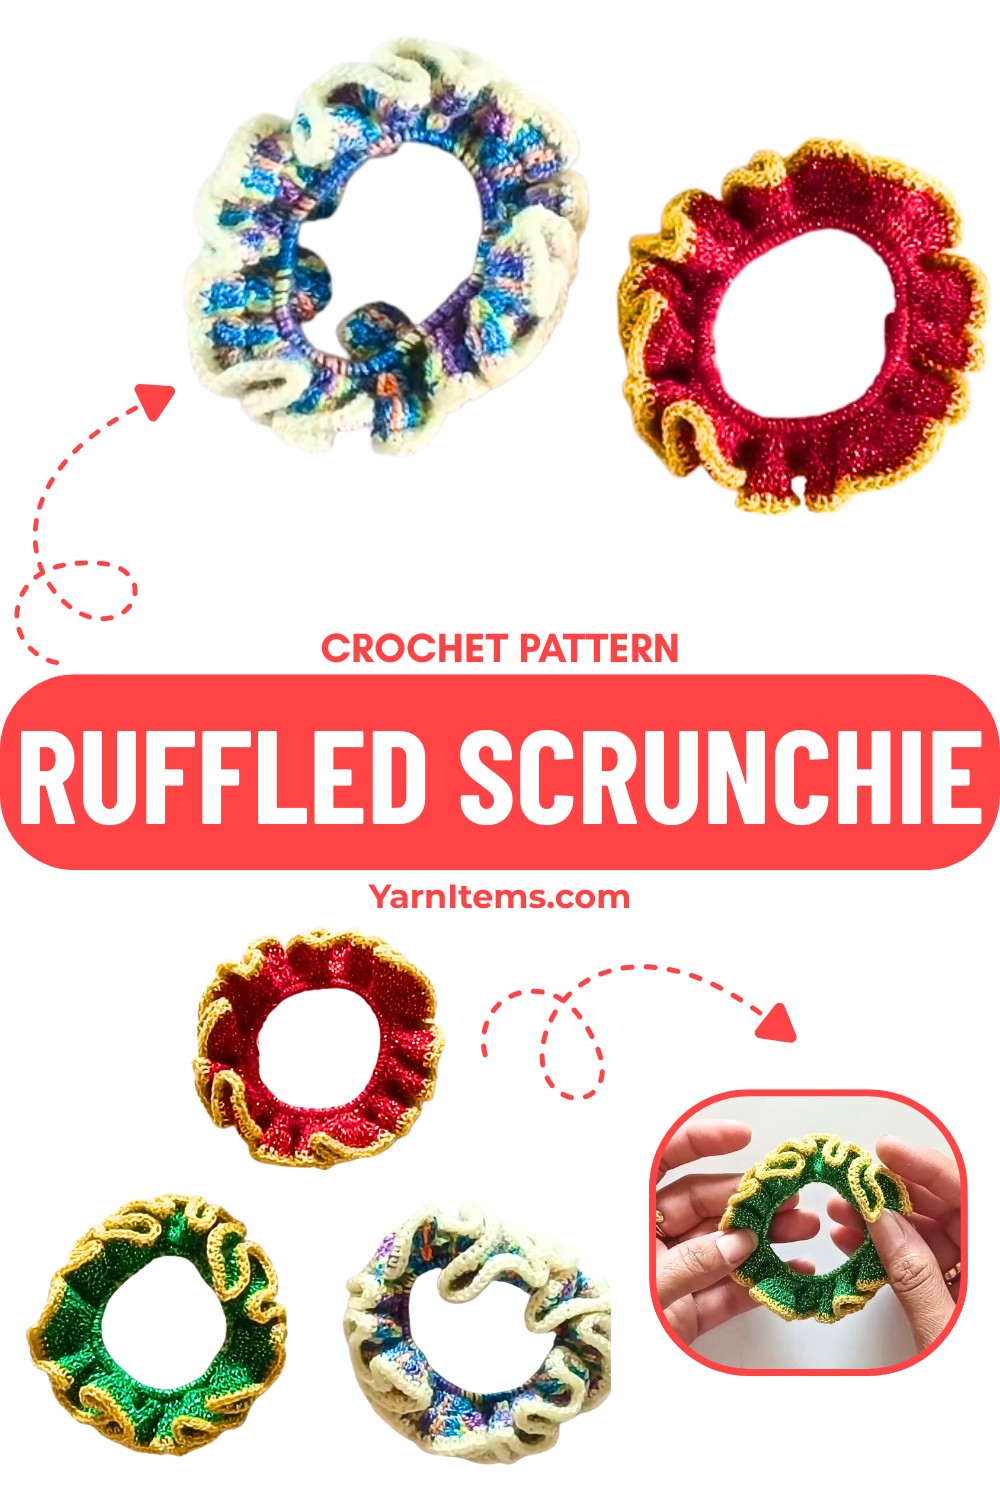
Bright colors and delicate ruffles come together to create an accessory you’ll reach for again and again. This lovely crochet piece works up quickly and offers a wonderful way to turn ordinary materials into something eye-catching and practical.
Matching the yarn with the elastic creates a polished finish, while metallic strands can add a subtle shimmer for extra elegance. The finished item is lightweight, durable, and perfect for everyday wear or thoughtful handmade gifts.
Credit Dream Weaver Crochet
Why You’ll Love This Crochet Ruffled Scrunchie Pattern
It sounds like your Crochet Ruffled Scrunchie pattern is a perfect blend of style, simplicity, and versatility! Here’s why it stands out:
- Quick and Fun
- This pattern is perfect for crocheters looking for something satisfying to whip up in no time.
- Beginner-Friendly
- Designed with simple stitches, it’s accessible for beginners while still bringing joy to experienced crafters.
- Stash-Busting
- A great way to use up small amounts of leftover yarn, minimizing waste while creating something beautiful.
- Stylish Design
- The ruffled texture adds an elegant and trendy touch, making it a standout accessory for any hairstyle.
- Versatile Use
- Whether creating for yourself, gifting to friends, or adding to your craft fair inventory, this scrunchie ticks all the boxes for both practicality and charm.
Materials & Tools Needed
- 1.5 mm crochet hook
- Cotton metallic threads:
- Main color: Green
- Border color: Golden
- Scissors
- Rubber band (preferably durable and matching the main thread color)
Pattern Notes
- This pattern is beginner-friendly and uses the following basic crochet stitches:
- Single crochet (sc)
- Double crochet (dc)
- Half double crochet (hdc)
- The stitch count may vary based on the size of the rubber band and the thickness of the yarn or thread you are using. Adjust accordingly.
Finished Size
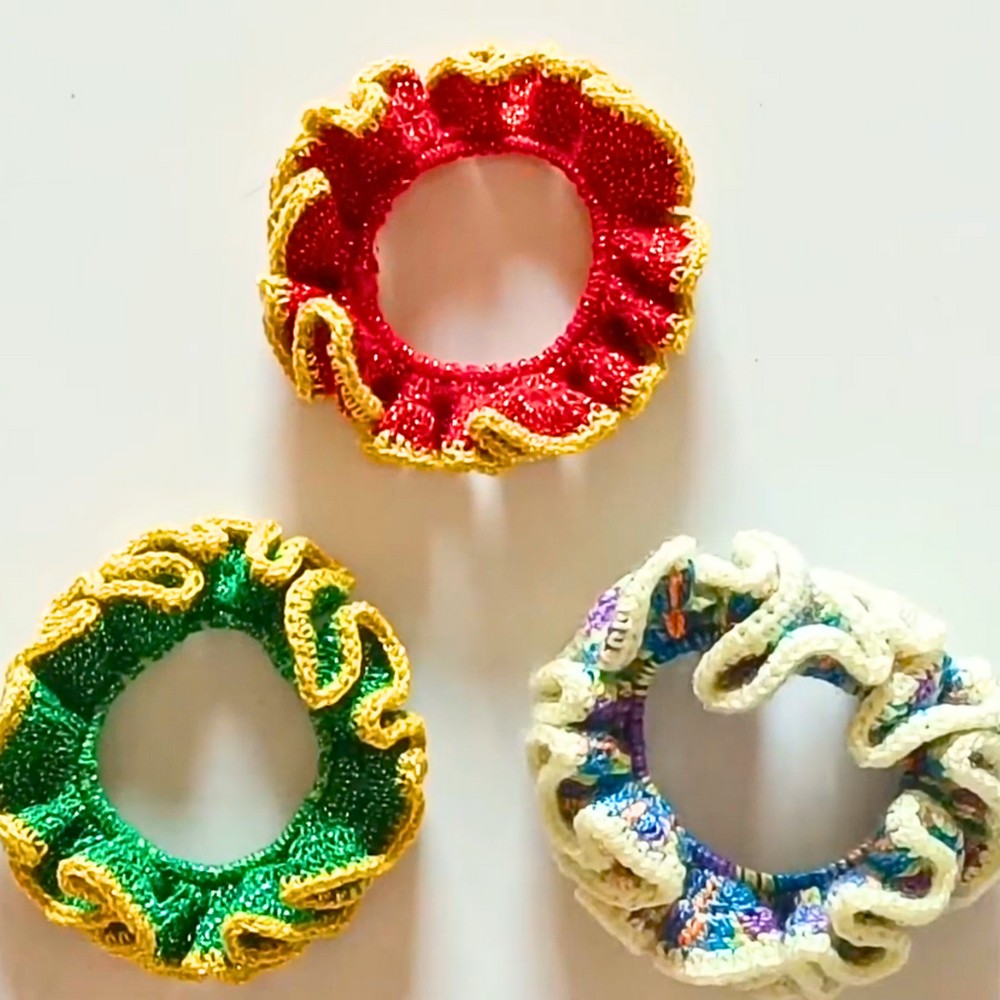
- The final size of the scrunchie will depend on:
- The type/size of the rubber band or elastic used.
- The number of stitches and rounds in the pattern.
- The scrunchie will have natural stretch due to the elastic and the yarn material.
Customization Ideas
- Color Choices:
- Use contrasting or complementary colors for the main body and edging.
- Create ombre effects with gradient yarns or alternating colors in rounds.
- Yarn Types:
- Experiment with metallic, textured, or novelty yarns for added flair.
- Try cotton for a soft and breathable feel or velvet yarn for a luxurious touch.
- Ruffle Density:
- Adjust the number of stitches per round to vary the fullness or ruffle thickness.
- Fewer stitches = sleeker, simpler scrunchie.
- More stitches = fuller, dramatic ruffles.
- Decorative Edging:
- Incorporate picot stitches, scallops, or bobbles for an elegant finish.
- Use sparkly thread for a festive look.
- Add Embellishments:
- Stitch beads or sequins into the scrunchie for sparkle.
- Embroider small designs onto plain yarn scrunchies for a personalized touch.
Pattern Abbreviations & Terminology
The following abbreviations are used (US Terminology):
- ch: chain
- sl st: slip stitch
- sc: single crochet
- dc: double crochet
- hdc: half double crochet
- st(s): stitch(es)
Helpful Tips for Success
- Consistent Stitches: Maintain even stitching for smooth and uniform ruffles.
- Soft, Durable Yarn: Opt for cotton or acrylic yarn to ensure the scrunchies are comfortable and long-lasting.
- Center the Elastic: Keep the elastic hair tie centered while crocheting to prevent misalignment.
- Don’t Overstretch: Avoid pulling the yarn too tight, as this can limit the scrunchie’s elasticity.
- Fuller Ruffles Option: To add more volume, increase the number of stitches in each round for fuller ruffles.

Step-by-Step Crochet Instructions
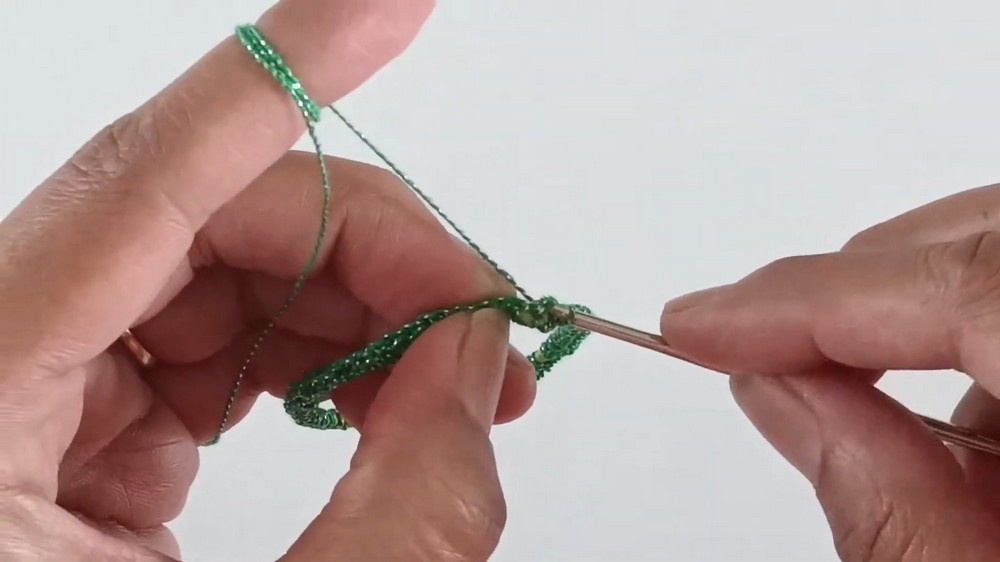
Round 1: Covering the Rubber Band
- Begin with the green thread (main color). Create a slipknot and attach it to your hook.
- Insert your hook into the rubber band and pull up a loop.
- Work 1 chain to secure the thread around the band.
- For this round, work single crochets (sc) evenly around the rubber band.
- Insert your hook into the band, pull up a loop, yarn over, and pull through both loops on your hook.
- Repeat until the rubber band is completely covered with single crochet stitches.
- Ensure the stitches are close together so the band is not visible.
- You may need 30-50 sc depending on the size of the band and thread thickness.
- Once completed, sl st into the first sc to join the round.
Round 2: Creating the First Layer of Ruffles
- Chain 1.
- Begin double crochet (dc) increases:
- Into the first sc of the previous round, work 3 double crochets (dc) in the same stitch.
- Move to the next sc and again work 3 dc in the same stitch.
- Repeat this sequence of 3 dc in each stitch all the way around.
- At the end of the round, sl st into the first dc to join.
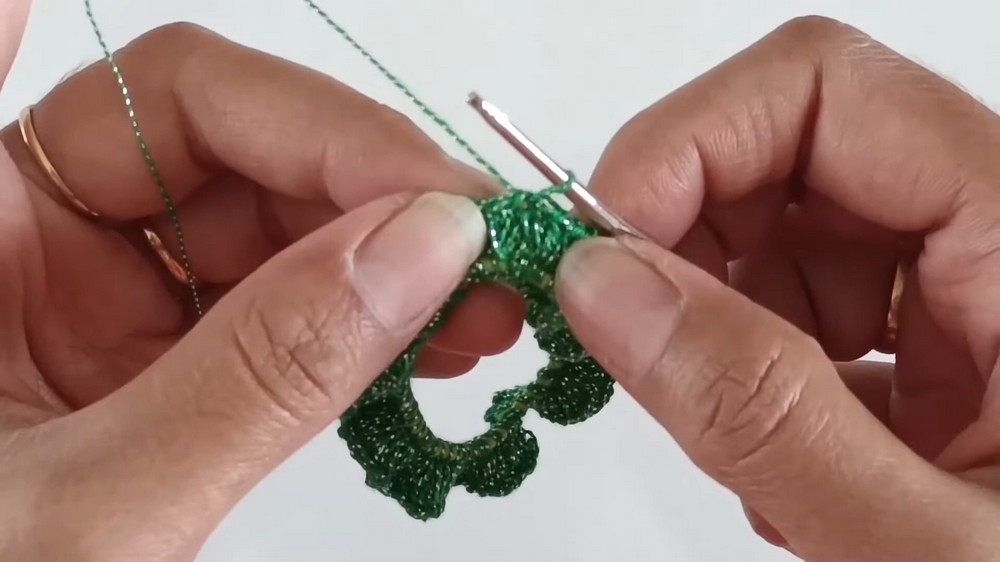
Round 3: Adding More Ruffles
- Chain 1.
- For this round, work 2 double crochets (dc) into each stitch:
- Into the first dc of the previous round, work 2 double crochets in the same stitch.
- Move to the next dc and again work 2 dc in the same stitch.
- Repeat this sequence of 2 dc per stitch until you reach the end of the round.
- Join the round with a sl st into the first dc.
- Cut the green thread, leaving a tail long enough to weave in.
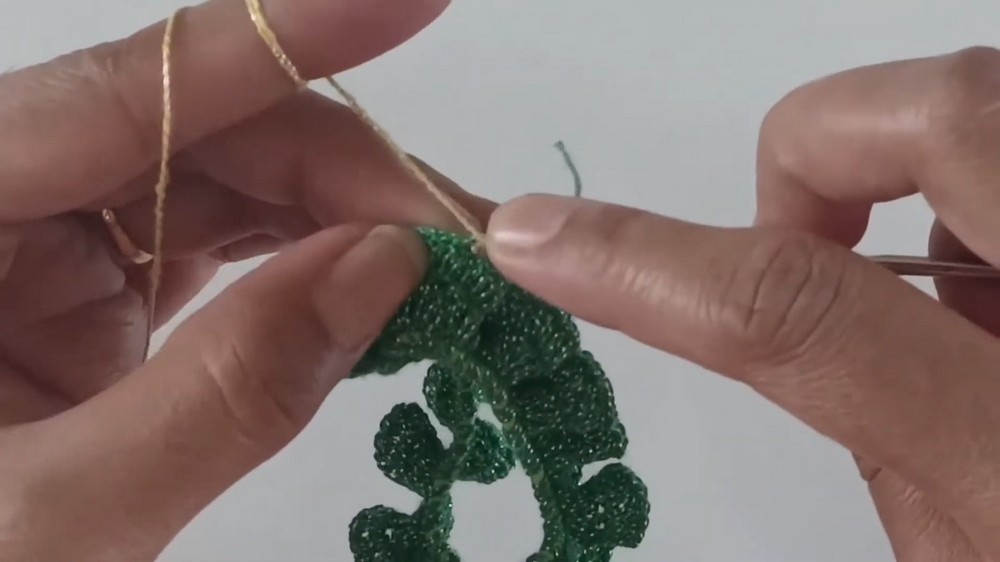
Round 4: Adding the Border (Golden Color)
- Attach the golden thread to any st of the previous round. Pull up a loop and secure with a slipknot.
- Chain 1.
- Work 1 half double crochet (hdc) in the same stitch.
- Yarn over, insert the hook into the stitch, pull up a loop (3 loops on the hook).
- Yarn over and pull through all 3 loops on the hook.
- Continue working 1 hdc in each stitch around the round.
- After completing the last hdc, sl st into the first hdc to join the round.
- Cut the golden thread, leaving a tail.
Finishing
- Weave in all loose ends with a tapestry needle.
- Ensure all threads are securely tucked in and cut off any remaining tails.
- Stretch the scrunchie to ensure the stitches hold tightly around the rubber band and the elasticity of the band is maintained.
Tips for Beginners
- Use a rubber band with good elasticity to ensure the scrunchie doesn’t stretch out over time.
- Keep your tension relatively tight to avoid gaps in the stitches.
- Feel free to experiment with the number of stitches per round to create less or more ruffling as desired.
Creative Ways to Use Crochet Ruffled Scrunchies
- Everyday Hair Accessories: Perfect for styling ponytails, buns, or braids, adding a stylish flair to everyday looks.
- Handmade Gifts: Thoughtful presents for birthdays, holidays, or special occasions.
- Festive Collections: Use seasonal colors to create scrunchies that celebrate holidays or mark special events.
- Coordinated Outfits: Match scrunchies to your wardrobe for a polished and coordinated look.
- Selling Opportunities: Ideal for craft fairs, online handmade shops, or as part of curated gift sets including matching crochet items.