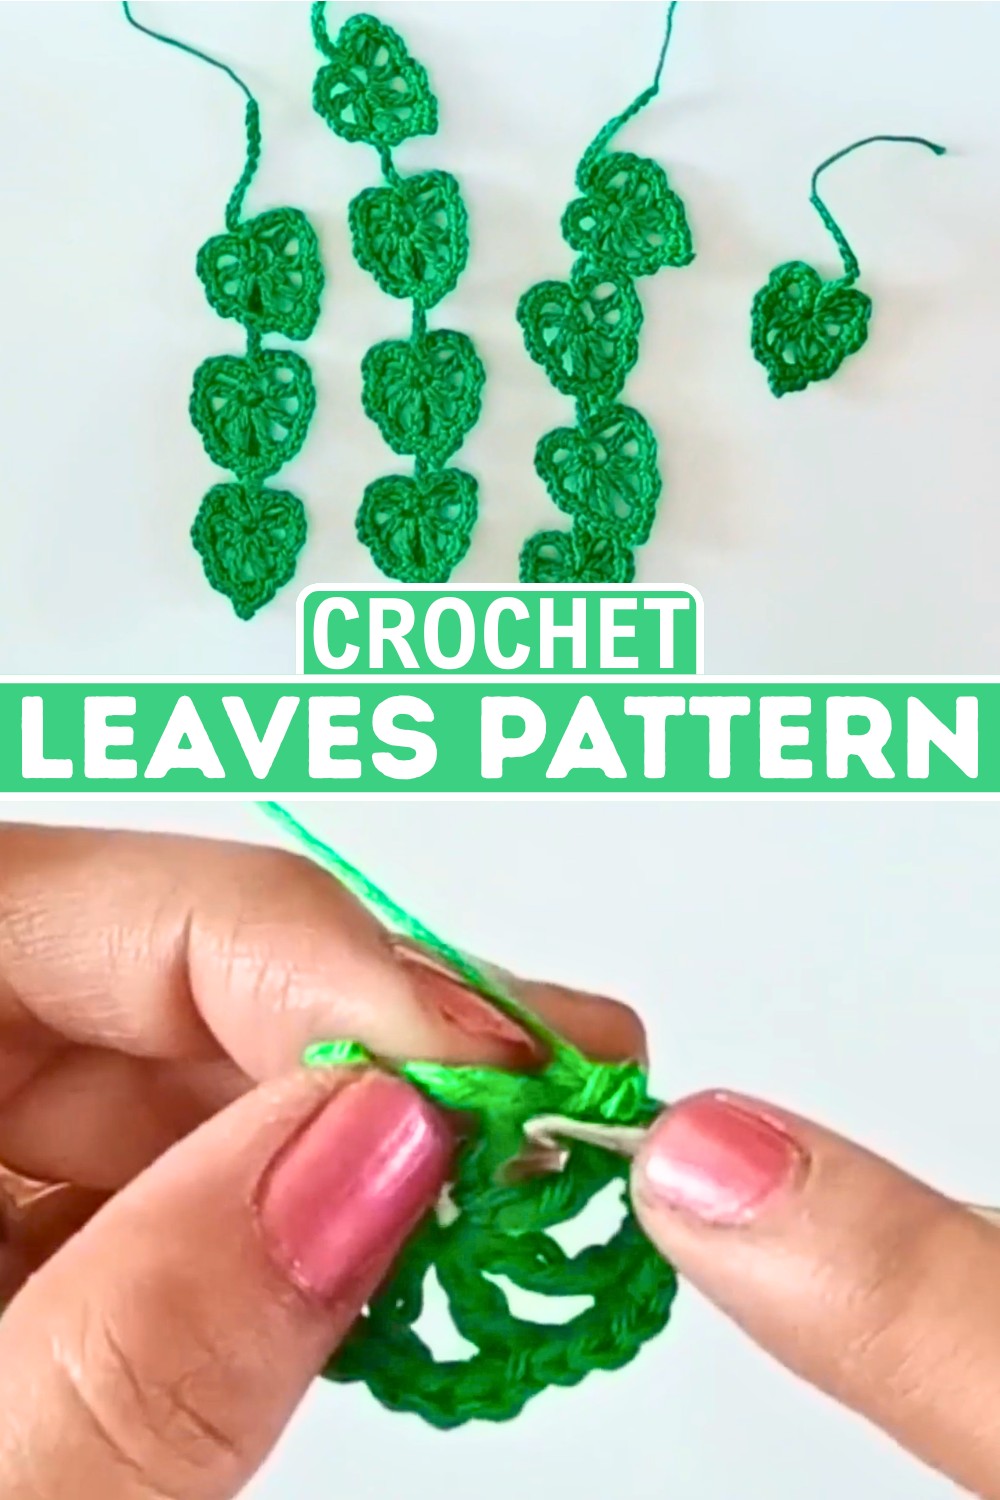
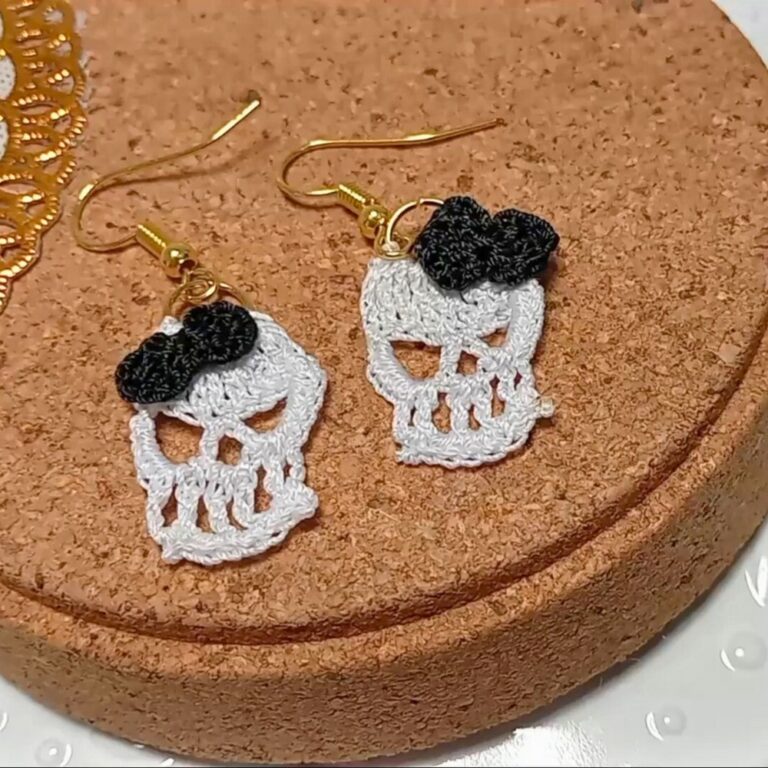
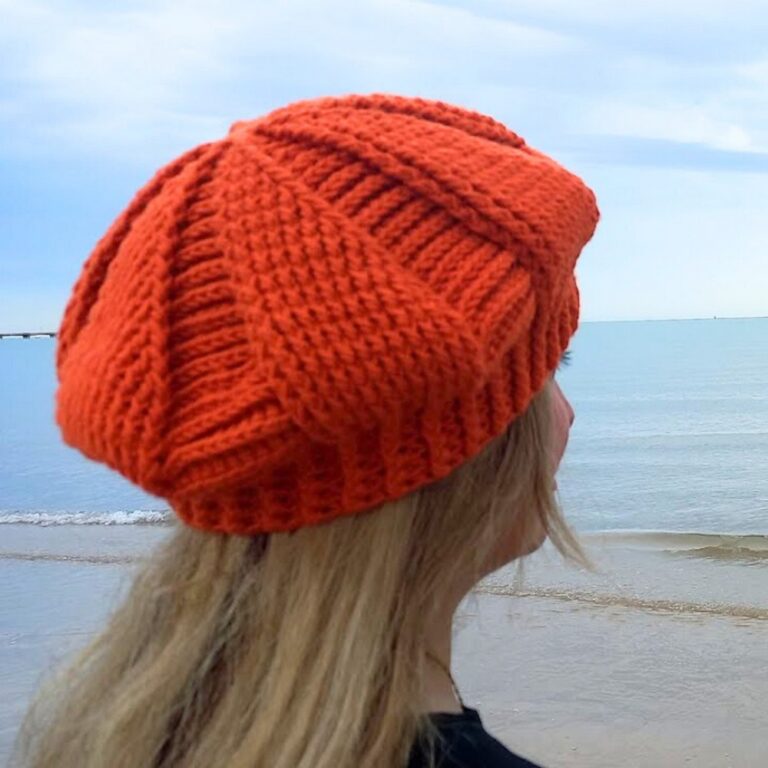
Simple Crochet Leaf Two-Round Pattern for Beginners
A tiny crochet leaf can completely change the look of an ordinary handmade piece with almost no extra effort. Using only a few basic stitches, this lovely item comes together quickly while creating soft, natural details that stand out beautifully.
The shape is built in two simple rounds, making the process smooth from start to finish. Even beginners can enjoy making neat, decorative crochet leaves in just a short time.
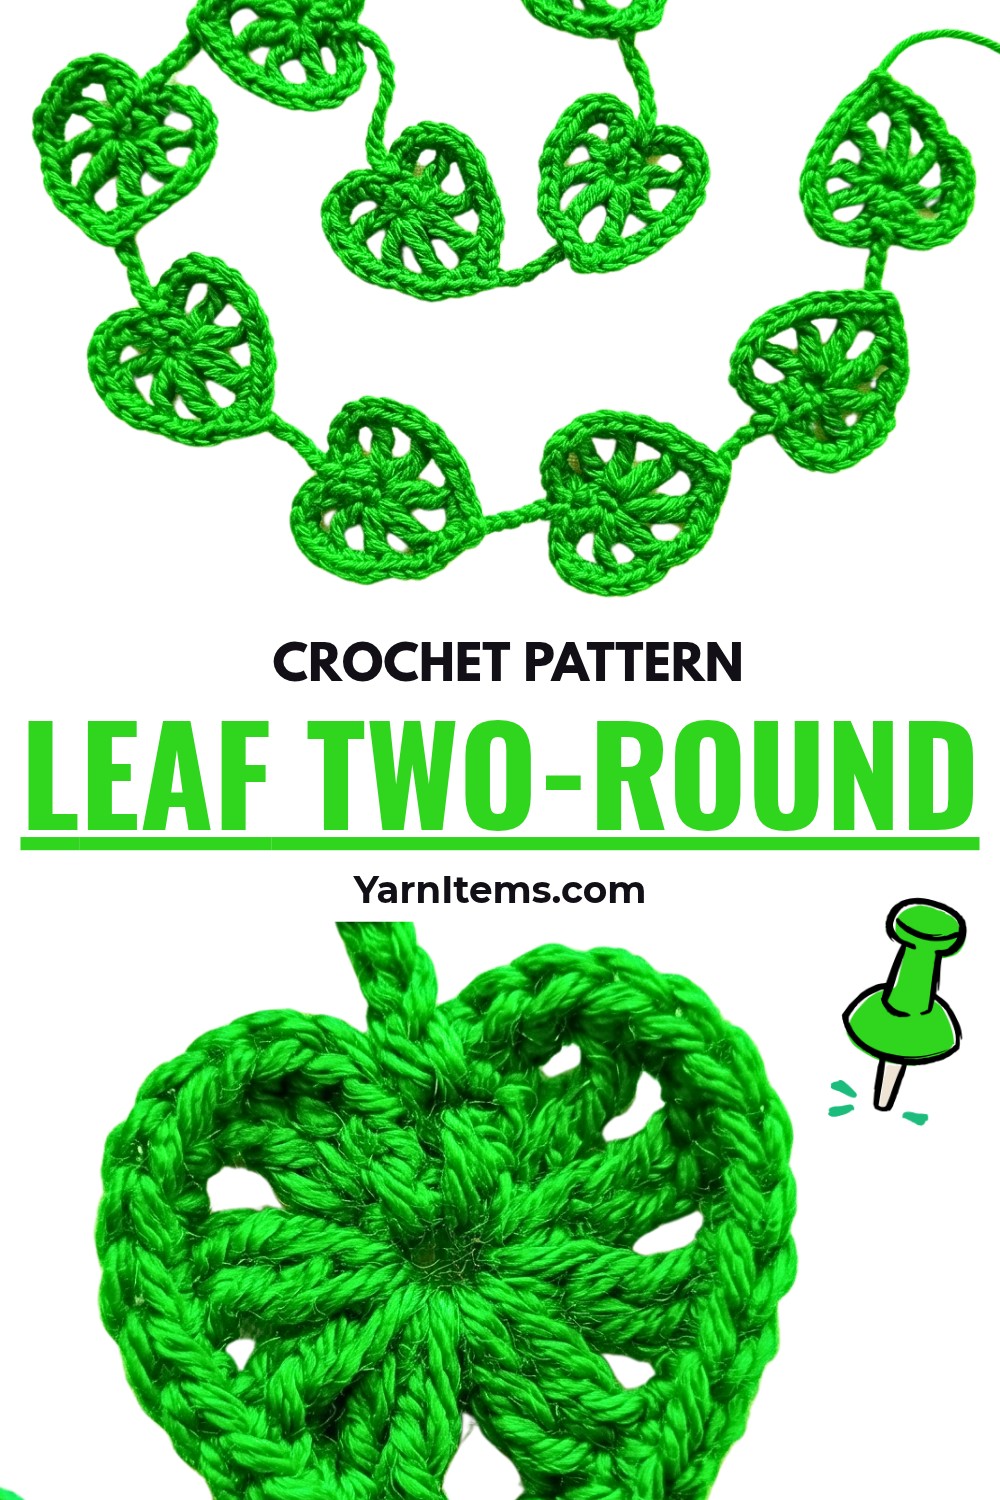
Nothing feels more satisfying than turning a small amount of yarn into a delicate nature-inspired crochet piece. These charming leaves work beautifully on gift wrapping, greeting cards, floral arrangements, keychains, and seasonal decorations without adding bulk.
Their clean shape and textured finish make every handmade item look more polished and unique. A few easy crochet stitches are all it takes to create a beautiful accent that fits countless creative ideas.
Credit Dream Weaver Crochet
Supplies
- Yarn: Green 4-ply cotton yarn
- Hook: 2.5mm crochet hook
- Other tools: Scissors and a yarn needle (optional for weaving ends)
Pattern Notes
- Skill Level: Beginner
- The leaf is made in two rounds.
- Round 1: Creates the rough sketch/base of the leaf.
- Round 2: Shapes the leaf with detailed stitches.
- Basic crochet stitches are used: single crochet (sc), double crochet (dc), triple crochet (tr), chain (ch), and slip stitch (sl st).
- Refer to the abbreviations below for understanding.
Pattern Abbreviations
- ch: Chain
- sc: Single crochet
- dc: Double crochet
- tr: Triple crochet
- sl st: Slip stitch
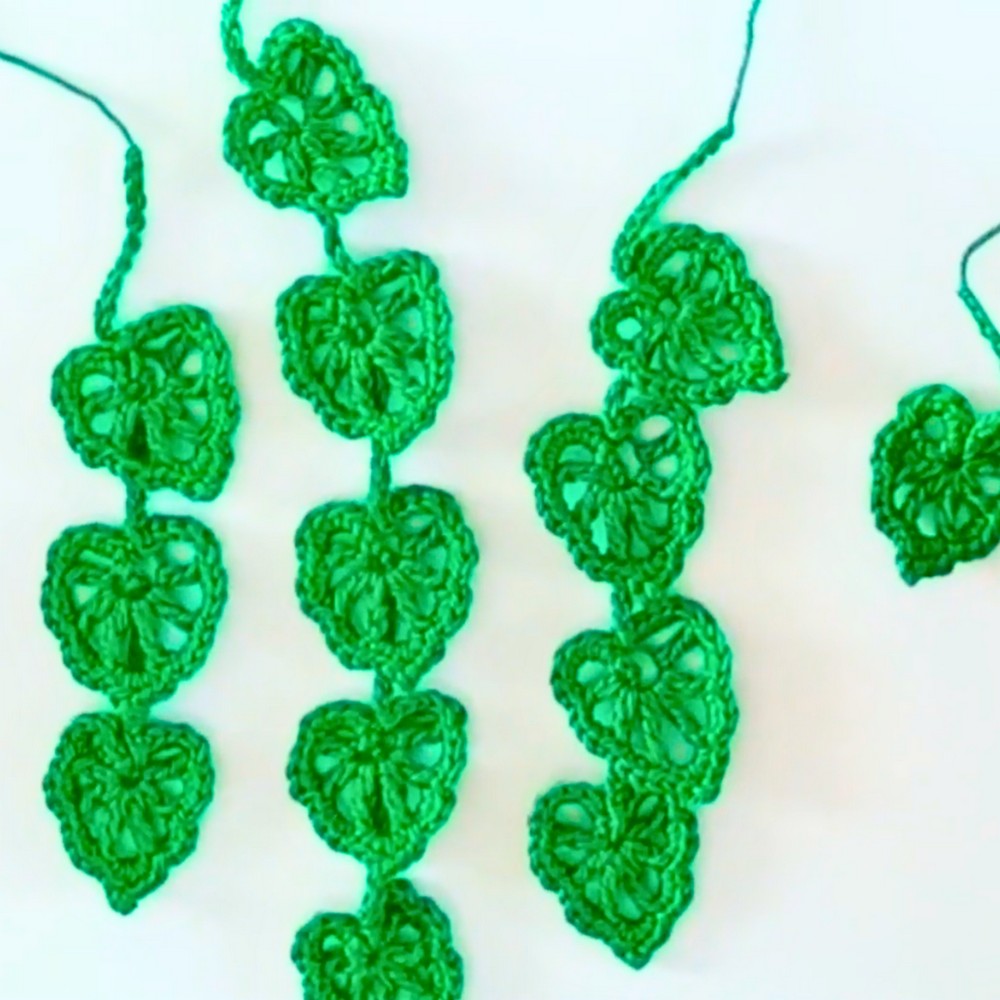
Follow These Easy Step-by-Steps
Foundation Steps
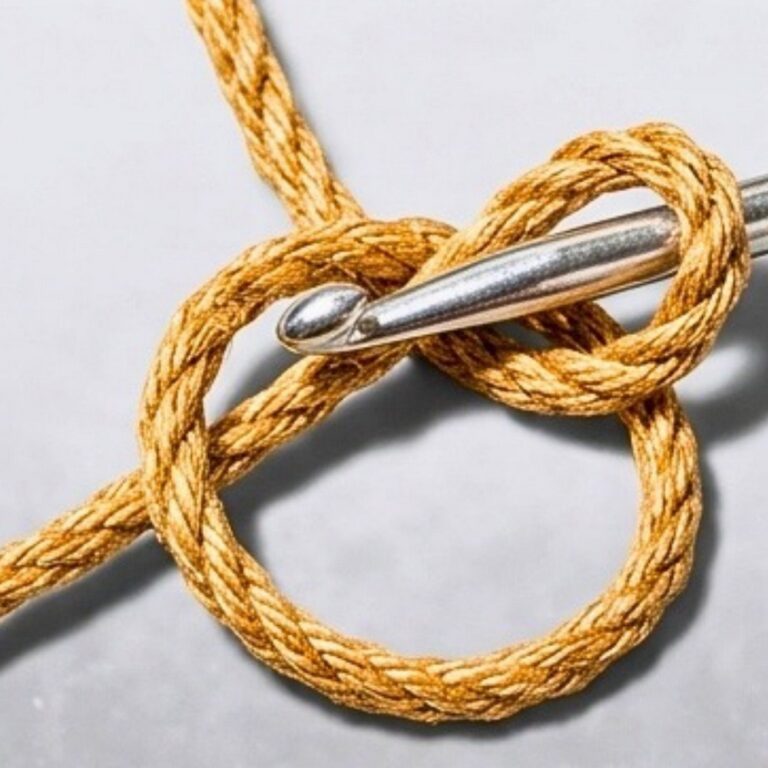
- Start by making a slip knot on your hook.
- Work 16 chains (ch 16).
Round 1: Base of the Leaf
- Skip the first 5 chains from the hook. This creates a ‘turning chain’ that counts as 1 dc + 2 ch.
- Into the 6th chain:
a. Work 1 dc.
b. Chain 2 (ch 2).
c. Work 1 dc followed by ch 2.
d. Work 1 tr.
e. Chain 2 (ch 2).
f. Work 1 more tr.
g. Chain 2 (ch 2).
h. Work 1 dc.
i. Chain 2 (ch 2).
j. Finally, work 1 dc. - Finish the first round: Work chain 5 (ch 5) and make a sl st into the same chain space.

Round 2: Shaping the Leaf
- The second round adds detailed stitches into the 7 chain-2 spaces created in Round 1. Follow the steps below:Space 1:
a. Insert your hook into the first chain-2 space and work 5 sc.
b. Work 1 sl st on top of the nearby dc.Space 2:
a. In the next chain-2 space, work 3 sc.
b. Sl st on top of the next dc.Space 3:
a. In the next chain-2 space, work 3 sc.
b. Sl st on top of the nearby triple crochet (tr).Space 4 (Center of the Leaf):
a. Work 2 sc in this space.
b. Work a picot stitch:- Chain 2 (ch 2).
- Insert your hook back into the last sc and make 1 sl st.
c. Work 2 more sc into the same space.
d. Sl st on top of the next triple crochet (tr).
Space 5:
a. Work 3 sc into the next space.
b. Sl st on top of the nearby double crochet (dc).Space 6:
a. Work 3 sc into the next space.
b. Sl st on top of the next dc.Last Space:
a. In the final chain-5 space:- Work 5 sc.
- Sl st into the center of the space to secure it.
- Finishing:
a. After completing the final space, make a small chain loop (3–5 chains) to act as the stem of your leaf.
b. Fasten off and weave in any remaining yarn ends.

Make Your Pattern Stand Out
- Block your leaf (optional): If the shape needs to be adjusted for sharpness or precision, lightly steam or pin it on a blocking mat.
- Use the finished leaves as standalone pieces or incorporate them into your projects (e.g., appliqué or decoration).
Additional Notes
This simple leaf pattern is ideal for beginners, as it demonstrates basic crochet stitches while allowing practice of both single and double crochets, triple crochets, slip stitches, and picot stitches. Try experimenting with yarn thickness to create different-sized leaves for various patterns.
Creative Ways to Use Crochet Leaves
Crochet leaves are wonderfully versatile and can enhance many handmade projects. Try using them in these ways:
Decorative Appliqués
Attach crochet leaves to hats, scarves, blankets, tote bags, or baby items to add a charming, nature-inspired touch.
Wreaths & Floral Arrangements
Incorporate them into seasonal wreaths, or pair them with crocheted flowers for beautiful floral designs and bouquets.
Gift Wrapping & Greeting Cards
Use them as reusable gift toppers, or glue them onto greeting cards for personalized, nature-themed stationery.
Bookmarks & Keychains
Add a ribbon or chain to turn crochet leaves into functional bookmarks or stylish keychains.
Seasonal Décor
Include them in centerpieces, garlands, table runners, or other home decorations for autumn, spring, or holiday themes.
Mix different colors, sizes, and styles to create one-of-a-kind, eye-catching designs.
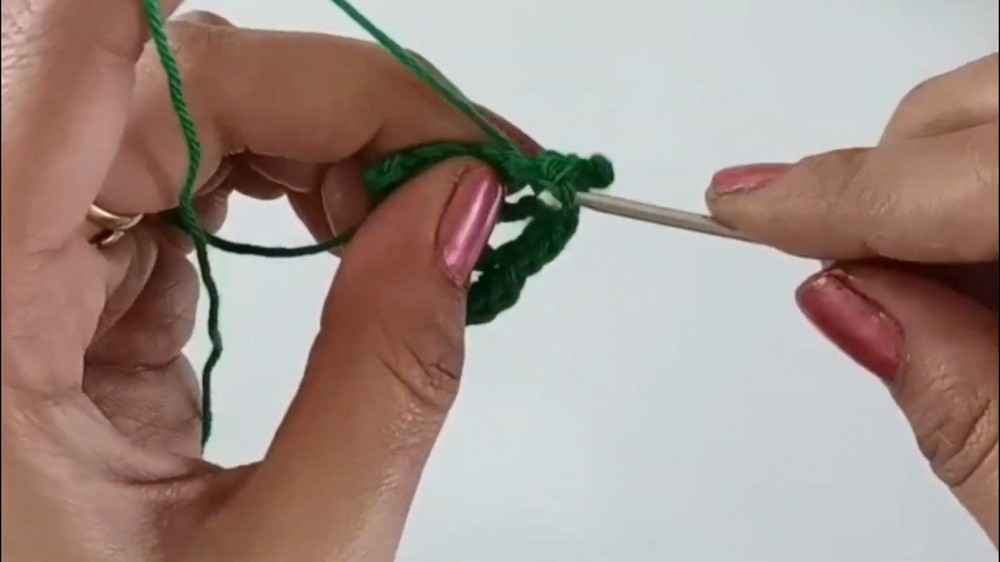
How to Customize Your Crochet Leaf
It’s easy to tailor crochet leaves to fit any project. Here are a few ways to customize them:
Adjust the Size
- Use thicker yarn and a larger hook for oversized statement leaves.
- Use finer yarn and a smaller hook for delicate mini leaves.
Play with Colors
- Soft greens and pastels for spring.
- Warm oranges, browns, and deep greens for autumn.
- Icy blues, white, and silver for winter themes.
- Bright, bold colors for whimsical or children’s projects.
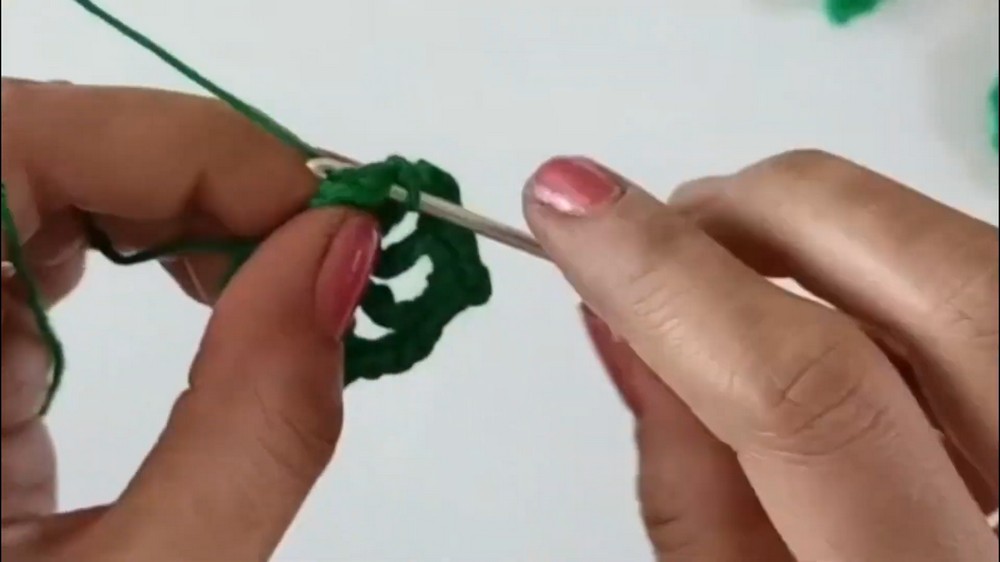
Add Texture or Details
- Incorporate picot stitches for a wavy or scalloped edge.
- Use surface crochet or embroidery to add veins for a more realistic look.
- Try different stitch combinations (e.g., puff stitches) for extra texture.
Combine Shapes and Sizes
Mix various leaf shapes (long, round, pointed) and sizes to build layered, dynamic arrangements for your projects.
Customizing your crochet leaves lets you infuse your personal style into every piece.