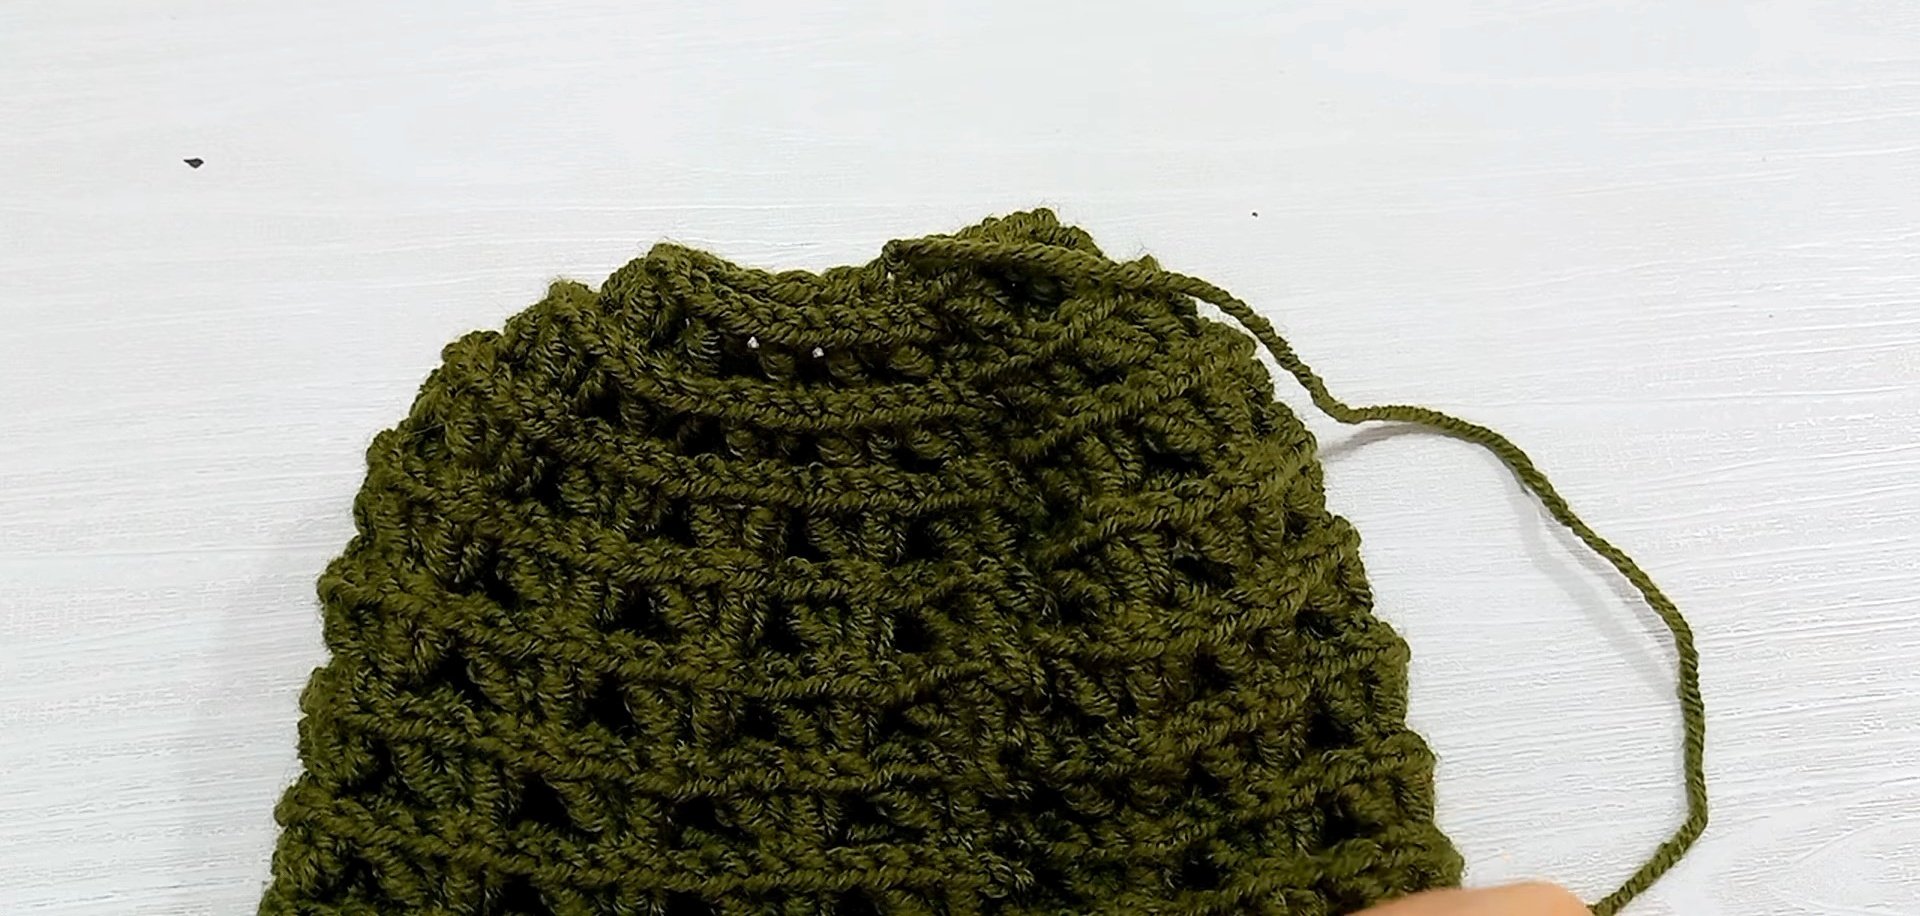
Easy Crochet Beanie Hat Pattern – Modern, Customizable & Stylish
Who says simplicity can’t turn heads? This crochet beanie design brings a cozy charm and modern flair to your wardrobe. Whether you’re chasing warmth for winter strolls or adding a handmade touch to your style, this pattern gives you the perfect, snug fit and timeless look. Clean lines, a smooth texture, and the option to attach a playful pom-pom make it a standout accessory for anyone.
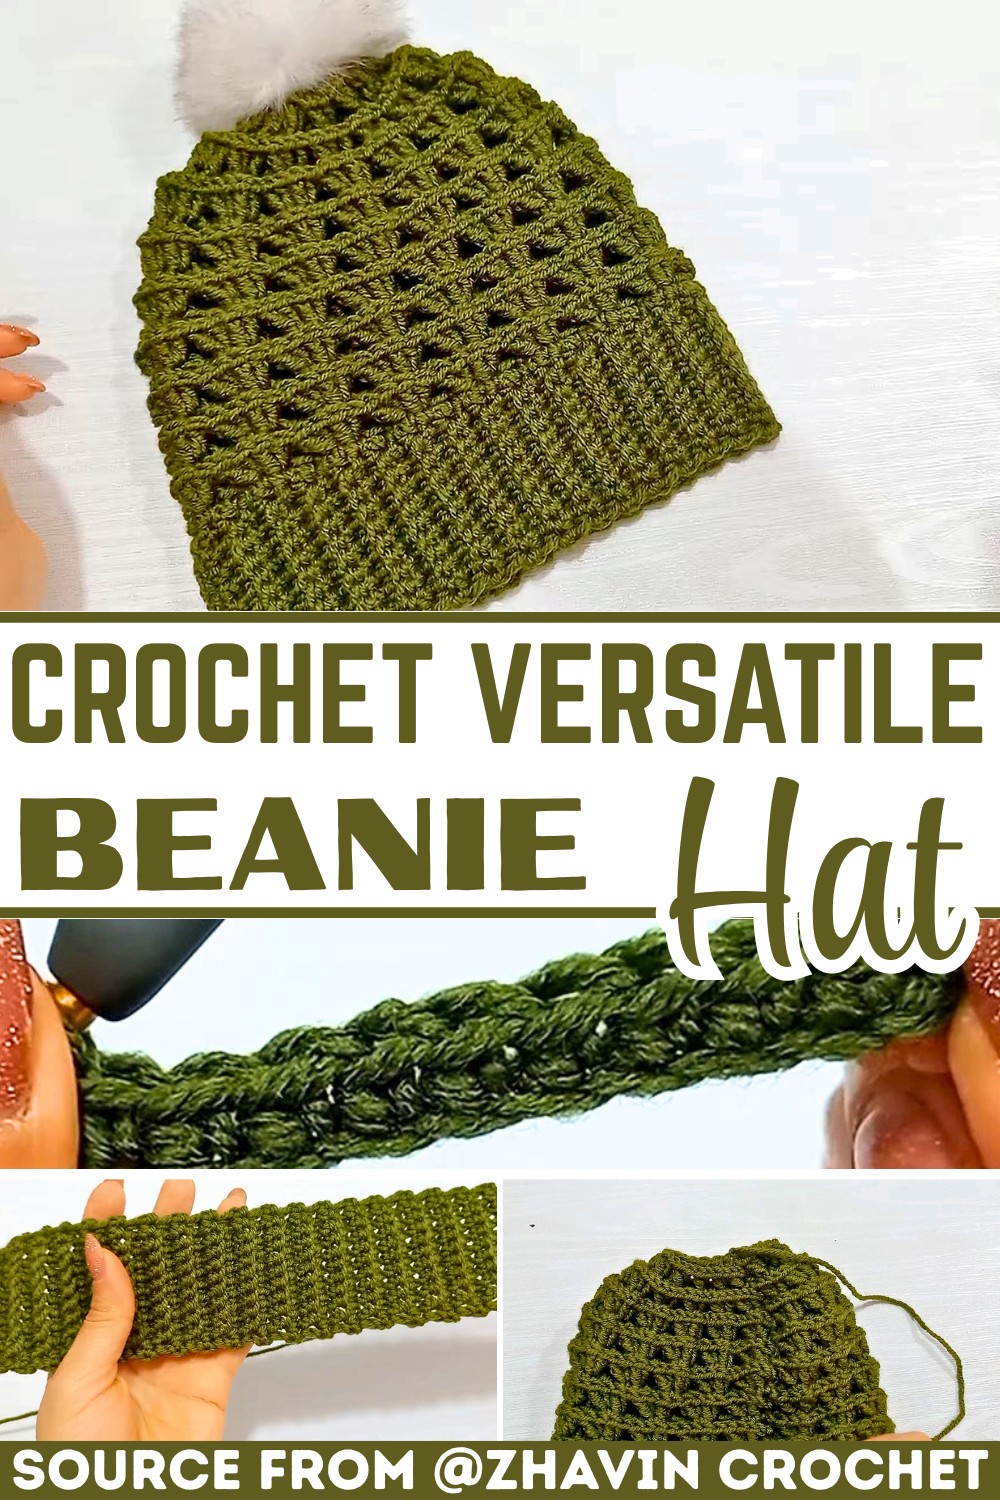
This crochet beanie starts with a delicate ribbed brim worked from the bottom up, delivering a polished edge that hugs perfectly. The body of the hat showcases alternating stitch designs, creating a subtle yet stylish texture. With the ability to personalize the size and yarn options, this beanie transforms from a cozy essential into your very own masterpiece. Its flexibility makes it ideal for beginners to experts, letting your creativity shape each stitch.
Credit zhavin crochet
Step-by-Step Pattern
Materials
To create your crochet beanie hat, gather the following materials:
- Yarn: Worsted weight yarn (#4 category)
- Example: Al Midi (17 meters per 100 grams)
- Hook sizes:
- 4.5 mm crochet hook (for the brim)
- 5.5 mm crochet hook (for the body of the hat)
- Tapestry needle (for weaving in the tail and closing the crown)
- Scissors
- Optional: Pom-pom for added decoration
Stitch Guide
1. Single Crochet (SC):
- Insert the hook into the stitch, yarn over, and pull up a loop.
- Yarn over again and pull through both loops on the hook.
2. Back Loop Only Single Crochet:
- Insert the hook into the back loop of the stitch (instead of under both loops), yarn over, and pull up a loop.
- Yarn over again and pull through both loops.
3. Slip Stitch (SL ST):
- Insert the hook into the stitch, yarn over, and pull through both the stitch and the loop on your hook.
4. Front Post Double Crochet (FPDC):
- Yarn over, insert the hook around the post of the stitch (from front to back to front), yarn over and pull up a loop.
- Yarn over and pull through two loops, then yarn over and pull through the last two loops.
5. Decrease Single Crochet (SC2TOG into Third Loop):
- Insert the hook into the third loop of the first stitch, yarn over and pull up a loop.
- Insert the hook into the third loop of the next stitch, yarn over and pull up a loop (3 loops on the hook).
- Yarn over and pull through all three loops.
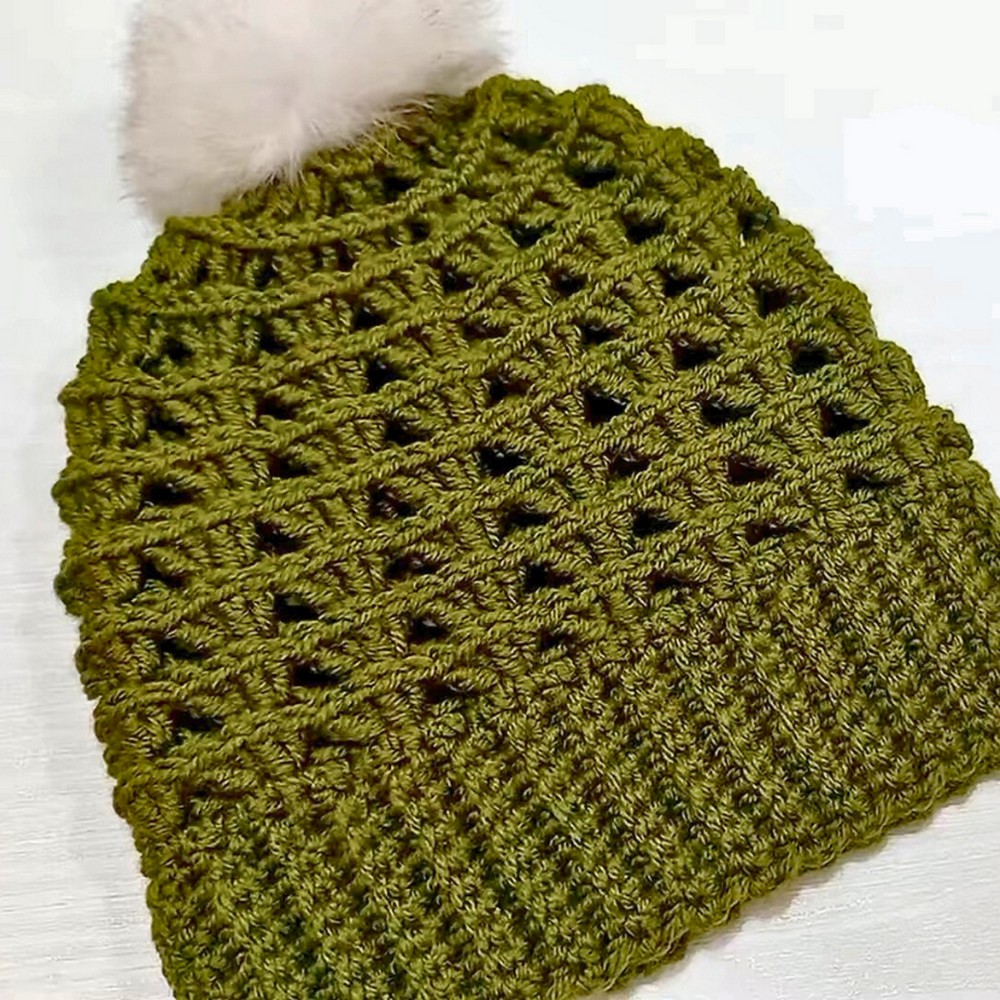
Notes
- Adjustments: The size of the hat can be customized by adding or reducing chains in the foundation chain or rows in the ribbing.
- Gauge: The ribbed brim’s circumference should match the size of the wearer’s head. You can adjust the number of rows in the band accordingly. Maintain a multiple of 4 rows for the pattern repeat in the body.
- Customization: Add a pom-pom or embellishments to personalize your hat.
Pattern Instructions
Step 1: Create the Ribbed Brim
- Start the foundation chain:
- Using the 4.5 mm crochet hook, create a slip knot and chain 11.
- The number of chains determines the height of the brim. You can adjust this based on your preference.
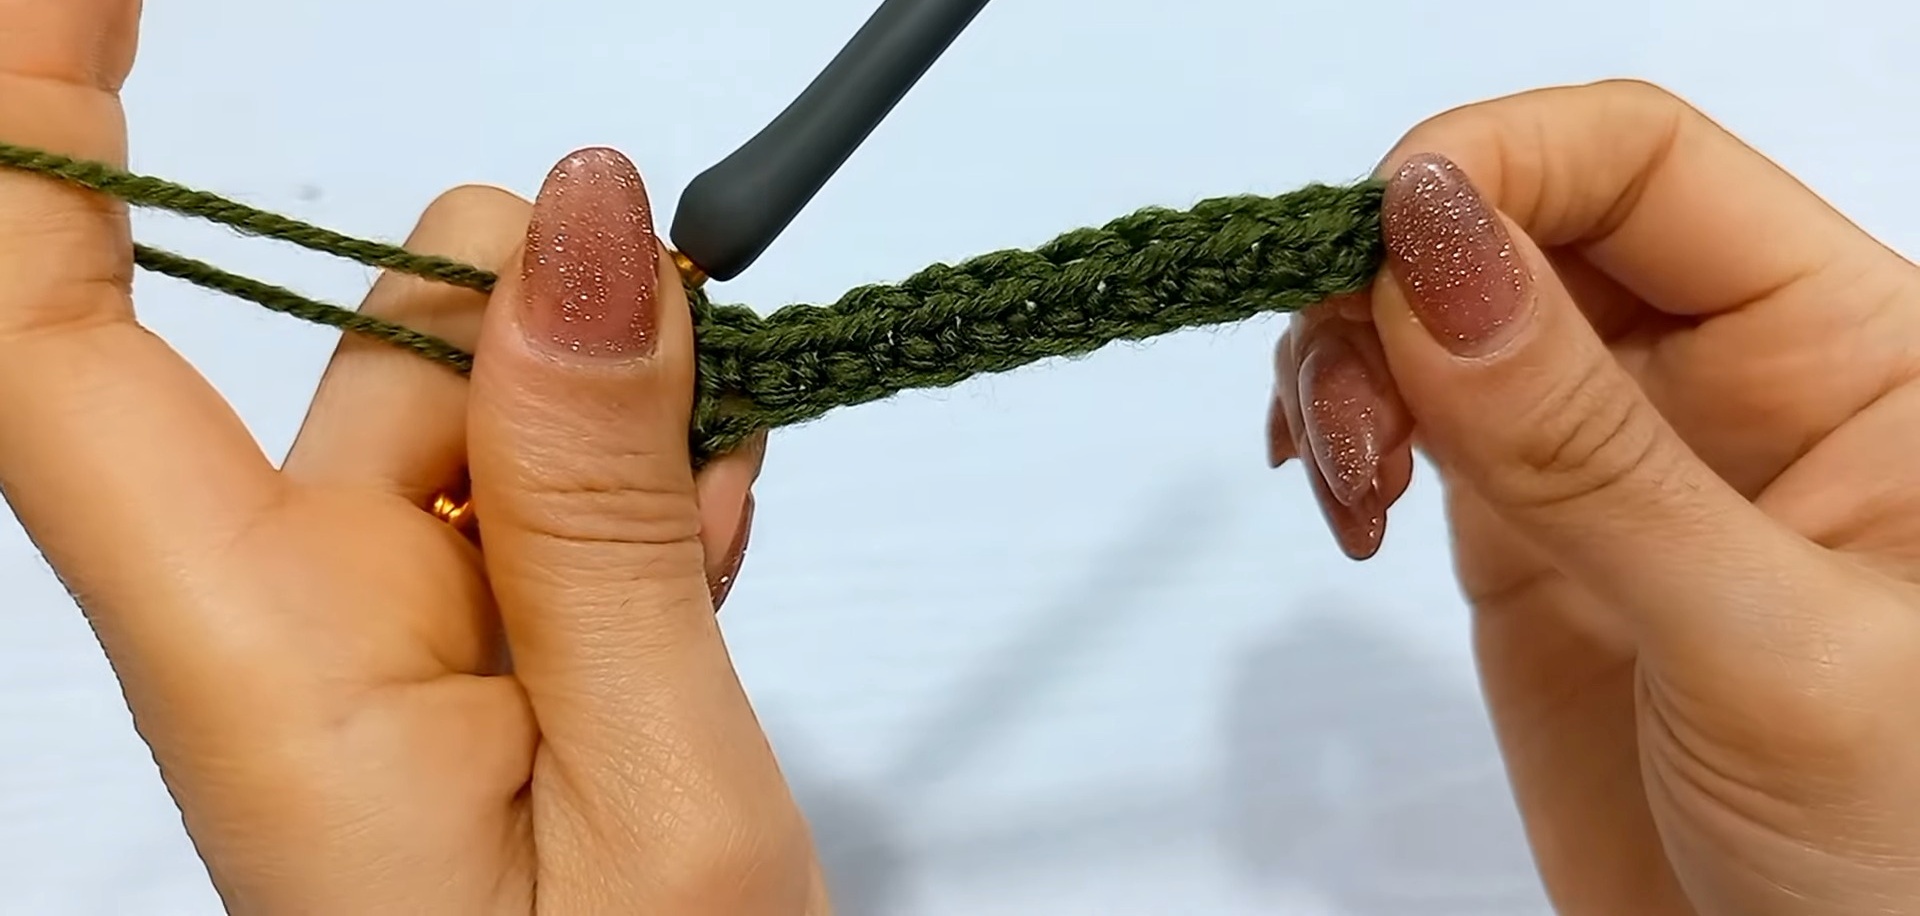
- Row 1:
- Start with the second chain from the hook. Work 1 SC into each chain across. (10 stitches)
- Chain 1, turn.
- Row 2:
- Work 1 SC under both loops of the first stitch.
- For the next 8 stitches, work 1 SC into the back loop only.
- Work 1 SC under both loops of the last stitch. (10 stitches)
- Chain 1, turn.
- Row 3 onwards:
- Repeat Row 2 until your rectangle’s length matches your desired head circumference.
- Ensure the total number of rows worked is a multiple of 4. For an adult size, this is typically around 64 rows.
- Join the Brim:
- Fold the rectangle in half, aligning the short edges.
- Slip stitch the edges together by working under both loops of the last row and the front loop of the foundation chain.
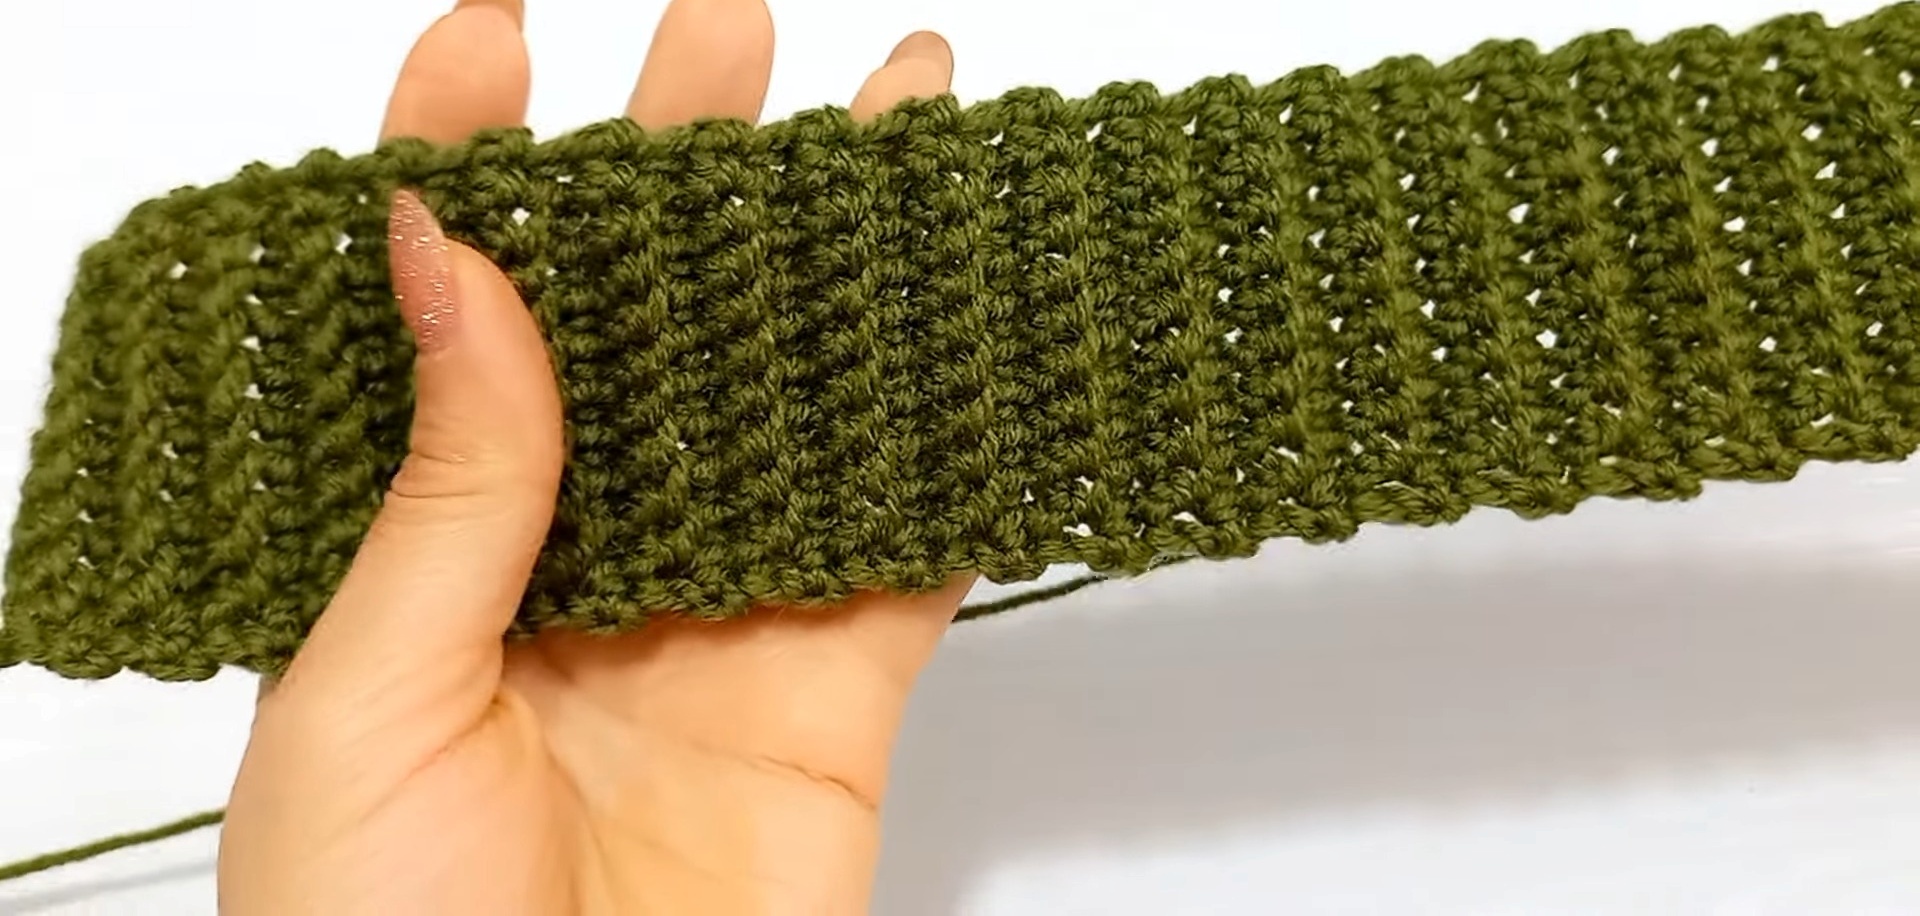
Step 2: Start the Hat Body
- Switch hooks:
- Replace the 4.5 mm hook with the 5.5 mm hook.
- Foundation round:
- Work single crochets evenly around the top edge of the ribbing:
- Insert your hook into the edge of each row (alternating between stitches at the top of the row and in the gaps).
- Ensure the stitch count equals the total number of rows in the brim (e.g., 64 stitches for 64 rows).
- Join with a slip stitch to the first stitch.
- Work single crochets evenly around the top edge of the ribbing:
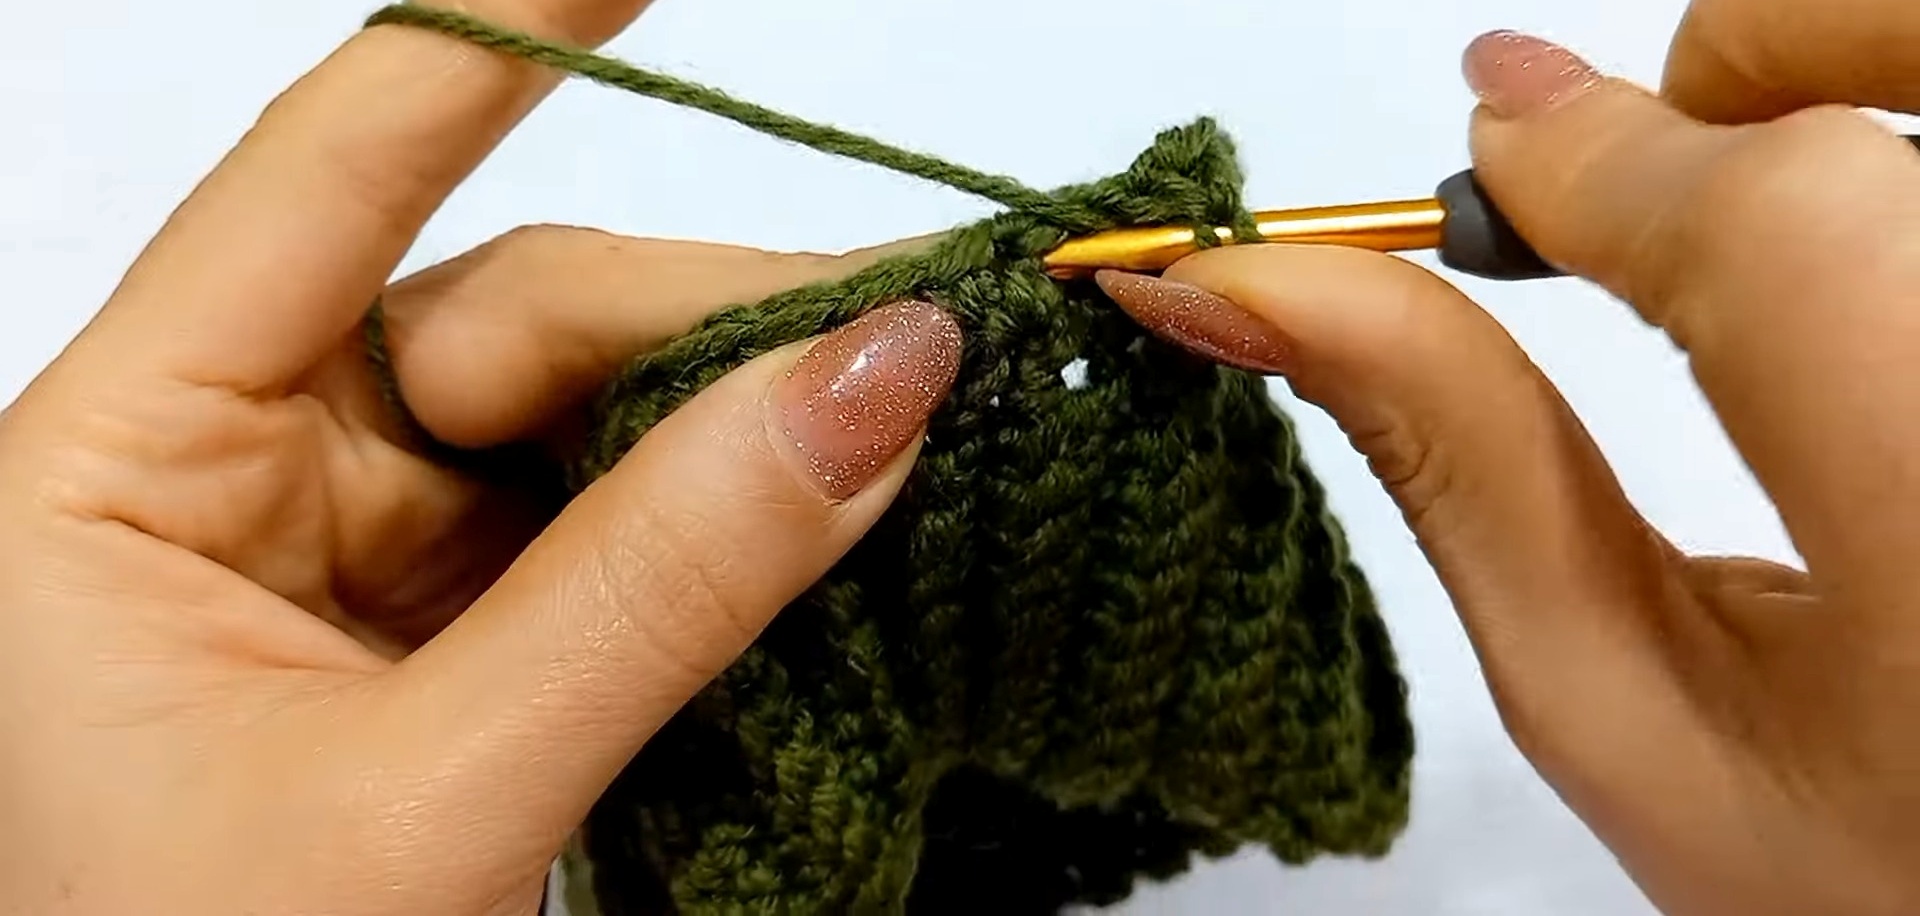
Step 3: Body Pattern
The body consists of two alternating rounds.
Round 1 (Single Crochet into Third Loop):
- Chain 1, work 1 SC into the third loop (found behind the two top loops) of each stitch around.
- Join with a slip stitch to the first SC.
Round 2 (Front Post Double Crochet):
- Chain 2 (does not count as a stitch).
- Work 2 FPDC around the post of the first stitch.
- Work 2 FPDC around the post of the next stitch.
- Skip the next two stitches.
- Repeat the sequence: 2 FPDC around one stitch, skip two stitches.
- Join with a slip stitch into the third loop of the first FPDC.
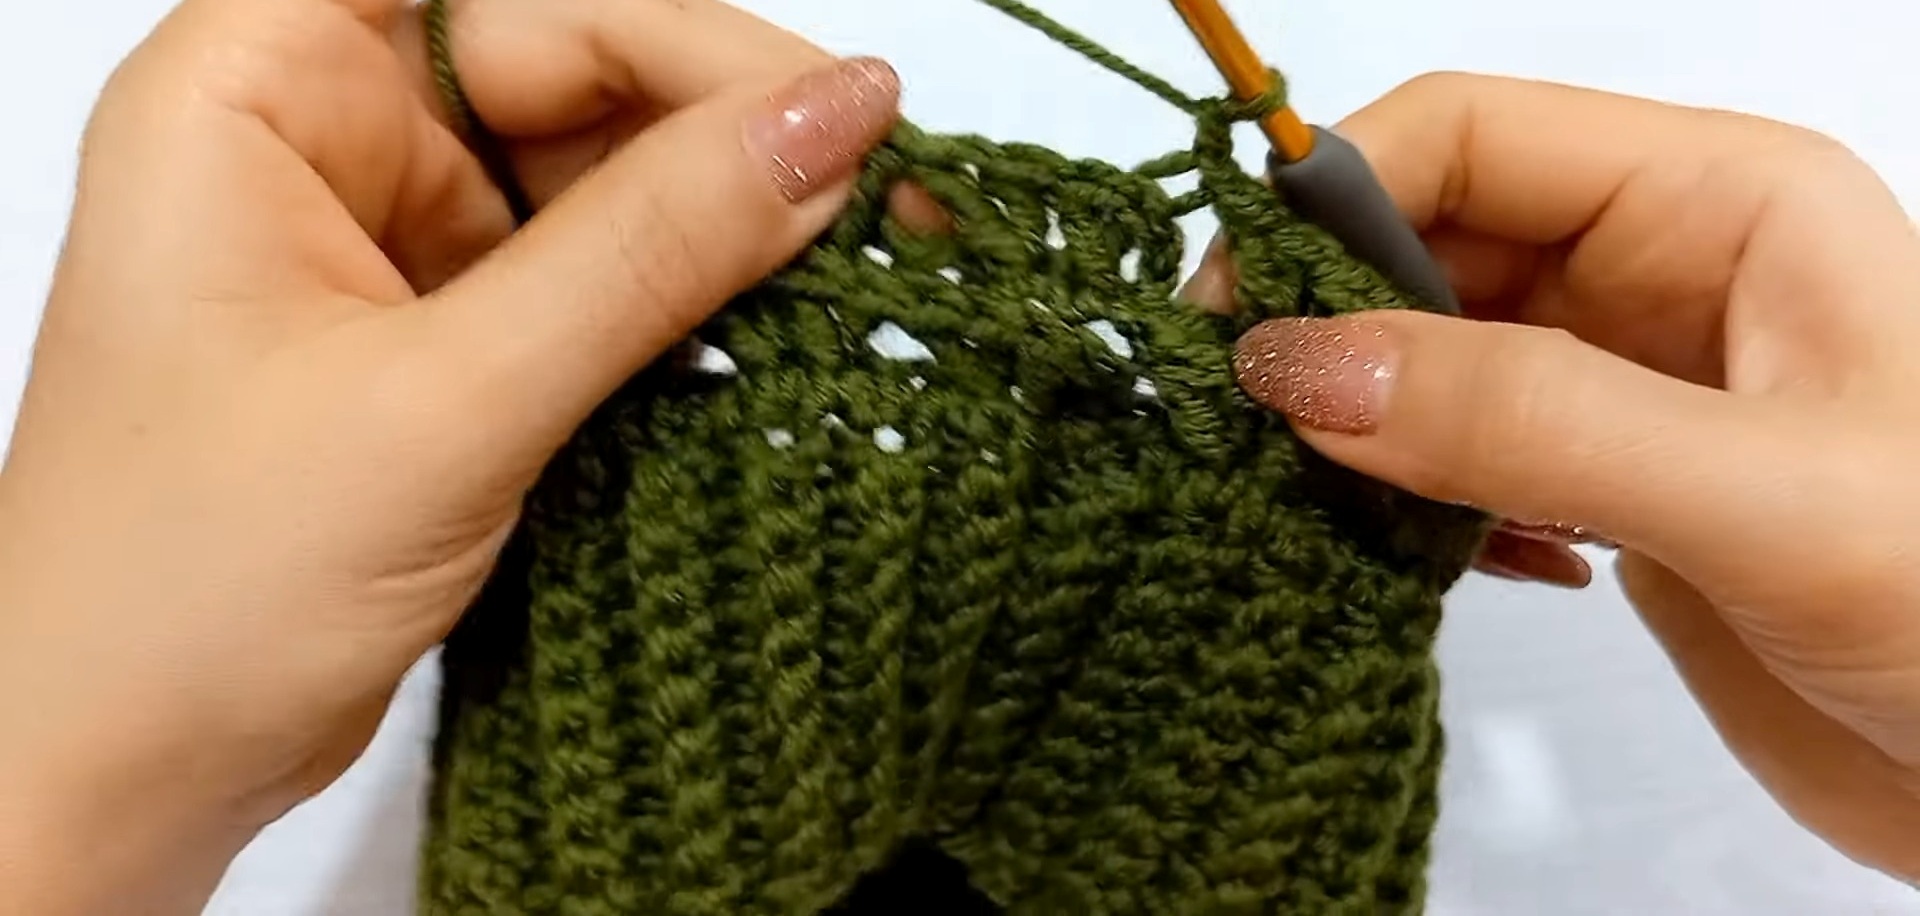
Step 4: Repeat the Body Rounds
- Alternate between Round 1 (SC in third loop) and Round 2 (FPDC clusters) until the hat reaches your desired height.
- For an adult hat, this is typically around 18 cm (7 inches) from the edge of the brim to the top.
Step 5: Shape the Crown
- Decrease Round 1:
- Chain 1.
- Work SC2TOG in the third loop across the first two stitches. SC into the third loop of the next stitch.
- Repeat the sequence until the end.
- Join with a slip stitch.
- Decrease Round 2:
- Chain 2.
- Work 2 FPDC around the first stitch, skip the next stitch.
- Repeat until the end.
- Join with a slip stitch.
- Last Round (Closing the Top):
- Chain 1.
- Work SC2TOG in the third loop across all pairs of stitches until you reach the last few stitches.
- Fasten off, leaving a long tail.
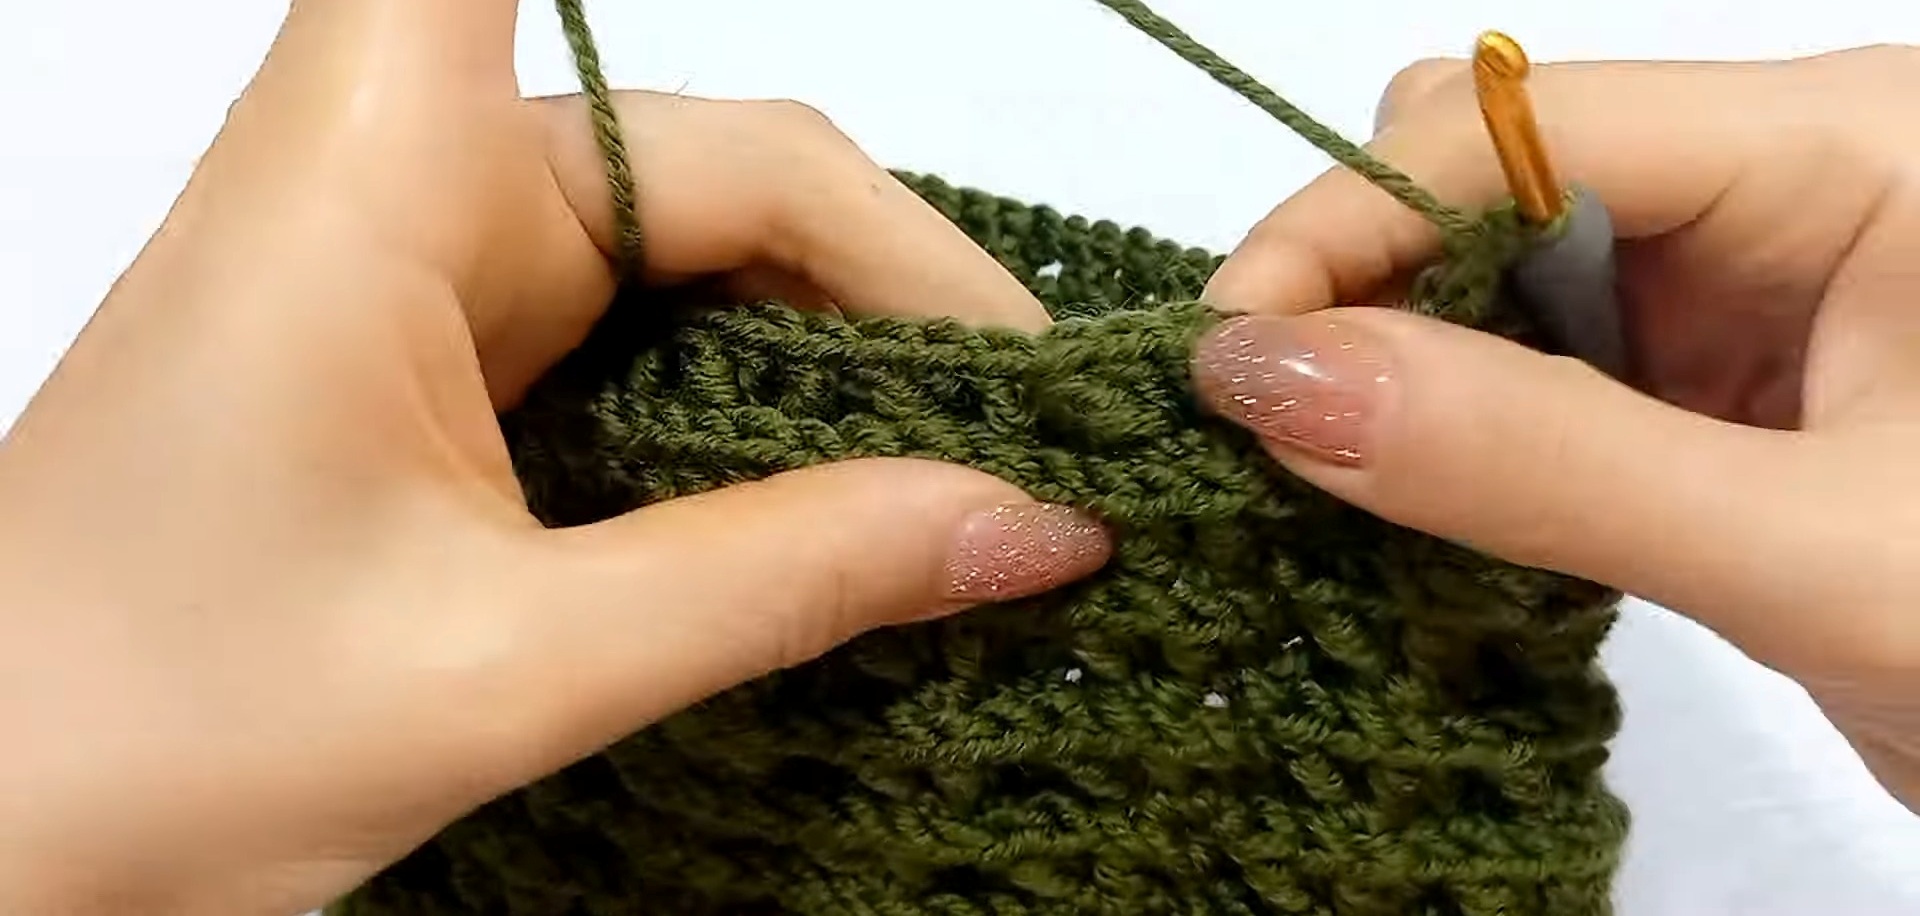
Step 6: Close the Crown
- Thread the long tail onto a tapestry needle.
- Weave the needle through the front loop of the remaining stitches.
- Pull the thread tightly to close the hole.
- Secure the yarn on the inside of the hat, trim the excess, and weave in all loose ends.
Step 7: Add Decorative Touches
- Attach a pom-pom to the top for a stylish finish.
- You can use faux fur pom-poms or create a yarn pom-pom for a cozy look.