Crochet Baby Hat Pattern for 0-3 Months
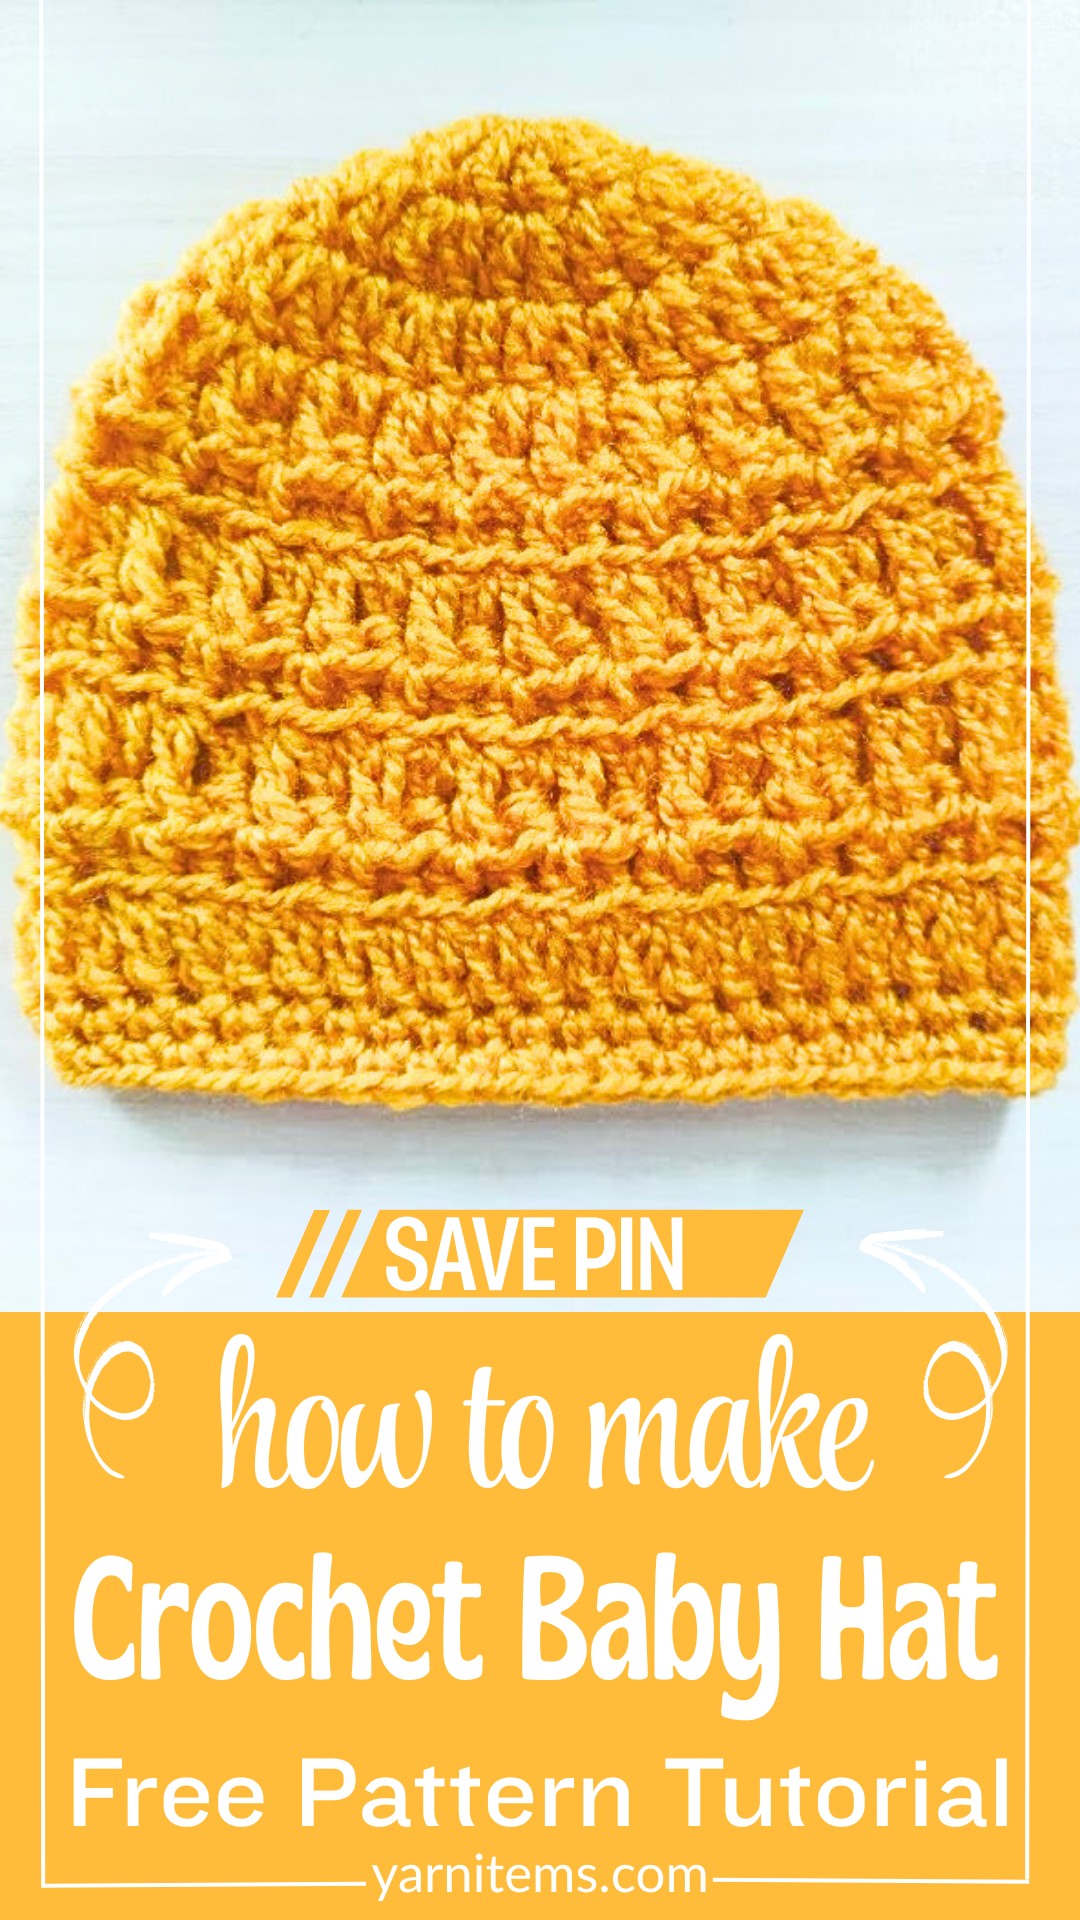
Some of the sweetest handmade pieces are also the simplest to create. This crochet baby hat is designed for newborns from 0 to 3 months, offering a soft and comfortable fit that helps keep little heads warm.
Its classic shape and cozy texture make it a lovely item for everyday wear or special memories. Even with basic crochet skills, you can enjoy making something both practical and full of heartfelt charm.
Crochet Baby Hat Tutorial
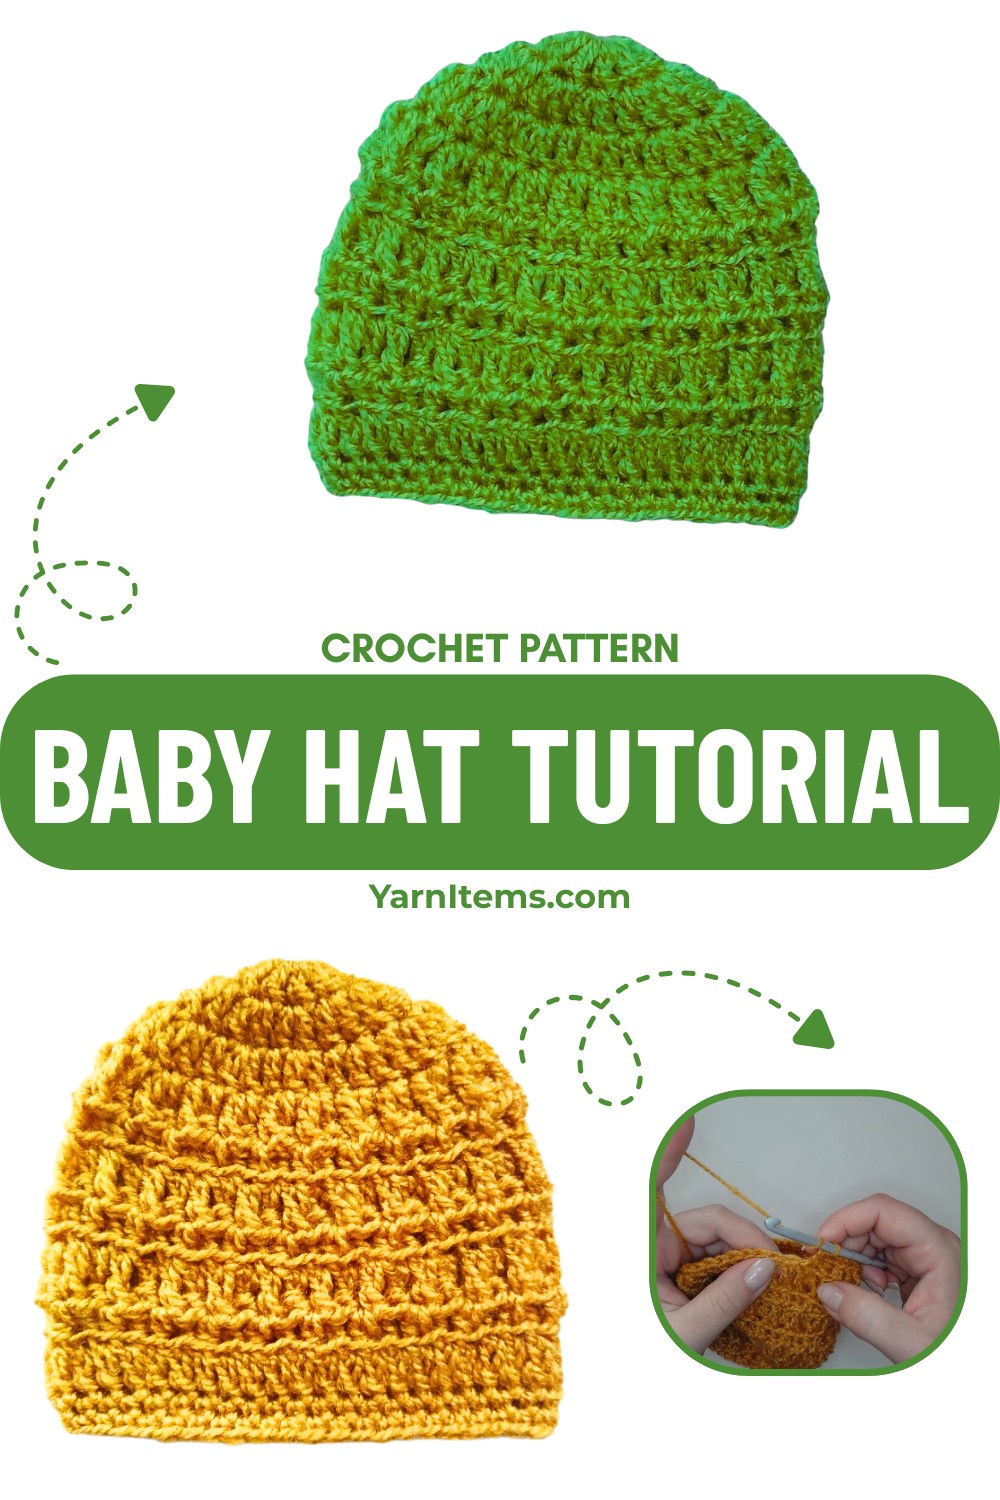
Tiny stitches come together faster than you might expect in this adorable crochet piece. Made with medium-weight yarn and a 5 mm hook, it has a lightweight feel that works well across different seasons.
The neat design also makes it a thoughtful handmade gift for baby showers or welcoming a new arrival. The details below explain everything in a simple and easy-to-follow way, helping you create a beautiful baby crochet hat with confidence.
Credit Crochet With Anna
Beginner vs. Pro: Which Method Is Best?
- Beginners will appreciate the simple stitches (dc, hdc, sc), step-by-step guidance, and repetitive rounds.
- Pros can use this pattern as a base and adapt it for more intricate designs.
Materials & Tools Needed
- Medium-weight yarn: Choose soft yarn suitable for babies (example: acrylic or cotton).
- 5 mm crochet hook: This size matches the gauge required for this pattern.
- Yarn needle: Used for weaving in ends.
- Scissors: For cutting yarn after finishing.

Pattern Notes
- Skill level: Beginner-friendly.
- Stitch count management: Chain 2 at the beginning of a round does not count as a stitch.
- This pattern creates a baby hat size 0–3 months.
- Round 4 is the last round of increases; the remaining rounds shape the hat body and brim.
Pattern Abbreviations & Terminology
- ch: Chain
- dc: Double crochet
- hdc: Half double crochet
- bpdc: Back post double crochet
- sc: Single crochet
- sl st: Slip stitch
- st(s): Stitch(es)
Finished Size & Customization Ideas
- Size: Designed for 0–3 months.
- To customize sizes:
- Larger size: Add additional rounds of increases (similar to Rounds 3–4).
- Smaller size: Use a thinner yarn and smaller hook (e.g., 4 mm).
- You can alternate color schemes for stripes or add embellishments like flowers or pom-poms.
Small Details That Make a Huge Difference
- Back post double crochet rounds (Round 5, 7, 9) add texture and a professional ribbed look to the hat brim.
- Working in the back loop only (Round 6, 8, 10) prevents the fabric from curling, creating stretch and flexibility.
- Ensure you count your stitches at the end of each round for accuracy.

Step-by-Step Detailed Crochet Instructions
Round-by-Round Instructions:
Round 1:
- Start with a slip knot.
- Chain 3 (this forms the base for the ring).
- Join to the first chain with a sl st to form a small ring.
- Chain 2 (does not count as a stitch).
- Work 11 dc into the ring.
- Join to the first dc of the round with a sl st.
- Stitch count: 11 sts.
Round 2:
- Chain 2 (does not count as a stitch).
- Work 2 dc into each stitch around.
- Join to the first dc of the round with a sl st.
- Stitch count: 22 sts.
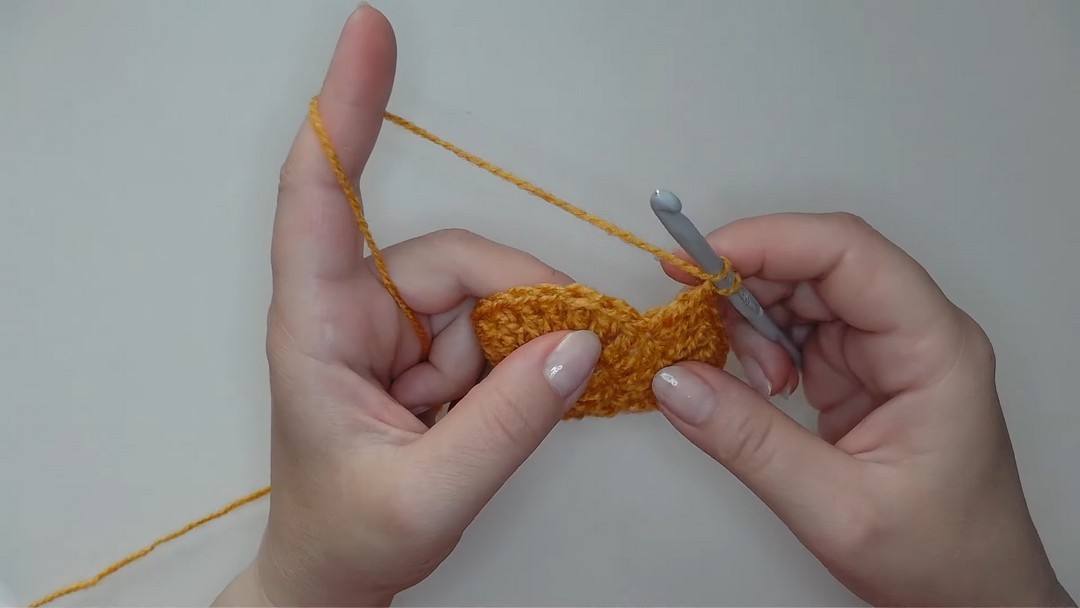
Round 3:
- Chain 2.
- Alternate:
- 1 dc in the first stitch.
- 2 dc in the next stitch.
- Repeat (1 dc, 2 dc) to the end of the round.
- Join to the first dc of the round with a sl st.
- Stitch count: 33 sts.
Round 4:
- Chain 2.
- Alternate:
- 1 dc in each of the first 2 stitches.
- 2 dc in the next stitch.
- Repeat (1 dc, 1 dc, 2 dc) to the end of the round.
- Join to the first dc of the round with a sl st.
- Stitch count: 44 sts.
Note: From this point, stop increasing.
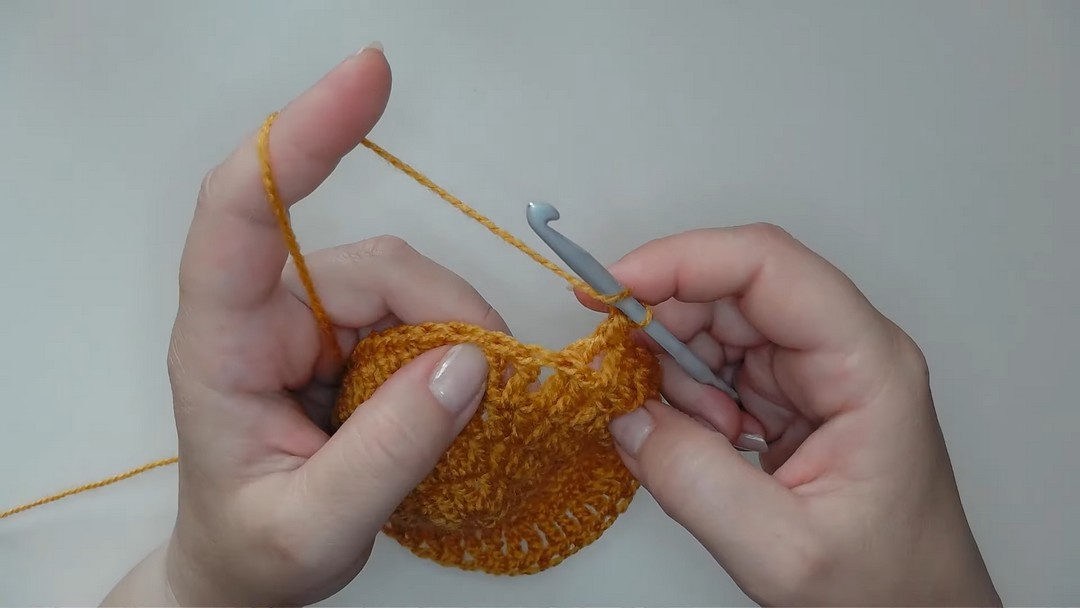
Round 5:
- Chain 2.
- Alternate:
- 1 hdc in the first stitch.
- 1 bpdc around the next stitch.
- Repeat (hdc, bpdc) to the end of the round.
- Join to the first hdc of the round with a sl st.
Round 6:
- Chain 2.
- Work 1 dc in the back loop of each stitch around.
- Join to the first dc of the round with a sl st.

Round 7:
- Repeat Round 5 (hdc and bpdc pattern).
Round 8:
- Repeat Round 6 (dc in back loop only).
Round 9:
- Repeat Round 5 (hdc and bpdc pattern).
Round 10:
- Repeat Round 6 (dc in back loop only).
Round 11:
- Chain 1.
- Work 1 sc in each stitch around.
- Join to the first sc of the round with a sl st.

Round 12:
- Repeat Round 11 (sc in every stitch).
- Join to the first sc of the round with a sl st.
- Chain 1, cut yarn, and pull through.
Assembly & Finishing
- Weave in all ends using a yarn needle.
- Ensure the slip knot at the starting ring is secure.
Care Tips to Make It Last Longer
- Hand wash the hat using baby-safe detergent.
- Lay flat to dry to preserve shape.
- Avoid high heat when drying or ironing to prevent yarn damage.
Bonus Ideas You’ll Want to Try Next
- Add stripes by switching colors after Round 4.
- Crochet a matching pair of booties or mittens in the same stitch pattern.
- Attach a pom-pom or decorative applique for added style.
Conclusion
This Easy Crochet Baby Hat tutorial is perfect for beginners looking to create adorable handmade gifts for newborns. The thoughtful use of textured stitches ensures both flexibility and durability, while customization options allow for creativity. Follow these step-by-step instructions to complete a cozy baby hat that’s sure to be cherished.