How to Crochet a Cozy Earflap Hat
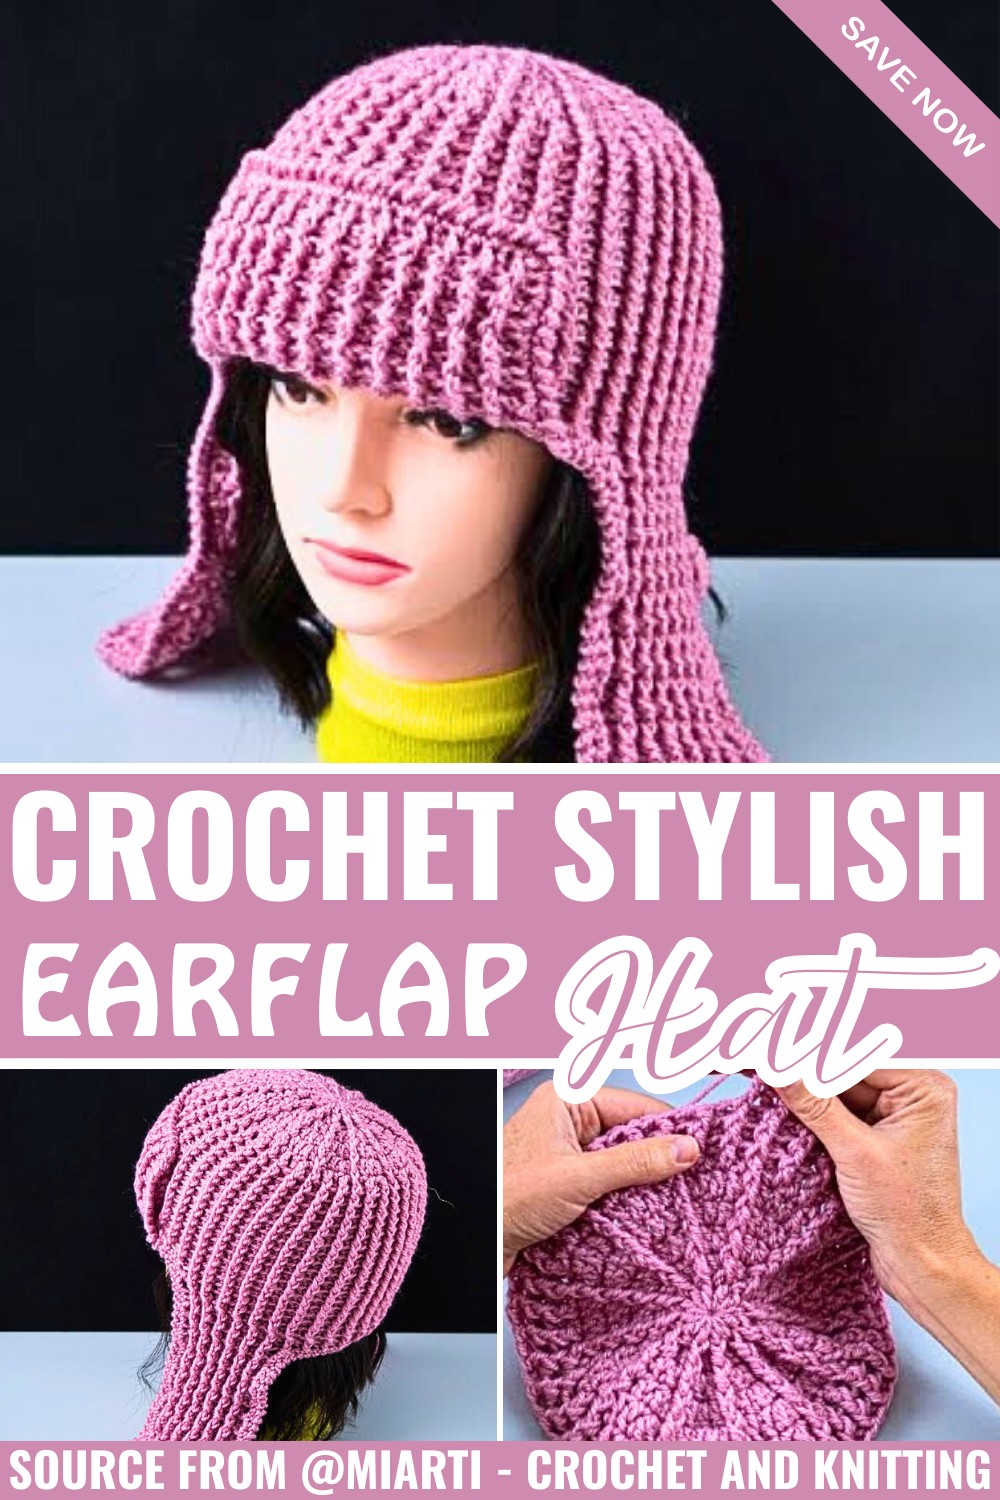
The coziest winter accessories often come with the simplest handmade details. This crochet earflap hat combines soft texture, extra warmth, and a stylish look that fits perfectly into cold-weather outfits.
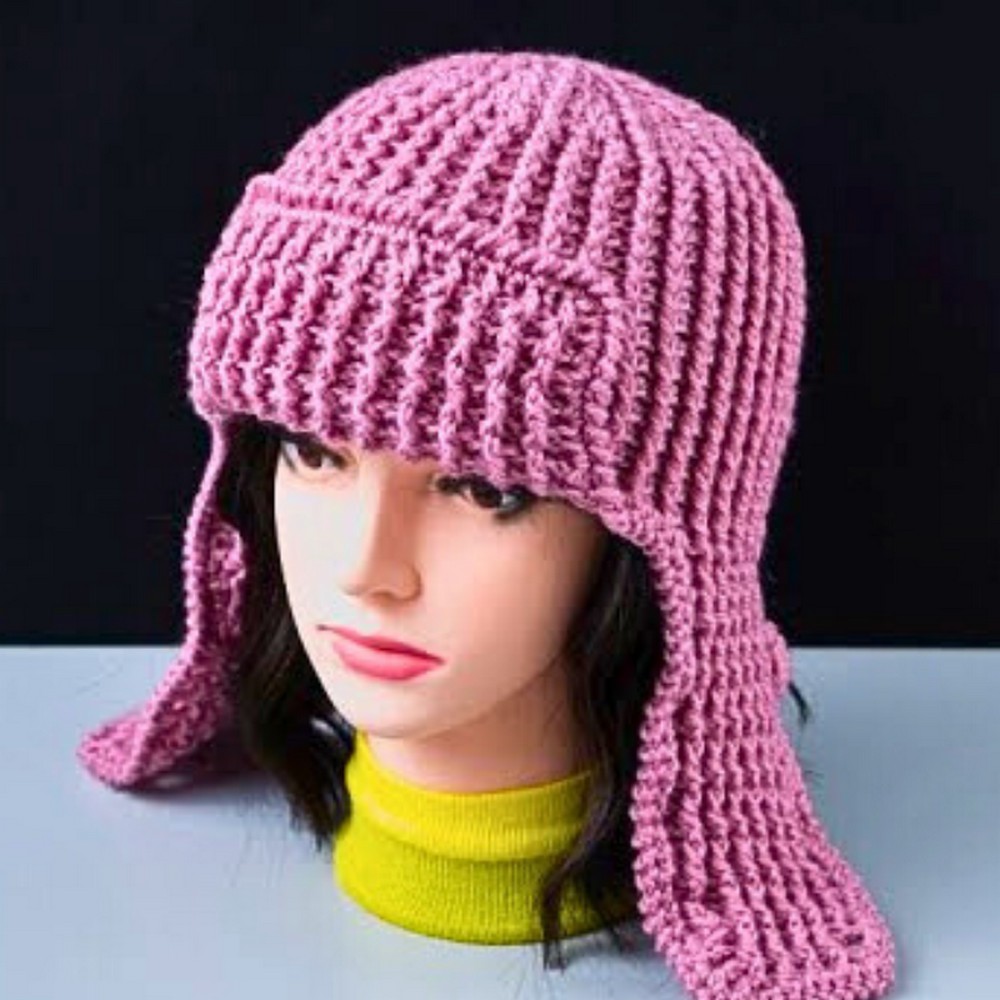
The snug earflaps help protect against chilly winds while giving the piece a playful and timeless finish. It is a comfortable crochet item that blends everyday function with handmade charm.
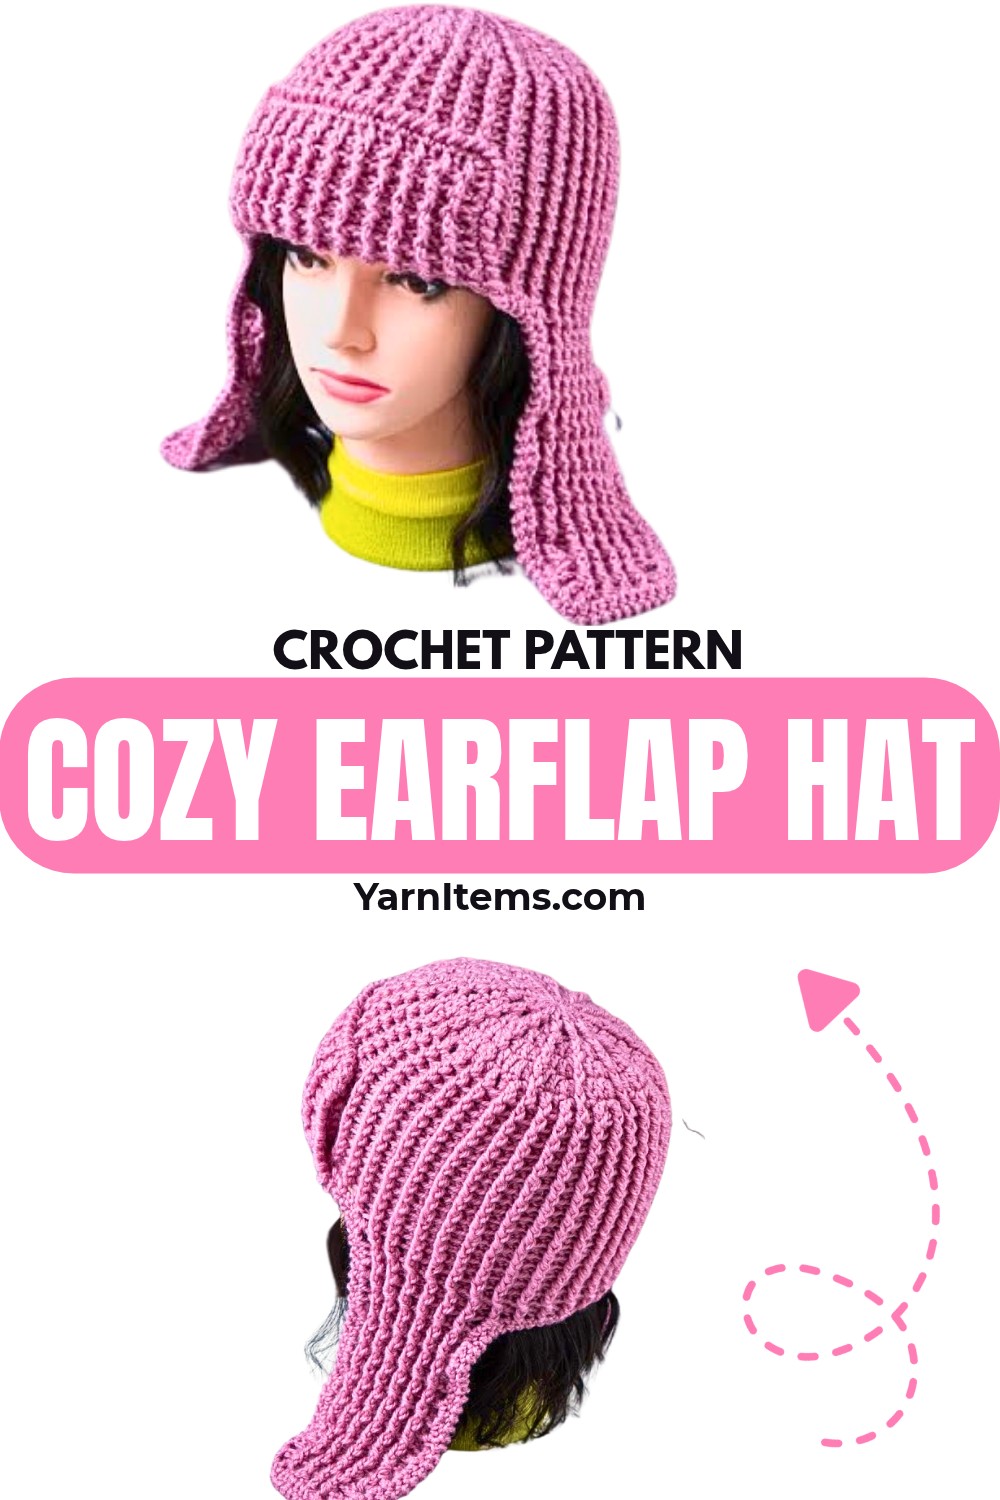
A well-designed crochet hat can make every cold day feel a little more comfortable. This crochet piece is easy to personalize with your favorite colors, making it suitable for adults, teens, or thoughtful handmade gifts. Its cozy fit and fashionable appearance make it a wonderful choice for winter walks, outdoor adventures, or casual daily wear. The finished piece offers lasting comfort while adding a unique handmade touch to any wardrobe.
Credit Miarti – Crochet and Knitting
Materials & Tools
- Yarn: ~130 g of Aran / Worsted weight yarn (210 m / 100 g, blend: 51% Acrylic, 49% Wool)
- Crochet Hook: 4.5 mm
- Additional Tools: Stitch markers, yarn needle, scissors, measuring tape
Finished Size & Customization
- Fit: Standard adult size for head circumference of 56–58 cm
- Flat Crown Diameter: ~16–17 cm before working the sides
Ideas for Customization
- Braids/Tassels: Add braided yarn tails or pom-poms to the earflaps.
- Colors: Try color-blocking or stripes, especially at Round 7.
- Lining: Add a fleece or faux fur lining for warmth.
Key Notes
- Pattern Construction: Top-down rounds for crown & main body, then rows for earflaps/back section.
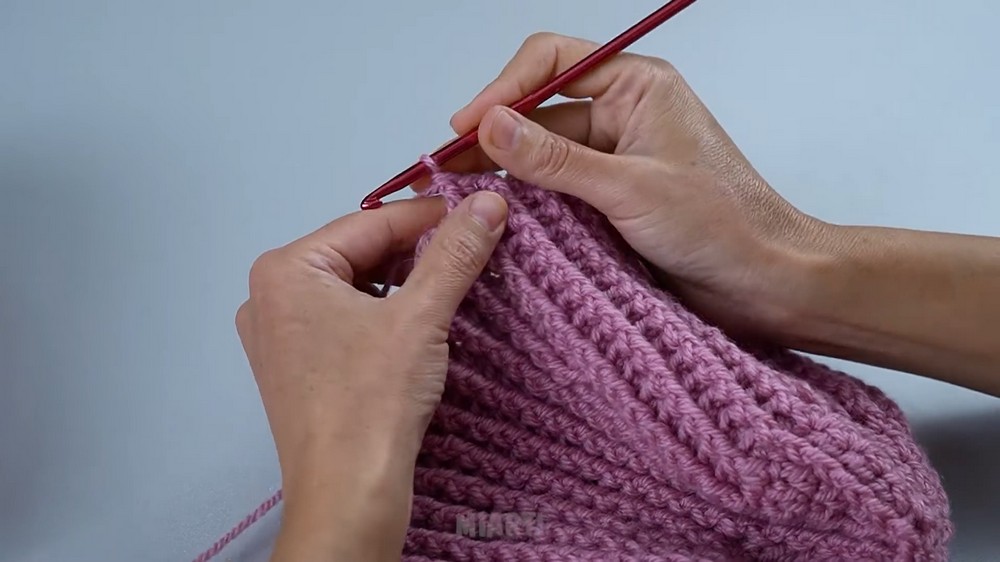
- Ribbed Texture: Alternates using FPDC and BPDC stitches.
- Important Tips:
- Maintain uniform tension for a neat ribbing texture.
- Use stitch markers to evenly measure sections like earflaps.
Pattern Abbreviations (US Terms)
- MR: Magic Ring (Magic Circle)
- CH: Chain
- ST / STS: Stitch / Stitches
- DC: Double Crochet
- FPDC: Front Post Double Crochet
- BPDC: Back Post Double Crochet
- DEC: Decrease (Double Crochet 2 Together using post stitches where specified)
- SC: Single Crochet
- Reverse SC: Crab Stitch / Reverse Single Crochet (worked backward for edging)
- SS: Slip Stitch
- REP: Repeat
- INT: Intervals / Pattern Repeats
Tips Before You Start
1. Maintain Post Stitch Tension
- Keep your tension uniform when pulling up loops for FPDC and BPDC.
- This helps prevent puckering along the ribbed ridges.
2. Marker Placement for Earflaps
- Carefully place the stitch markers to separate the earflaps, back section, and front flap.
- Proper placement ensures the project remains perfectly symmetrical.
Step-by-Step Instructions
1. Crown & Main Body (Worked in Rounds)
Start with a Magic Ring:
- Round 1: 2 CH + 11 DC into MR. Join with SS. (12 sts)
- Round 2: 2 CH, 1 FPDC, 1 DC in same st (REP 11x). Close with SS. (24 sts)
- Round 3: 2 CH, 2 DC in 1 st, 1 FPDC around next st (REP 11x). Close with SS. (36 sts)
- Round 4: 2 CH, 1 DC, 2 DC in 1 st, 1 FPDC (REP 11x). Close with SS. (48 sts)
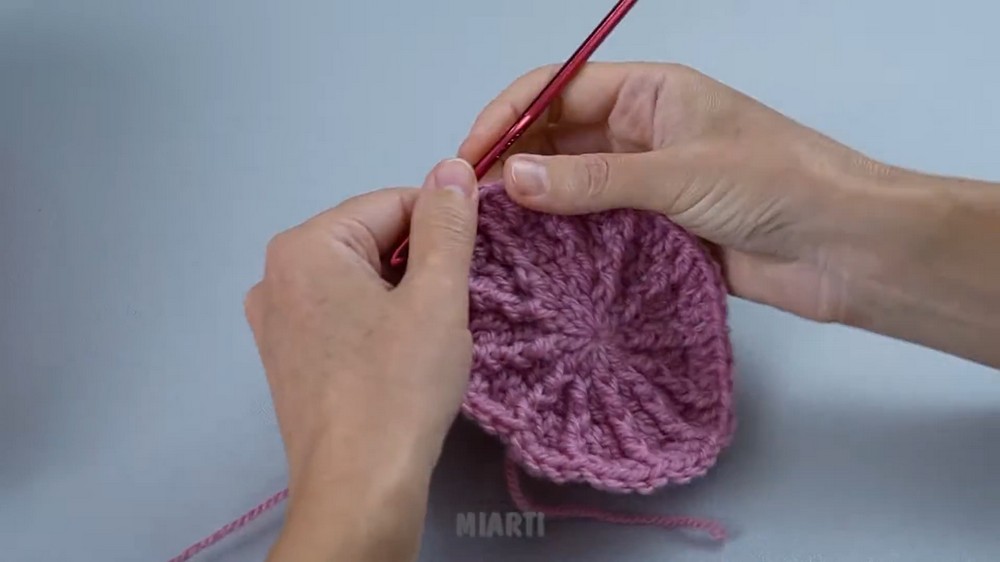
Increase rounds continue similarly until the flat crown reaches 16–17 cm diameter.
Ribbed Body:
- Rounds 7–21: Work 1 FPDC, 1 BPDC pattern around to build height. Break yarn at the end of Round 21.
2. Earflaps & Sections
Section the Hat:
- Fold the hat flat, divide sections using stitch markers:
- 24 stitches for each earflap.
- Center the back section between earflaps.
Earflaps (Make 2):
Start by joining yarn at the earflap marker.
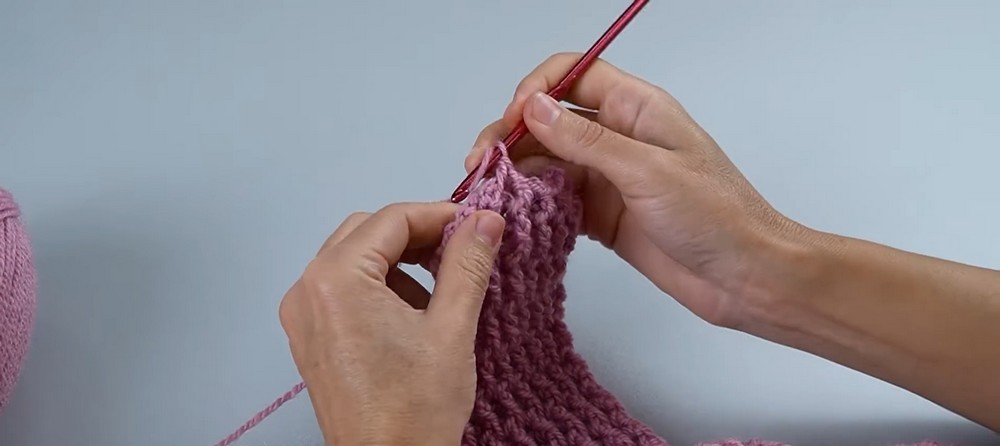
- Row 1: 2 CH, 1 FPDC, 1 BPDC for 17 sts.
- Rows 2–12: Alternate FPDC/BPDC as established.
- Row 13: Decrease row (start and end with DEC). (15 sts)
- Row 15: Decrease row again. (13 sts)
- Works symmetrically across Rows 1–16; Fasten off.
Repeat for the second earflap on the opposite side.
3. Back Section
- Rows 1–12: Work 1 FPDC, 1 BPDC across the back section, between earflaps.
- Fasten off.
4. Edge Finishing
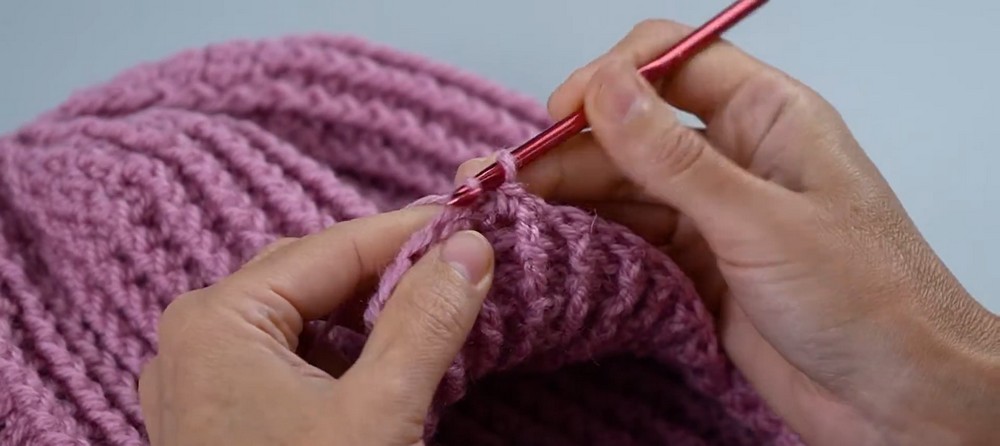
- Single crochet along the full perimeter, including earflaps and back rim.
- Finalize with 1 round of Reverse SC (Crab Stitch) for a decorative finish.
5. Front Flap Assembly
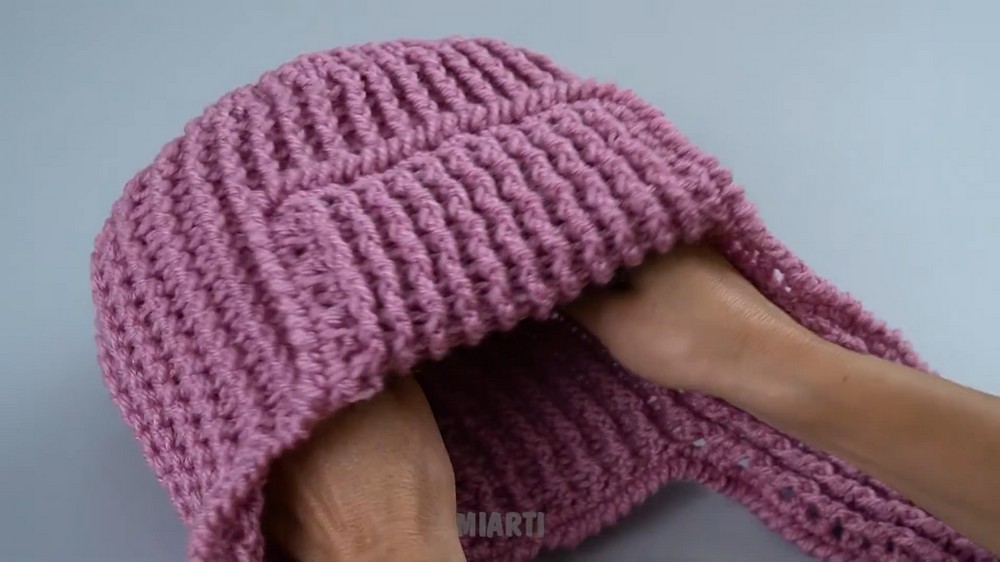
- Fold the back section upward over the forehead, creating a fold-over visor.
- Sew the corners of the flap to securely attach it.
Final Touches
1. Front Flap Placement
- Take the 12-row back extension section of the hat.
- Fold it upward over the front forehead portion of the hat to create the fold-over front visor/flap.
- Ensure that the fold aligns evenly and sits flat.
2. Securing the Flap
- Thread a yarn needle with matching yarn.
- Carefully tack down the left and right upper corners of the folded front flap to the main body of the hat.
- Make sure the stitches are secure but discreet.
3. Weaving Ends
- Use the yarn needle to weave in and secure all remaining loose yarn tails.
- Work the ends into the inside stitches of the hat for a clean finish.
- Trim off excess yarn after securely weaving in the ends.
Conclusion
Enjoy your cozy, stylish crochet earflap hat with textured ribbing! Its snug fit and extended ear coverage make it perfect for chilly weather. Customize further with colors and accents to make it uniquely yours.