Free Crochet Pinecone Christmas Ornaments For Decor
Some of the prettiest Christmas decorations come from the smallest details, and these crochet pinecone ornaments are a perfect example.
Their layered shape gives them the look of real woodland pinecones. While adding a handmade touch that suits crochet Christmas trees, wreaths, garlands, and wrapped gifts. They fit beautifully with rustic, farmhouse, or classic holiday themes and are small enough to make several in different colors and sizes.
Crochet Pinecone Christmas Pattern
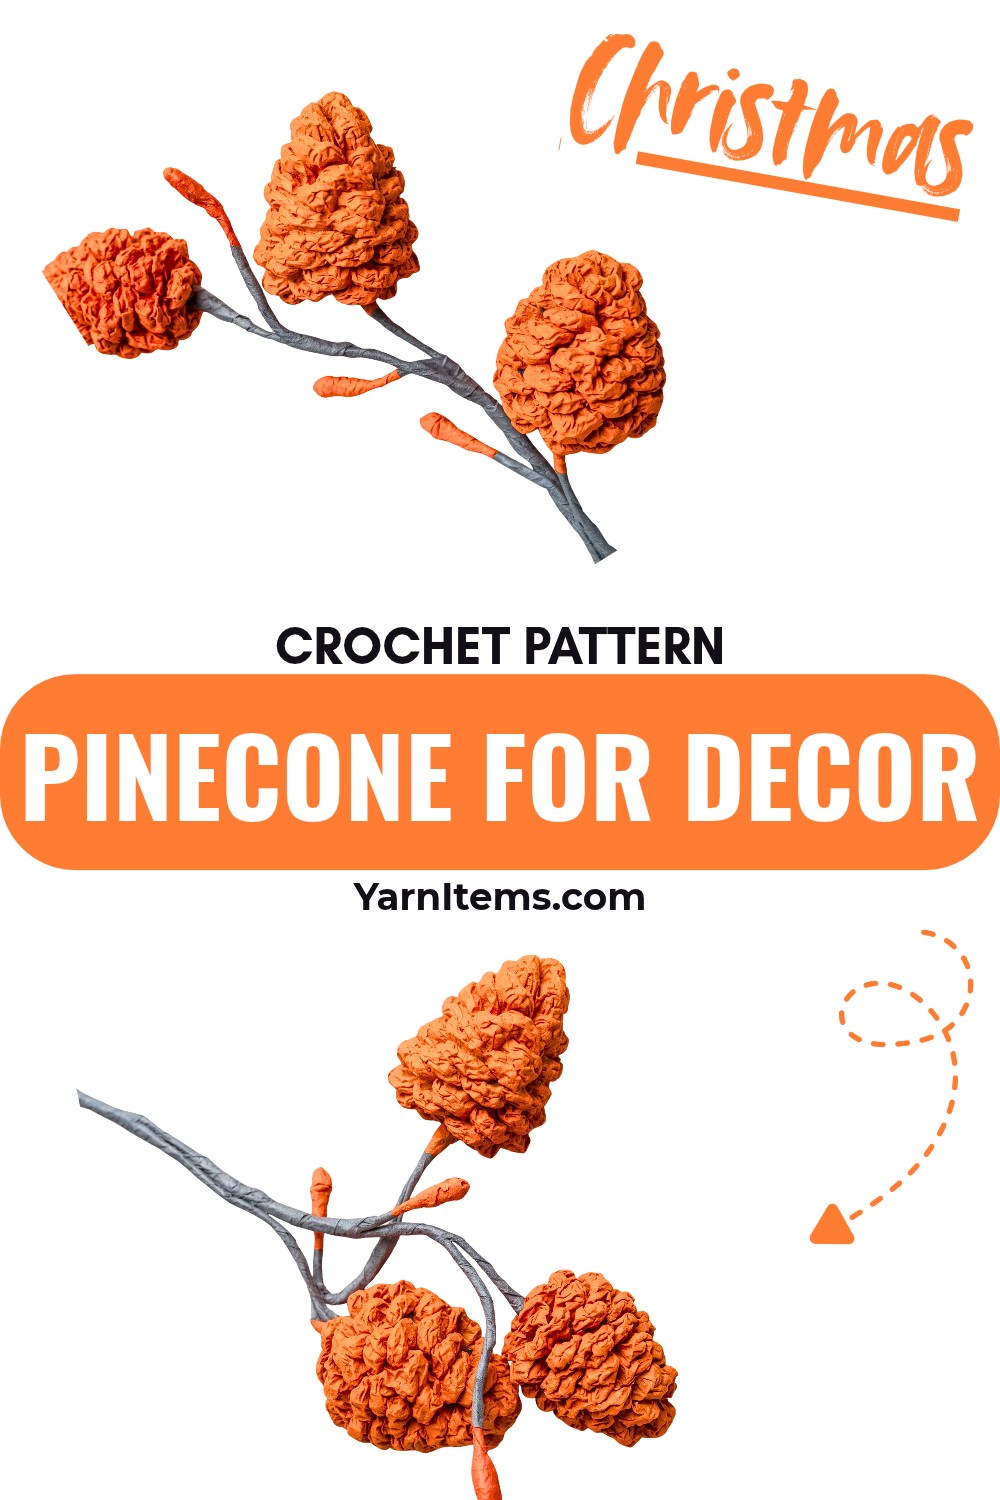
This crochet pattern shows how each round gradually builds the pinecone’s distinctive shape without making the process feel complicated. A few basic stitches and a little repetition are all it takes before the design starts to come together. Keep scrolling to see how these charming crochet ornaments are made and create a collection that will return to your holiday decorations year after year.
Credit creative couple channel
Materials & Tools Needed:
- Yarn: DK or sport-weight in pinecone brown or rust color.
- Crochet Hook: Size No. 2 (2.0 mm).
- Stuffing: Fiberfill (polyester toy stuffing).
Optional (Stem & Assembly):
- Floral wire (thick) for branch structure.
- Brown or dark green floral tape.
- Pliers/wire cutters.
- Tapestry needle and scissors.
Finished Size & Customization Ideas:
- Size: Approximately 2-2.5 inches in height (depends on tension/yarn weight).
- Rustic Garland Idea: Crochet multiple pinecones and string them on jute twine for a holiday garland.
- Snowy Tips: Use white acrylic or fabric paint to add a snowy effect by dabbing the tips of the pinecone scales.
Pattern Abbreviations & Terminology:
-
ch: chain
-
sc: single crochet
-
dc: double crochet
-
inc: increase (2 single crochets worked in the same stitch)
-
dec: decrease (single crochet 2 stitches together)
-
dc inc: double crochet increase (2 double crochets worked in the same stitch)
-
sl st: slip stitch
-
BLO: Back Loop Only
-
FLO: Front Loop Only
-
*** (asterisk): indicates repeating the sequence inside the parentheses a specified number of times.
Step-by-Step Crochet Instructions:
Component 1: The Inner Base (Cone)
All stitches from Rounds 1–9 are worked in BLO.
- Round 1: (The Tip, BLO)
- Make a magic ring.
- Work 6 sc into the magic ring.
- Pull the ring closed. (6 sts)
- Round 2: (First Increases, BLO)
- Work (sc inc) x6. (12 sts)
- Round 3: (Second Increases, BLO)
- Work (2 sc + sc inc) x4. (16 sts)
- Round 4: (Widening the Base, BLO)
- Work (2 sc + sc inc) x5, then add 1 sc in the final stitch. (21 sts)
- Round 5: (Solid Height, BLO)
- Work 21 sc evenly around. (21 sts)
- Round 6: (Beginning Decreases, BLO)
- Work (2 sc + sc dec) x5, then add 1 sc in the last stitch. (16 sts)
- Rounds 7–8 (Straight Body, BLO):
- Work 16 sc evenly around. (16 sts)
- Round 9: (Final Shaping, BLO)
- Work (2 sc + sc dec) x4. (12 sts)
- Stuffing the Base:
- Firmly pack the base with fiberfill stuffing.
- Round 10-End: Closing the Base (Both Loops):
- Work (2 sc + sc dec) continuously around both loops until the opening is completely closed.
- Fasten off and weave in the end securely. If you’re continuing with the scales, do not cut your yarn or reattach it to the top.
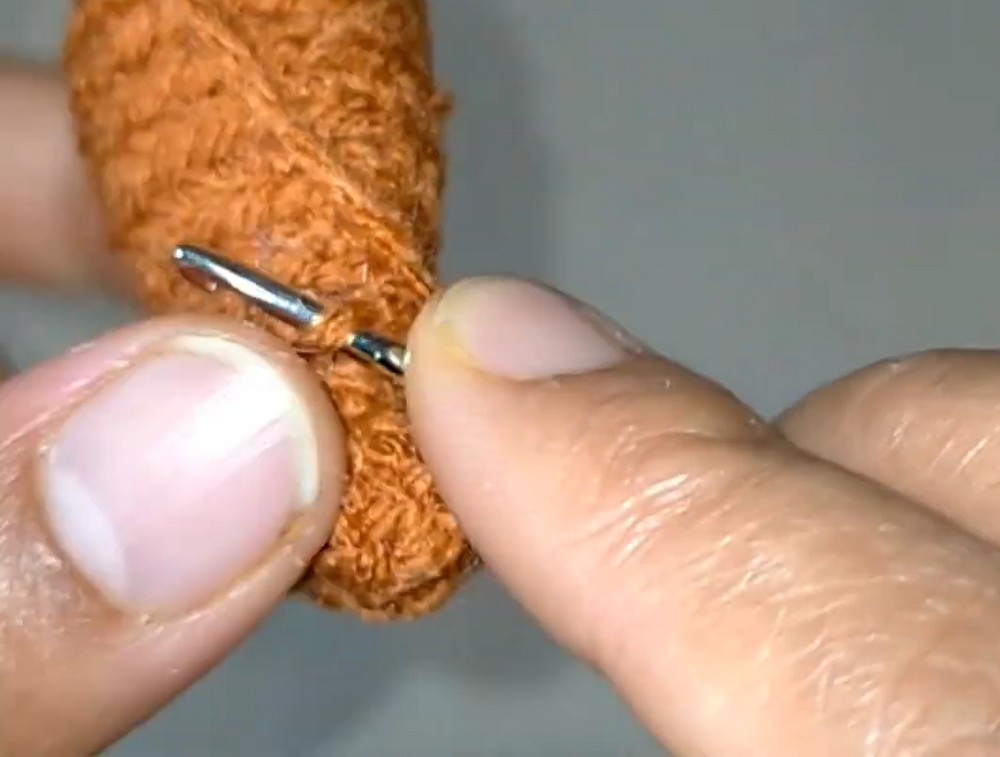
Component 2: The Pinecone Scales
Joining Yarn: Start at the top (Round 1) of the cone base, working into the unworked front loops left during earlier rounds.
- Part A: The Top Crown (Round 1 Front Loops)
- Locate 6 unworked front loops at the tip of the cone.
- In each of the 6 loops: Work
[2 ch + dc inc + 2 ch + sl st]in the same stitch. - Repeat this sequence 6 times to create a 6-petal crown.
- Part B: Spiraling Down the Pinecone (Unworked Front Loops)
- Skip 1 front loop.
- In the next loop:
- Slip stitch into the stitch.
- Work
[sl st + 2 ch + dc inc + 2 ch + sl st]into the same stitch.
- Continue this sequence (skip 1 loop, then work a scale into the next) down the entire body.
- Once finished, fasten off and securely weave in the ends inside the cone.
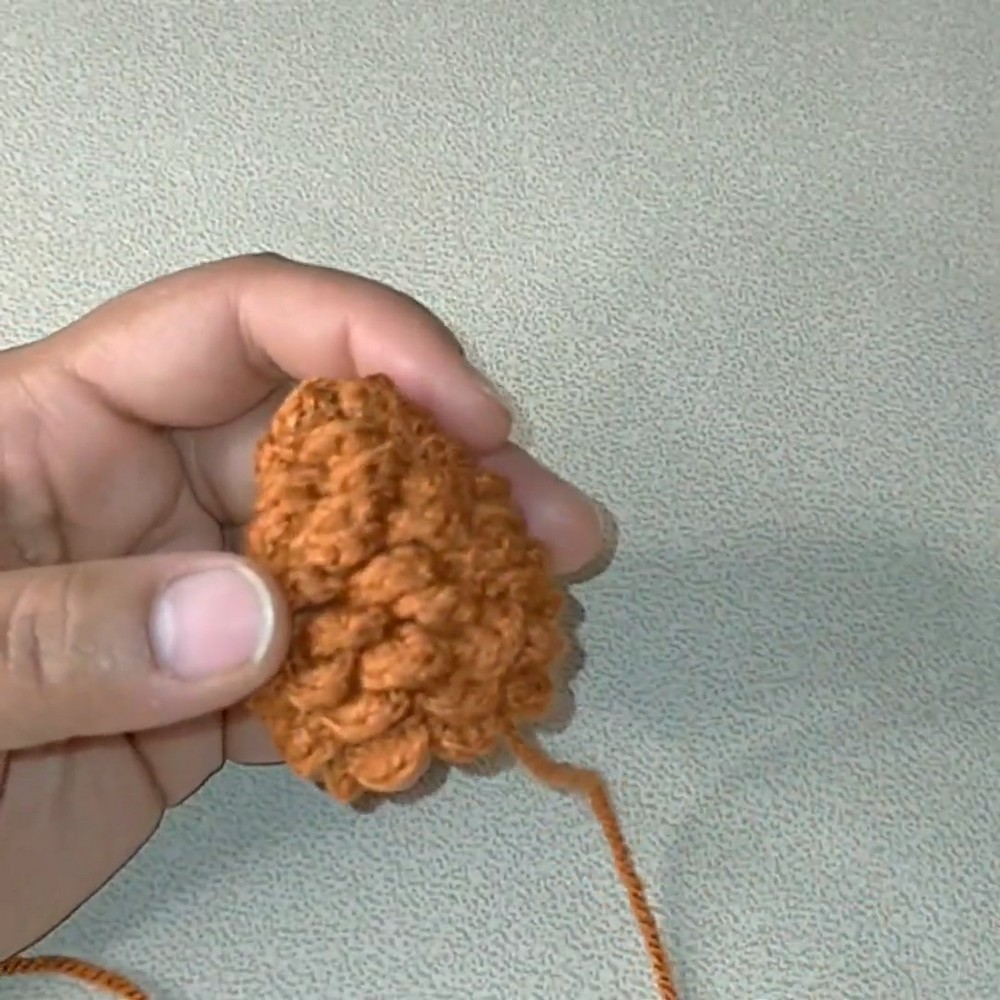
Component 3: The Branch and Buds Assembly
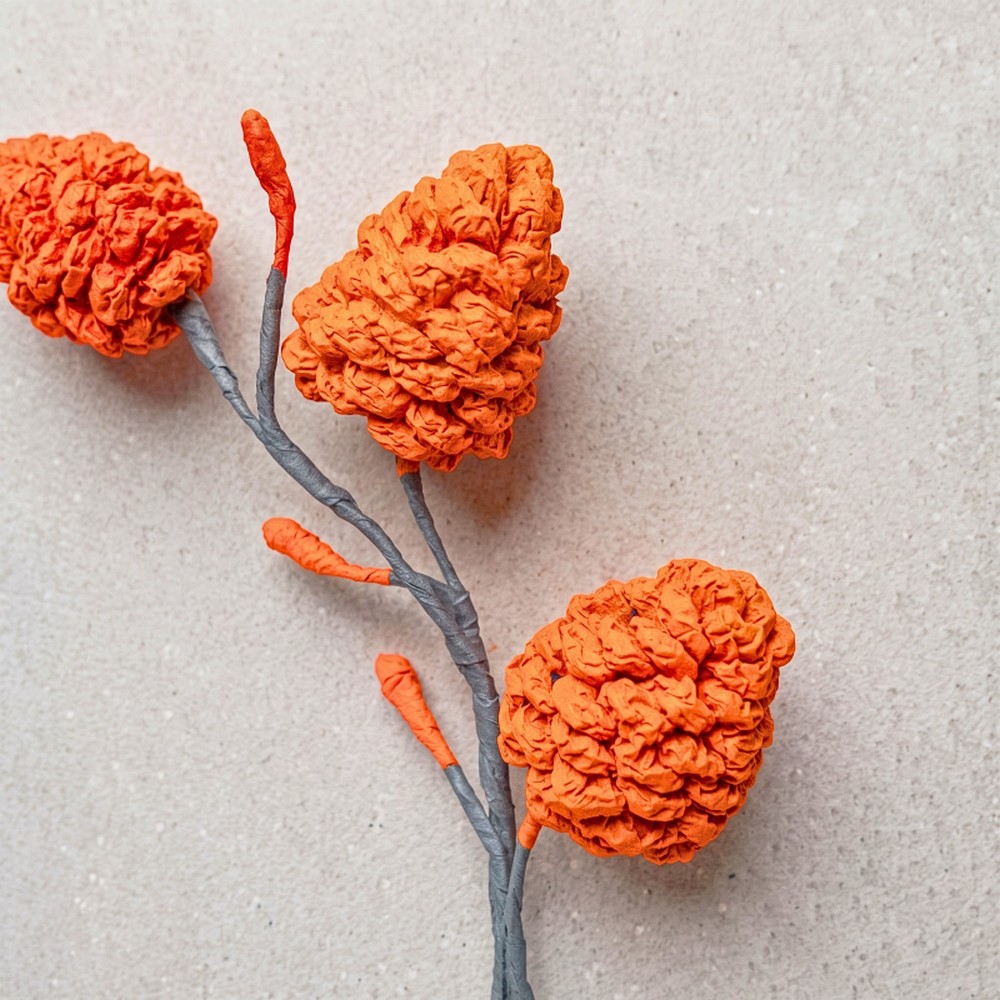
- Stem Wire: Insert floral wire through the pinecone’s bottom center to create a stem.
- Pinecone Buds: Create additional buds: Wrap a small 1-inch section of wire with brown/rust yarn and secure with glue or stitches for mini buds.
- Branch Assembly:
- Gather pinecone stems and buds into a bundle.
- Wrap with brown floral tape, tapering the shape for a natural, branch-like appearance.