Spiral Crochet Beanie Hat Pattern for Beginners
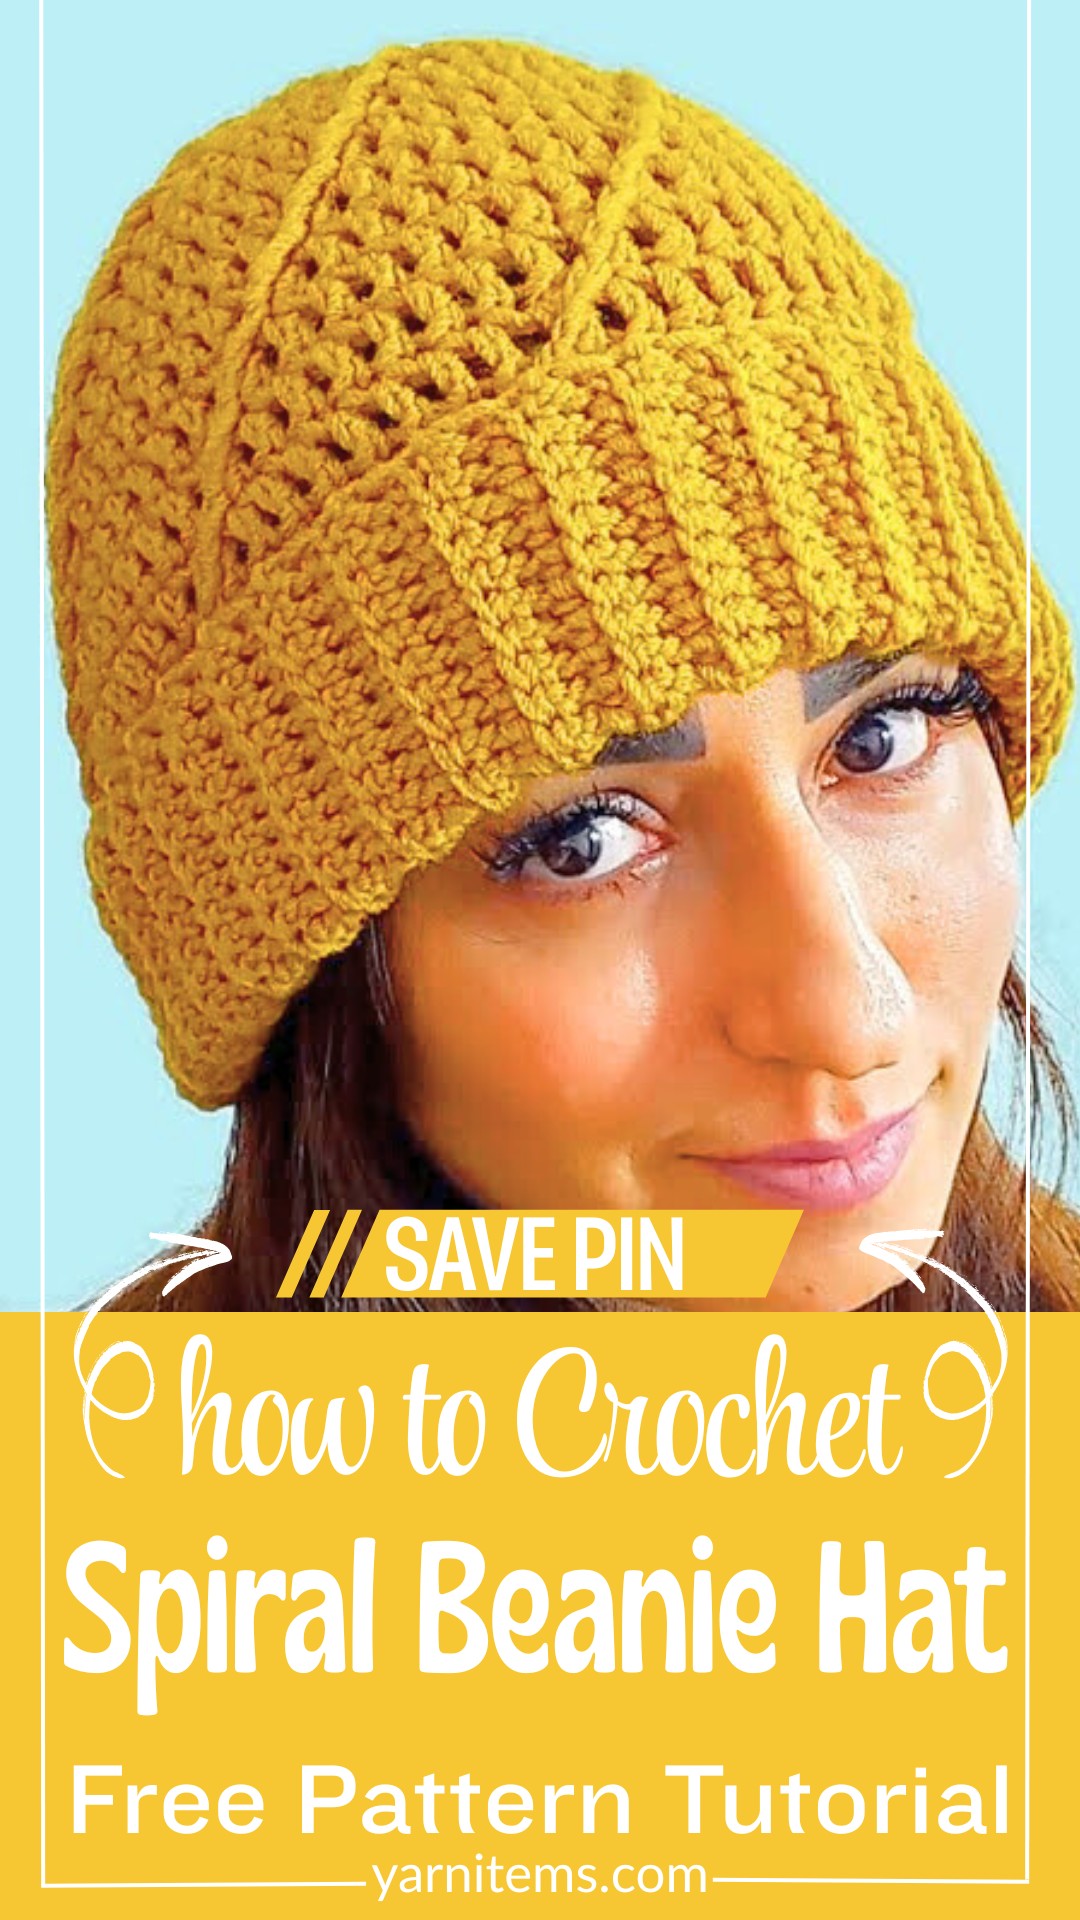
A simple spiral can transform an ordinary beanie into something truly eye-catching. The Spiral Crochet Beanie Hat features a smooth top-down design that creates a clean, seamless finish with a stylish twist.
Its modern texture pairs beautifully with classic comfort, making this piece suitable for everyday wear. The flexible crochet hat design also lets you personalize the size, color, and overall look with ease.

Comfort and versatility come together in an item you’ll reach for throughout the colder months. Made to keep you warm without sacrificing style, this crochet beanie is perfect for personal use or as a thoughtful handmade gift.
You can finish it with a folded brim for extra coziness or keep it simple for a sleek appearance. As you continue, you’ll see how the crochet spiral construction gradually shapes a beautiful finished piece.
Credit zhavin crochet
Estimated Time
Approximately 4-6 hours, depending on your crochet speed and familiarity with the techniques.
Materials & Tools Needed
- Yarn: 100g skein of medium-weight wool or acrylic yarn (~230 meters per skein).
- Crochet Hooks:
- Use a 5.0mm crochet hook for the body of the hat.
- Use a 4.5mm crochet hook for the brim.
- Scissors for cutting yarn.
- Yarn Needle for weaving in ends.
- Measuring Tape for checking size and diameter of the crown.
Smart Yarn-Saving Tricks Every Crocheter Should Know
- If the hat is for practice, work a swatch first to determine the amount of yarn needed.
- Use leftover pieces of yarn to make small accents for your hat or repurpose other yarn scraps for a multicolor design.
Finished Size & Customization Ideas
-
Finished Size:
- Diameter of crown after Round 6: ~16 cm (6.5 inches).
- Height of hat (excluding brim): ~20 cm (8 inches).
- Final hat height (with folded brim): ~25 cm (10 inches).
-
Customization Ideas:
- Adjust the circumference by increasing/decreasing the number of starting rounds.
- Experiment with different yarn colors to create stripes or color blocks for a unique look.
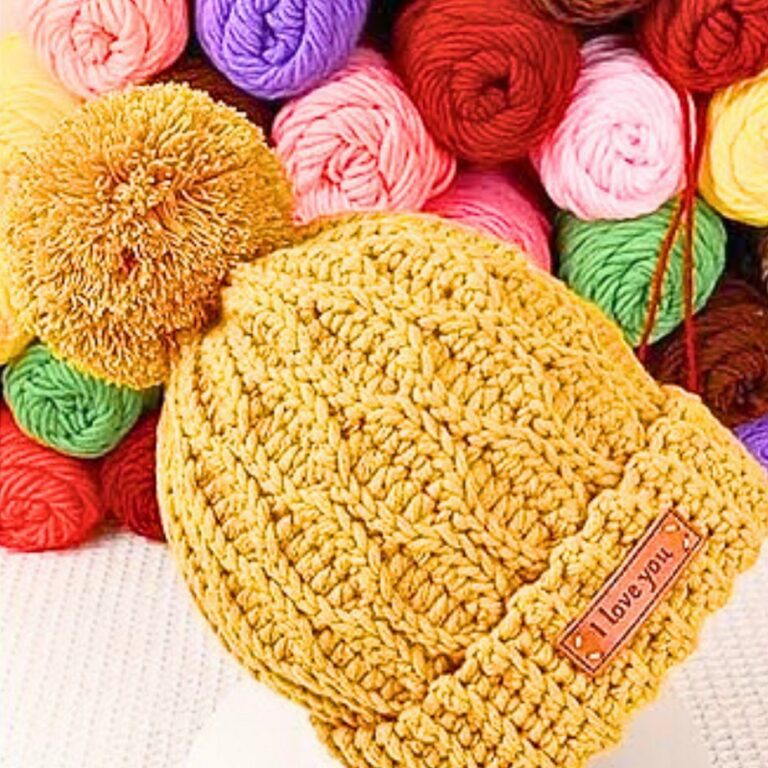
- Add a pompom to the top or apply embellishments like buttons on the fold.
Read These Pattern Notes Before Your First Stitch
- This is a top-down hat, worked in rounds, with gradual increases until the necessary circumference is reached.
- After the increase, the stitch count remains the same while building the height.
- The brim is worked as a separate ribbed section using single crochet in back loops only.
- Slipping the hook into specific stitches at the start of rounds ensures a seamless spiral effect.
Crochet Faster With These Genius Time-Saving Hacks
- Use stitch markers to track the front post double crochet stitches on each round.
- Practice smooth transitions between regular stitches and post stitches to speed up the process.
- Use an ergonomic crochet hook if crocheting for long periods.

Pattern Abbreviations & Terminology
- ch: Chain
- sl st: Slip Stitch
- sc: Single Crochet
- dc: Double Crochet
- fpdc: Front Post Double Crochet
- dec: Decrease (invisible decrease)
- BLO: Back Loop Only
Gauge and measurements are vital to achieving the desired size.
Simple Ways to Make This Pattern Uniquely Yours
- Alternate colors every few rounds for a striped design.
- Add textured stitches (like puff or popcorn stitches) to the body of the hat.
- Adjust the brim length to create a short-edge or exaggerated folded brim.
Step-by-Step Detailed Crochet Instructions
Crown: Rounds 1–6
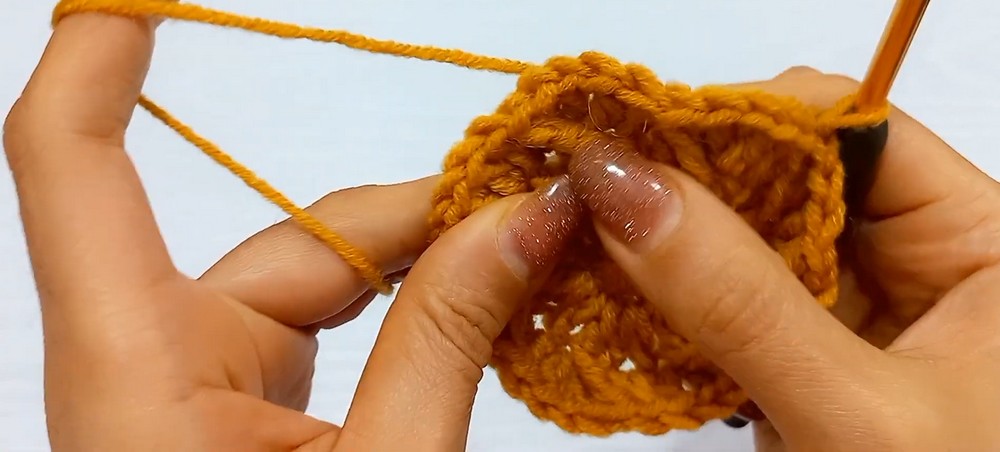
- Round 1:
- Start with a magic ring or chain 4 and join with a slip stitch (sl st) to form a ring.
- Chain 1 (does not count as a stitch), make 12 single crochets (sc) into the ring.
- Slip stitch into the first single crochet to join.
- Total stitches: 12.
- Round 2:
- Chain 3 (counts as the first double crochet).
- Make 1 double crochet (dc) into the same stitch.
- Increase by making 2 double crochets into each stitch of Round 1.
- Sl st into the third chain to join.
- Total stitches: 24.
- Round 3:
- Chain 3 (counts as first dc).
- Make 1 double crochet in the same stitch.
- Insert a front post double crochet (fpdc) around the first dc from the previous round.
- Continue the sequence: 2 dc into the next stitch, fpdc.
- Slip stitch into the third chain to join.
- Total stitches: 40.
- Round 4:
- Chain 3 (counts as first dc).
- Work 1 dc into every stitch, including fpdc stitches.
- Add fpdc around the fpdc stitches from Round 3.
- Total stitches remain 40.
- Repeat Rounds 3 and 4, increasing stitches until the diameter reaches ~16 cm (usually by Round 6).

Body: Rounds 7–16
- Once the diameter is achieved, stop increasing. Continue working evenly in 72 stitches (without increasing or decreasing).
- Alternate fpdc stitches for the spiral effect of the beanie.
- Repeat this sequence for 10-12 additional rounds or until desired body height is reached (~8 inches).
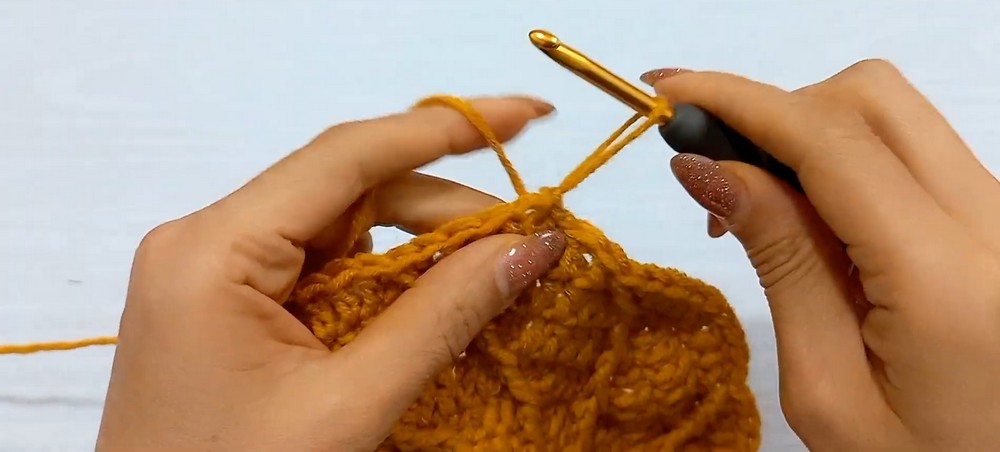
Brim: Rows 1–72 (Ribbed fold-over brim)
- Switch to a 4.5mm hook.
- Chain 14 (or more for a taller brim).
- Work back loop only (BLO) single crochets (sc) across chains for a ribbed effect.
- At the end of each row, secure to the base of the hat using slip stitches and turn your work.
- Repeat until you’ve circled the base—approximately 72 ribbed rows.
- Seam the first and last rows together with slip stitches.
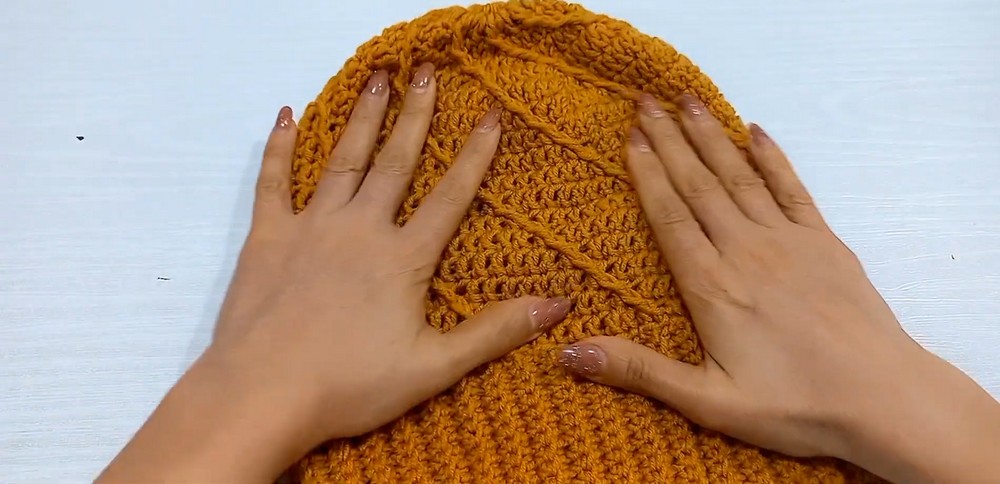
Final Assembly
- Tidy up loose ends by weaving them into your stitches using a yarn needle.
- Fold over the ribbed brim for a cozy finish.
- Block the hat lightly to even out stitches if needed.
Smart Storage Tips Every Crocheter Should Know
Beanies:
- Fold (Don’t Roll): Always fold your beanies instead of rolling them. Rolling can stretch them out and distort their shape over time.
- Use Acid-Free Tissue Paper: Place acid-free tissue paper inside the hat during storage to help maintain its structure and prevent creasing.
- Breathable Fabric Bags: Store beanies in breathable fabric bags (like cotton or muslin) to protect them from moisture, dust, and pests.
General Tips for All Crochet Patterns:
- Avoid Plastic Bags for Long-Term Storage: Plastic can trap moisture, leading to mold and mildew.
- Cedar or Lavender Sachets: Place cedar blocks or lavender sachets in your storage area as a natural moth repellent.
- Flat Storage for Large Items: Blankets or large shawls should be stored flat and folded neatly to avoid stretching.
- Label and Organize: Use clear bins or labeled boxes to categorize completed projects or WIPs (works-in-progress).
- Rotate: If storing for long periods, rotate folded items occasionally to prevent creasing.