
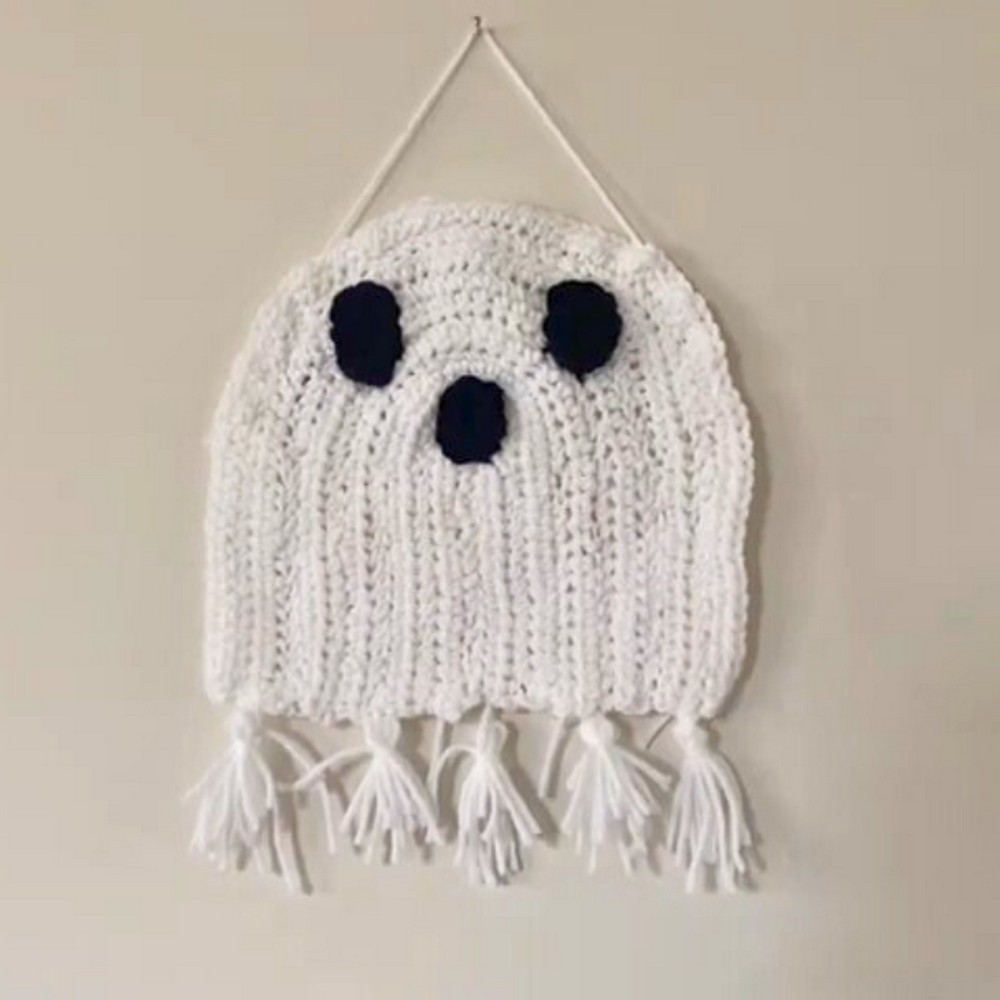
Ghost Wall Art is aspook-tacular decorative addition for your home, made entirely from layered crochet strips and fun embellishments.
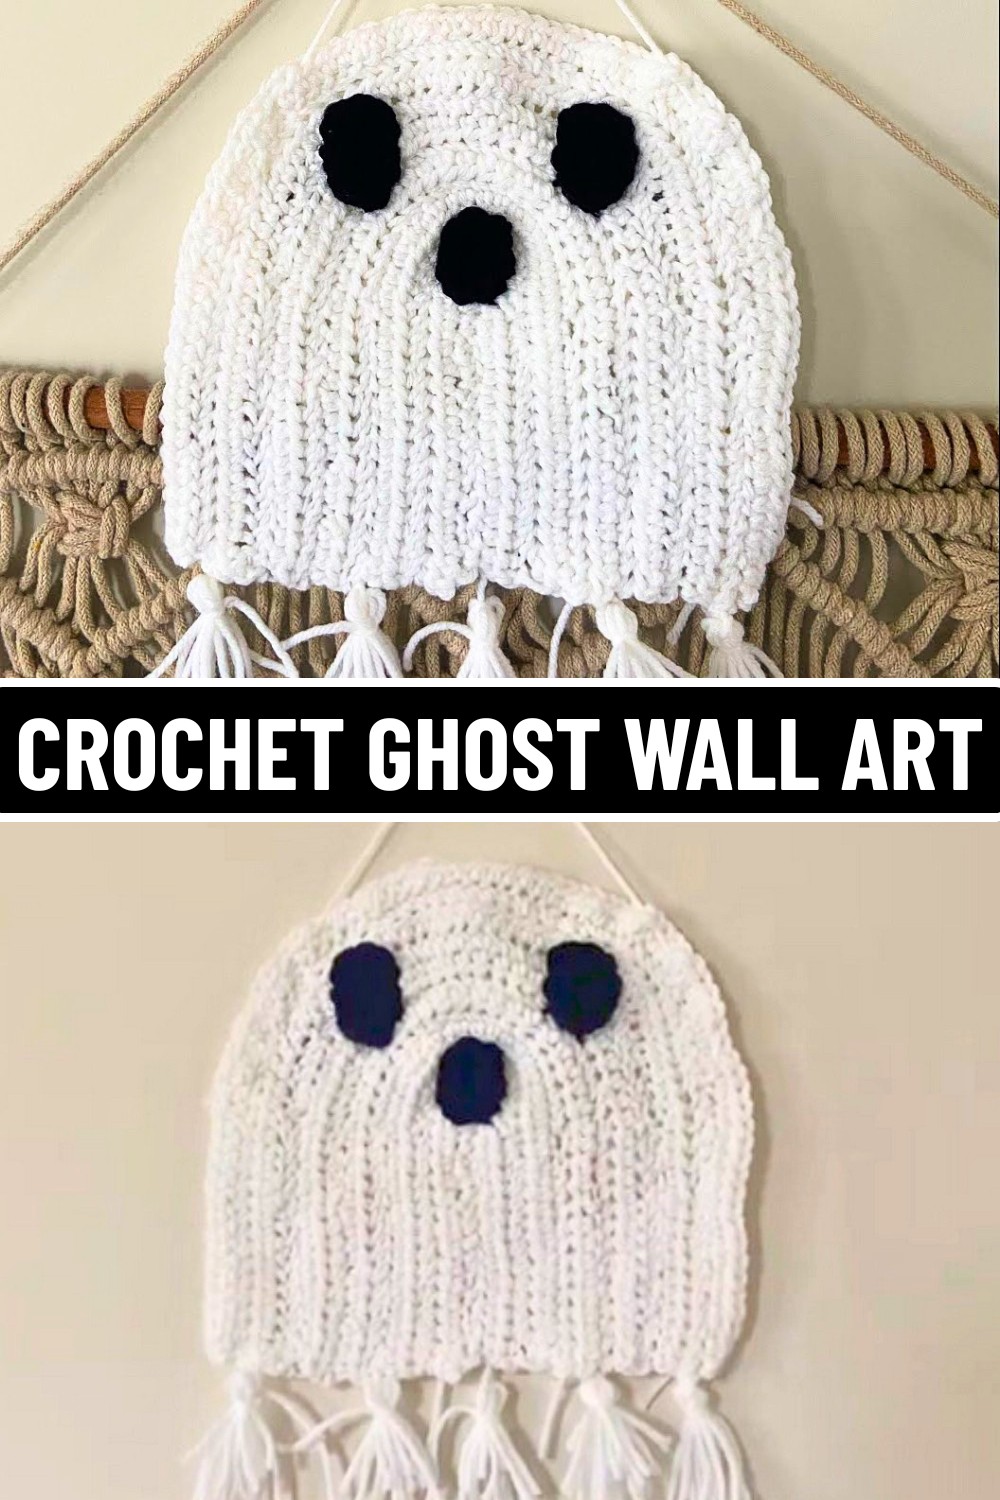
This Crochet Ghost Wall Art is a fun and easy way to add a touch of Halloween magic to your home. Perfect as a wall decoration for the fall season, it’s simple yet full of personality. Its cute and playful design makes it great for kids’ rooms, living spaces, or even as a hallway decoration. Plus, it’s lightweight and can be hung anywhere, creating a cozy, spooky vibe.
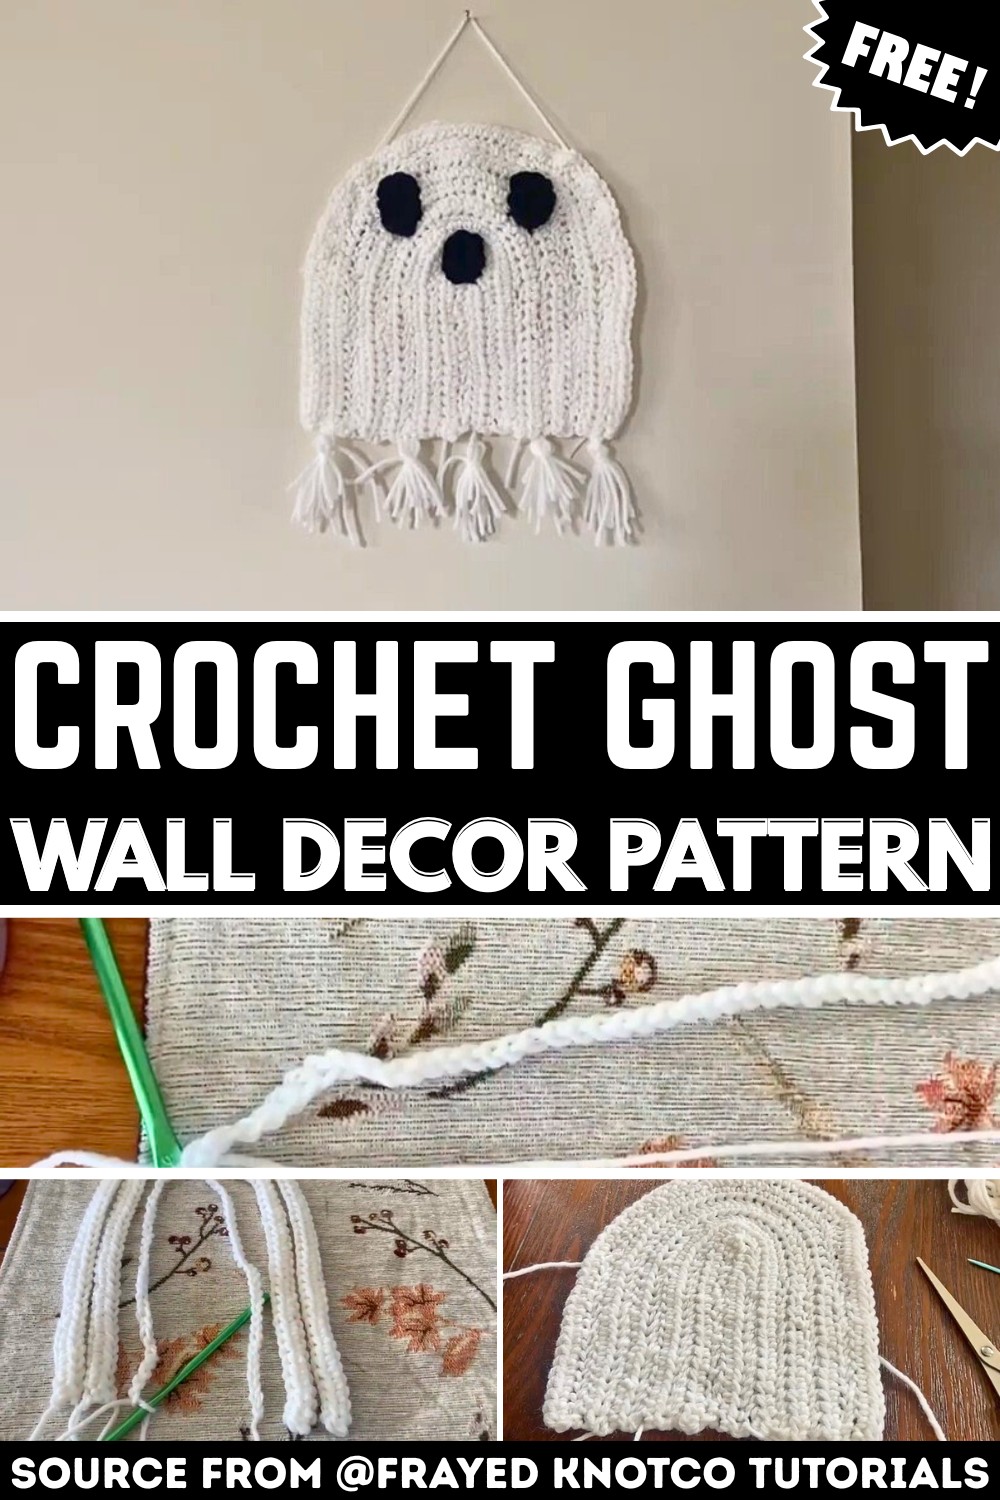
Crochet Ghost Wall Art Tutorial
What’s great about this crochet ghost is how simple it is to put together. You only need basic crochet skills to create its layered body, and the added tassels give it extra charm. The process is beginner-friendly, using easy stitches that build the ghost’s shape. To finish, the face is made with two oval eyes and a small mouth, tiny details that bring the ghost “to life.” The lightweight design makes it easy to hang using simple loops or even command strips.
Credit Frayed KnotCo Tutorials
Key Features & Construction:
- Layered Body: The ghost’s body is created from six strips crocheted in half-double crochet (HDC), increasing in length from smallest (39 stitches) to largest (79 stitches).
- Embellishments: Simple oval-shaped eyes and a small oval mouth are crocheted separately using black yarn for a hauntingly cute expression.
- Tassels & Hanging Loop: Optional tassels add playful movement, while a yarn loop at the top allows for easy wall hanging.
- Customization: Glitter or glow-in-the-dark yarn can be used to make the design unique, and creative alternatives like buttons can replace woven eyes.
The ghost begins its journey with crocheted strips of varying sizes, worked entirely in soothing rows of half-double crochet stitches. These strips stack to form its layered body, creating that classic “floating ghost” effect. The largest piece sets the foundation, while progressively smaller strips are stacked and sewn neatly on top. This technique is not only fun but straightforward, making the pattern accessible for beginners and experienced crocheters alike.

Each strip is fastened off with a small yarn tail, which will later help secure it to the next layer. To assemble the ghost’s body, begin with the smallest strip as the top layer and attach the pieces one by one. Weave along the top edge with yarn or sewing thread to ensure the layers stay firmly joined. The final step in the body assembly flattens the bottom edge, allowing the ghost to take shape while retaining that ethereal, flowing form.
Once the ghost’s body is complete, it’s time to bring its personality to life with eyes and a mouth. Both are crocheted as small oval shapes, using black yarn and a simple foundation chain followed by half-double rounds. The eyes should be slightly larger than the mouth, giving it a playful, spooky vibe. Simple adjustments, like increasing chains or stitches, allow you to customize the shapes easily to suit the ghost’s expression. Securely stitch these features to the ghost’s body to complete its recognizable look.
Optional tassels can be added to the bottom edge for extra movement and flair. These are created by wrapping white yarn around three fingers, tying off, and trimming loose ends. Attach tassels evenly along the bottom for a playful touch. Finally, a yarn loop attached to the ghost’s top corners allows for effortless hanging. Whether displayed from a command strip or a nail, this charming ghost will float gracefully in your desired space.

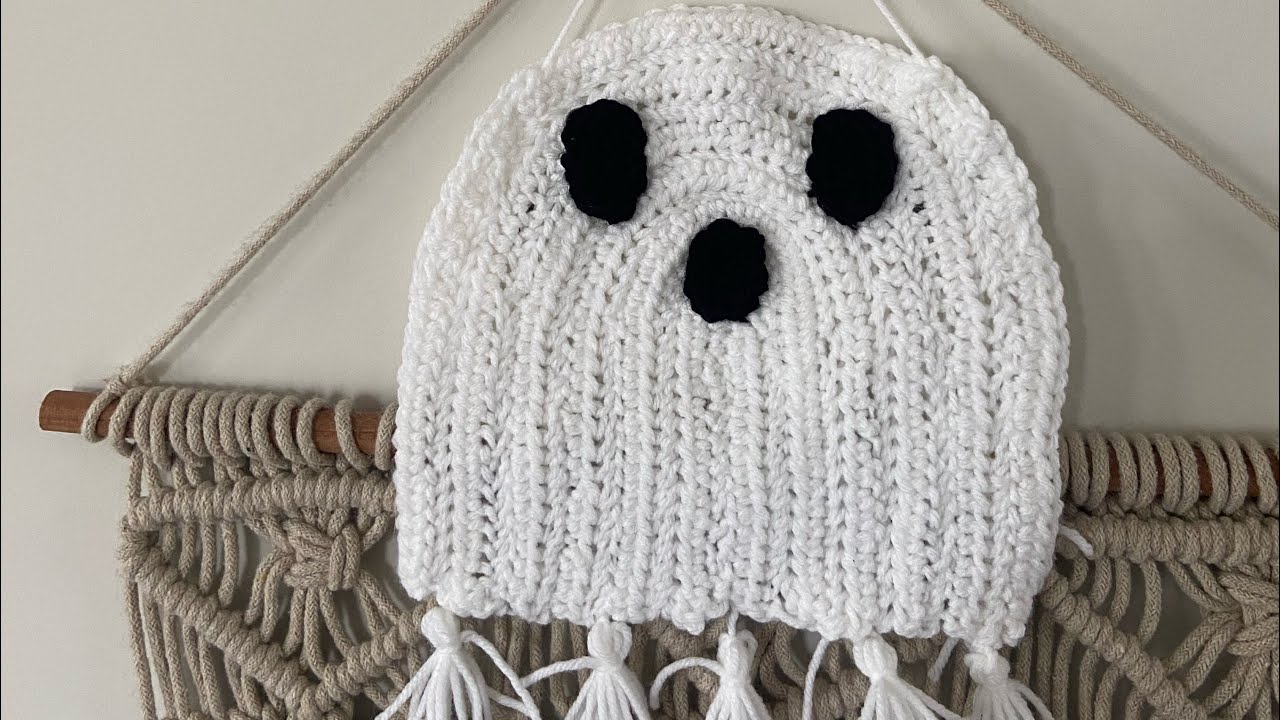
Video Tutorial
Step-by-Step Pattern
Materials & Tools Needed:
- Yarn:
- White acrylic yarn (for the ghost’s body)
- Black acrylic yarn (for the eyes and mouth)
- Crochet Hook Size: 5.25 mm (H-8)
- Other Tools:
- Yarn needle (optional: sewing thread and needle for assembly)
- Scissors
Finished Size & Customization Ideas:
- Size: The size will depend on your starting chain length. For the default size shown in the video:
- Largest layer starts with a chain of 80 and decreases in size for subsequent layers.
- Customization Ideas:
- Make larger ghosts by increasing the starting chain for each layer.
- Use cotton yarn or rope for a more rustic look.
- Add tassels in various colors for a fun Halloween twist.
Pattern Abbreviations & Terminology:
- ch: Chain
- hdc: Half Double Crochet
- st: Stitch
- sl st: Slip Stitch
- rnd: Round
- sk: Skip
Terminology: Pattern uses US crochet terms.
Step-by-Step Instructions
1. Create the Ghost’s Body (Layered Stripes)
The ghost’s body consists of 6 strips of increasing length. Below are instructions for each strip:
First Strip: Largest Layer
- Foundation Chain:
- Start with a chain (ch) of 80.
- Row 1:
- Half Double Crochet (hdc): Yarn over (yo), skip the first chain (next to hook), and place 1 hdc in the 2nd ch from the hook.
- Continue placing 1 hdc in each chain until the end of the row.
- You will have 79 stitches.
- Cut Yarn & Fasten Off:
- Leave a small tail for attaching when joining strips.
Second Strip:
- Foundation Chain:
- Start with a ch of 70.
- Row 1:
- Hdc: Skip the first chain and place 1 hdc in the 2nd ch from the hook. Work 1 hdc in each chain across.
- You will now have 69 stitches.
- Cut Yarn & Fasten Off:
- Leave a small tail for attaching.
Third Strip:
- Foundation Chain:
- Start with a ch of 60.
- Row 1:
- Hdc in the 2nd ch from the hook. Work across for 59 total stitches.
- Cut Yarn & Fasten Off.
Fourth Strip:
- Foundation Chain:
- Start with a ch of 50.
- Row 1:
- Hdc in the 2nd ch from the hook. Work across for 49 total stitches.
- Cut Yarn & Fasten Off.
Fifth Strip:
NOTE: Retry adjustments for this layer (per video transcript). Using an additional strip of 50 might balance the design.
- Foundation Chain:
- Duplicate the Fourth Layer with a ch of 50 and complete the same method.
Sixth Strip (Smallest Layer):
- Foundation Chain:
- Start with a ch of 40.
- Row 1:
- Hdc across for 39 total stitches.
2. Assemble and Adjust Body
- Begin with the smallest strip (39 stitches).
- Attach Layers: Using yarn or sewing thread and needle, secure the strips layer by layer by weaving through the top edges.
- Flatten Shape: Follow the video technique to flatten the bottom and shape the ghost naturally.
3. Create Eyes & Mouth
Eyes:
- Foundation Chain:
- Use black yarn to create a small oval shape.
- Chain 4.
- Half Double Rounds:
- Skip the first chain and hdc around in an oval pattern.
- Work multiple stitches into the ends to achieve the oval shape.
- Adjust size by increasing or decreasing the chains and stitches.
- Fasten Off:
- Make 2 identical ovals for the eyes.
Mouth:
- Foundation Chain:
- Chain 3 with black yarn.
- Half Double Rounds:
- Similar to the eyes, work hdc in an oval shape for the mouth.
- Keep the shape slightly smaller.
4. Add Tassels (Optional)
- Wrap white yarn around three fingers several times.
- Slide yarn off fingers and tie a piece of yarn through the loop at the top. Leave enough yarn hanging to attach to the ghost.
- Tie another yarn piece around the top to form a tassel.
- Trim loose ends and attach tassels along the bottom edge of the ghost body.
5. Add Hanging Loop:
- Cut a long piece of white yarn and attach it to the top corners of the ghost using your yarn hook or needle.
- Make a loop and secure firmly.
Assembly Notes & Finishing Details
- Use yarn to attach eyes and mouth securely to the ghost’s body.
- Weave in any loose ends.
- Hang your ghost wall art directly from the yarn loop or use a nail/command strip behind it for a floating effect.
Customization Tips:
- Use glitter yarn or glow-in-the-dark yarn for extra pop!
- Incorporate buttons for eyes instead of crocheted shapes.
Troubleshooting & Suggestions:
Common Issues
- Stitch Consistency: If your rows end up uneven, count your stitches frequently to stay on track with each strip.
- Flattening the Body: Carefully follow the video tutorial to achieve the ideal flat bottom shape. You can also block the ghost after assembly to ensure a tidy look.
- Securing Embellishments: Use a tapestry needle to stitch the eyes and mouth securely into place, ensuring they don’t shift or fall off.
Creative Modifications
- Adjust the Size: Want a larger ghost? Expand the pattern for each strip by adding more chains and rows, keeping the gradient of lengths consistent. For smaller ghosts, reduce the chain counts proportionally.
- Playful Features: Swap the crocheted eyes for buttons, felt cutouts, or safety eyes. Use red or metallic thread for unique embellishments.
- Alternative Materials: Try using glow-in-the-dark yarn for a ghost that lights up at night or faux fur yarn for a textured, playful look.


