How to Crochet a Striped Mesh Top With Easy Pattern
Create a breezy, striped crochet top in three contrasting colors, with simple treble crochet rows and an airy, mesh-like drape that’s easy to customize.
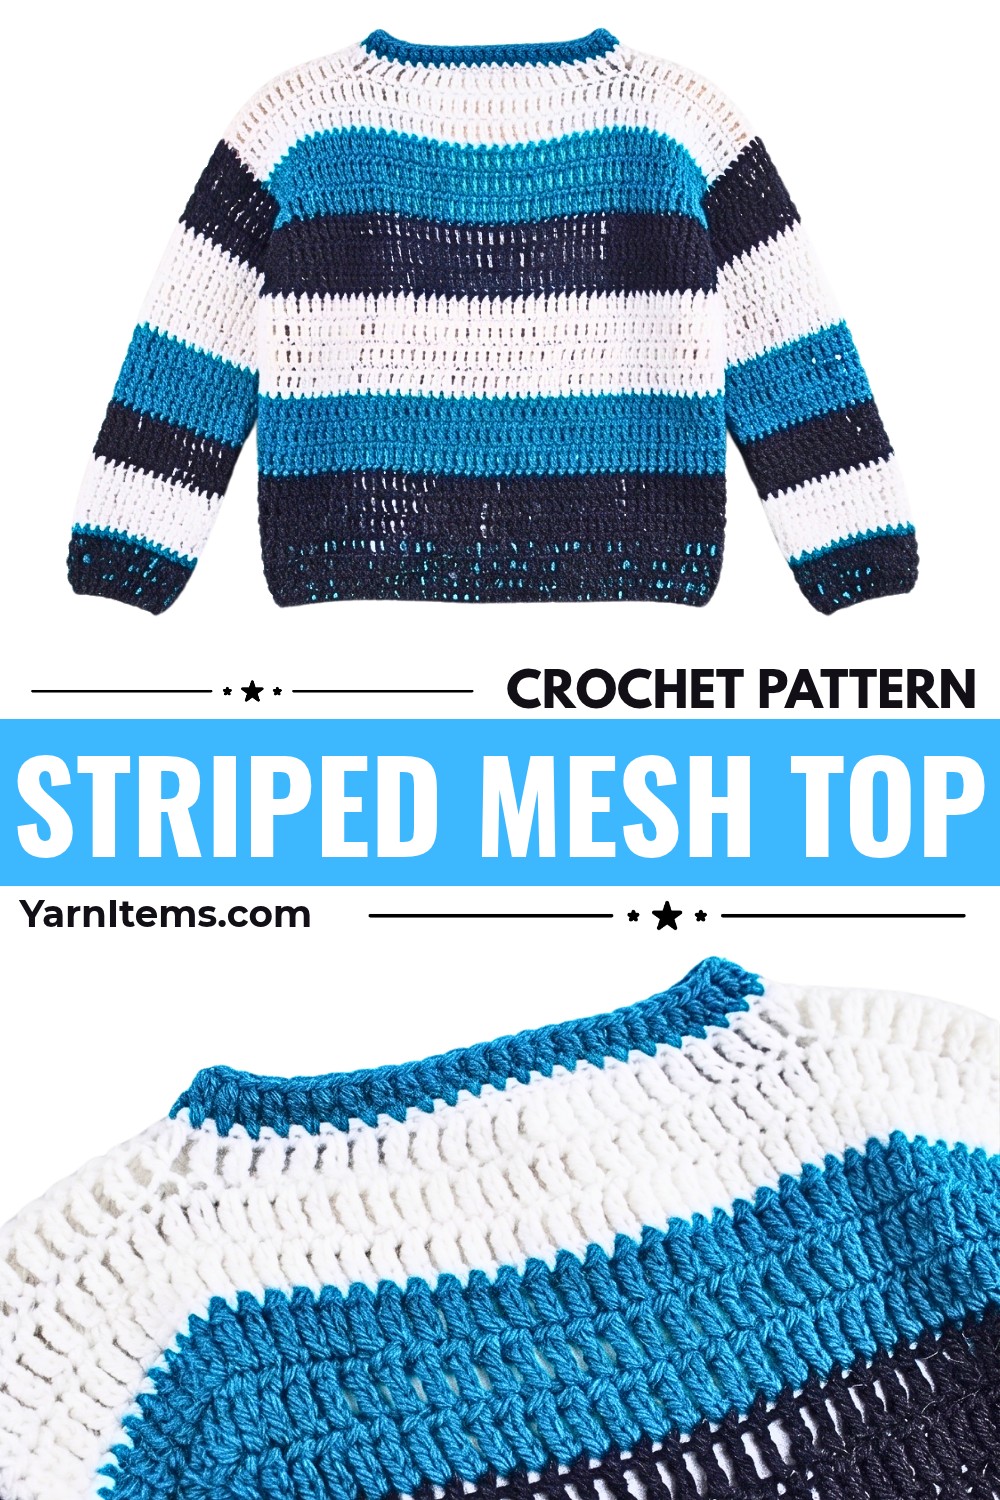
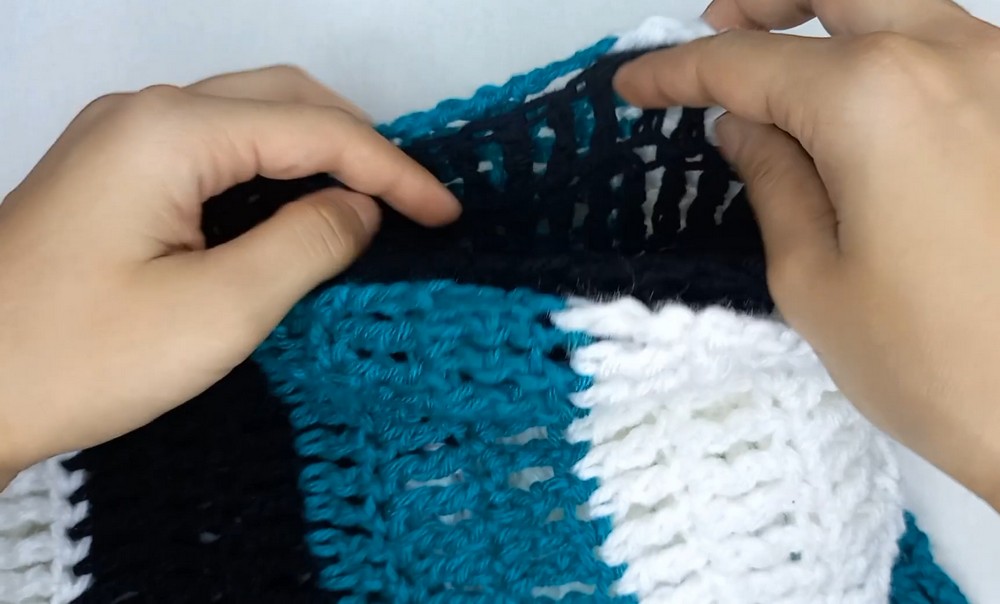
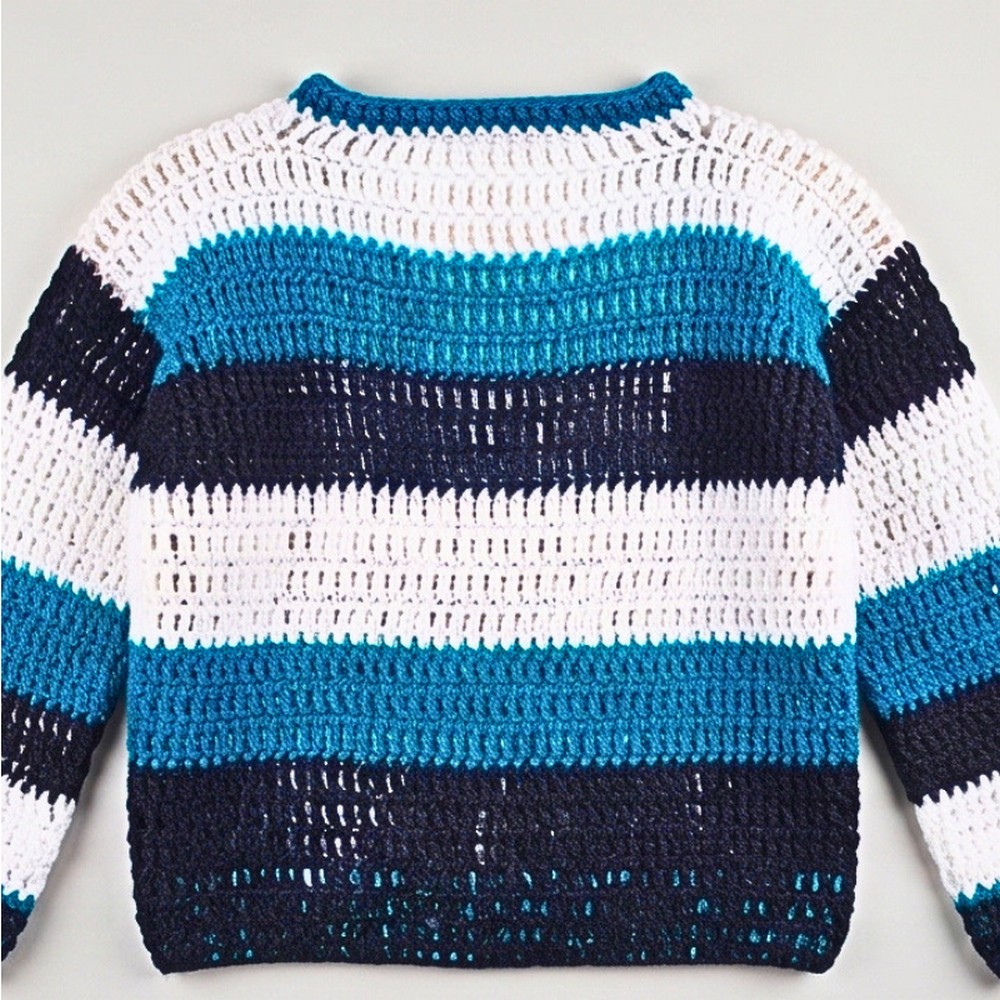
This striped crochet top combines three beautiful color blocks with an open, lightweight stitch pattern for a relaxed, everyday look. Its loose, airy texture gives it a comfortable drape, while the contrasting stripes add a playful touch that makes the finished crochet top stand out. The slightly longer sleeves can be worn naturally or folded back at the cuffs, giving you another way to style your handmade garment.
The construction is made easier by working two matching body panels and two separate sleeve crochet pieces before sewing everything together. You’ll use basic chains and treble crochet stitches to build each section, change colors to create the stripes, and join the pieces with simple seams. This tutorial also explains how to adjust the body and sleeve lengths so you can customize your top’s overall look.
Credit Agape_love | crochet
Materials & Tools Needed
Gather your yarn and basic crochet supplies before you begin so you can work through the body panels and sleeves without interruption.
- Yarn: Lightweight or medium-weight cotton yarn in three color blocks, such as Sea Green, White, and Black. These contrasting shades create the finished top’s striped appearance.
- Crochet Hook: 6.5 mm crochet hook.
- Tapestry Needle: For seaming the crocheted pieces and weaving in loose yarn ends.
- Scissors: For cutting the yarn when changing colors and finishing each section.
Finished Size & Customization Ideas
This crochet top is designed with an open, airy mesh drape that gives the finished garment a relaxed appearance. The foundation chain of 50 creates a loose, beginner-friendly fit in the demonstrated design.
Adjusting the Length: You can change the length of the body or sleeves by modifying the number of rows in the color blocks.
- To make it longer: Add another complete color-block repeat or work additional treble crochet rows within an existing color section.
- To make it shorter: Leave out one color stripe or finish the piece earlier at the end of a particular color-block row.
Styling the Sleeves: The sleeves are intentionally made extra long, so you can leave them extended for a relaxed look or fold the cuffs back for a slightly neater finish.
A Note About Fit: The foundation chain of 50 is the starting measurement used in this tutorial, not a universal clothing size. Your finished width and drape will depend on your yarn weight and individual crochet tension. Check the width of your first body panel before making the second one so both pieces remain identical.
Pattern Abbreviations & Terminology
- Ch: Chain stitch
- Tr: Treble crochet (yarn over twice, insert hook, pull up a loop, then yarn over and pull through two loops three times).
- Sl St: Slip stitch
- St(s): Stitch(es)
- Rep: Repeat
Step-by-Step Detailed Crochet Instructions
The top is made in four main pieces: a front panel, a matching back panel, and two sleeves. Once all four pieces are complete, you’ll sew the panels together, attach the sleeves, and finish the neckline and remaining seams.
Part 1: Front Panel (Body)
Start with your Sea Green yarn and 6.5 mm crochet hook. This panel forms the front of your top, so keep your foundation chains loose to help maintain the relaxed drape.
Step 1 – Make the Slip Knot: Begin with your first color, Sea Green. To create the slip knot, wrap the yarn around your thumb and ring fingers to form a cross. Insert your crochet hook into the loop, pull up a strand of yarn, turn the loop, and tighten it gently around the hook.
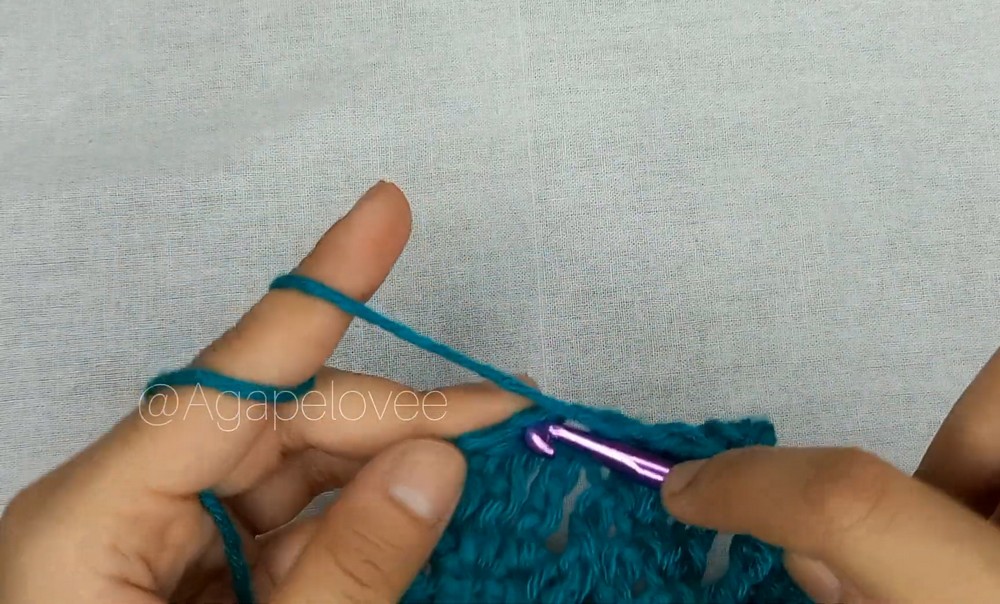
Step 2 – Create the Foundation Chain: Work 50 loose foundation chains. After completing these, add 2 extra turning chains, giving you a total of 52 chains.
Step 3 – Row 1: Work 1 treble crochet (Tr) into the 4th chain from the hook. The skipped chains and turning chains count as your first stitch equivalent. Continue working 1 Tr into every chain across the foundation row until you reach the end.
Step 4 – Row 2: Chain 4, which counts as your first Tr, and turn your work. Skip the very first gap directly underneath the chain, then work 1 Tr into each stitch across the row. When you reach the end, make sure your final Tr is securely worked into the top of the turning chain space from the previous row.
Step 5 – Row 3: Chain 4 and turn your work. Skip the base chain and work 1 Tr into each stitch across to complete this first color block. To finish the section, chain 1 and cut the yarn, leaving a tail for securing.
Changing Colors on the Front Panel
Now introduce the White yarn to begin the next stripe. Keep your color transitions neat so the three contrasting sections remain clearly defined.
Step 6 – Attach the White Yarn: Attach your second color, White, to the final stitch of the previous row using a slip stitch. Chain 4, turn your work, and begin the next row.
Step 7 – Work the White Color Block: Continue working treble crochet stitches across the row. Make 3 rows of treble crochet in White, carrying or securing the loose yarn tails along the edge as you work. Fasten off the White yarn when this color block is complete.
Step 8 – Introduce Black Yarn: Attach your third color, Black, and work 2 to 3 rows of treble crochet across the panel.
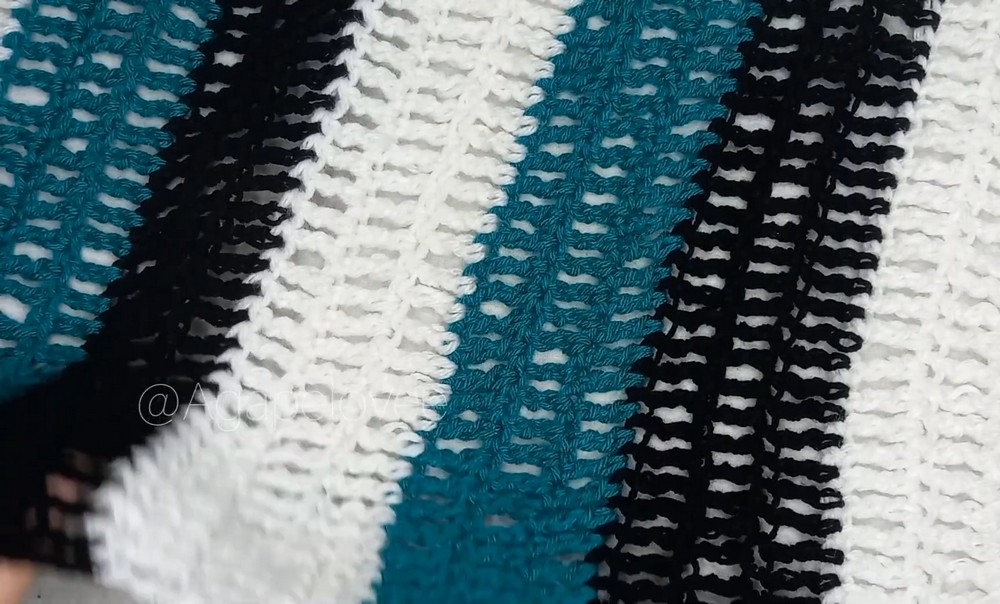
Step 9 – Continue the Color Sequence: Keep alternating the three yarn colors in the same order: Sea Green, White, and Black. Repeat the color-block arrangement until the front panel reaches your desired torso length.
For the demonstrated design, the creator uses:
- 3 rows of Sea Green.
- 3 rows of White.
- 2 rows of Black.
Continue repeating this sequence to build the striped body panel. Once the front reaches the desired length, fasten off the yarn.
Part 2: Back Panel
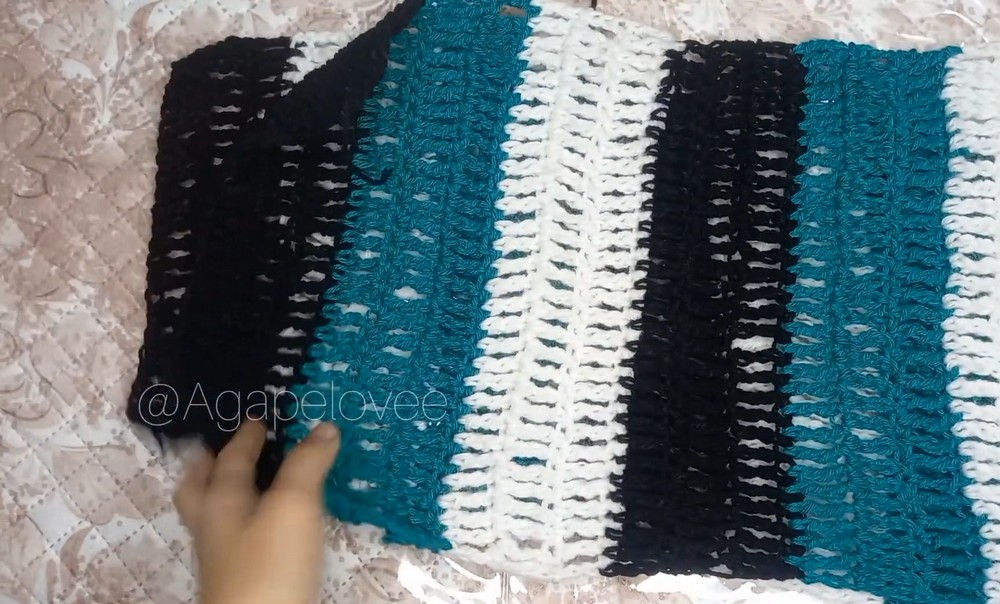
The back panel follows exactly the same construction as the front, so you don’t need to learn another stitch pattern or color arrangement.
Step 1 – Make the Foundation Chain: Using the same yarn and hook, create the same foundation chain of 50 loose chains plus 2 extra turning chains.
Step 2 – Repeat the Rows: Follow the exact same treble crochet instructions used for the front panel. Maintain the same stitch count, turning-chain method, and color-block sequence.
Step 3 – Match the Length: Continue alternating Sea Green, White, and Black until the back panel reaches the same length as the front. Fasten off when complete.
Keep both panels aligned in size and color placement. Matching pieces will make the side and shoulder seams easier to sew during assembly.
Part 3: Sleeves (Make 2)
You’ll need two identical sleeve pieces. These are crocheted separately using the same treble crochet technique, with Black yarn as the starting color.
Step 1 – Make the Sleeve Foundation Chain: Take your Black yarn and 6.5 mm crochet hook. Make a slip knot, then work 30 loose chains followed by 2 extra turning chains, giving you 32 chains in total.
Step 2 – Row 1: Skip 2 chains and work 1 Tr into the next chain. Continue making 1 treble crochet into every remaining stitch across the row until you reach the end.
Step 3 – Rows 2 and 3: Chain 4 and turn your work. Skip the first gap, then work 1 Tr into each stitch across. Repeat this process to complete the next two rows.
Step 4 – Continue the Color Blocks: Maintain your chosen color-block sequence to coordinate the sleeves with the body. For the demonstrated starting section, work 3 rows of Black before moving through the desired color transitions.
Continue adding treble crochet rows and changing colors until the sleeve reaches your preferred length. Fasten off the yarn when finished.
Step 5 – Make the Second Sleeve: Repeat the same instructions, keeping the foundation chain, stitch count, color arrangement, and length identical to the first sleeve.
Part 4: Assembly – Joining the Body and Sleeves
Once the front, back, and both sleeves are complete, it’s time to turn the separate crocheted pieces into a wearable top. Arrange the pieces carefully before sewing so the stripes line up neatly.
Step 1 – Join the Side Seams
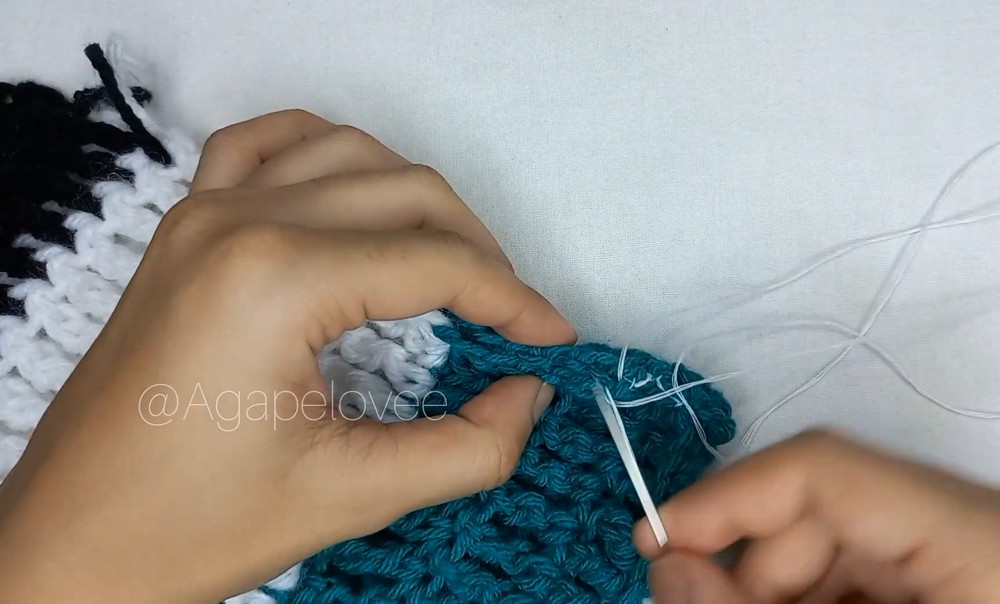
Lay the front and back panels flat with their right sides facing each other. Take a sewing needle and matching sewing thread, which the creator recommends for making the hidden seams easier to conceal for beginners.
Anchor the thread at one bottom corner and secure it with a double knot. Begin sewing the side edges together, working upward along the body.
Leave the top 3 rows unseamed on each side. These open sections will form the armholes where you’ll attach the sleeves later.
Step 2 – Attach the Sleeves
Take one completed sleeve and fold it in half lengthwise. Align its seam with the underarm opening of the body, making sure the sleeve is positioned evenly around the armhole.
Using your needle and thread, whip-stitch the sleeve securely around the armhole opening. Work carefully around the opening so the sleeve stays attached without leaving loose sections.
Repeat the same process with the second sleeve.
Step 3 – Sew the Shoulder Seams
Place the front and back panels together at the top shoulder edges. Starting from each outer edge, count 15 stitches inward and align the corresponding stitches on both panels.
Sew across those 15 stitches to create the shoulder seams. Repeat on the opposite side, leaving the center section open to form the neckline.
Step 4 – Finish the Armhole Seams
Turn the top inside out if needed and check the inner armhole connections. Secure any remaining loose or unfinished connections so the sleeve joins are neat and strong.
Final Finishing
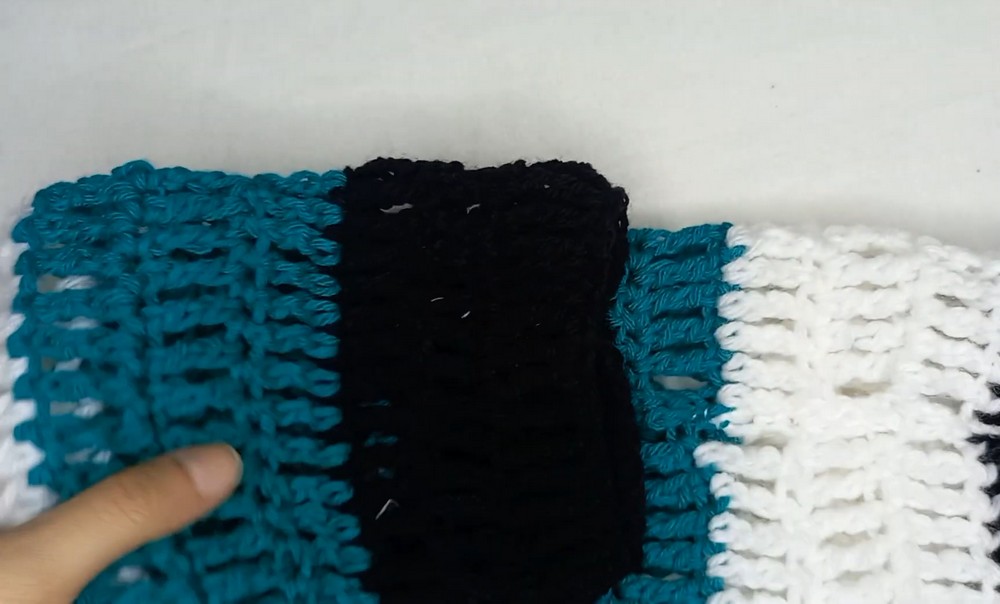
Before wearing your new crochet top, use your tapestry needle to weave in all remaining loose yarn ends securely. Pay particular attention to the color-change areas and the edges of the panels.
Try folding the extra-long sleeve cuffs back if you prefer a shorter sleeve appearance. You can also leave them extended for a more relaxed style.
Your handmade striped mesh treble crochet top is now ready to wear!