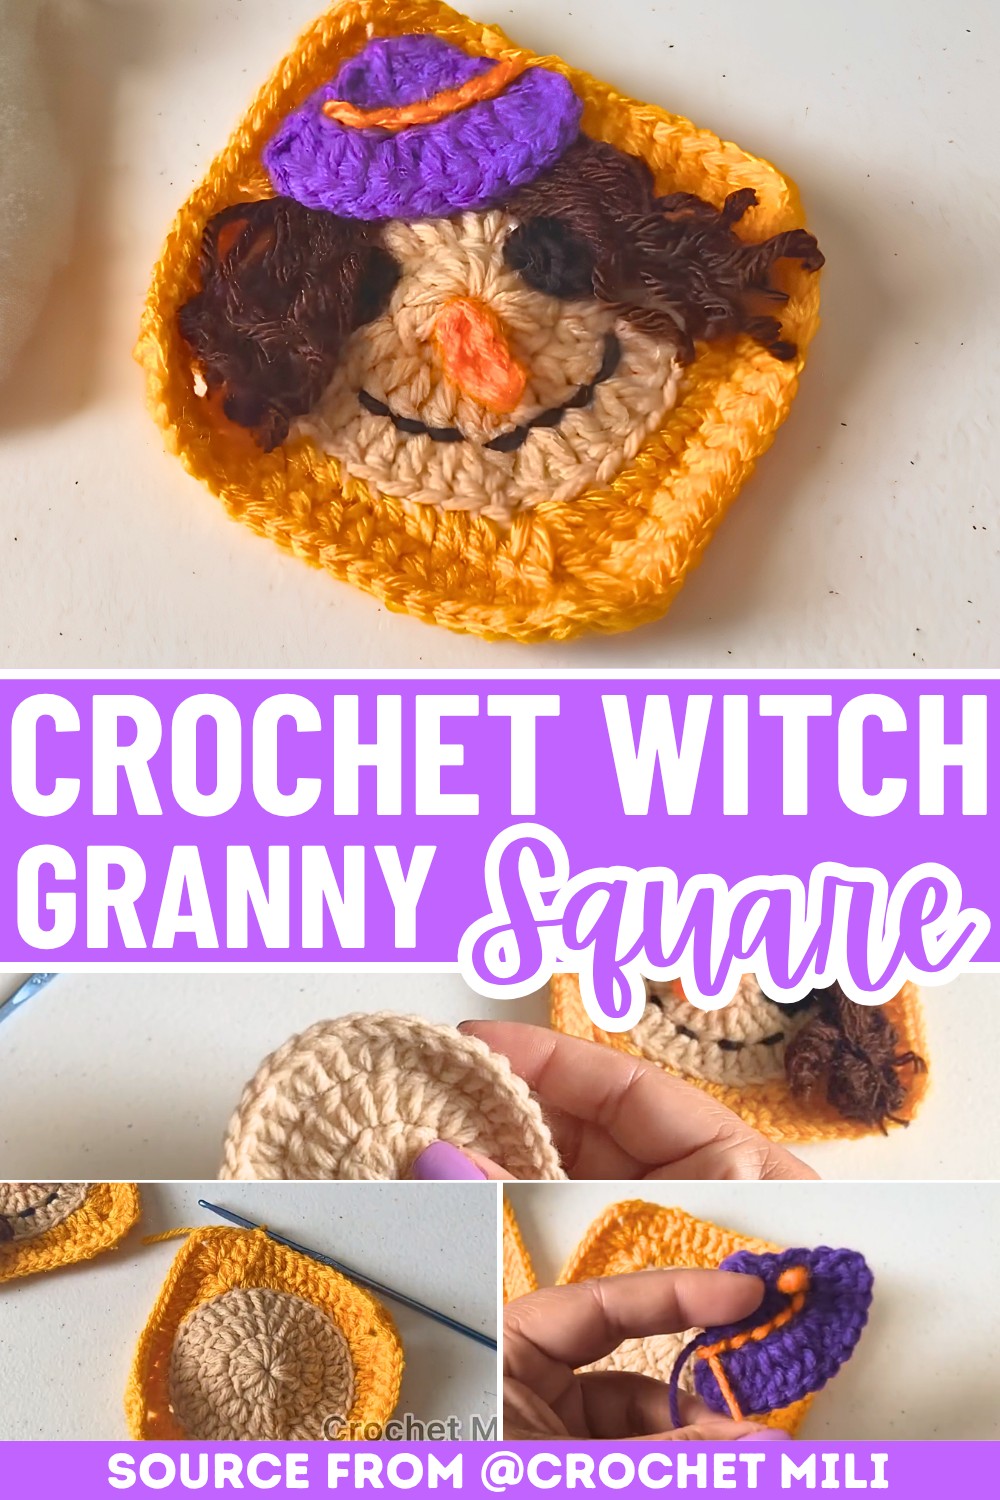
Free Crochet Witch Granny Square Pattern for Halloween
Who says granny squares have to be basic? This spooky season, we’re tucking a tiny, sweet-faced witch right into the center of a classic square to crochet the ultimate Halloween decor.
It’s quick, creative, and incredibly fun to make. Scroll down to get the step-by-step pattern and watch this little character come to life with every round!
Crochet Witch Granny Square Pattern
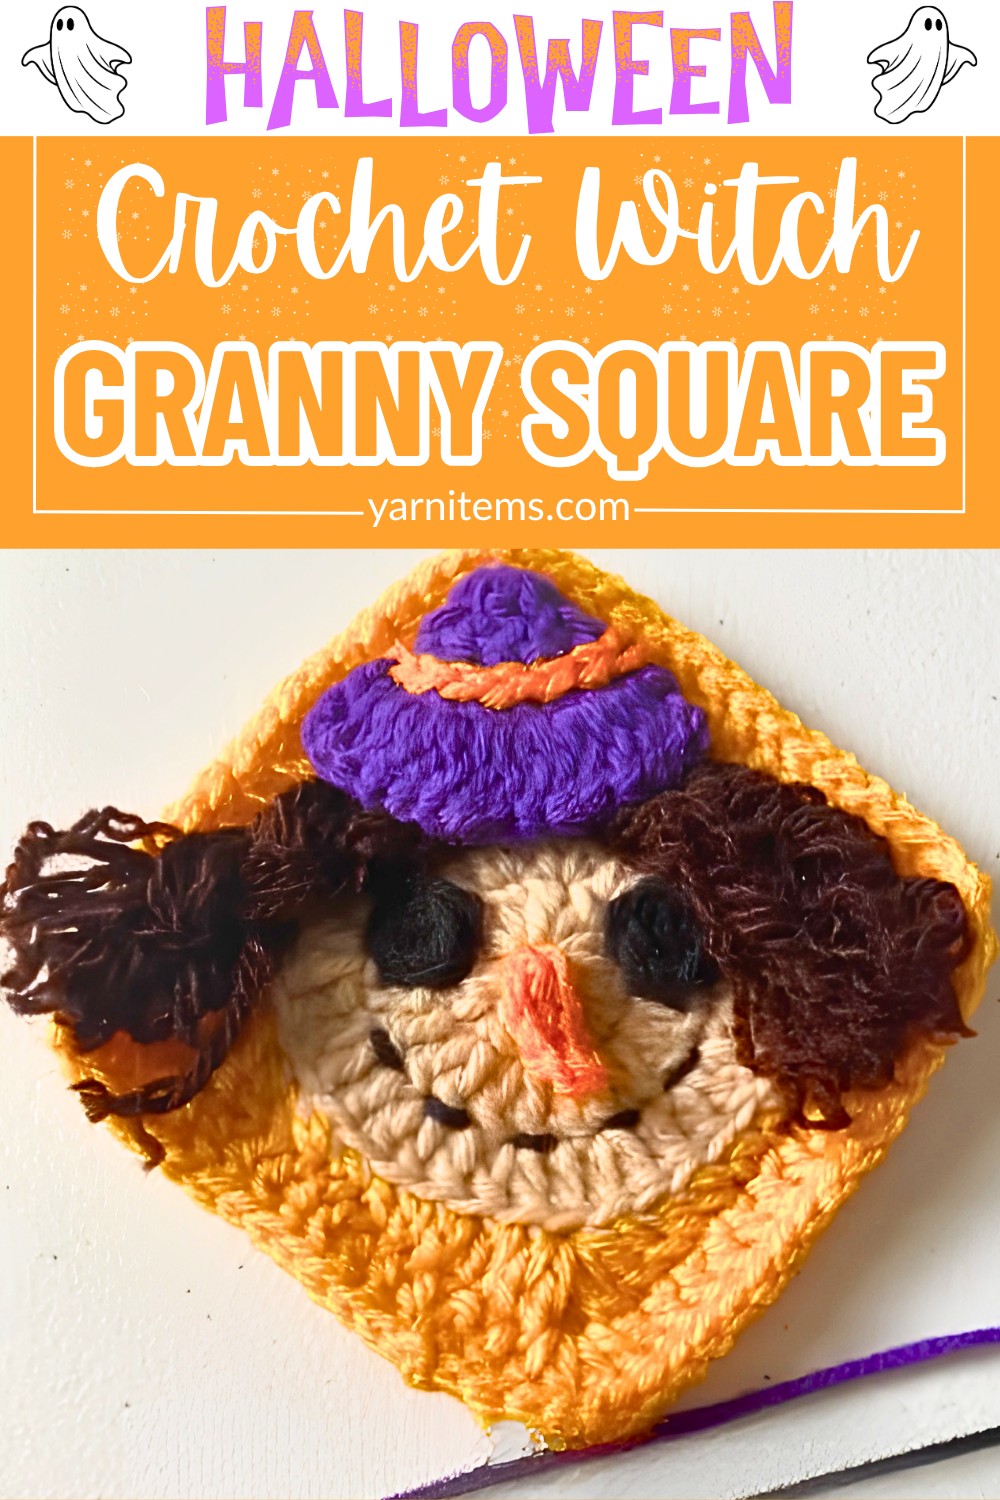
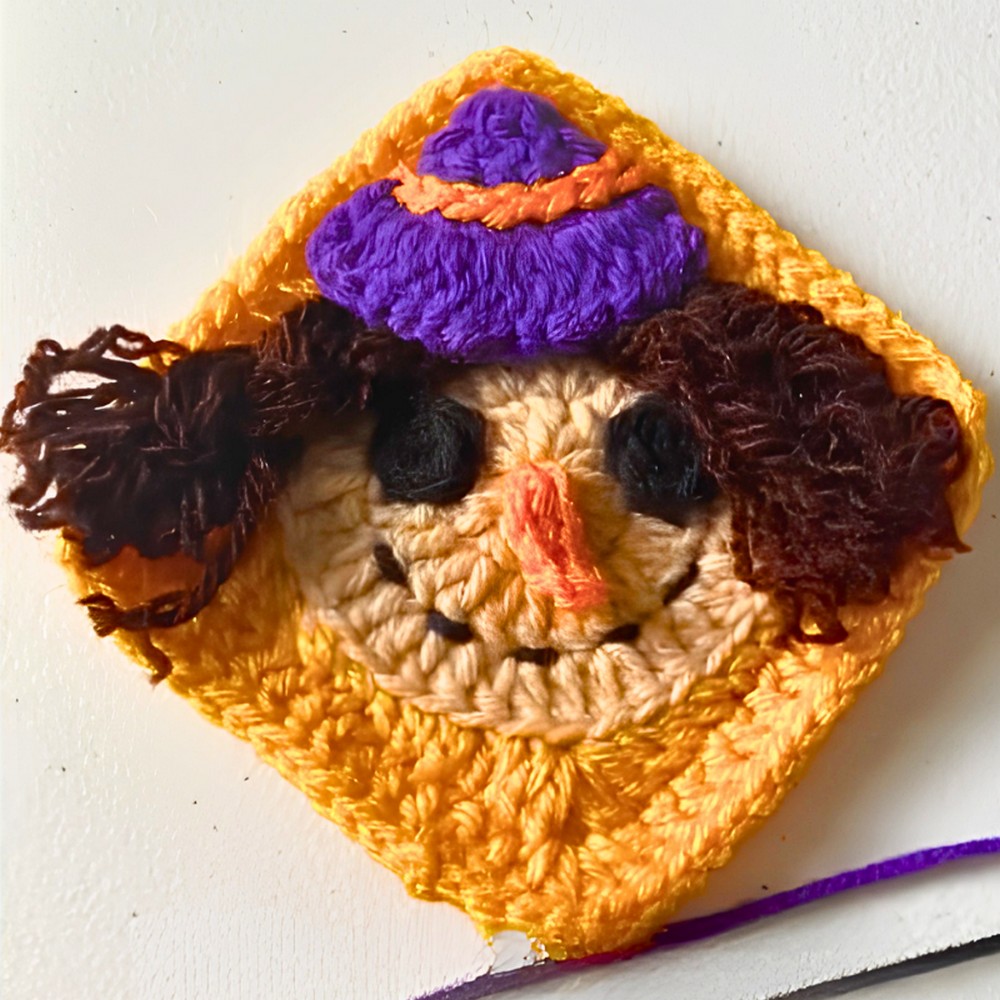
This pattern is worked with beginner-friendly stitches and clear step-by-step instructions. Making it enjoyable for crocheters of different skill levels. Once finished, the square can become part of blankets, cushions, bags, or seasonal decorations. Giving you plenty of creative ways to use your handmade crochet witch throughout Halloween.
Credit Crochet Mili
Materials & Tools Needed
- Yarn: 6 medium/worsted weight colors:
- Skin tone/Beige (face)
- Yellow/Orange (outer square)
- Purple (hat)
- Bright orange (hat strap/nose)
- Brown (hair)
- Black (eyes/mouth line)
- Crochet Hook: 3.75 mm
- Yarn Needle: For assembly and weaving
- Scissors
Pattern Abbreviations & Terminology (US Terms)
ch– Chainst(s)– Stitch(es)sc– Single crochethdc– Half double crochetdc– Double crochetsl st– Slip stitchBLO– Back loop onlyFLO– Front loop only
Step-by-Step Detailed Instructions
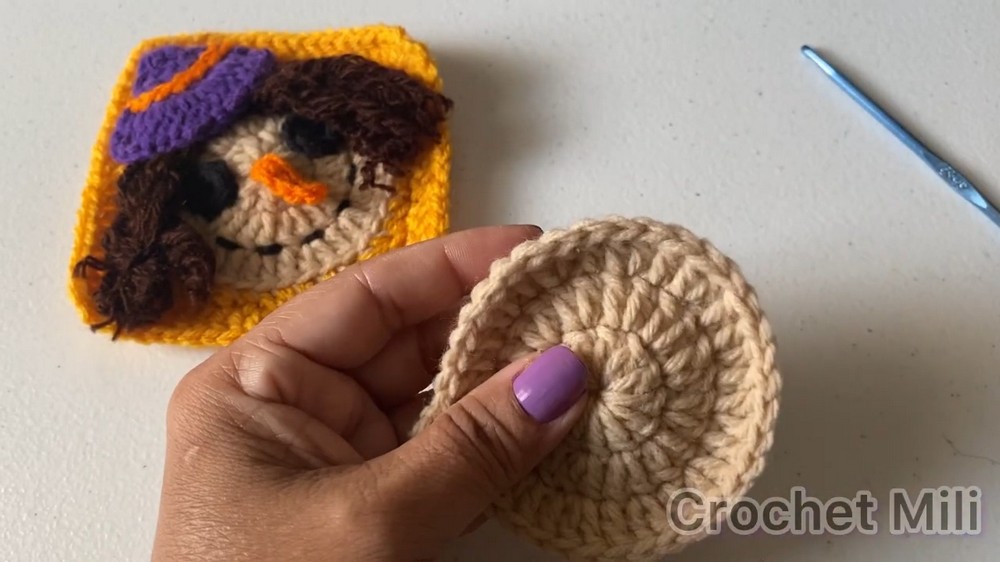
Part 1: The Face & Inner Circle (Skin/Beige)
- Round 1:
- Create a magic ring.
Ch 3(counts as first dc), then 11 dc into the ring.- Join with
sl stin the 3rd ch of beginning ch-3. (12 dc total)
- Round 2:
Ch 3, 1 dcinto the same stitch as joining.- Work
2 dcinto each remaining stitch. - Join with
sl stin 3rd ch of beginning ch-3. (24 dc total)
- Round 3:
Ch 3,2 dcinto next stitch.- Repeat:
*1 dc into next st, 2 dc in next st*around. - Join with sl st into 3rd ch of beginning ch-3. Cut yarn and fasten off. (36 dc total)
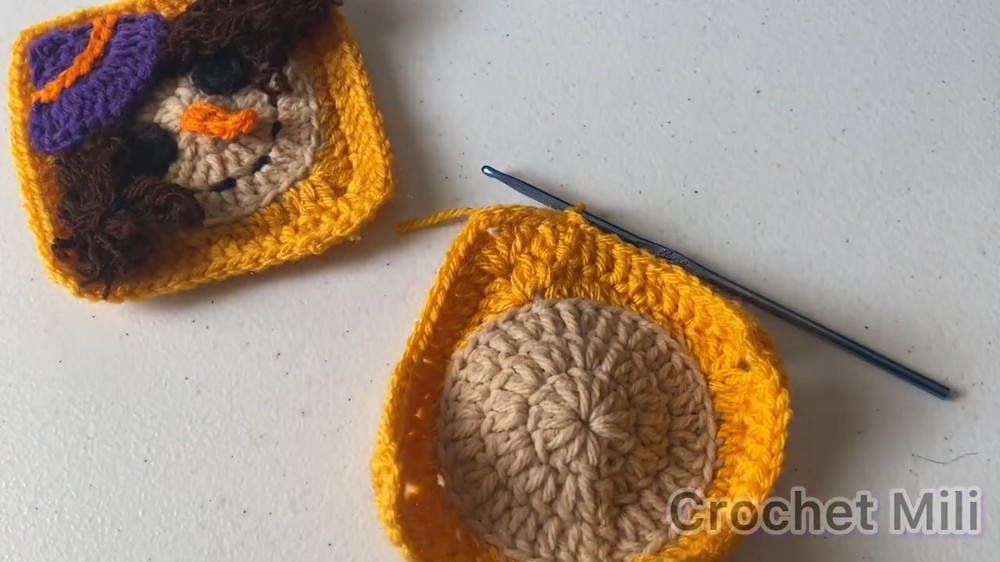
Part 2: Turning the Circle into a Square (Yellow/Orange)
- Round 4 (BLO):
- Attach yellow/orange yarn to any stitch from Round 3, working the first corner:
[ch 2, 2 dc]. - Repeat:
1 dc in next st,1 hdc in next 2 sts,1 sc in next 2 sts,1 hdc in next 2 sts,1 dc in next st.- Corner stitches:
[2 dc, ch 2, 2 dc].
- Finish last sequence and join with
sl stinto top of first dc.
- Attach yellow/orange yarn to any stitch from Round 3, working the first corner:
- Round 5:
Ch 3, 1 dcinto next stitch.- Repeat:
- Corners:
[2 dc, ch 2, 2 dc]into corner ch-space. 1 dcin each of the next 12 stitches along the side.
- Corners:
- Join with
sl stin 3rd ch of beginning ch-3. Cut yarn and fasten off.
Part 3: The Witch’s Hat (Purple)
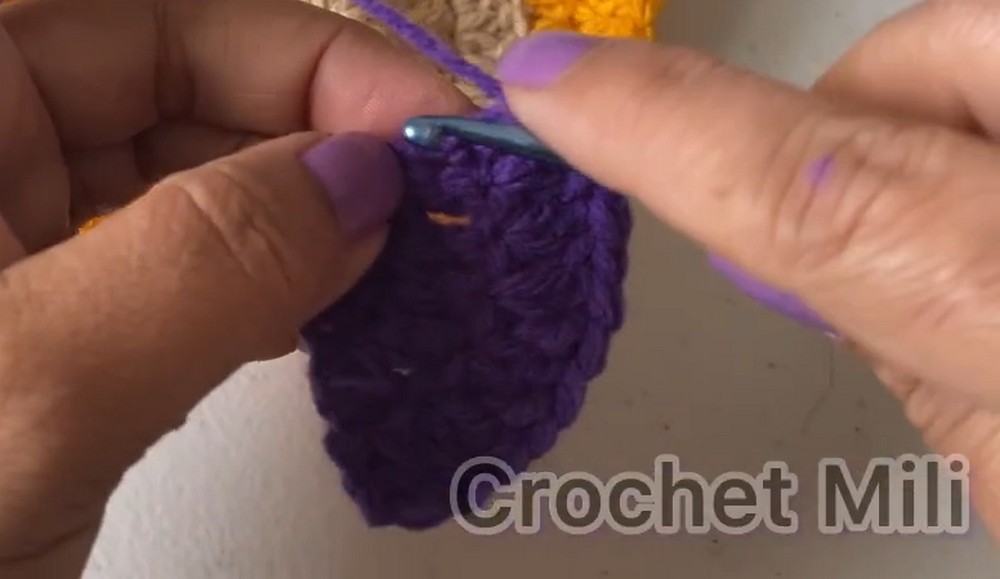
- Row 1:
- Create magic ring.
Ch 2, work 4 dcInto the ring.
- Row 2:
Ch 2, turn. Work1 dcin same st.1 dcinto next 3 sts, then2 dc in last st. (6 dc)
- Row 3 (Brim):
Ch 2, turn. Work1 dcin same st.- Work
2 dcin next 5 sts, then1 dcin final st. Ch 2, sl stinto last st. Cut yarn, leaving a tail.
Hat Strap (Bright Orange):
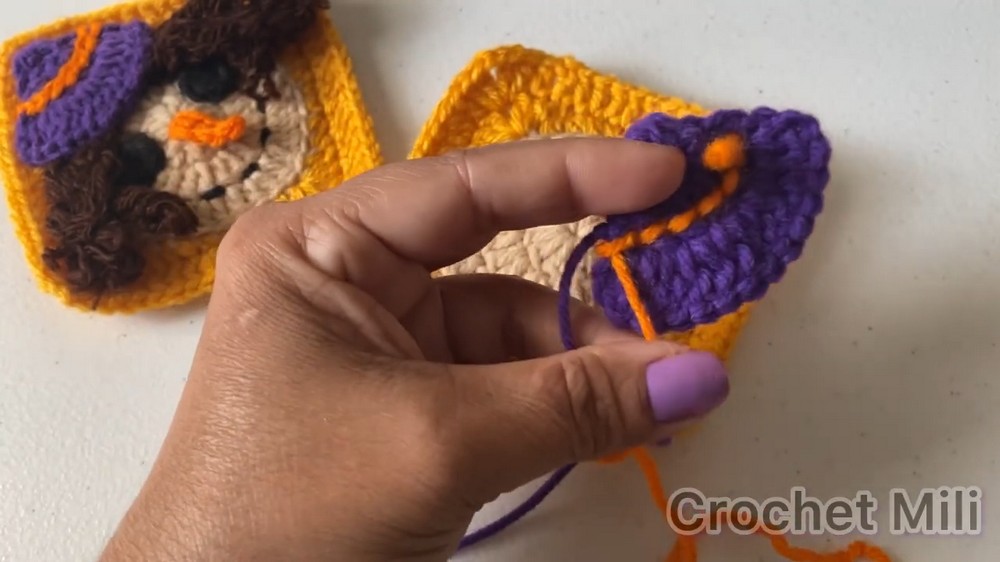
- Attach orange yarn at the brim’s base.
Sl stacross every stitch to form a decorative band.
Part 4: Facial Features
- Eyes (Black – 2 pieces):
- Create a magic ring.
Ch 1, 5 scinto ring. Sl stinto first sc. Leave a tail for sewing.
- Create a magic ring.
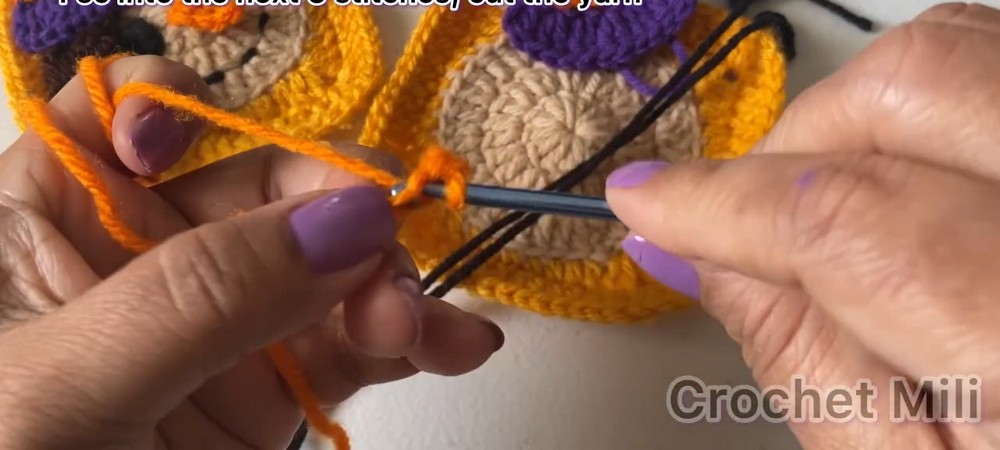
- Nose (Bright Orange):
Ch 4.- Work
1 scin 2nd ch from hook, then1 scin next 2 chains.
Assembly & Finishing
- Hair (Brown):
- Use front loops left from Round 4.
- Fold ~4-5” strands in half, pull the loop through the stitch, and knot.
- Repeat on both upper sides for textured hair.
- Sewing Shapes:
- Attach the witch hat (slightly overlapping the square).
- Sew eyes and nose onto the face.
- Embroider Smile:
- Using black yarn, embroider a simple curved smile below the nose.
- Trim Hair:
- Even out fringe with scissors.