Crochet Christmas Pillow Cover Pattern For Festive Decor
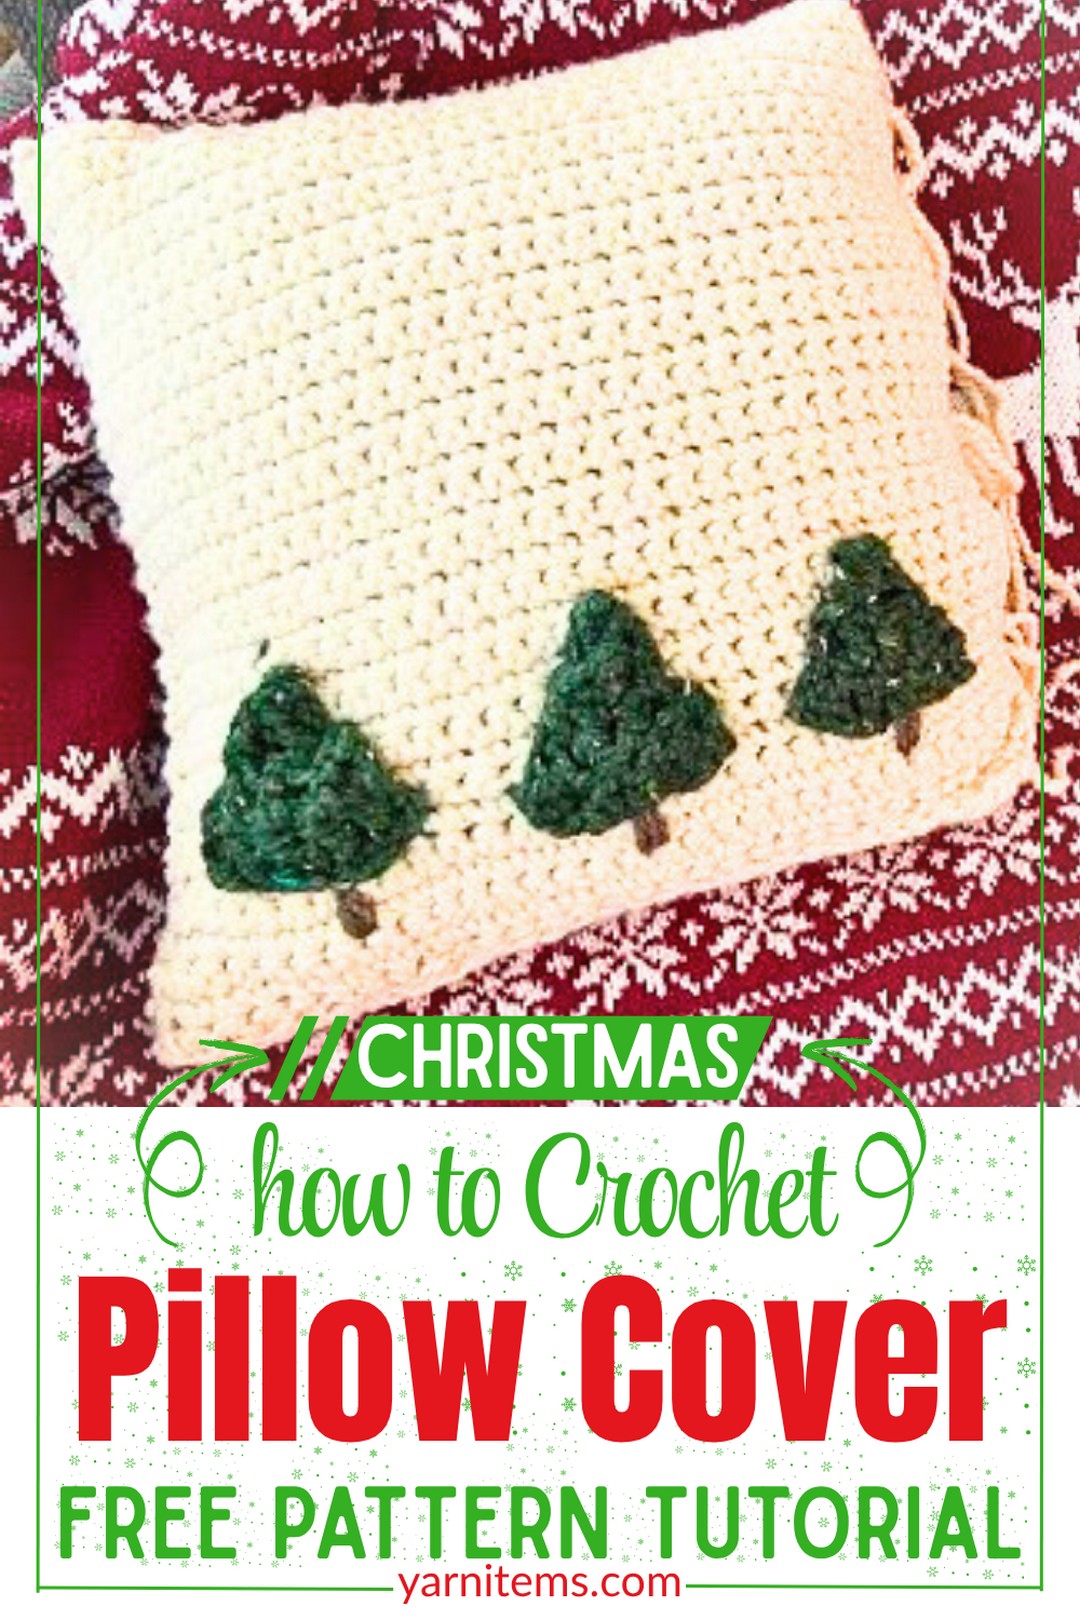
A handmade Christmas pillow cover can completely change the mood of a room without replacing your existing décor.
Slip it over a plain cushion, and an everyday pillow becomes a cheerful holiday accent that returns year after year. This crochet pattern keeps the piece practical while showing how to create a cover that’s made for regular seasonal use.
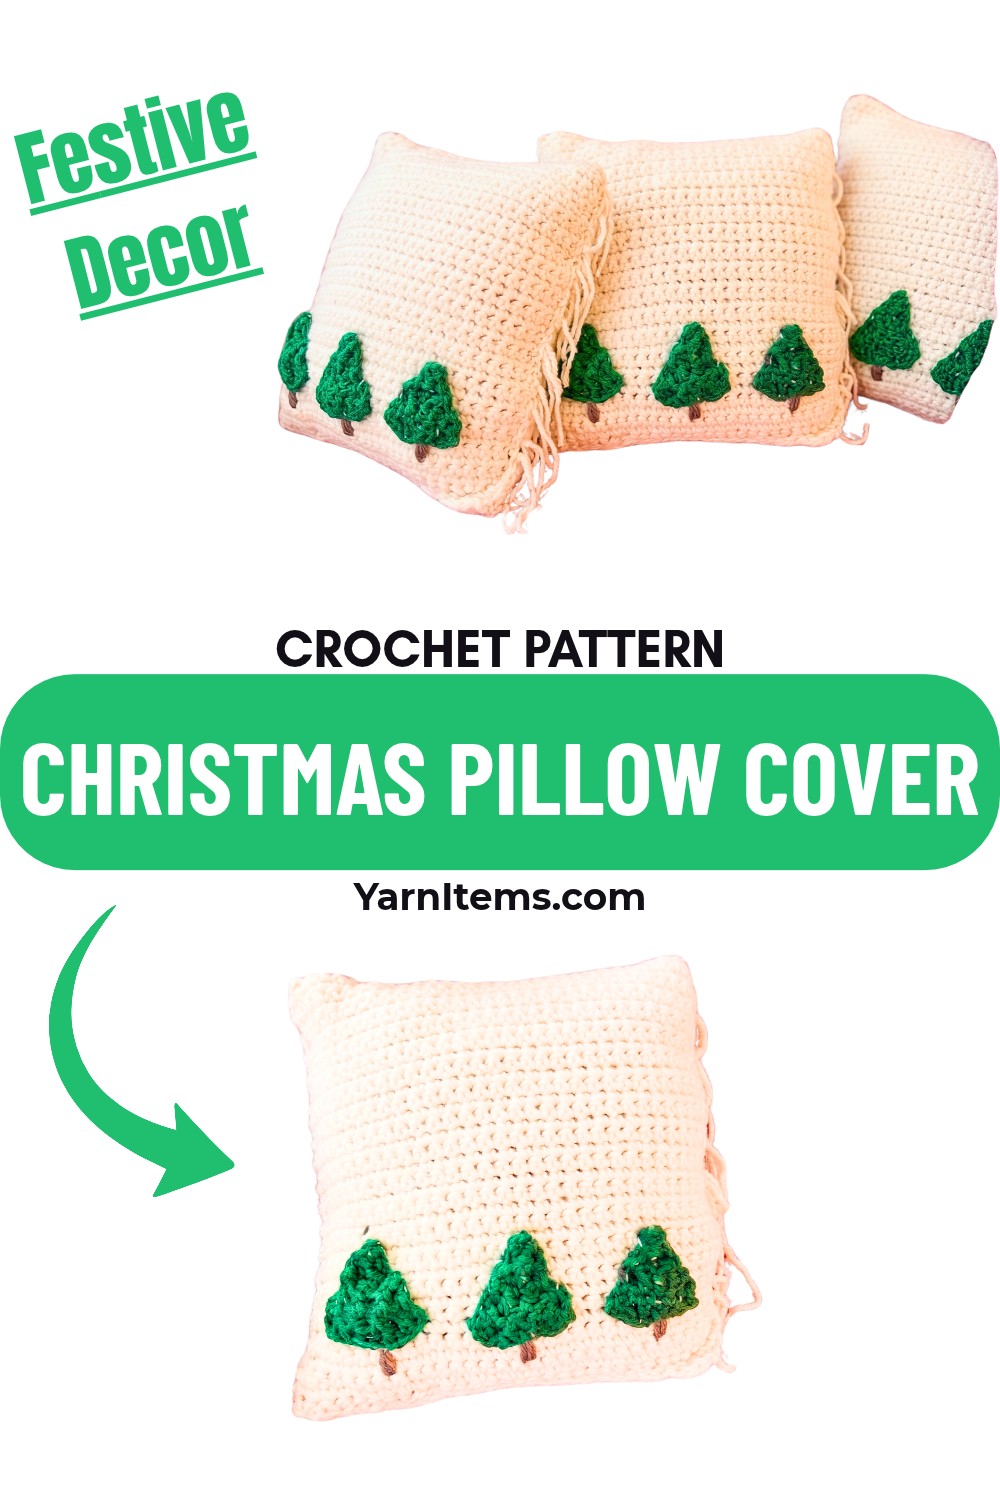
Crochet Christmas Pillow Cover Pattern
The instructions guide you through crocheting two matching panels. Join them neatly, leaving an opening so the cover can be removed whenever needed. Once the base is complete, you can add festive details such as embroidered Christmas trees or other holiday motifs to make it your own. Each step builds naturally toward a finished crochet pillow cover that’s both decorative and long-lasting.
Credit Frayed KnotCo Tutorials
Materials & Tools Needed
- Yarn:
- Main panels: Lion Brand Wool-Ease Thick & Quick in the color “Fisherman” (approximately 1 skein per panel, potentially needing a third skein).
- Tree details: Green yarn (Lion Brand Wool-Ease Thick & Quick in “Kale”).
- Tree trunk: Brown yarn (scrap yarn, such as Lion Brand Wool-Ease in “Barley”).
- Optional: Thinner acrylic yarn in the same color as the main panel for sewing the pieces together.
- Hook Size:
- 9 mm crochet hook (or 10 mm if you prefer a larger tree).
- Additional Tools:
- Yarn needle for sewing and weaving in ends.
- Scissors.
- A 16-inch pillow insert.

Finished Size & Customization Ideas
- Finished Size: Designed to fit a 16-inch by 16-inch pillow insert.
- Adjust the initial chain length and number of rows if working with a different size pillow.
- Customization Ideas:
- Add more trees, vary their sizes, or change their arrangement for a unique look.
- Include additional embroidery details, such as snowflakes or ornaments, to make it more festive.
- Add buttons, ties, or install a zipper to make the cover removable.
Pattern Abbreviations & Terminology (US Terminology)
- Ch: Chain
- SC: Single Crochet
- DC: Double Crochet
- St: Stitch
- Sl St: Slip Stitch
- Sk: Skip

Step-by-Step Detailed Crochet Instructions
Creating the Main Panels (Front and Back)
- Start with the starting chain:
- Create a loose chain of 30 (or 32-34 for a looser fit) for a 16-inch pillow.
- Tip: A loose chain will prevent the edges of your work from curling.
- Row 1:
- Turn your work.
- Skip the first chain, and single crochet (sc) in the second chain from the hook.
- Continue across the row. You should have 1 less stitch than the number in your starting chain.
- Example: If you chained 30, you will have 29 sc.
- Rows 2–38:
- Chain 1, turn.
- sc in each stitch across. Maintain the same stitch count in every row.
- Complete 38 rows (or until your panel measures approximately 16 inches in height).
- Repeat steps 1–3 to create an identical second panel for the back of the pillow cover.

Adding the Trees (Front Panel Only)
Tree Pattern:
- Make a starting chain of 7 chains using the green yarn (“Kale”).
- Row 1 (Base):
- Sk the first chain and work a dc in the second chain from the hook.
- Continue with dc across the row.
- Tree Base: 6 dc.
- Row 2:
- Turn your work and ch 1.
- Sk the first st, dc in the second st, then dc in each subsequent st except for the last one.
- Tree Row: 4 dc.
- Row 3:
- Turn your work and ch 1.
- Sk the first st, dc in the second st, and dc in the remaining st(s).
- Tree Row: 2 dc.
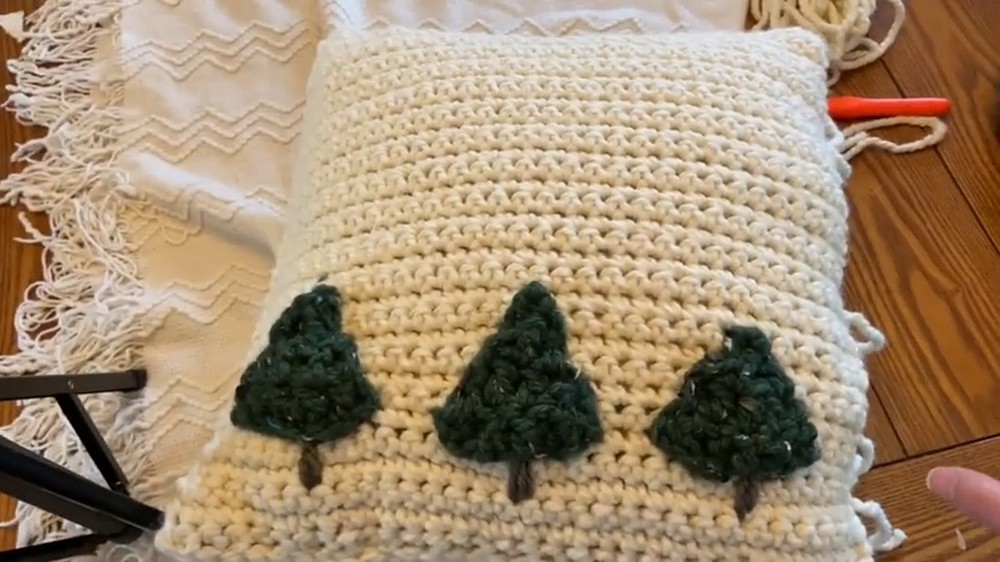
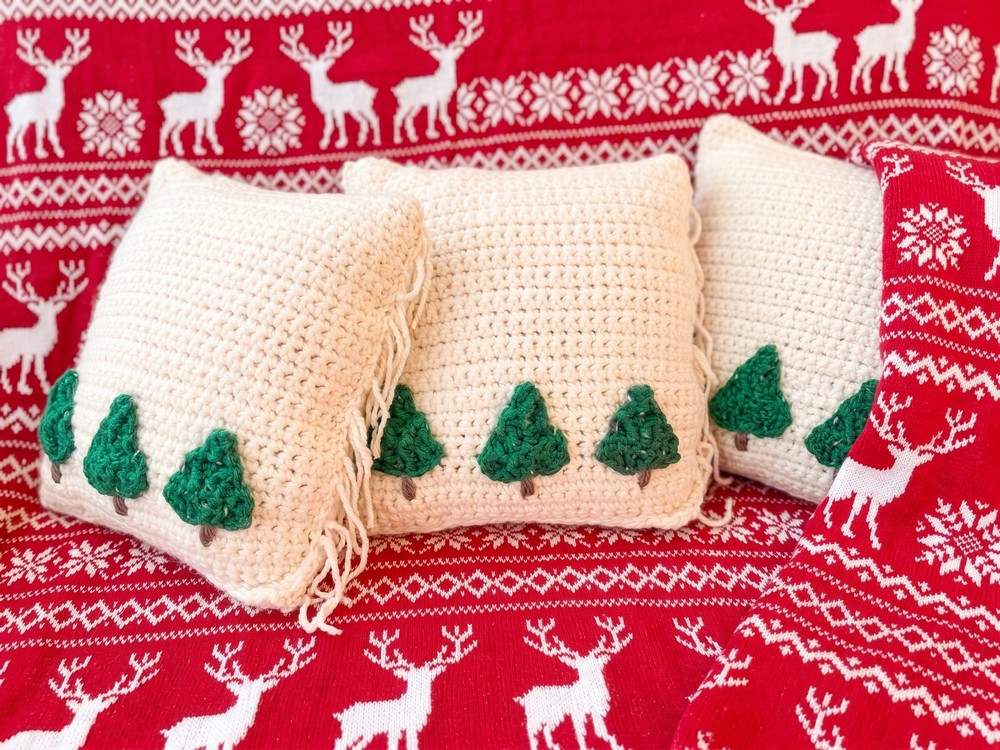
Your tree should now form a small triangle. Add as many trees as desired to the front panel. Example: For 3 trees, repeat the above steps for each tree.
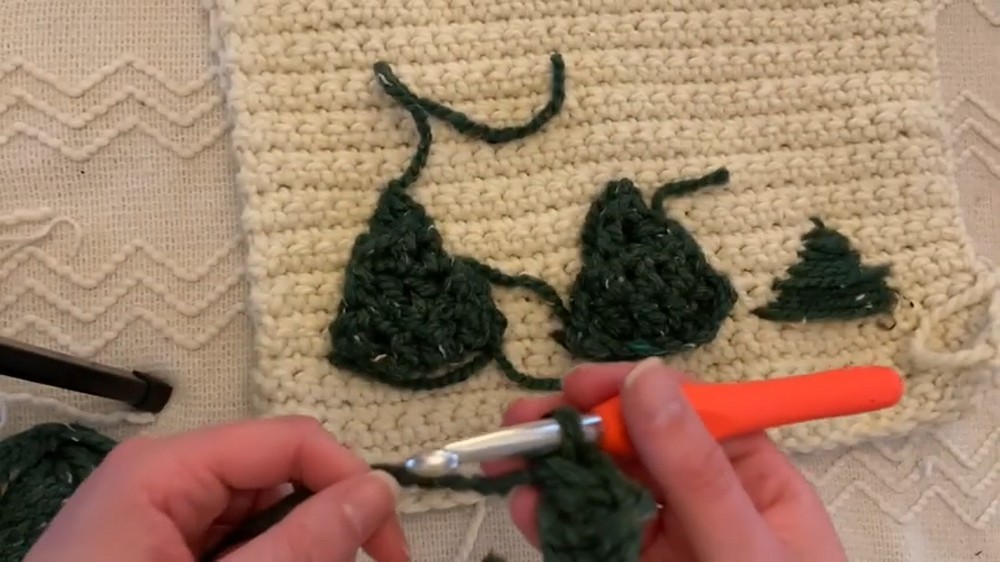
Trunk:
- With brown yarn, embroider small rectangular trunks beneath your trees, creating balance and symmetry.
Assembling the Pillow Cover
- Positioning:
- Align the front and back panels with the correct sides facing out.
- Secure them together with stitch markers.
- Seaming:
- Use the thinner acrylic yarn (or your main yarn) with a yarn needle to sew the panels together.
- Leave one side open to insert the pillow.
- Use the whip stitch or a similar joining method for a neat finish.
- Optional Closure:
- Crochet ties or sew bows onto the open edge to secure it.
- For durability and a more polished look, consider sewing on a zipper or buttons.
Finishing Touches
- Weave in all loose ends using the yarn needle.
- Block the pillow cover if necessary to even out the stitches and ensure a snug fit.
- Slip the pillow insert inside and use your chosen closure method to secure the open edge.
Tips for Success
- Keep stitch tension even throughout to achieve symmetrical panels.
- Double-check alignment when seaming the panels together for a consistent finish.
- Experiment with tree placement and detail to personalize your pillow cover.