Free Crochet Ghost Charm For Halloween Keychain
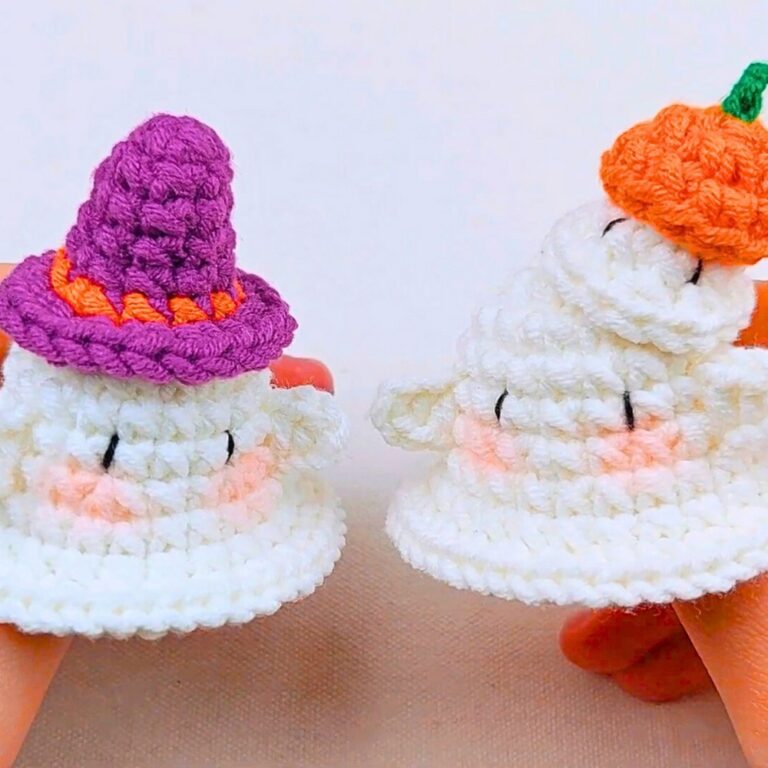
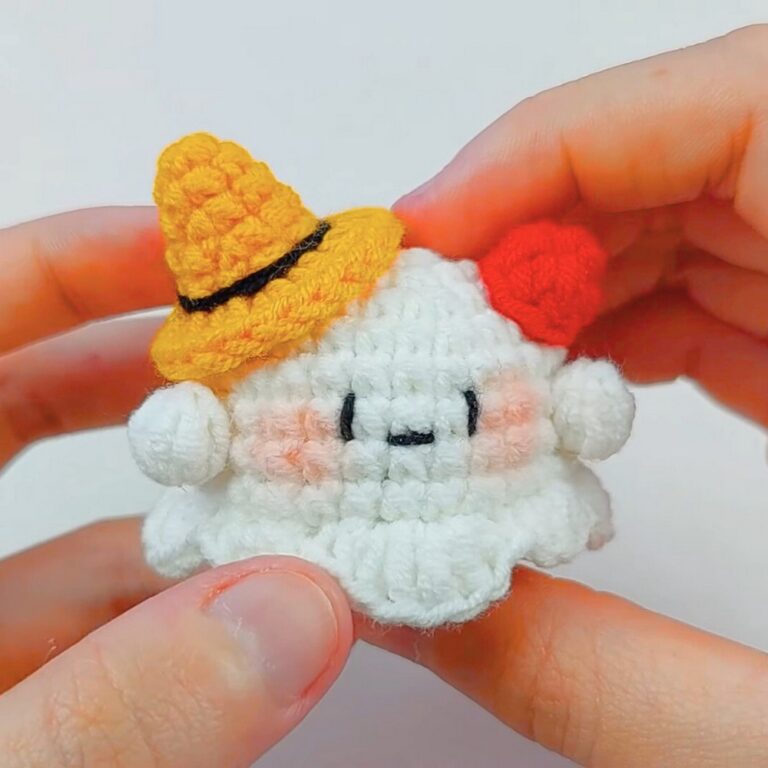
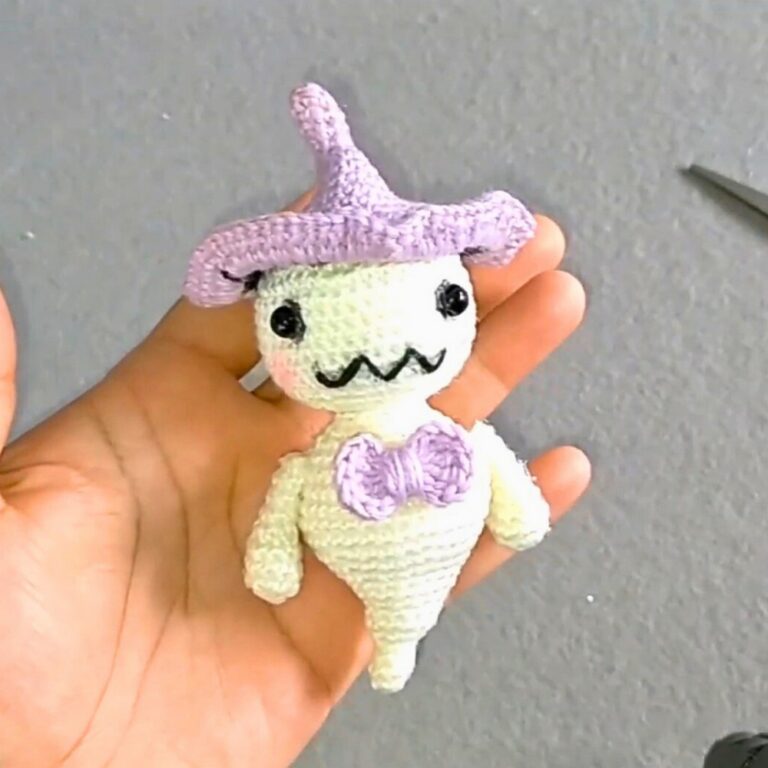
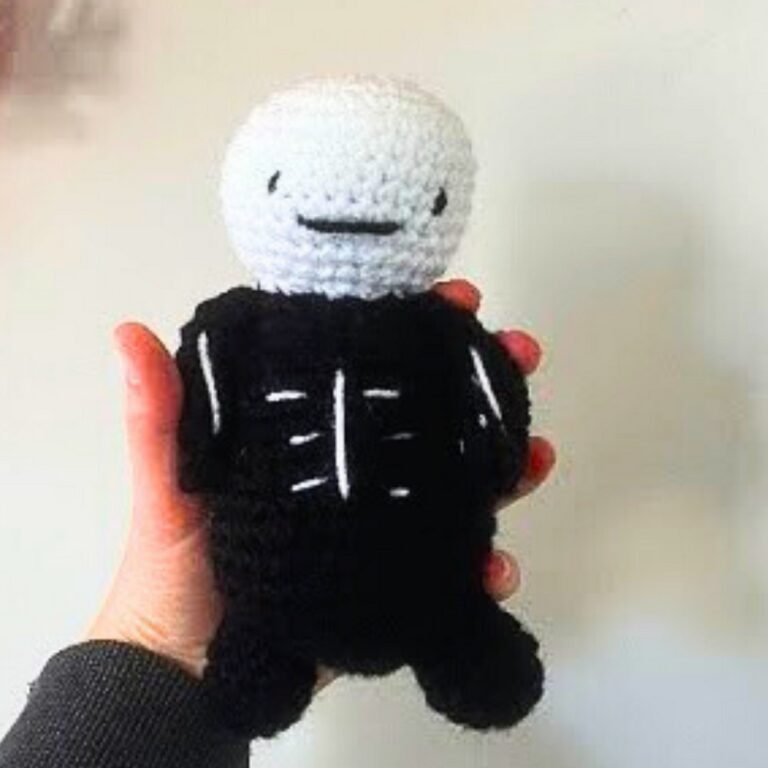
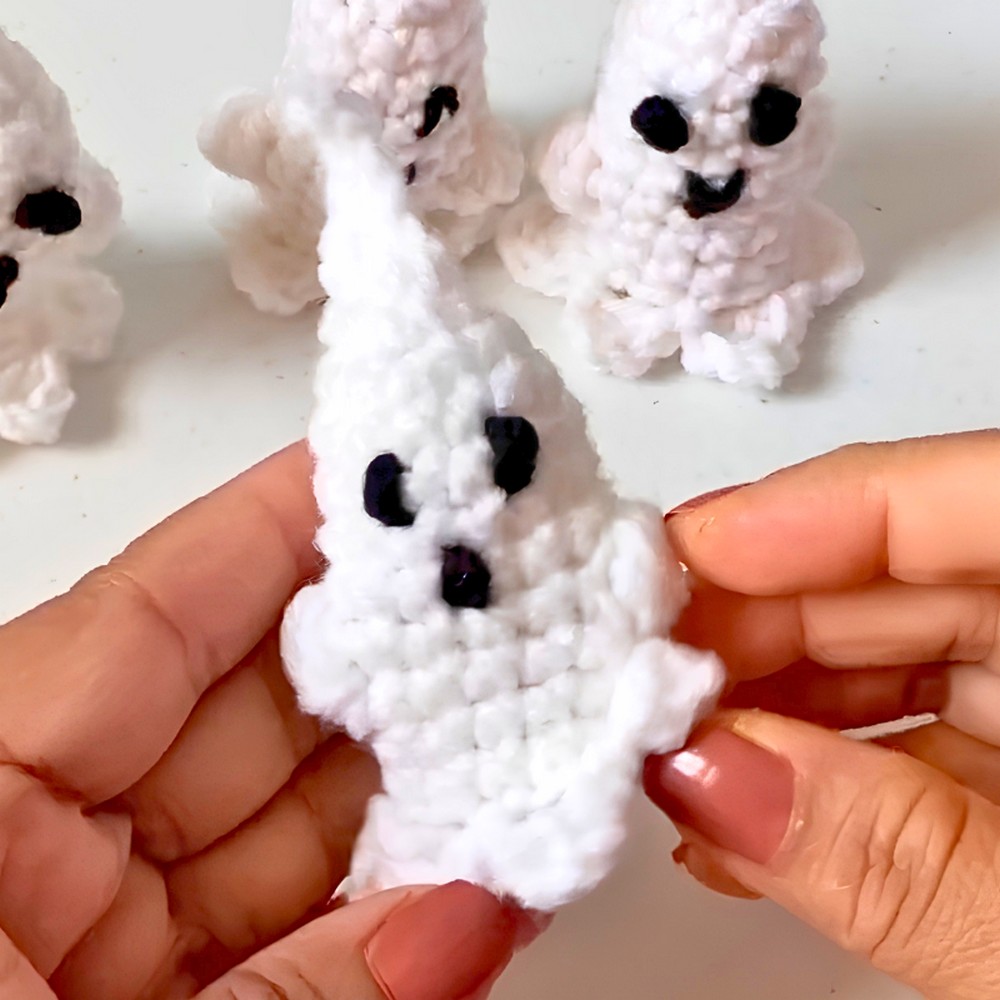
A tiny ghost can bring far more charm than fright, especially when it’s made with yarn. This crochet ghost charm has a cheerful personality that makes it perfect for Halloween, keychains, backpacks, desk décor, or thoughtful handmade gifts. Its small size and playful look make it the kind of piece that’s hard to crochet just once.
Easy Crochet Ghost Pattern
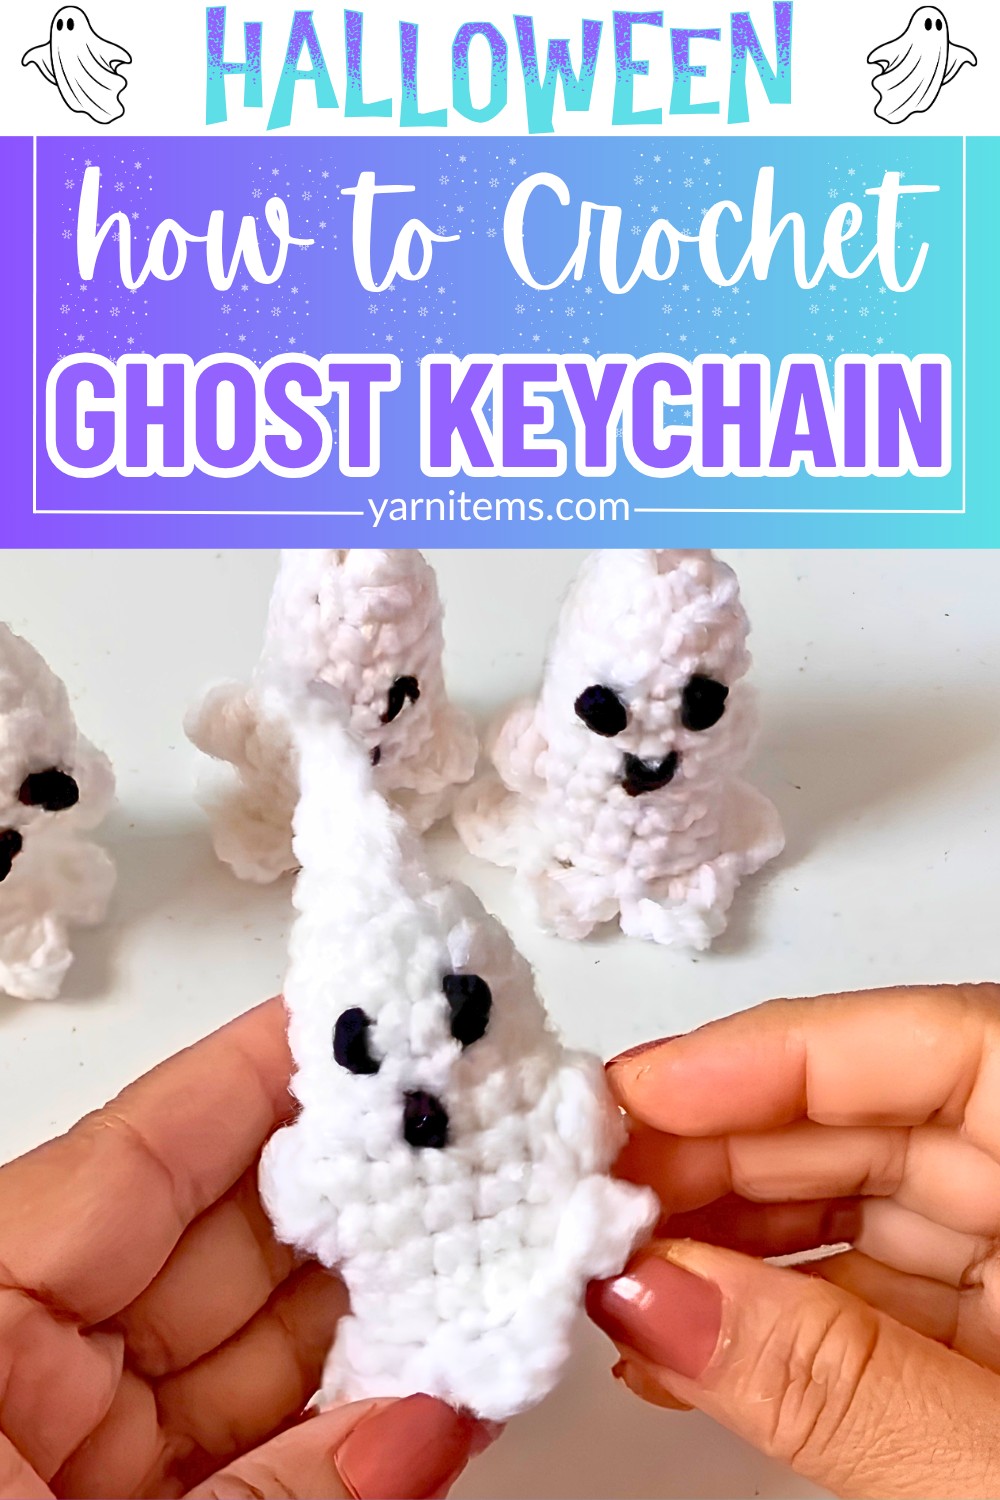
If you’d like to make one of your own, this pattern walks you through each step in a simple, beginner-friendly way. It comes together quickly with basic crochet stitches, leaving plenty of room to customize the colors and tiny details. Keep scrolling to see how this friendly little ghost takes shape from the very first stitch.
Credit Crochet Mili
Materials & Tools Needed
- Yarn: Medium-weight yarn in 2 colors
- White: for the ghost body
- Black: for face details
- Crochet Hook: 4.25 mm
- Tools: Scissors, Yarn needle
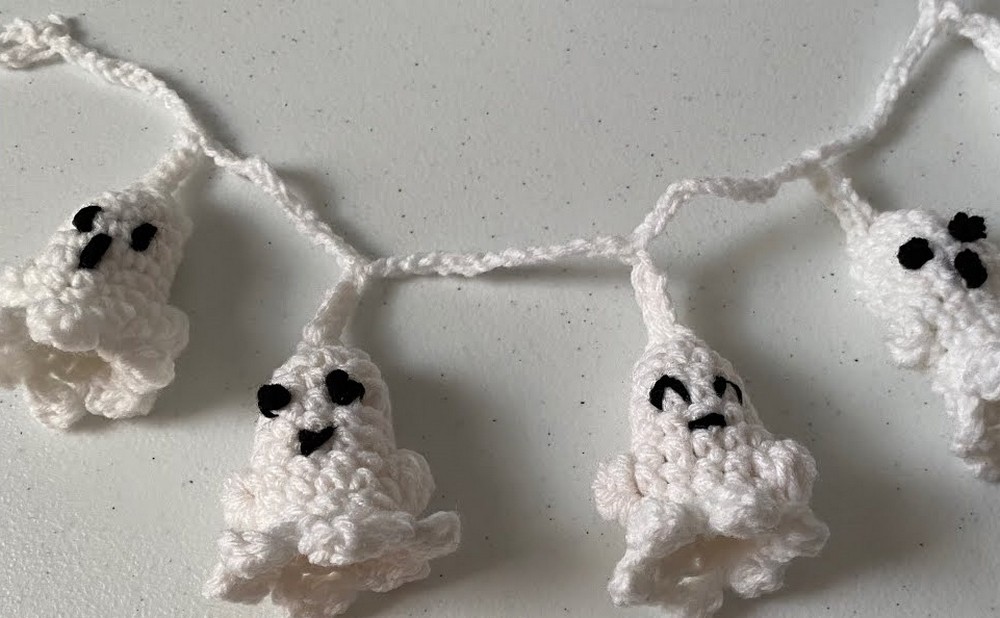
Finished Size & Customization Ideas
- Size: Approx. 2.5 to 3 inches tall (depending on tension).
- Customization:
- Swap black yarn with pink/purple to create rosy cheeks or a colorful smile.
- Convert a single ghost into a keychain, backpack charm.
- Or a Halloween ornament by adding a loop of chain stitches to the top.
Pattern Abbreviations & Terminology
- ch: Chain stitch
- sl st: Slip stitch
- sc: Single crochet
- dc: Double crochet
- 5 dc together: 5 double crochet popcorn/bobble stitch (creates the puff for ghost arms).
Step-by-Step Crochet Instructions:
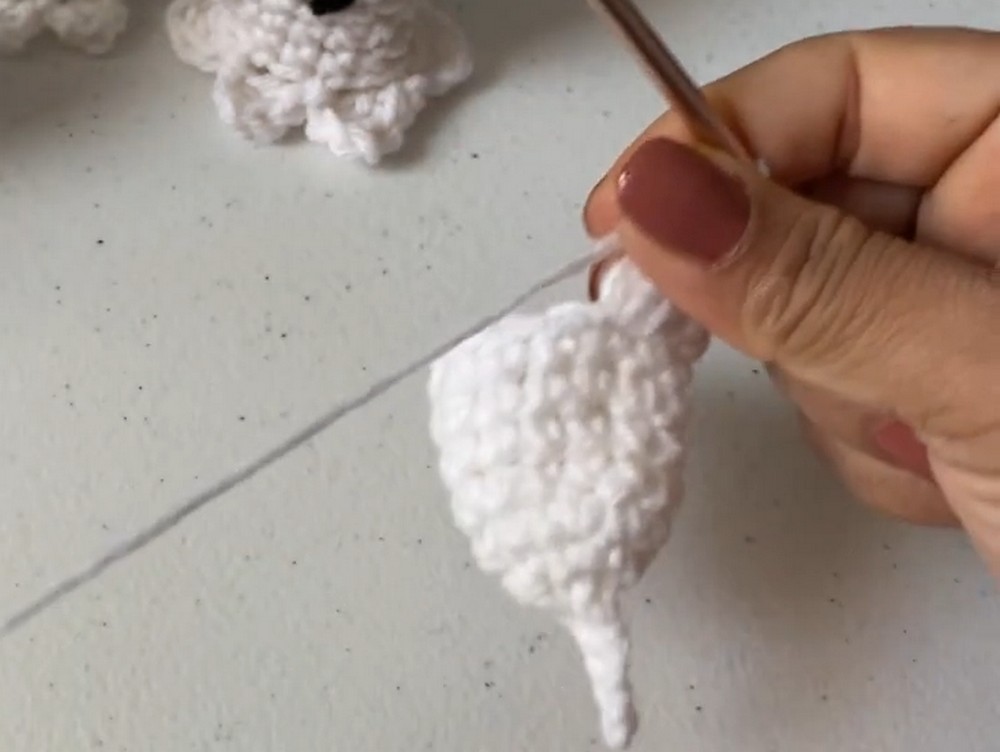
1. Row 1: The Top Stem (Start of Ghost Head)
- Make a small knot and chain 5.
- Slip stitch into the 2nd chain from the hook, then slip stitch into the next 3 chains.
- Chain 1, work 2 sc into the base loop, turn, and work another 2 sc into the opposite side of the loop.
- Slip stitch into the first single crochet to join.
2. Row 2: Expansion
- Chain 1, work 2 sc into every single stitch around.
(Stitch count: 8 stitches total). - Slip stitch into the first single crochet to join.
3. Row 3: Shaping the Head
- Chain 1, work 1 sc into the first stitch, then 2 sc into the next stitch.
- Repeat this alternating pattern [1 sc, 2 sc] all the way around.
(Stitch count: 12 stitches total).
- Repeat this alternating pattern [1 sc, 2 sc] all the way around.
- Slip stitch into the first single crochet to join.
4. Rows 4 to 7: Body Length
- For Rows 4, 5, 6, and 7:
- Chain 1, then work 1 sc into every single stitch around.
- (Stitch count: 12 stitches per row).
- Always slip stitch into the first single crochet to join at the end of each row.
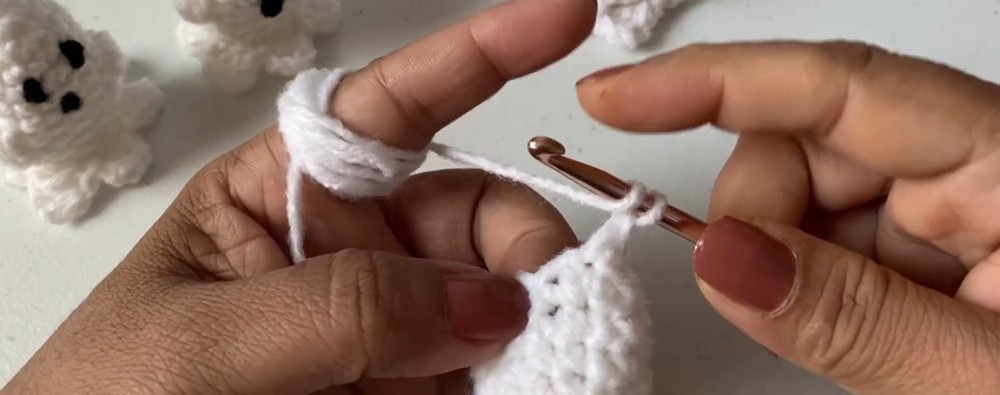
5. Row 8: Popcorn Arms
- Chain 1, work 1 sc into the next stitch.
- In the next stitch, work 5 dc together to create the first arm puff.
- Work 1 sc into the next 5 stitches.
- In the next stitch, work another 5 dc together for the second arm.
- Work 1 sc into the remaining 4 stitches.
- Slip stitch into the first single crochet to join.
6. Rows 9 and 10: Lower Body
- For Rows 9 and 10:
- Chain 1, then work 1 sc into every single stitch around.
- (Stitch count: 12 stitches per row).
- Slip stitch into the first single crochet to join at the end of each row.
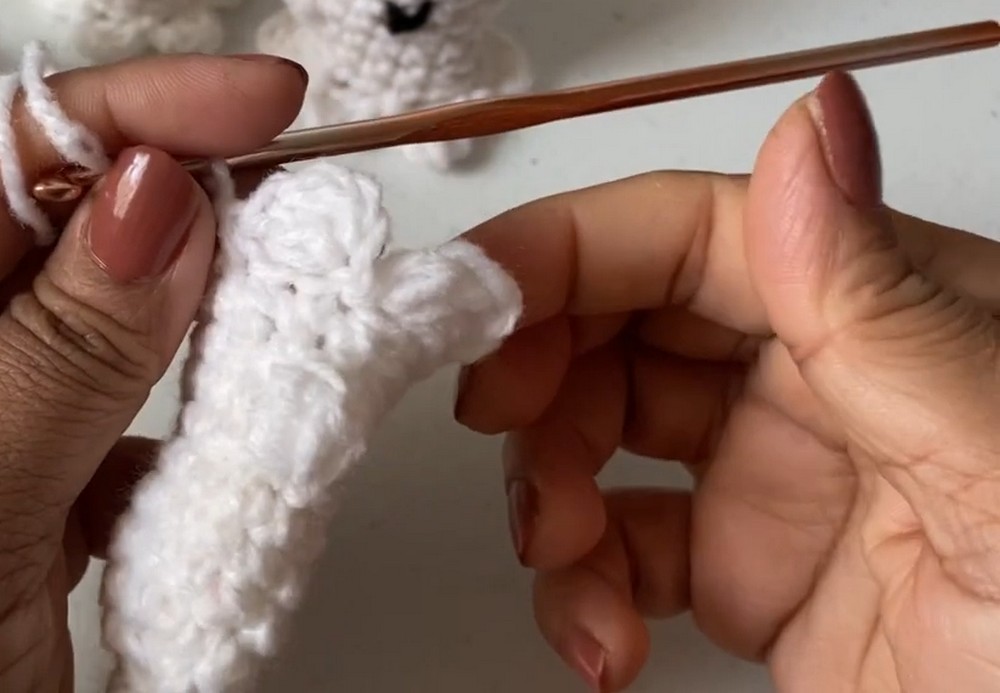
7. The Wavy Bottom Skirt Edge (Finishing Touches)
- Chain 3, work 2 dc into the 3rd chain from your hook.
- Skip 1 stitch on the ghost body, and slip stitch into the next stitch.
- Repeat this sequence [Ch 3, 2 dc in 3rd ch from hook, skip 1, sl st] all the way around.
- Slip stitch into your very first chain to close, finish off, and cut the yarn.
8. Adding the Face & Joining
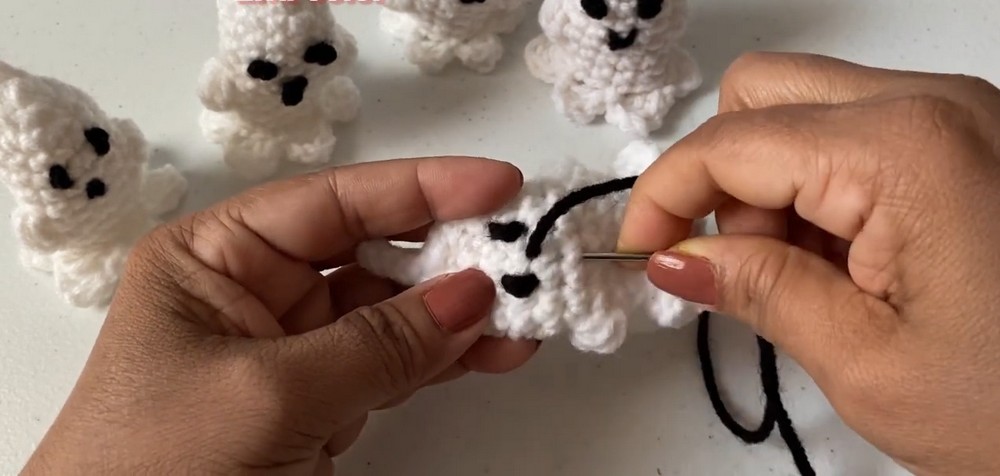
- Using black yarn and a yarn needle:
- Sew two small vertical bars for the eyes.
- Add a tiny line or “V” shape for the mouth.
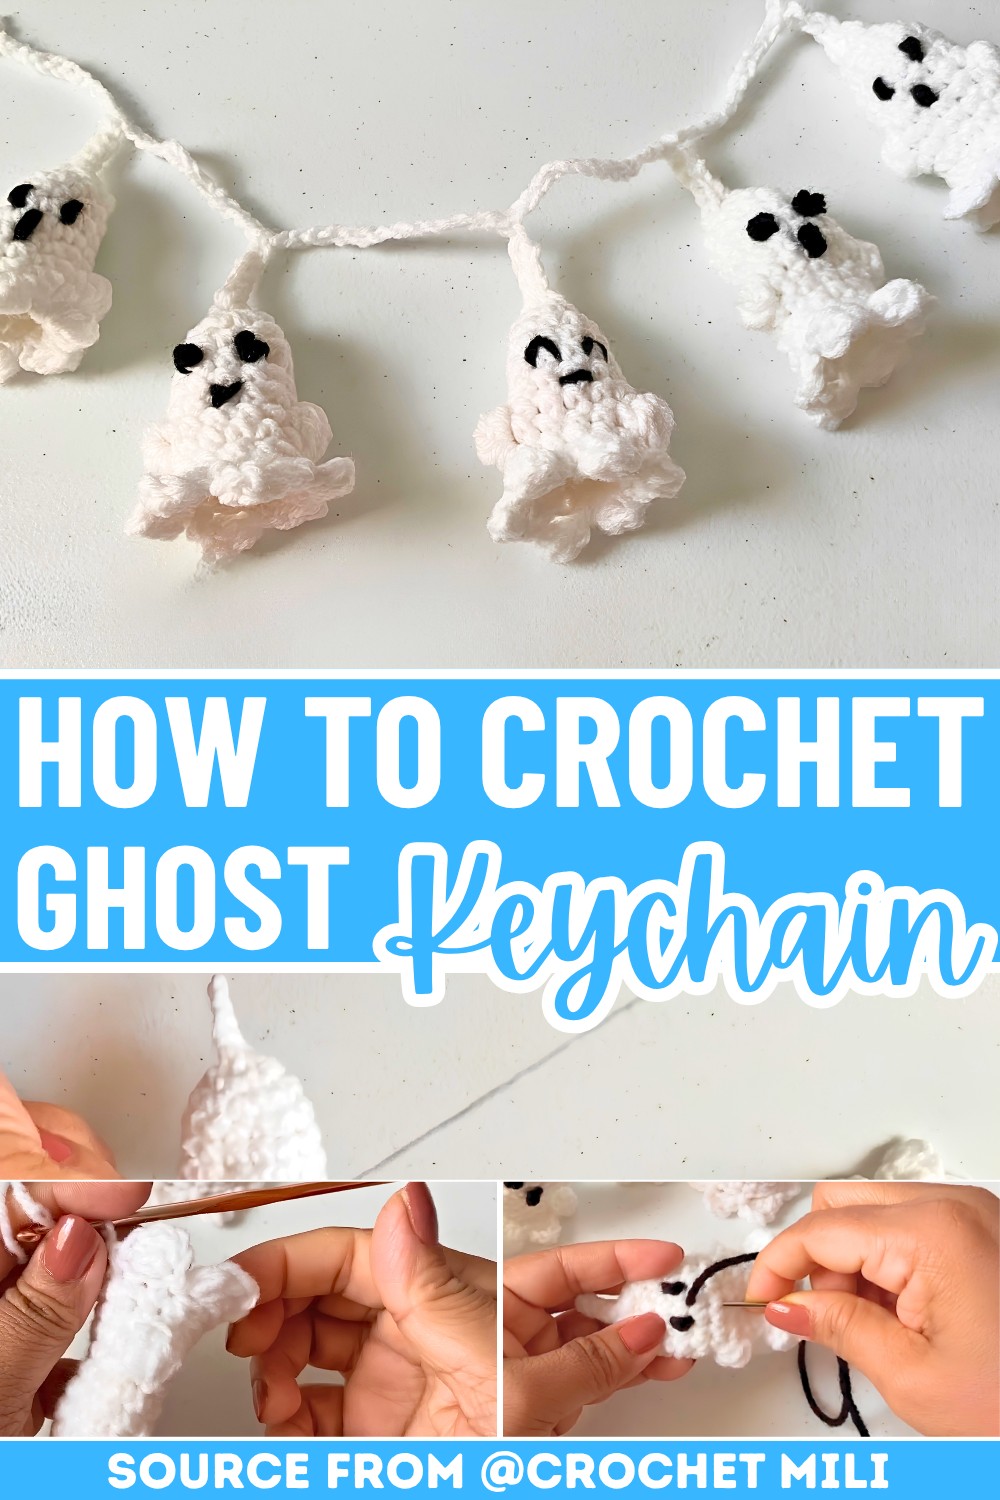
- Creating a Garland:
- Chain 8, slip stitch into the 1st chain to make a hanging loop.
- Chain 12, slip stitch through the top stem of your first ghost to connect it.
- Chain 12, attach the next ghost, and repeat until done.
- End with a chain of 20 and a slip stitch back into the 8th chain from the hook for a closing loop.
Video Tutorial