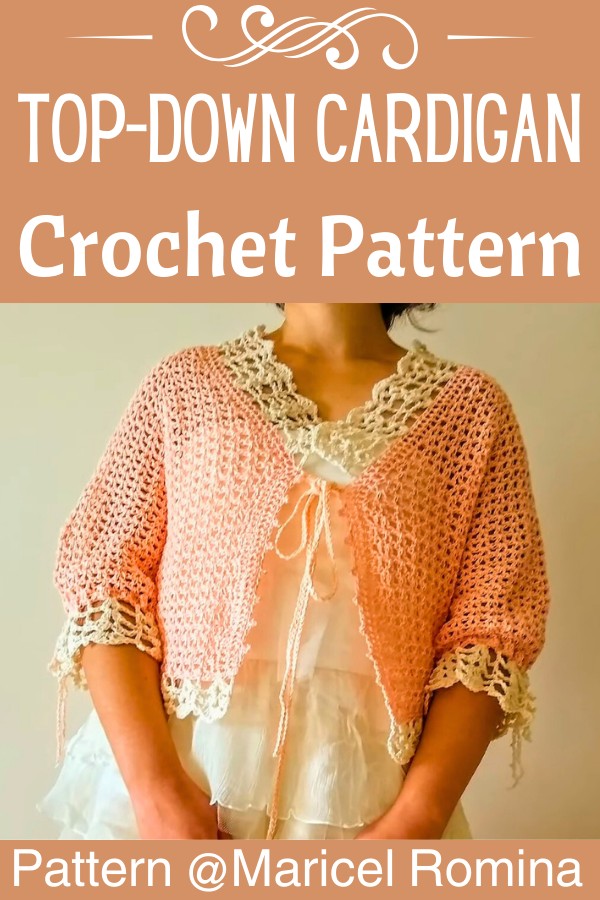
Easy-to-Make Crochet Romantic Top-Down Cardigan Design
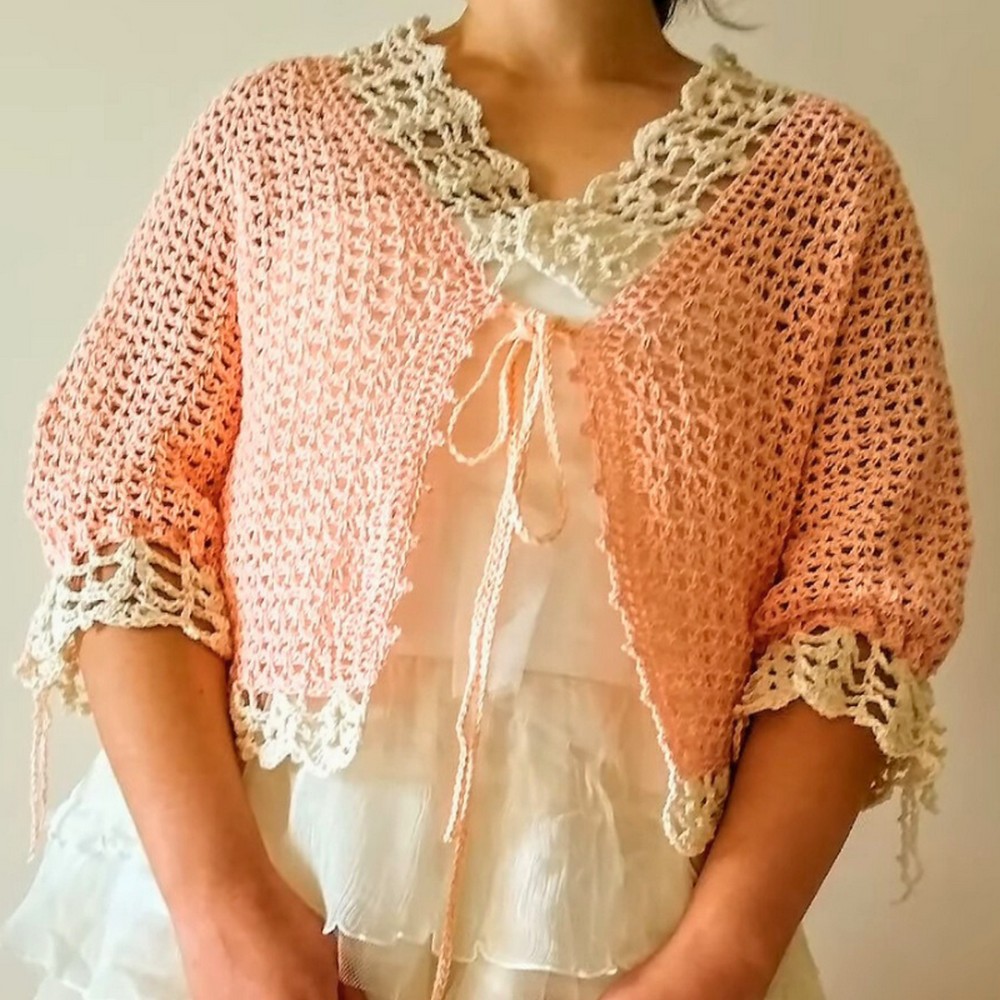
One beautiful detail completely changes the way this cardigan comes together from the very first row. The Crochet Romantic Top-Down Cardigan is worked from the neckline downward, creating a smooth, seamless shape with elegant raglan construction.
Its signature block stitch adds soft texture while keeping the overall design light, comfortable, and timeless. The finished crochet piece is easy to style for everyday wear or special occasions.

Small design choices give this wearable piece a polished look that feels surprisingly versatile. The crochet pattern includes multiple starting sizes, simple shaping, and flexible options for adjusting the body and sleeve length.
Decorative edging adds a graceful finish while allowing plenty of room for personalization. The result is a stylish item that combines comfort, elegance, and everyday practicality.
Credit Maricel Romina
Materials & Tools Needed
- Yarn: Any medium-weight yarn in your chosen color(s).
- Hook: Crochet hook appropriate for the yarn weight (usually size 4.0 mm – 5.0 mm).
- Stitch markers to mark important sections like increases and joins.
- Scissors for cutting yarn.
- Tapestry needle to weave in ends.
Read These Important Tips Before You Start
- This cardigan is worked top-down.
- The project alternates rows with and without increases for structured shaping.
- The tutorial uses a unique “B stitch” made up of two double crochets separated by a chain.
- Customization can be done by adjusting the initial chain length, number of rows, and sleeve length.
- Make sure to place stitch markers at key points specified to track your increases and divisions.
Choose the Perfect Size & Make It Uniquely Yours
Sizes (Initial Chain Count):
- S/M: Start with 78 chains + 3 for the turning chain.
- M/L: Start with 90 chains + 3 for the turning chain.
- L/XL: Start with 102 chains + 3 for the turning chain.
Customization Ideas:
- Length: Adjust the number of rows before closing armholes or completing the cardigan.
- Fit: Add or reduce rows for desired circumference.
- Sleeves: Can be made puffed, three-quarter length, or full length depending on preference.
Quick Stitch Guide
- ch: Chain
- dc: Double crochet
- B stitch: A “block stitch” consisting of 2 dc in the same space, separated by a chain.
- sl st: Slip stitch
- rnd: Round
- st(s): Stitch(es)
- inc: Increase (usually done by making extra “B stitches”).
Step-by-Step Detailed Crochet Instructions
Part 1: Starting the Yoke
- Foundation Chain:
- Start with:
- 78 chains (S/M),
- 90 chains (M/L),
- 102 chains (L/XL).
- Add 3 more chains for turning.
- Start with:
- Row 1:
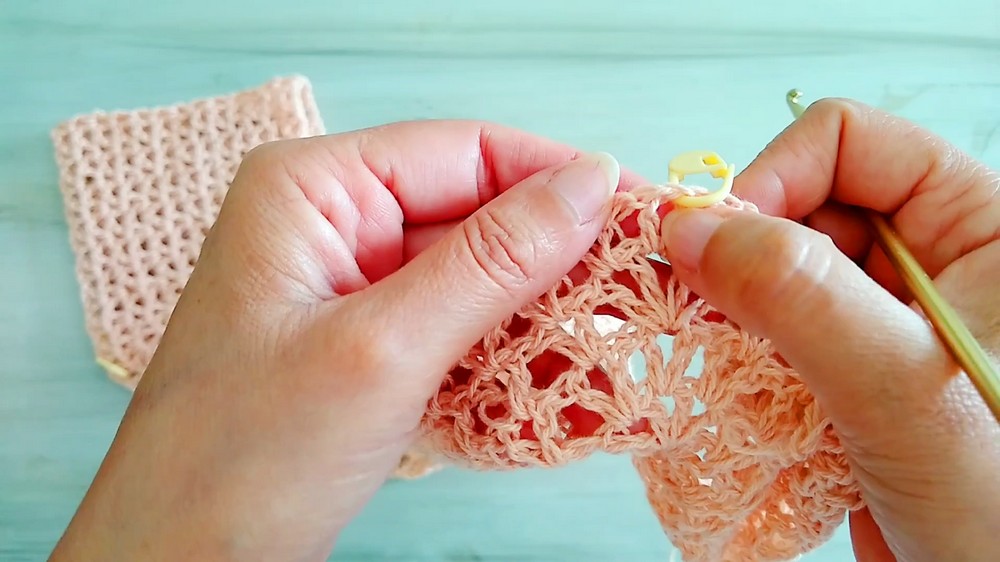
- Dc in the 5th chain from the hook (first “B stitch”).
- Skip 3 chains, make a dc, ch 1, then dc in the same chain.
- Repeat * to the end of the row.
- Count and ensure you have:
- 26 B stitches (S/M),
- 30 B stitches (M/L),
- 34 B stitches (L/XL).
- Divide Sections for Raglan Increases:
- Place markers to separate front panels, shoulders, and back:
- For S/M, each shoulder gets 6 B stitches, and the back gets 8 B stitches.
- For M/L, each shoulder gets 7 B stitches, and the back gets 10 B stitches.
- For L/XL, each shoulder gets 8 B stitches, and the back gets 12 B stitches.
- Place markers to separate front panels, shoulders, and back:
Part 2: Increasing Rows
- Row 2: Increase Row
- Chain 4 to start and turn your work.
- In the “B stitch” spaces from the previous row, crochet another “B stitch” (dc, ch 1, dc).
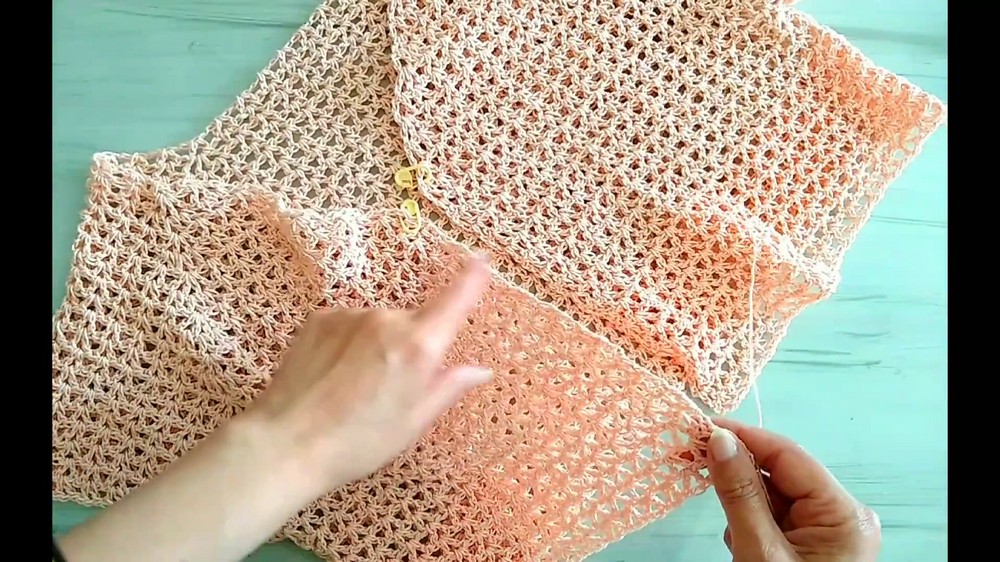
- At every stitch marker (indicating the raglan corners), place two increases (dc, ch 1, dc repeated 3 times).
- Move the stitch marker to the middle of the newly created increase space.
- Row 3: Non-Increase Row
- Work 1 “B stitch” in each space from the previous row, without increasing.
- Repeat Rows 2 and 3 alternately until your yoke reaches the desired width. The corners will form a rounded neckline.
Part 3: Closing the Armholes
- Measure and Divide Armholes:
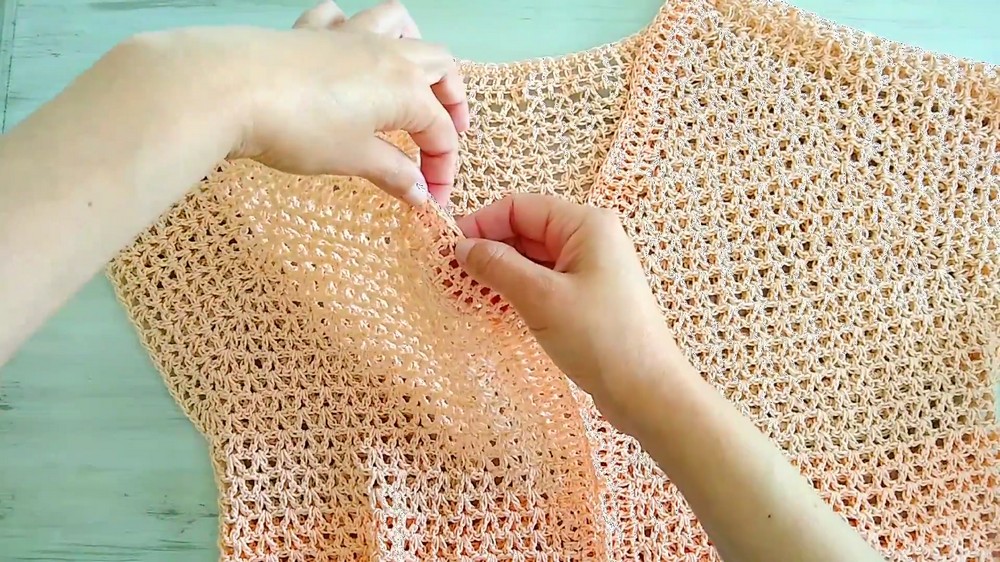
- For S/M, the width from armpit to armpit should be 20 cm before closing. Use your gauge and customize accordingly.
- To close, crochet continuously to the next marker. Remove both markers and slip stitch to join the underarm.
- Continue the Body:
- Work straight rows of “B stitches” to create the cardigan body, skipping any additional increases.
Part 4: Sleeves
- Pick up stitches at the armholes:
- Attach your yarn to any “B stitch” at the underarm.
- Crochet “B stitches” in the round, maintaining the pattern as established.
- Adjust Length:
- Work rows for the desired sleeve length: three-quarter or full sleeves.
- Finish sleeves with edging:
- Add rows of double crochet and optional decorative picots for a polished edge.
Easy-to-Make Crochet Romantic Top-Down Cardigan Design
Add the Elegant Finishing Touches
Front Border & Collar:
-
- After completing the body length, crochet rows of double crochet along the neckline and front edges.
- For a scalloped lace border, work fan stitches (2 dc, ch 2, 2 dc) at regular intervals, alternating with picots.Final Touches:
- Weave in all ends using the tapestry needle.
- Steam block or lightly wet block your cardigan to even out stitches and shape.