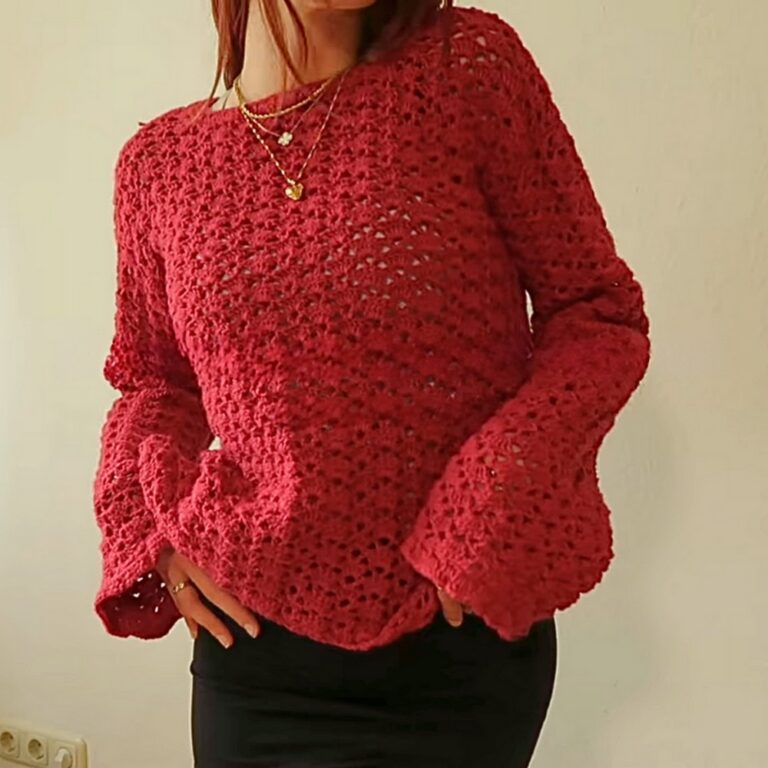
Easy Crochet Arrow Beanie Hat Pattern for Adults
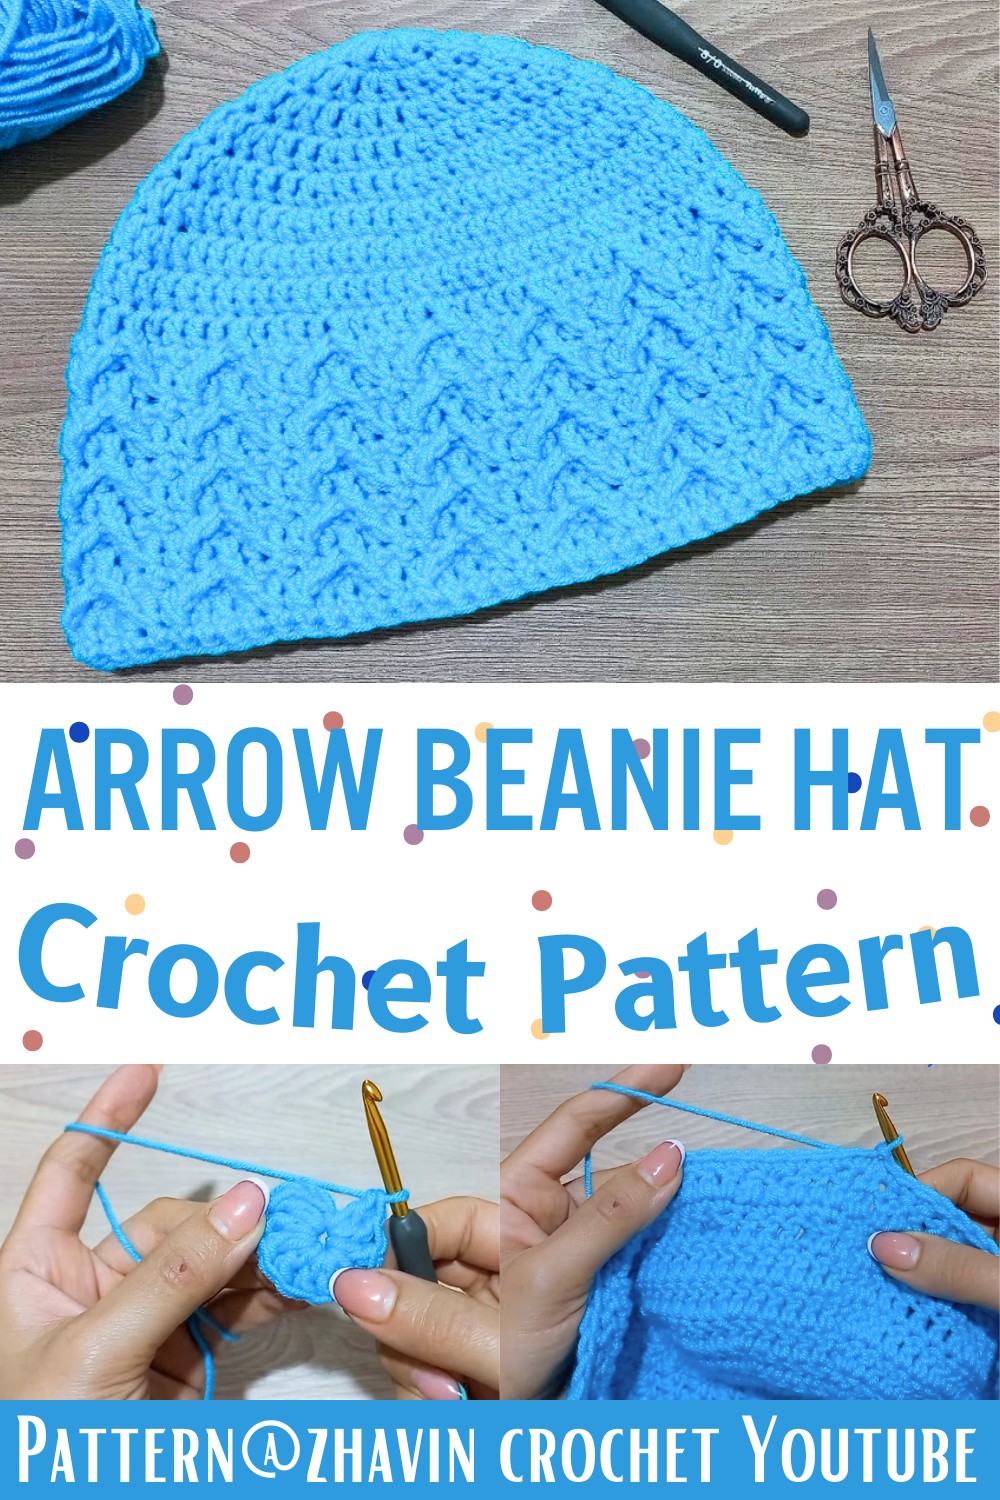
A bold textured pattern can turn an everyday beanie into a true handmade standout. This crochet piece features an eye-catching arrow stitch design that adds depth without making the pattern difficult to follow.
Worked with worsted weight yarn and a 5 mm hook, it creates a soft, comfortable finish that is perfect for everyday wear. The balanced combination of texture and simplicity makes this crochet item enjoyable to create from start to finish.
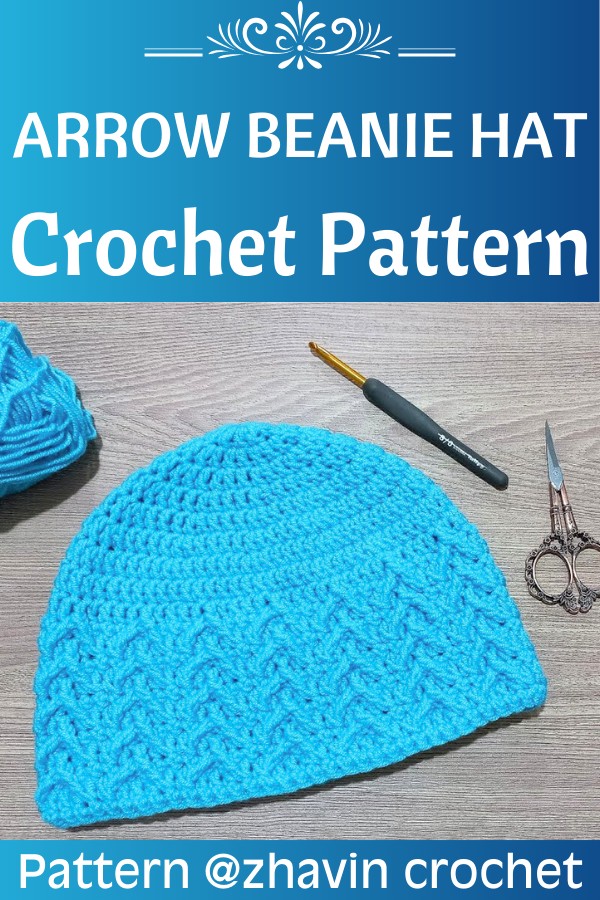
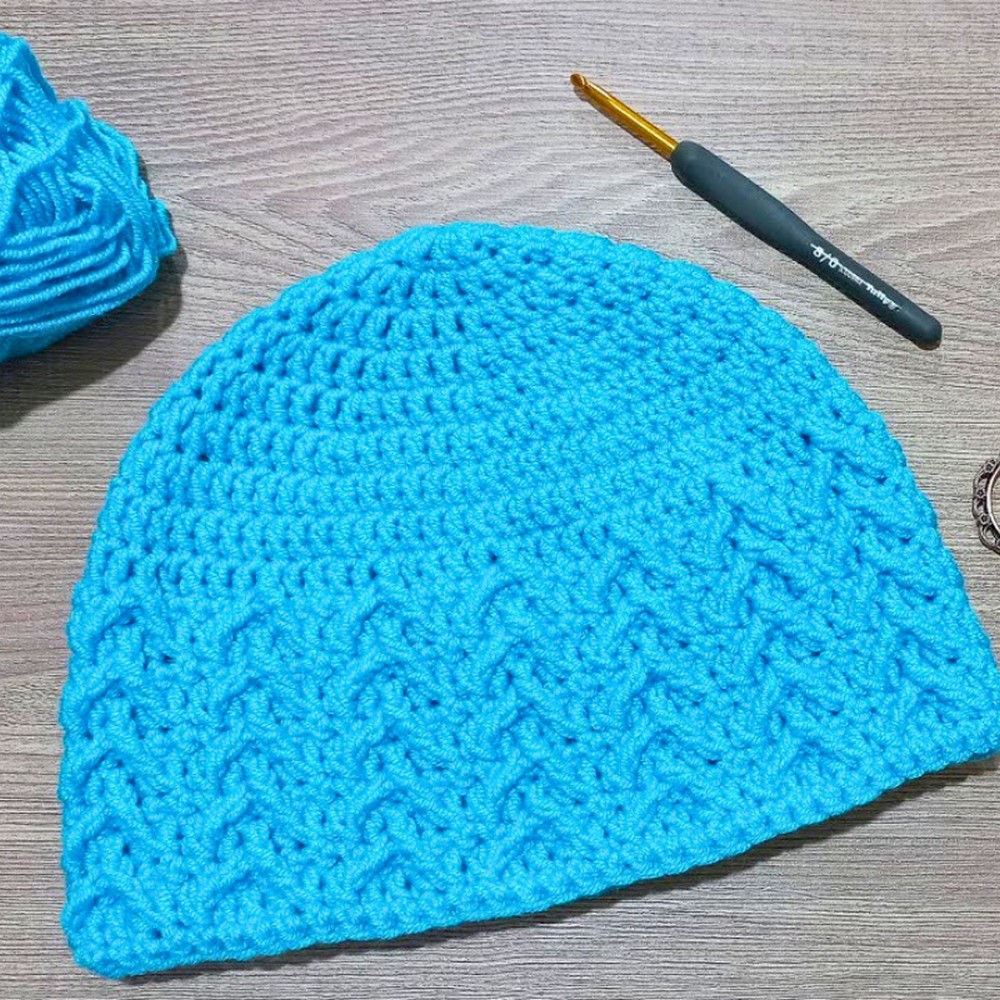
Every carefully placed stitch gives this crochet piece a polished look while keeping it practical and cozy. Alternating rounds of single crochet and arrow stitches build a durable fabric with beautiful definition and stretch.
The size and height can be adjusted with ease, allowing you to create a fit that suits your personal style. The finished item is warm, comfortable, and a timeless accessory you’ll reach for throughout the colder seasons.
Credit zhavin crochet
Materials & Tools Needed:
- Yarn: Worsted weight yarn (size 4). Choose your preferred color.
- Crochet Hook: 5 mm (H/8).
- Tapestry Needle: For weaving in the ends.
- Scissors
Pattern Notes:
- The turning chain does not count as a stitch throughout the pattern.
- Turning your work: When instructed to turn, you’ll alternate between working on the right and wrong sides to enhance the texture.
- The hat includes Arrow Stitches, made by combining Double Crochet (dc) and Front Post Triple Crochet (FPtr) together as described in the instructions.
- The finished hat alternates between rows of Arrow Stitches and Single Crochets for texture.
Finished Size & Customization Ideas:
- Diameter after Round 7: 6.5 inches (17 cm).
- Finished height: 7.5 inches (19 cm) (without brim). This size fits most adults.
- To adjust for different sizes:
- For smaller hats: Omit the last few increase rounds.
- For larger hats: Continue increasing rounds before moving to the texture rounds.
Pattern Abbreviations & Terminology:
- ch: Chain
- sl st: Slip Stitch
- sc: Single Crochet
- dc: Double Crochet
- yo: Yarn Over
- FPtr: Front Post Triple Crochet
- RS / WS: Right Side / Wrong Side
Terminology: Pattern is written in US crochet terms.
Step-by-Step Detailed Crochet Instructions:
Crown of the Hat:
Round 1:
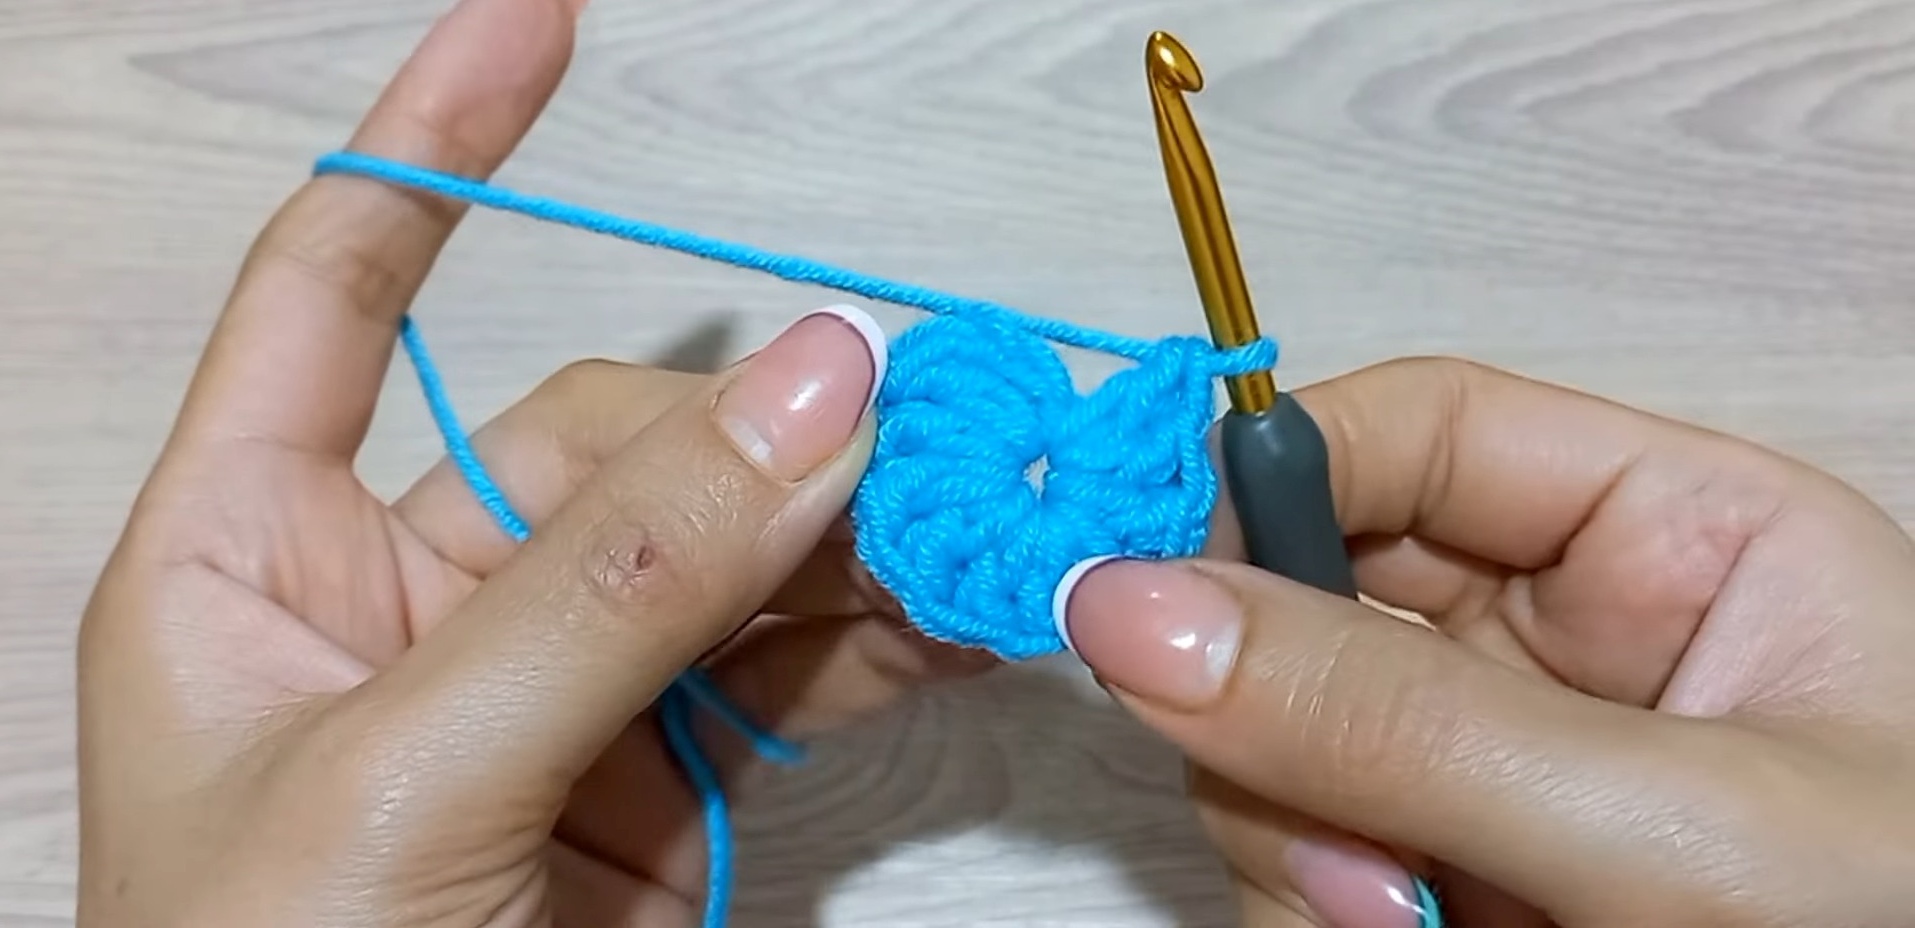
- Make a slip knot, then ch 4.
- Insert the hook into the first chain, yo, and pull through both loops on the hook to form a ring.
- Ch 2 (does not count as a stitch).
- Make 10 dc into the ring.
- At the end, join with a sl st to the top of the first dc.
- Stitch Count: 10 dc.
Round 2:
- Ch 2 (does not count as a stitch).
- Make 2 dc into each stitch around.
- At the end, join with a sl st to the first dc.
- Stitch Count: 20 dc.
Round 3:
- Ch 2.
- [2 dc in the first stitch, 1 dc in the next stitch] – repeat this sequence around.
- At the end, join with a sl st to the first dc.
- Stitch Count: 30 dc.
Round 4:
- Ch 2.
- [2 dc in the first stitch, 1 dc in each of the next 2 stitches] – repeat this sequence around.
- At the end, join with a sl st.
- Stitch Count: 40 dc.

Round 5:
- Ch 2.
- [2 dc in the first stitch, 1 dc in each of the next 3 stitches] – repeat this sequence around.
- At the end, join with a sl st.
- Stitch Count: 50 dc.
Round 6:
- Ch 2.
- [2 dc in the first stitch, 1 dc in each of the next 4 stitches] – repeat this sequence around.
- At the end, join with a sl st.
- Stitch Count: 60 dc.
Round 7:
- Ch 2.
- [2 dc in the first stitch, 1 dc in each of the next 5 stitches] – repeat this sequence around.
- At the end, join with a sl st.
- Stitch Count: 70 dc.
Tip: Measure your circle’s diameter. It should be around 6.5 inches (17 cm) for adult size. If customizing for another size, adjust rounds accordingly.

Body of the Hat:
For the body, stop increasing and maintain the 70-stitch count in each round. Alternating textured and single crochet rounds creates the distinctive “Arrow Stitch” look.
Rounds 8 & 9: (Plain Rounds)
- Ch 2.
- Make 1 dc in each stitch around.
- At the end, join with a sl st.
- Stitch Count: 70 dc.
Round 10 (Single Crochet Round):
- Ch 1.
- Turn the work to the wrong side.
- Make 1 sc in each stitch around.
- At the end, join with a sl st.
- Stitch Count: 70 sc.

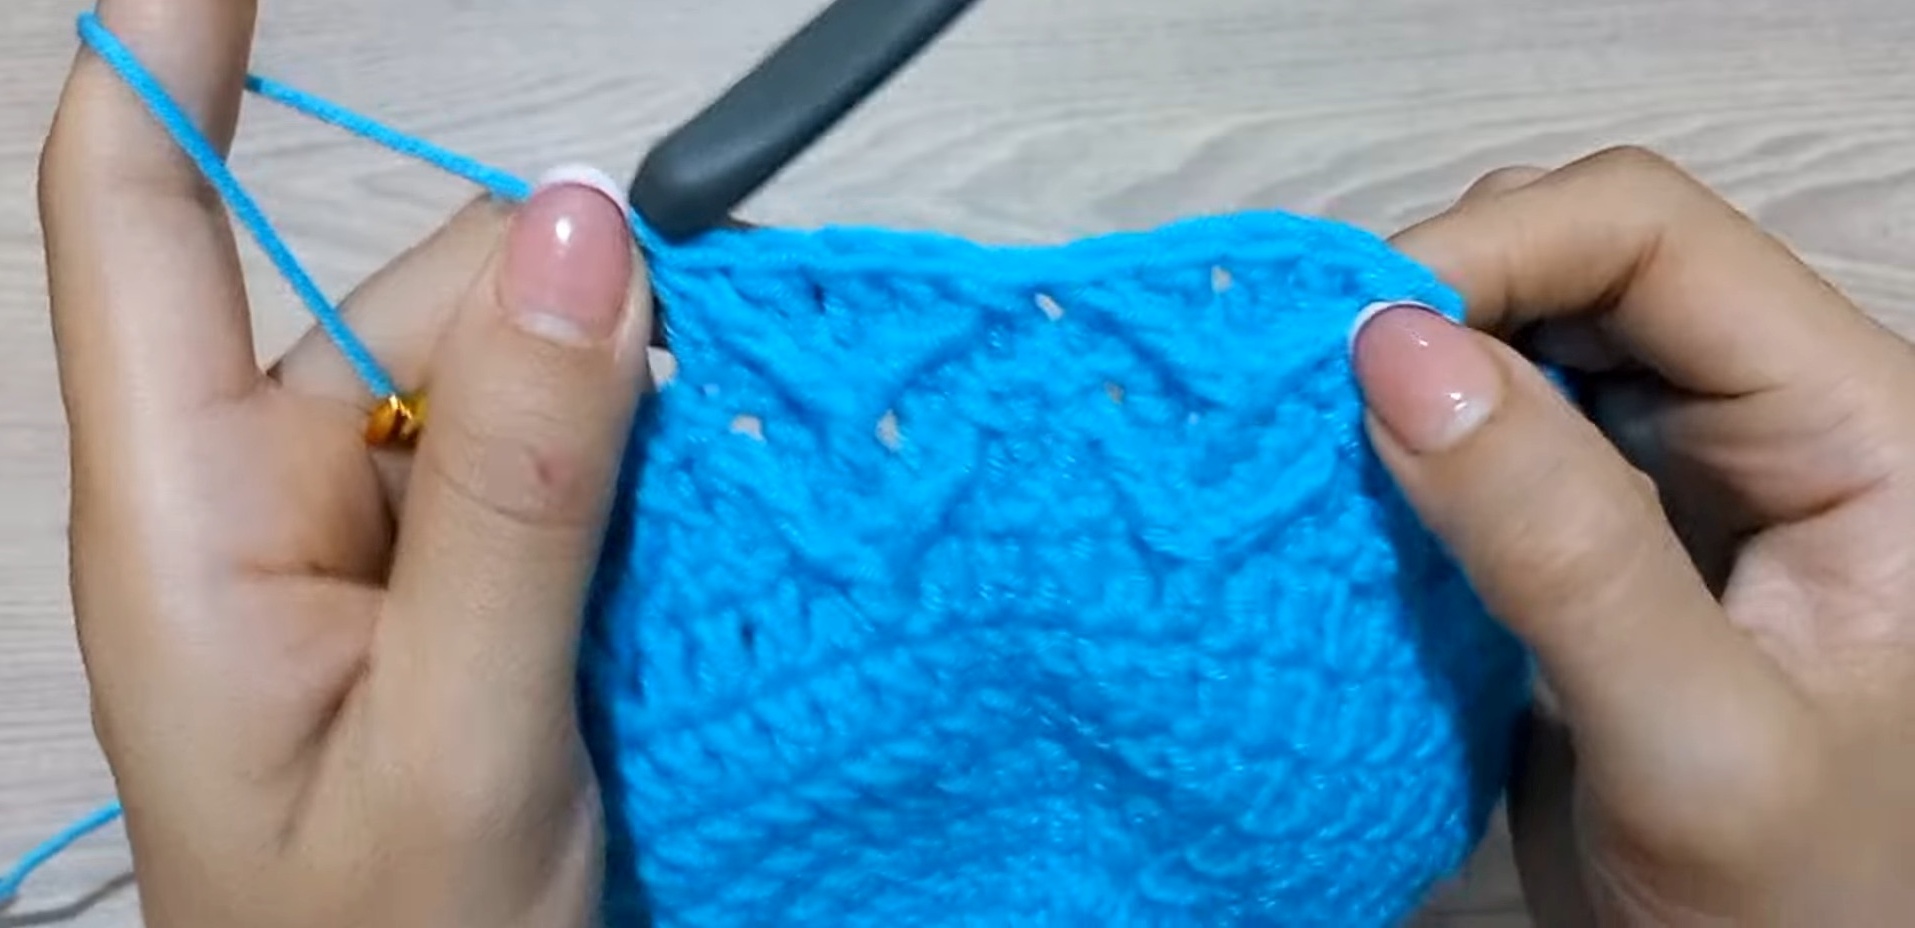
Round 11 (Arrow Stitch Round):
- Ch 2.
- Turn the work to the right side.
- Begin the first Arrow Stitch:
- Dc + FPtr: Yo, insert hook into the stitch and work a dc, but don’t complete it (leave two loops on the hook).
- Yo twice, go down two rows to locate a stitch, work a FPtr, then complete all stitches together.
- Next: [Dc in each of the next 3 stitches. Then repeat Dc + FPtr together.]
- Repeat this sequence all the way around.
- At the end, join with a sl st.
Round 12 (Single Crochet Round):
- Ch 1.
- Turn to the wrong side.
- Make 1 sc in each stitch around.
Repeat Rounds 11 and 12:
- Alternate between Arrow Stitch rounds and Single Crochet rounds. Turn your work after each round.
- For the hat in the tutorial, repeat 5 Arrow Stitch Rounds total.
Finishing the Hat:
Last Round:
- Ch 1, turn to the wrong side.
- Make a round of 1 sc in each stitch.
- At the end, sl st, fasten off, and weave in the ends with a tapestry needle.
Customization Ideas:
- Add a pom-pom for extra flair.
- Experiment with different colors for the Arrow Stitch rows.
- Add an extended ribbed brim for a snugger fit.