Soft & Stylish Crochet Ombre Fall Cardigan Pattern
Ready for a cozy layer that feels as good as it looks? This cropped crochet cardigan combines soft ombre color changes, a textured stitch pattern, and simple ribbed finishing for an easy-to-style fall wardrobe staple.
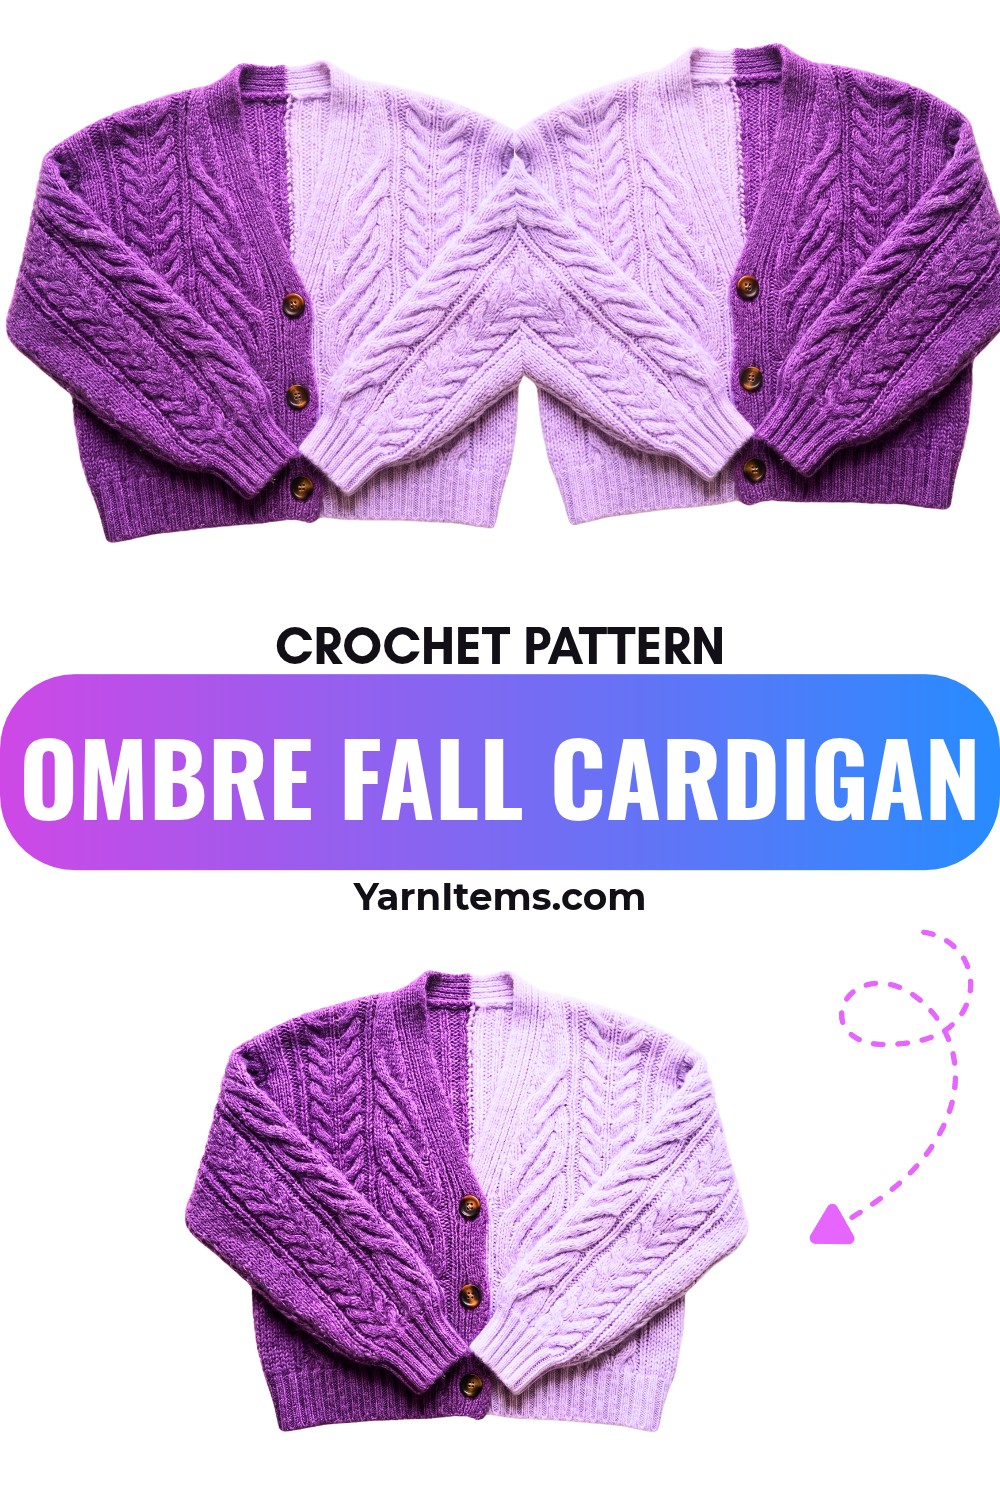
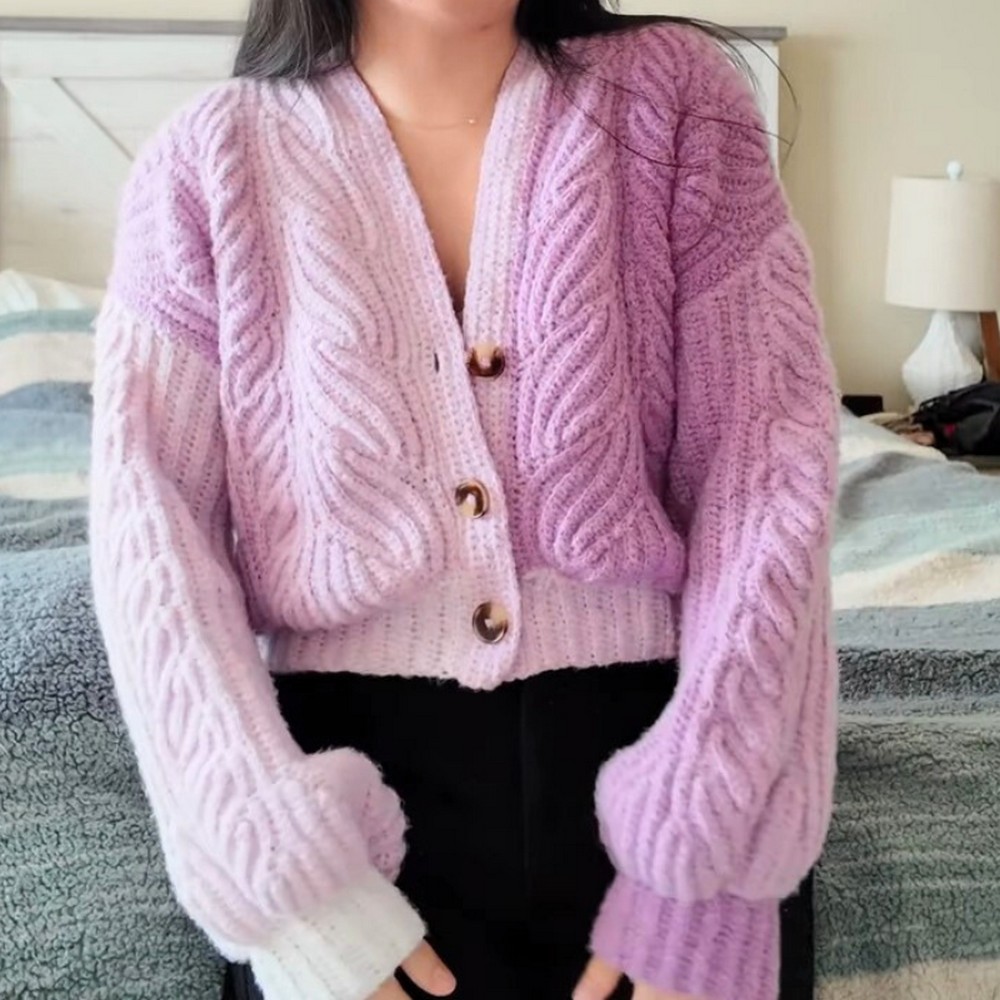
There is something especially satisfying about watching an ombre cardigan change color as you crochet. The darker shades can anchor the lower edge while lighter tones gradually move toward the shoulders, creating a finished garment with visual interest without needing to change colors manually throughout every row. The cropped, drop-shoulder shape also keeps the construction approachable while giving the crochet cardigan a relaxed everyday fit.
The main thing to watch is consistency between the panels. Fuzzy or cloud-style yarn can make individual stitches harder to see, and even a small difference in row count, width, or tension can become noticeable once the pieces are joined.
Before making the full crocheted cardigan, make a gauge swatch and pay attention to the direction of the ombre so the front panels, back, and sleeves come together as one intentional color flow.
Credit cobotoast
Finished Fit
- Style: Cropped, drop-shoulder cardigan
- Length: Approximately to the waist or belly-button area
- Sleeves: Long, with ribbed cuffs
- Front: Open front with optional button closure
- Yarn: Caron Cloud Cakes, 100% polyester, Category 4, used in the example
- Hook: 5.0 mm
- Original yarn option: Loops & Threads Ombre Hues, Category 3, now discontinued
The exact finished measurements will vary with yarn, tension, hook size, and the number of foundation stitches and rows used for your desired size.
Materials & Tools
- Yarn: Approximately 2 cakes of Caron Cloud Cakes in Perfect Phasing or a comparable ombre yarn
- Crochet Hook: 5.0 mm (H-8)
- Locking stitch markers or clips
- Tapestry/yarn needle
- 3–4 buttons
- Blocking board and pins, optional
- Spray bottle with water or garment steamer, optional
Choosing Your Yarn
The example uses Caron Cloud Cakes, but this yarn can behave differently from a conventional worsted-weight yarn because its fabric may work up thinner and more loosely than expected.
If you substitute yarn, do not choose solely by the label’s category. Your gauge and the fabric you create are more important than the category number printed on the yarn.
Gauge and Fit
Gauge is particularly important for this cardigan because the original pattern measurements can change considerably when the yarn behaves differently.
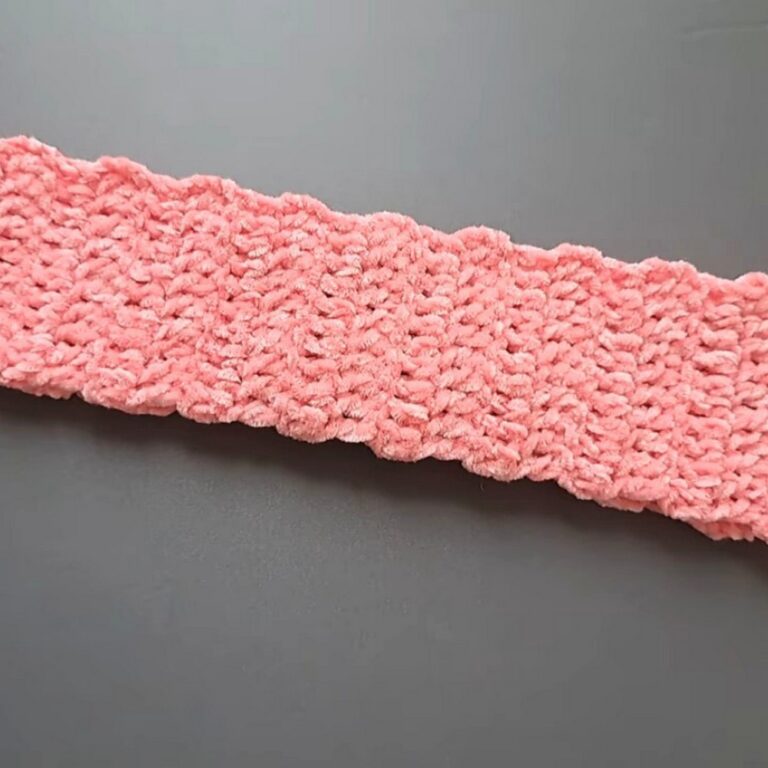
In the example, the original swatch measured approximately 8 cm wide, while a swatch made with Caron Cloud Cakes initially measured about 14 cm wide.
That is a substantial difference, so simply following the original stitch count without checking your own fabric can produce a cardigan much wider than intended.
Gauge Check
Make a swatch using the same stitch pattern, yarn, and hook you intend to use for the cardigan.
If your swatch is considerably wider than the intended measurement:
- Try tighter tension if you can maintain an even fabric.
- Consider dropping to a smaller hook, such as 4.5 mm.
- Make another swatch before starting the garment.
Important: Do not judge the cardigan’s size from the first few rows alone. Fuzzy yarn can relax and change slightly after handling or blocking. Measure a large enough swatch to get a more reliable idea of the finished fabric.
Understanding the Ombre Direction
The color placement is one of the most important design decisions in this cardigan.
The goal is not simply to crochet each piece until it reaches the required size. You also want the color transitions to look intentional when the pieces are assembled.
Front Panels
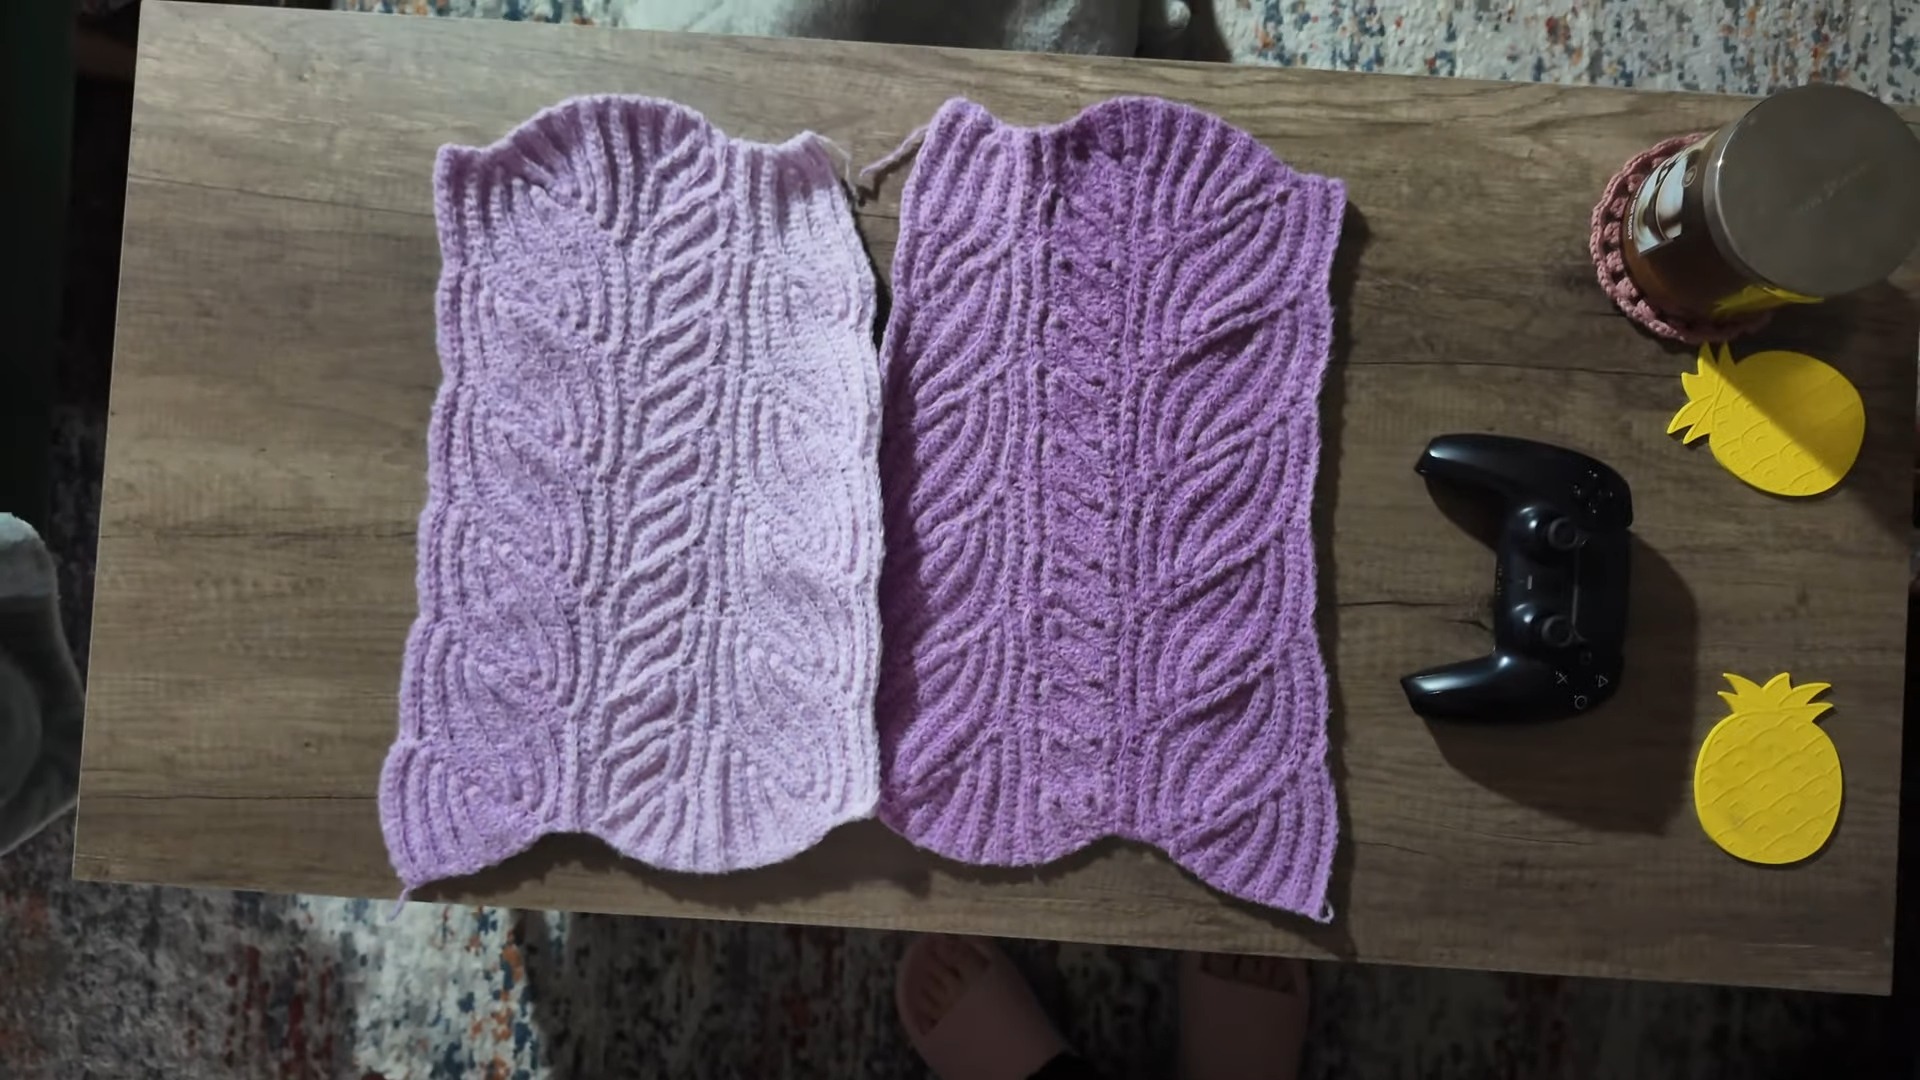
Both front panels begin with the darkest purple at the lower edge and gradually move toward lighter purple and white near the shoulders.
This means the two front pieces should be started in the same general color direction.
Back Panel
The back uses the opposite starting point. Pull the yarn from the appropriate end of the cake so the lighter purple/white begins at the upper area and the darker shades move toward the lower back.
Sleeves
The sleeves continue the color story rather than simply matching one another identically.
- Sleeve 1: White/light purple transitioning toward darker shades
- Sleeve 2: Light purple transitioning toward dark purple
Color-Planning Tip: Before crocheting all four major pieces, lay the yarn cakes beside your work and decide which end you need for each section. Once a large panel is finished, changing the direction of the ombre is not something you can easily correct without unraveling.
Pattern Abbreviations
- ch: Chain
- st / sts: Stitch/stitches
- sl st: Slip stitch
- sc: Single crochet
- hdc: Half double crochet
- dc: Double crochet
- BLO: Back loop only
- RS: Right side
- WS: Wrong side
How to Crochet the Cardigan
The cardigan is worked in separate pieces:
- Two front panels
- One back panel
- Two sleeves
- Bottom ribbing
- Front and neckline ribbing
- Sleeve cuffs
The textured stitch pattern is repeated across the body pieces, so keeping your row count consistent is essential.
Front Panels
Make 2 front panels.
Begin with the foundation chain required for your chosen panel width.
Foundation: Chain the required number of stitches for your desired front-panel width.
The exact stitch count should be determined from your gauge and desired size rather than using the example swatch width as a stitch count.
Row 1: Work the foundation row in the required sc/hdc textured sequence across, then turn.
Rows 2–End: Continue the repeating textured swirl pattern, keeping the same stitch placement and row count throughout the panel.
Continue until the panel reaches your intended cropped length.
Front-Panel Checkpoint
Before finishing the first front panel, measure:
- Width
- Length
- Number of rows
- Color position
Then use that completed panel as your reference for the second one.
This is especially useful with fuzzy yarn because individual stitches can become difficult to distinguish after several rows.
Make the Second Front Panel
Repeat the same construction for the second front panel.
Important: The two panels should match in both dimensions. More importantly, both should begin from the same dark color direction so the front of the cardigan looks balanced when worn.
Fasten off each panel and leave a long tail if you plan to use the yarn for seaming.
Back Panel
The back panel is worked as one wider piece.
Foundation: Chain enough stitches to create the required back width, accounting for the width of both front panels and the intended neckline/shoulder construction.
Row 1: Work the foundation row across, then turn.
Rows 2–End: Continue the same textured swirl pattern until the back reaches the same finished length and corresponding row count as the front panels.
Fasten off, leaving a long tail for shoulder assembly if desired.
Back-Panel Check
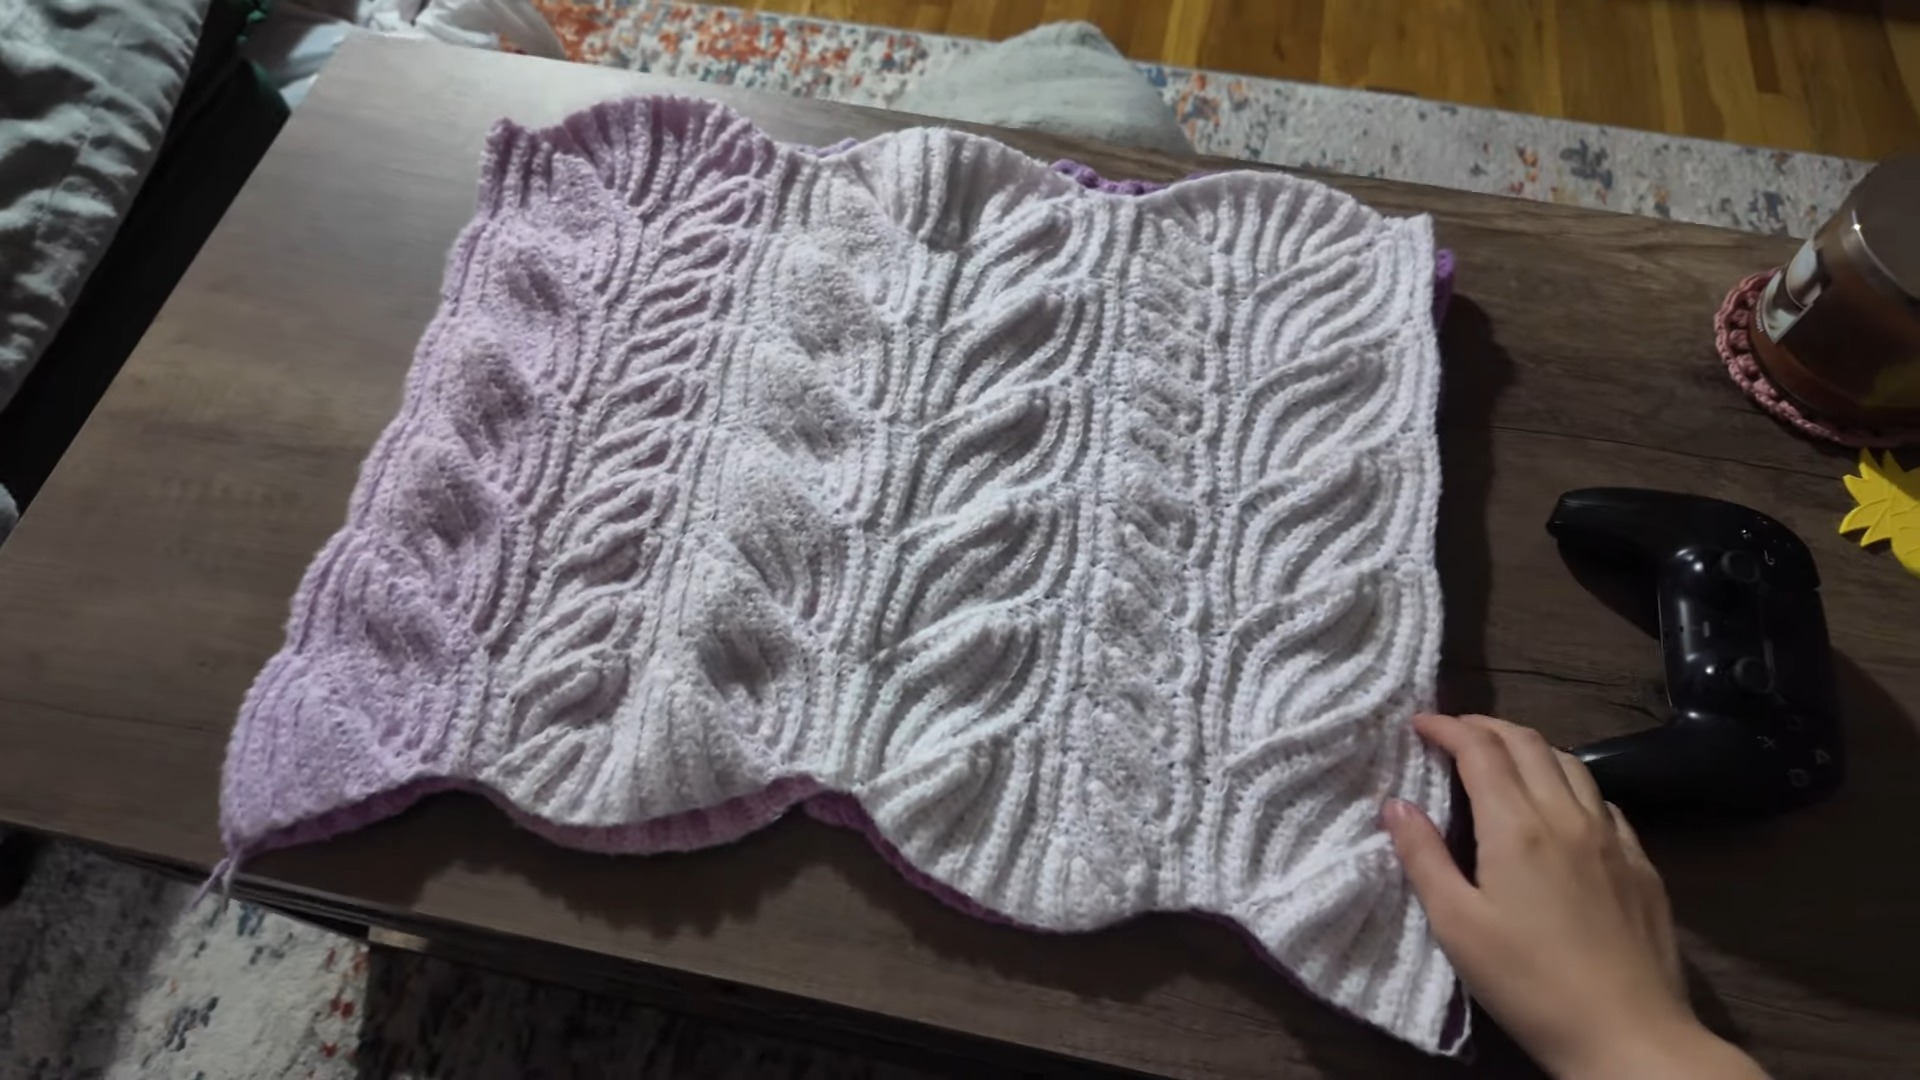
Place the finished back panel beside the two front panels before beginning assembly.
The important measurements to compare are:
- Overall body length
- Shoulder height
- Side length
- Panel width
- Number of rows
If one panel has extra rows, correct that before seaming. Once the sleeves and ribbing are attached, fixing a mismatched body becomes much more difficult.
Crochet the Sleeves
Make 2 sleeves.
The sleeves are worked separately and later attached to the drop-shoulder body.
Sleeve 1: Begin with the lightest shade
Start from the white/light-purple section of the yarn and work the textured pattern toward the wrist.
Continue until the sleeve reaches the desired length.
Sleeve 2: Begin with light purple
Start from the light-purple section and allow the ombre to move toward the darker purple as you work toward the wrist.
Fasten off each sleeve, leaving a long tail for assembly.
Sleeve Checkpoint
Lay both sleeves beside each other before attaching them.
They do not need to be identical in color placement, but they should have compatible:
- Length
- Width
- Cuff circumference
- Upper-arm opening
The ombre can vary between sleeves, but the physical dimensions should remain consistent.
Blocking the Panels
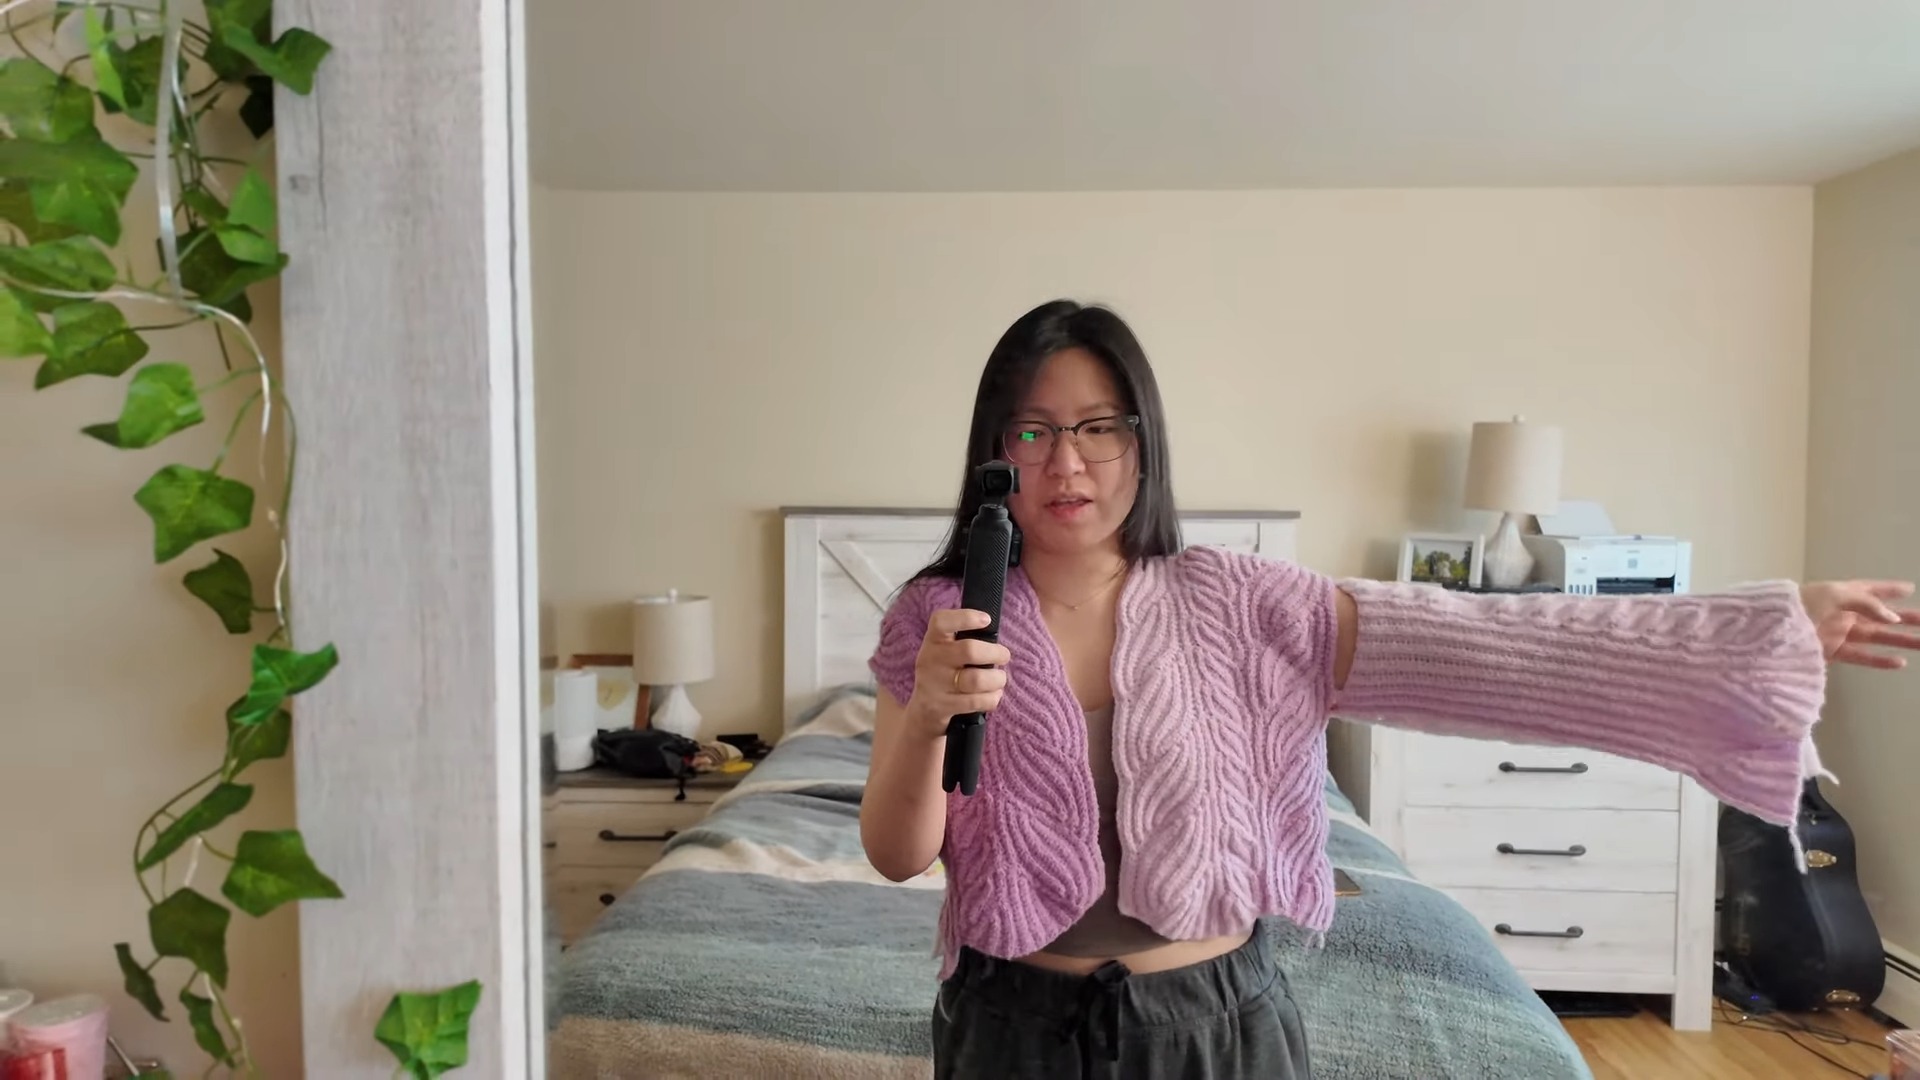
Blocking is optional, but it can be useful if your panels do not quite reach the intended measurements.
- Pin each panel to the desired dimensions on a blocking board.
- Lightly mist the fabric with water.
- Allow it to dry completely before removing the pins.
A garment steamer can also be used carefully if appropriate for your yarn.
Fabric Check: Do not stretch the panels aggressively just to reach a measurement. The goal is to even out the fabric and establish consistent dimensions, not to force the cardigan into a substantially different size.
Assemble the Cardigan
Once the panels and sleeves are complete, assemble the main garment before adding the final ribbing.
Join the Shoulders
Lay the back panel flat with the correct side facing up.
Position the two front panels against it so their upper edges align with the corresponding outer shoulder sections.
Important Orientation Check
Before making a single seam, confirm that the back panel is facing the correct direction.
Because the pieces may look similar on the wrong and right sides when worked in a textured stitch, it is easy to accidentally place the back panel upside down.
A simple check is to lay all three pieces flat exactly as they will sit on the finished cardigan and confirm the ombre direction before sewing.
Use a tapestry needle and matching yarn to seam the shoulder edges.
For the cleanest appearance, use lighter yarn for light sections and darker yarn where the seam passes through darker sections.
Attach the Sleeves
Lay the assembled body flat.
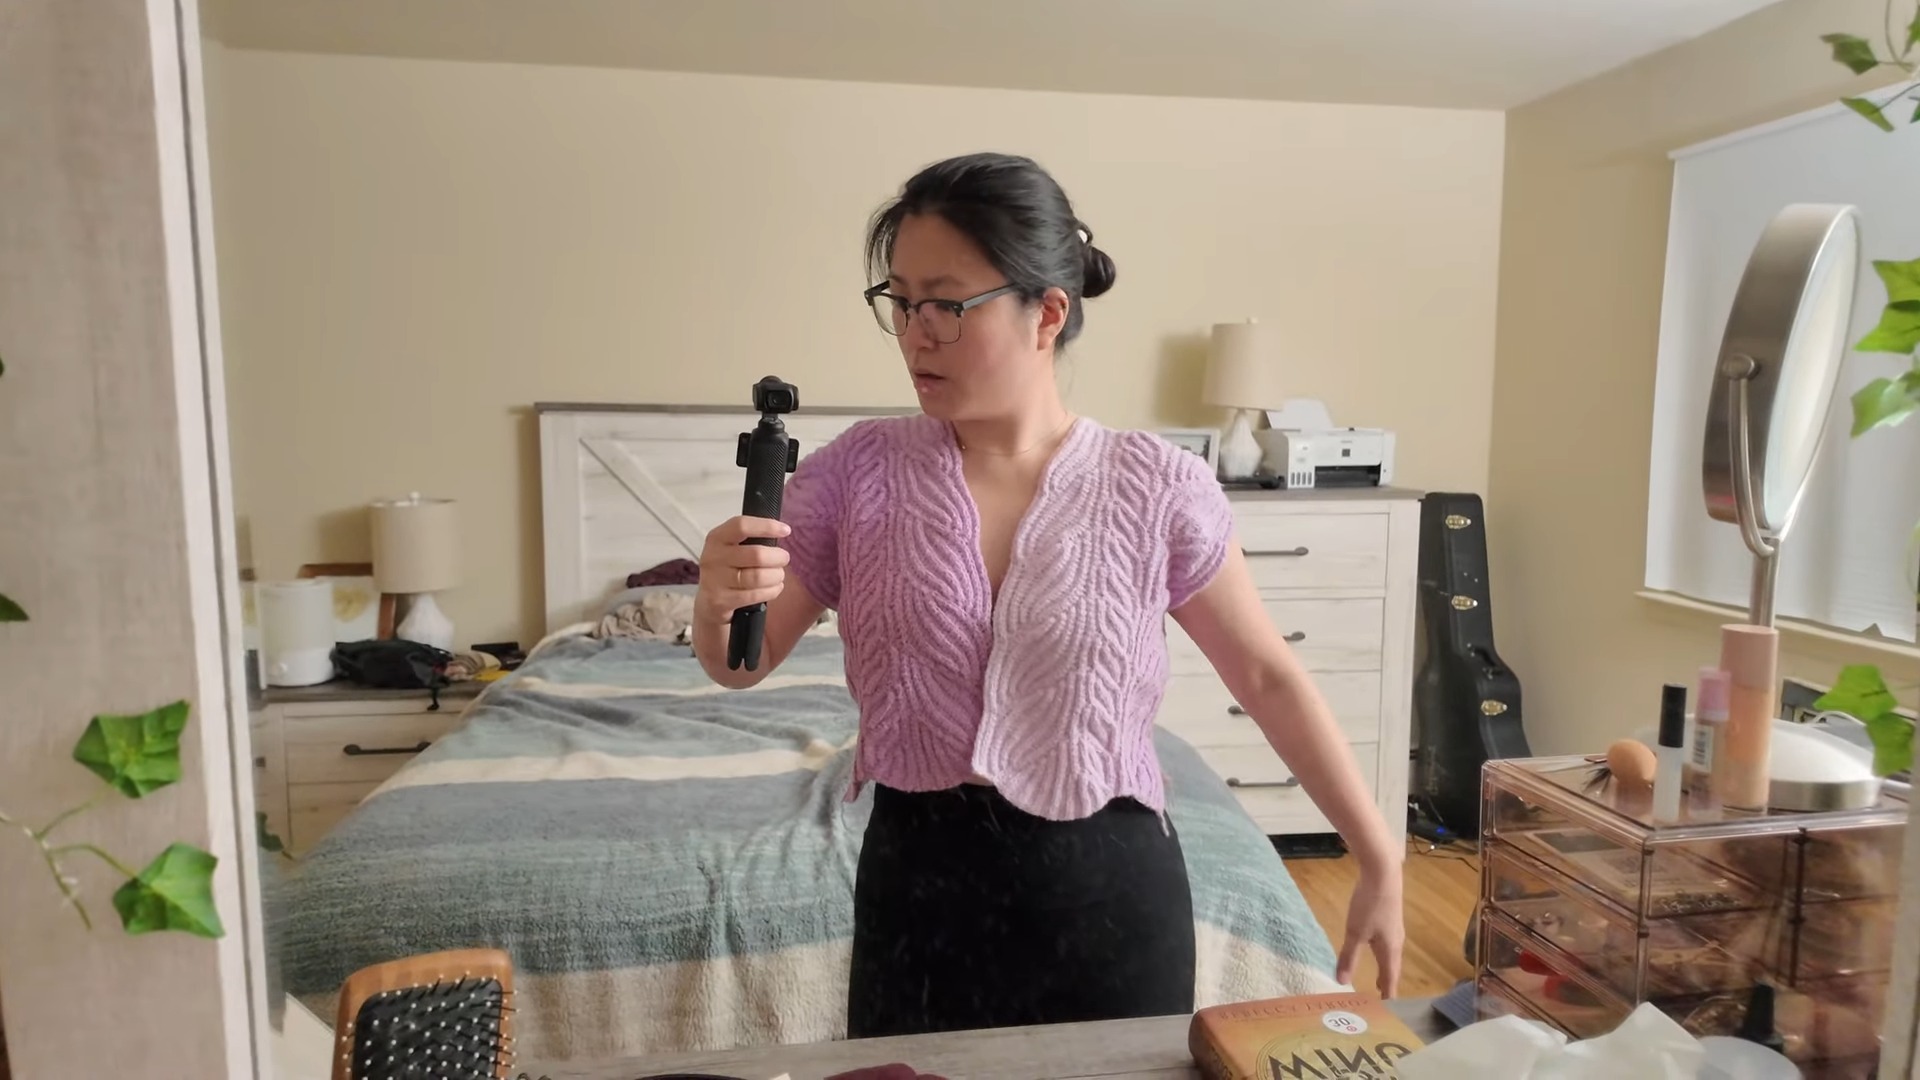
Position each sleeve along the drop-shoulder seam, centering the top of the sleeve opening along the shoulder edge.
Use a tapestry needle to seam the sleeve securely to the body.
Sleeve Placement Tip
Do not sew the sleeve immediately after placing it. First secure the center with a stitch marker, then check that equal amounts of the sleeve opening extend on either side.
This helps prevent the sleeve from becoming twisted or shifted toward the front or back.
Repeat for the second sleeve.
Sew the Side and Underarm Seams
Fold the cardigan with the right sides together.
Starting at the wrist, seam along the sleeve underarm toward the body.
Continue the same seam down the side of the cardigan to the bottom hem.
Repeat on the opposite side.
Before securing the final stitches, turn the cardigan right side out temporarily and check:
- Sleeve orientation
- Underarm position
- Side seam
- Overall body length
- Sleeve length
If everything sits correctly, turn it back inside out and finish the seams.
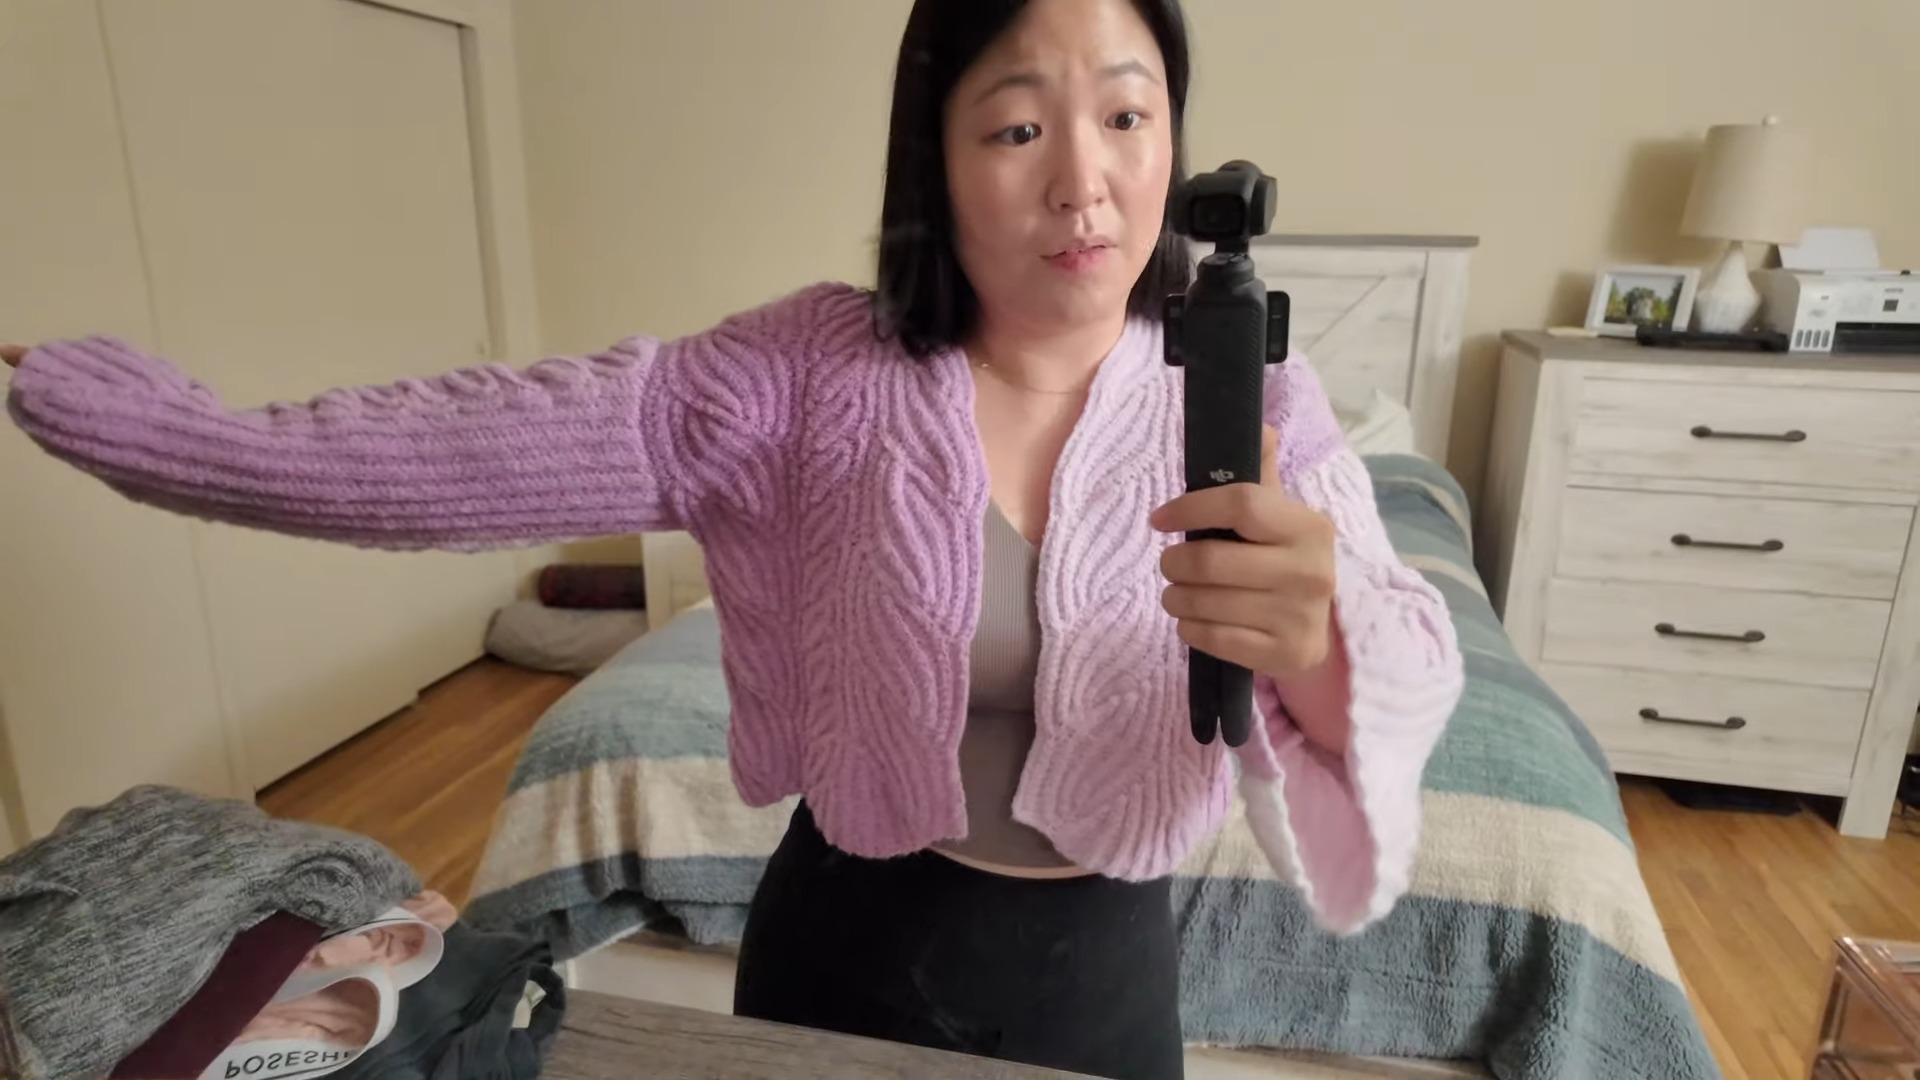
Add the Bottom Ribbing
The ribbed hem gives the cropped cardigan a more finished edge and adds some stretch.
Join yarn at the bottom corner of the front opening.
Step 1: Chain 6–8 stitches depending on your desired ribbing height.
Step 2: Work 1 sc into the 2nd chain from the hook and 1 sc in each remaining chain. Sl st into the next 2 stitches along the cardigan’s bottom edge, then turn.
Step 3: Work 1 sc in the BLO across the ribbing stitches. Ch 1, then turn.
Repeat: Continue the ribbing pattern across the entire bottom edge.
The ribbing is built perpendicular to the cardigan body, with each short row forming part of the finished horizontal hem.
Ribbing Tip
Keep the turning chain and BLO stitches consistent. If some ribbing rows are much tighter than others, the lower edge can become uneven or pull the body inward.
Add the Neckline and Front Placket
The neckline and front opening are worked as one continuous ribbed border.
Join yarn at the bottom corner of one front opening.
Work upward along the front edge, around the back neckline, and down the opposite front edge.
The ribbing should follow the entire opening in one continuous finish.
Buttonholes
Add 3–4 buttonholes along one front side.
At each planned buttonhole:
- Work the ribbing up to the buttonhole position.
- Chain 2.
- Skip the corresponding 2 stitches.
- Continue the ribbing pattern.
Space the buttonholes evenly before adding the buttons.
Button Placement Tip: Do not sew the buttons on immediately after making the first buttonhole. Finish all buttonholes first, then lay the cardigan flat and mark the matching button positions. This prevents the buttons from gradually drifting out of alignment.
Crochet the Sleeve Cuffs
Attach yarn around the wrist opening of each sleeve.
Work the same BLO ribbing technique used for the bottom edge.
Continue around the cuff until it reaches the desired depth and comfortably gathers the wrist opening.
Fasten off and weave in the end.
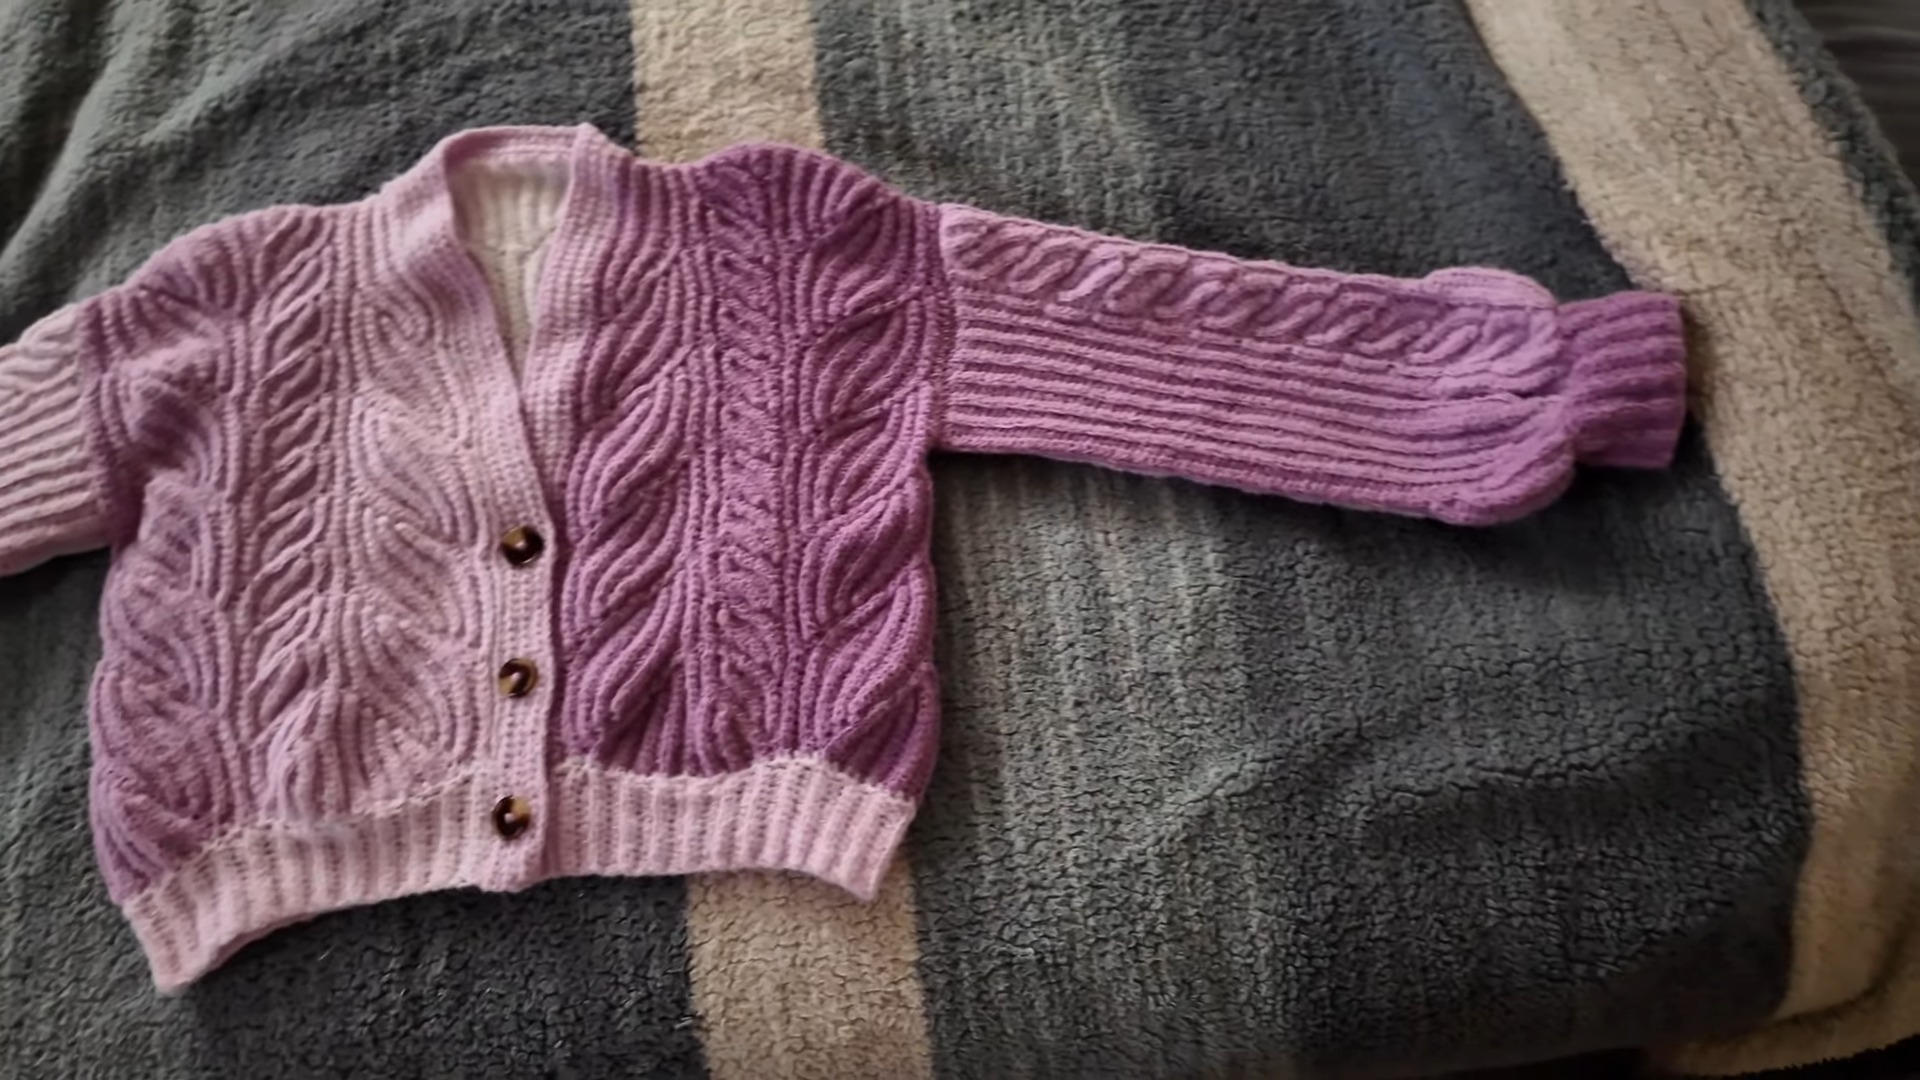
Cuff Check
The cuff should gather the sleeve slightly without becoming uncomfortably tight. If the cuff pulls the sleeve opening into a very small circle, use a looser tension or adjust the number of ribbing rows.
Sew on the Buttons
Place the cardigan flat and align each button with its corresponding buttonhole.
Sew the buttons securely to the opposite front placket.
Before finishing the button threads, close each button through its hole to check that the front edges meet evenly.
Final Finishing
Use a tapestry needle to weave in all remaining yarn ends.
Pay particular attention to the shoulder seams, sleeve joins, ribbing ends, and button areas.
Once the ends are secured, lightly block the finished cardigan if needed to even out the panels and seams.
Helpful Tips for a Better Fit
Make the Gauge Swatch First
The large difference between the original swatch and the Cloud Cakes swatch shows why this step matters. A yarn that appears to be the correct category can still create a dramatically different fabric.
Count Rows on Every Panel
With a fuzzy textured yarn, it can become difficult to identify individual stitches several rows below your hook. Mark every few rows with a stitch marker or keep a written tally.
Match the Front Panels
The two front panels should have matching dimensions and the same general color direction. This is more important than trying to make every individual color transition land at exactly the same stitch.
Check the Back Before Seaming
The back panel can be easy to orient incorrectly because of the textured fabric. Lay the entire garment out before joining the shoulders.
Keep the Ombre Intentional
The cardigan looks most cohesive when the dark-to-light progression has been planned before crocheting each piece. Check the yarn cake before starting rather than discovering halfway through that the colors are moving in the wrong direction.
Don’t Force the Fabric During Blocking
Blocking can help even out measurements, but it should not be used to compensate for a dramatically incorrect gauge. If your swatch is far too wide or narrow, correct the hook or tension before making the garment.
Video Tutorial