Granny Stitch Crochet Shirt for Easy-to-Make Wearable Item
A classic stitch can completely transform an everyday wardrobe. The Granny Stitch Crochet Shirt blends timeless texture with a light, modern shape that feels comfortable in every season.
Its airy design makes it easy to wear on warm days while also working beautifully as a layering piece when the weather turns cooler. This handmade crochet piece offers a relaxed style that looks equally charming with jeans, skirts, or shorts.

Simple details often create the most memorable crochet designs. This granny stitch shirt is a wearable item that fits naturally into casual outings, family gatherings, or quiet days at home.
The familiar stitch pattern gives it a beautiful texture while keeping the overall look neat and effortless. Creating a crochet piece that is both fashionable and practical makes every stitch feel rewarding from start to finish.
Credit Mom’s Crochet & Craft
Materials & Tools Needed
Yarn
- Type: Lightweight yarn (cotton thread or cotton blend recommended for a breathable finish).
- Quantity: Approximately 1,300 meters.
- Color: Can be made in one or two colors (e.g., brown main color with green accent rows in the example).
Hooks
- Main Crochet Hook: 3.50 mm (for panels, sleeves, borders, and collar sections).
- Seaming Crochet Hook: 3.00 mm (used for slip-stitch or single-crochet joining of seams).
Accessories
- Buttons: 4–5 standard shirt buttons.
- Tools:
- Tapestry/yarn needle (for weaving in ends).
- Measuring tape (to check size as you work).
- Scissors (for trimming thread ends).
Finished Size & Customization
Standard Measurements (Men’s Size M)
Here are the measurements for reference:
- Chest Width (Flat / Half): 19–20 inches (fits ~38–40 inch chest circumference).
- Total Shirt Length: 22.5 inches (52 rows).
- Sleeve Length: ~7.5 inches (17 rows).
- Armhole Depth: 8 inches (20 rows from shoulder).

Customization & Sizing Rule
To adjust to different sizes:
- Take Measurements
- Measure the chest width of a well-fitting shirt (flat measurement).
- Create Foundation Chain
- Chain the exact flat width measurement.
- Ensure the total chain count is a multiple of
3 + 1. For example:- If the required width is 90 chains: Add 1 to make 91 chains total.
- Cluster Division
- Ensure the final number of clusters is even so the front panels divide equally into halves.
Example:
If customizing for a larger size or smaller size, adjust the foundation chain count or number of rows proportionally based on your measurements.
Pattern Notes
- Main Stitch:
Granny Cluster (3 double crochet stitches worked into the same chain space or gap). - Turning Chains:
Chain 3 (ch 3) at the beginning of a row counts as the first double crochet (1 dc). - Cluster Evenness:
Ensure foundation chains are crocheted loosely to prevent the bottom hem from pulling tight in comparison to the upper body.
Pattern Abbreviations & Terminology
- ch: chain
- dc: double crochet
- sc: single crochet
- sl st: slip stitch
- st(s): stitch(es)
- sp / ch-sp: space (specifically the space between 3-dc clusters)
Tips Before You Start
- Foundation Chains:
Work the foundation chains loosely to prevent a puckered or tight bottom hem. - Row End Construction:
- Even rows: Start/end with a full 3-dc cluster.
- Odd rows: Start/end with ch 3 or single dc.
- Alignment for Joining:
Pay close attention to stitch alignment, especially during shoulder and side seam joining, to ensure that all rows line up symmetrically.
Step-by-Step Detailed Crochet Instructions
Component A: Back Panel
Material Needed: 3.50 mm crochet hook.
Foundation Chain:
- Chain (ch) 91 loosely (~20 inches long).
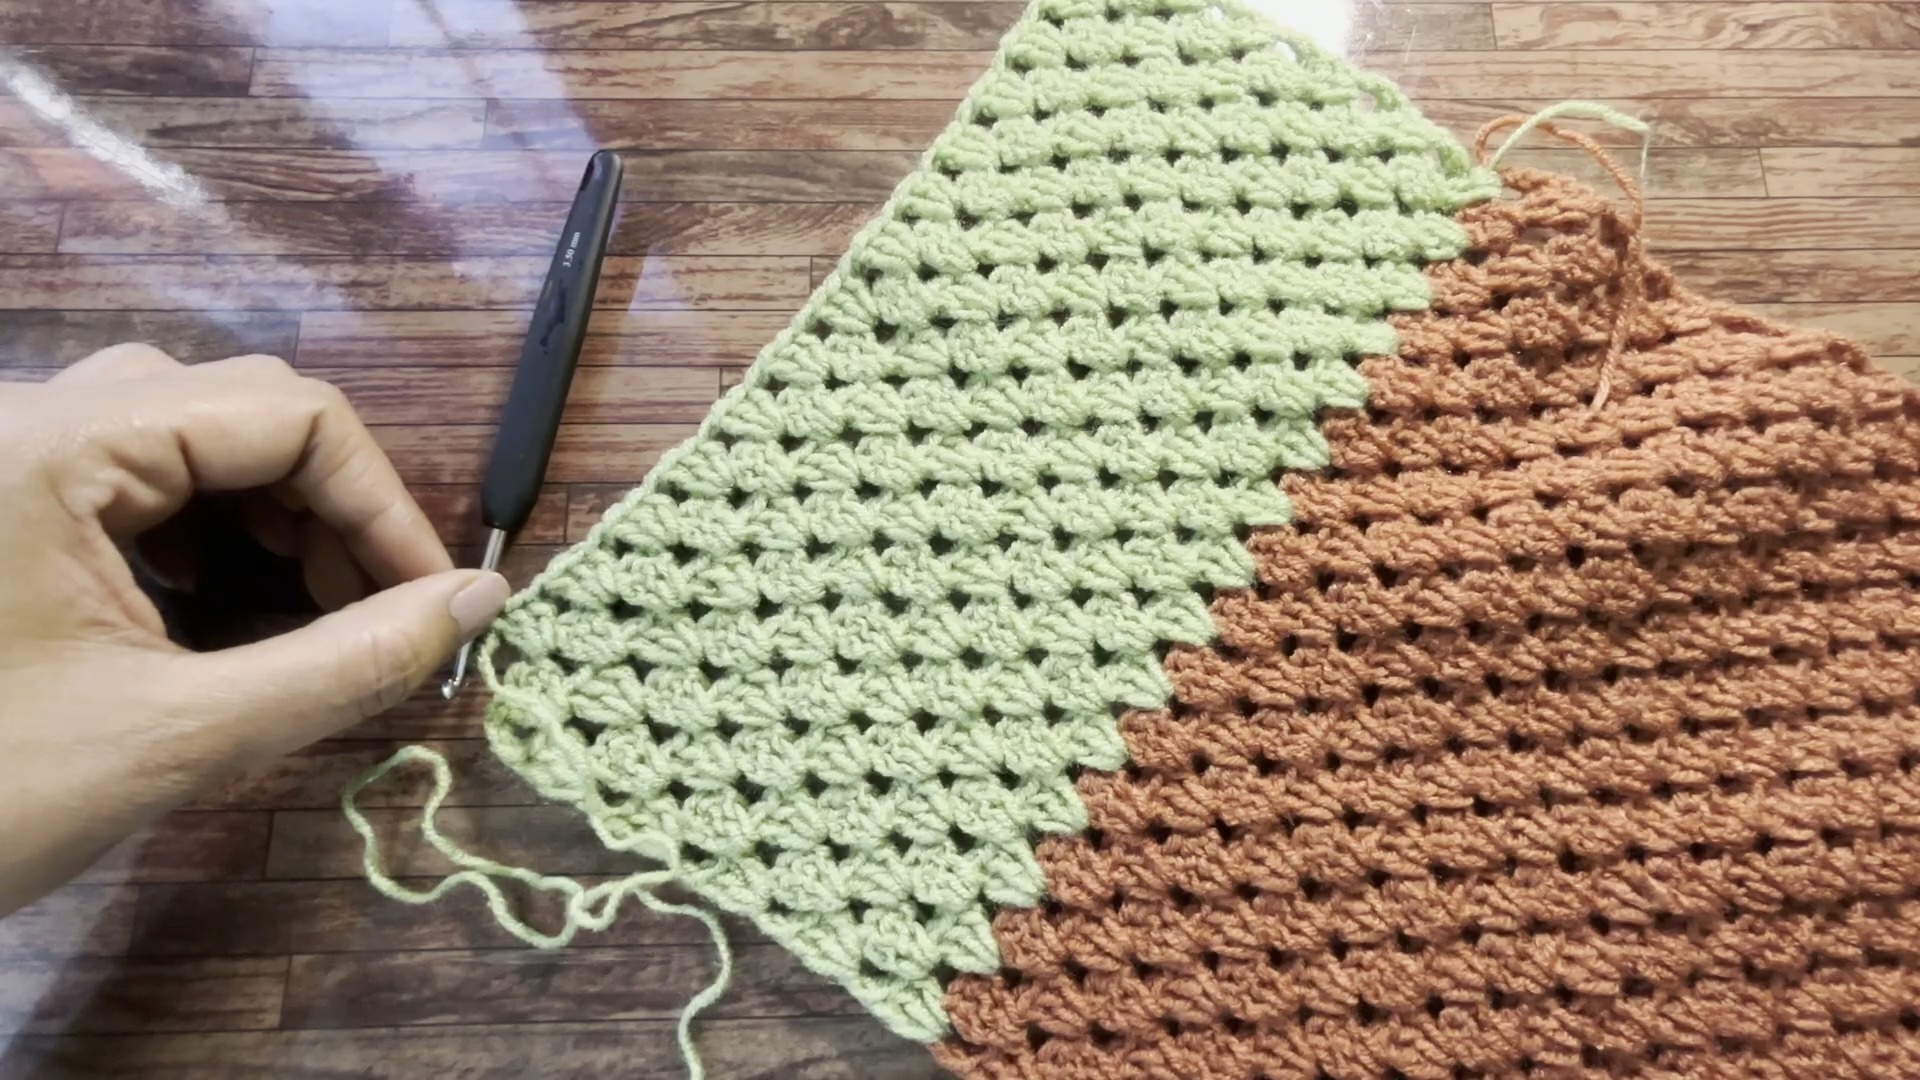
Row 1: Begin with Granny Clusters
- Skip the first 3 chains from the hook (these count as the turning dc or the first stitch).
- Work 2 double crochets (dc) into the 4th chain from the hook.
- Skip 2 chains, then work 3 dc into the next chain—this forms the first 3-dc cluster.
- Repeat the steps (skip 2 chains, 3 dc in the next chain) across the row.
- Total clusters at the end of Row 1: 30 granny clusters (3-dc sets).
Row 2:
- Chain 3 (ch 3), turn. (The ch-3 counts as the turning dc.)
- Work a 3-dc cluster into the space between each cluster from the previous row.
- Finish the row by working 1 dc into the top of the turning ch-3 from Row 1.
Row 3:
- Chain 3 (ch 3), turn.
- Work 2 dc in the very first space (creating a full 3-dc cluster at the starting edge).
- Work 3 dc into each space between clusters across the row.
- In the final space, work a full 3-dc cluster, followed by 1 dc into the top of the turning ch-3.
Rows 4 to 52:
- Alternate Row 2 and Row 3 for a total of 52 rows (~22.5 inches).
- After completing Row 52, fasten off the yarn.
Component B: Front Panels
Each front panel comprises 15 granny clusters (half the width of the back panel). There will be slight variations for the right front and left front panels due to the V-shaped neckline decreases.
1. First Front Panel (Right Front)
Foundation Chain:
- Chain (ch) 46 loosely (45 chains + 1 extra for the foundation).
Row 1:
- Skip the first 3 chains from the hook (counts as the first dc).
- Work 2 dc into the 4th chain from the hook.
- Skip 2 chains, then work 3 dc into the next chain.
- Repeat across the row until you have 15 granny clusters.
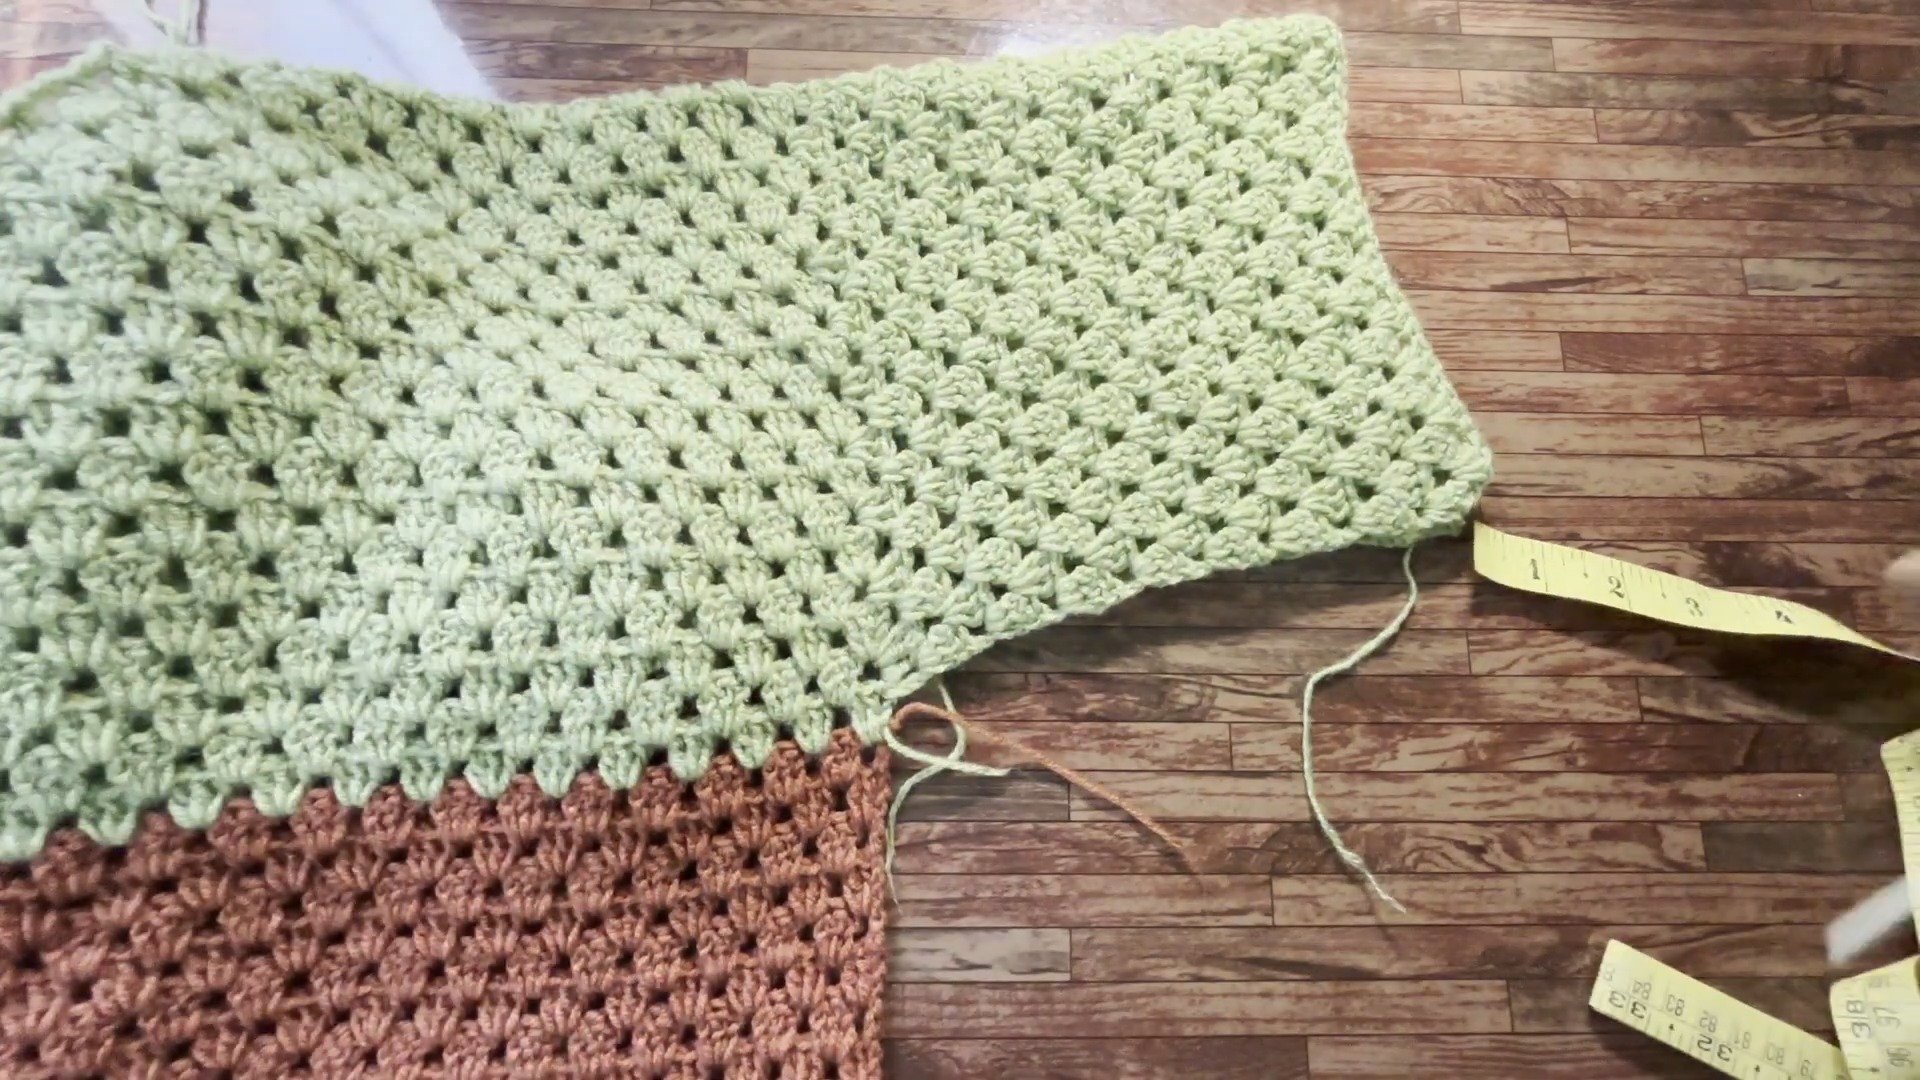
Rows 2 to 42:
- Follow the Row 2 and Row 3 pattern from the back panel instructions.
- Work straight for 42 rows without any decreases.
Neckline V-Shape Decreases (Rows 43–50):
Row 43 (Start Neck Decrease):
- Work across the row using the established pattern.
- At the neck edge, work 3 dc into the second-to-last space, skip the final cluster space, and work 1 dc into the top of the turning ch-3.
Row 44:
- Chain 3, turn.
- Skip the first edge space. Work 3 dc clusters directly into the next available space.
- Continue working clusters across to the outer edge (shoulder side).
Rows 45 to 50:
- Repeat the neck edge decrease on every row. Always finish the row by turning with ch-3 and skipping the neck edge space at the start of the row.
Rows 51–52 (Shoulder Finish):
- Work straight across without any decreases for the last 2 rows.
- Fasten off after completing 52 total rows.
2. Second Front Panel (Left Front)
The left front panel mirrors the right front. Work similarly, but reverse the shaping of the neck decreases to create a matching V-neck on the opposite side.
Follow the instructions for:
- Foundation Chain and Rows 1 to 42 (same as the first front panel).
- Neckline V-Shape Decreases (Rows 43–50) (decrease at the neck edge accordingly).
- Rows 51–52 for shoulder shaping.
Fasten off when complete.
Component C: Shoulder Assembly
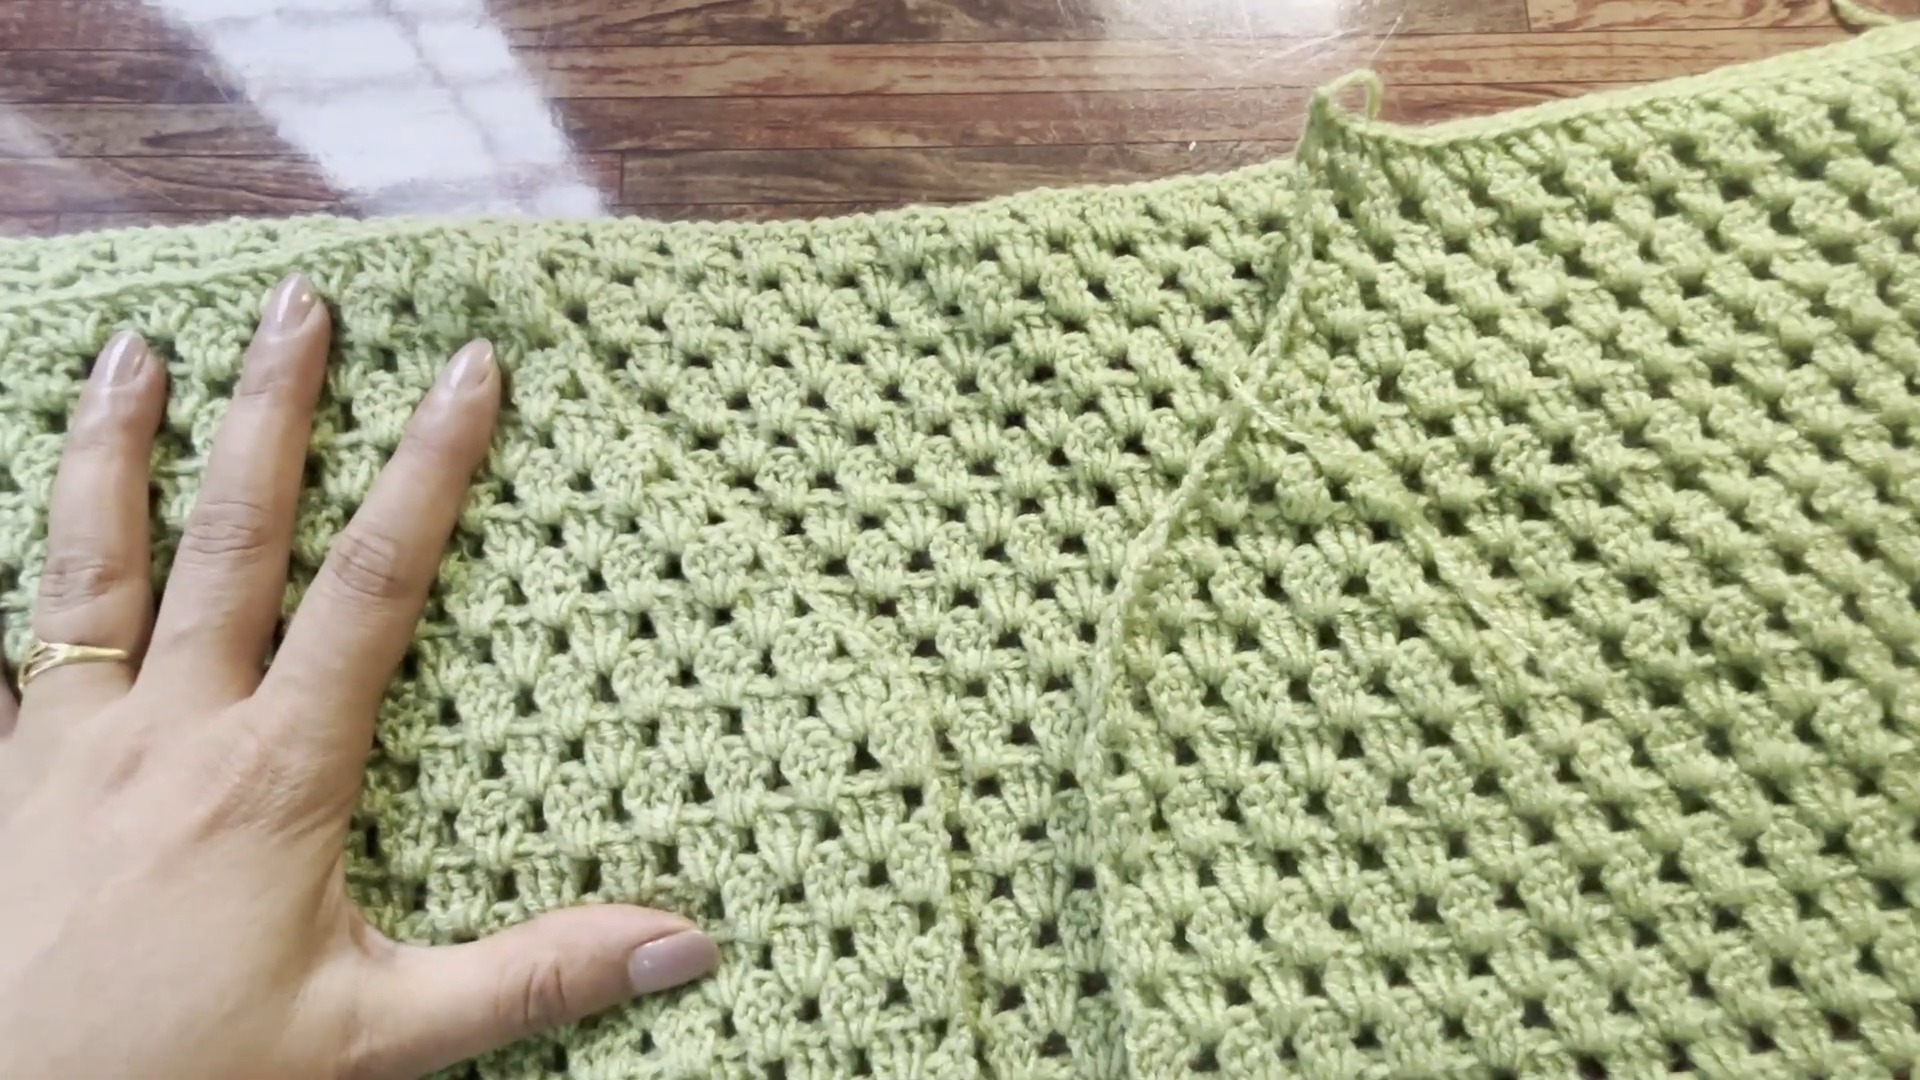
- Lay the Back Panel flat with the right side facing inward.
- Align both Front Panels on top of the back panel with right sides facing inward (wrong sides are on the outside).
- Use a 3.00 mm hook to join the yarn at the outer shoulder corner.
- Use slip stitches to neatly join the top stitches of the front and back panels along the shoulder seam.
- Repeat for both shoulders.
Component D: Sleeves (Worked Directly onto the Armhole)
Armhole Foundation:
- From the shoulder seam, measure 8 inches downward (about 20 rows on both the back and front panels).
- Mark this point on both sides (approximately Row 32 from the bottom hem).
Crocheting the Sleeve Directly onto the Armhole:
Row 1 (Foundation):
- Join yarn at Row 32 on the front side of the armhole, using a 3.50 mm hook.
- Chain 3, then work 3-dc clusters into each edge post space along the armhole.
- Start from Row 32 on the front, continue across the shoulder seam, and end at Row 32 on the back.
- Finish with 1 dc.
Row 2:
- Chain 3, turn.
- Work 3 dc into each chain space across the row, ending with 3 dc in the last space.
Rows 3 to 17:
- Alternate Rows 1 and 2 for a total of 17 rows (~7.5 inches sleeve length).
- Fasten off, and repeat on the other armhole for the second sleeve.
Component E: Side & Sleeve Seaming
- Turn the entire garment inside out.
- Using a 3.00 mm crochet hook, join yarn at the wrist edge of the sleeve.
- Work 2 single crochets (sc) into each row post space along the sleeve seam, underarm junction, and down the side seam.
- Work from the wrist to the bottom hem for each sleeve and side seam.
- Repeat for the opposite side.
Component F: Bottom Hem Border
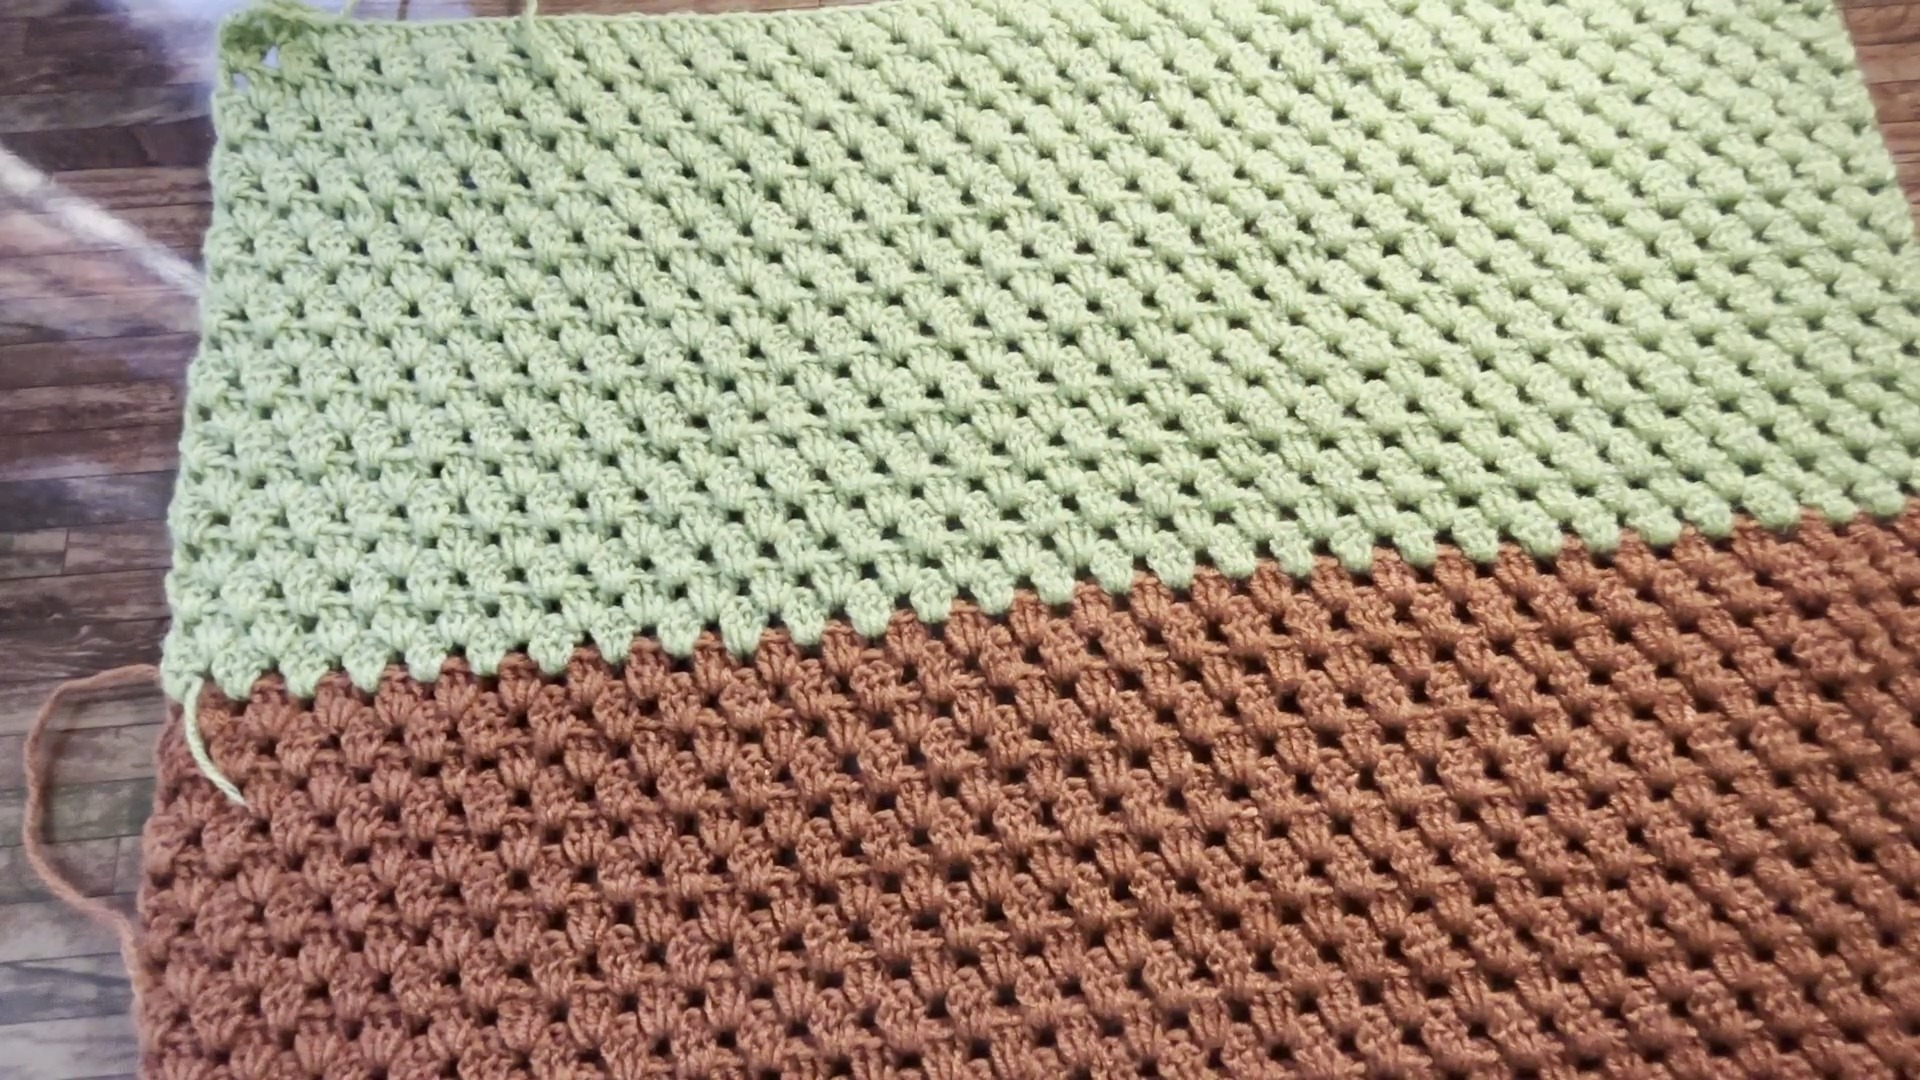
Foundation:
- Turn the shirt right side out.
- Use the 3.50 mm hook to join yarn at the bottom front corner.
Row 1:
- Chain 1.
- Work 1 sc into the top of each cluster stitch and 2 sc into each chain-space along the bottom hem.
- Work loosely across the entire bottom edge.
- Fasten off when complete.
Component G: Front Plackets (Button Bands)
Right Placket:
- Start at Row 43 (the neck edge where decreases begin).
- Join yarn at this point using a 3.50 mm hook.
- Chain 1, then work 2 single crochets (sc) into each side row post down to the bottom hem.
Row 2:
- Chain 3, turn.
- Work 1 double crochet (dc) into every single crochet (sc) across the placket length.
- The gaps between the dc stitches serve as buttonholes.
Left Placket:
- Repeat the same process on the opposite side of the Front Panels.
Component H: Collar
Foundation:
- Join yarn at the top of the Right Placket (at Row 43, where the neck shaping starts), using a 3.50 mm hook.
Row 1:
- Chain 3.
- Work 3-dc clusters evenly into the side spaces up along the Right V-neck edge, across the Back Panel neck area, and down the Left V-neck edge, until reaching the top of the Left Placket.
- End with 1 dc.
Row 2:
- Chain 3, turn.
- Work 2 dc in the first space, then work 3 dc into each chain space across the row. End with 3 dc in the last space.
Rows 3 to 7:
- Continue repeating the same cluster pattern (as in Row 2) for a total of 7 rows.
Final Assembly
1. Weaving Ends:
Using a tapestry needle, neatly weave in all loose yarn ends on the inside of the shirt to ensure a clean finish.
2. Attaching Buttons:
Align the front plackets so they overlap each other correctly. Sew buttons onto the opposite placket, ensuring they correspond directly to the double crochet gaps for proper closure.
Conclusion
Your Granny Stitch Crochet Men’s Shirt is complete! The breathable open-cluster structure, combined with the structured plackets and collar, creates a stylish, handmade summer garment perfect for casual wear.